My series of Halloween Treat Bags (instructions also work for Easter Treat Bag) are super cute for Halloween parties or for handing out to Trick or Treaters and are available in Silhouette Design Store. This adorable treat bag fits on A4 or 8.5×11″ cardstock. The pieces for the bag itself and the decorations for the front whether they be the Ghost, the Bat or the Pumpkin are all contained in the file and should be cut in the colours of your choice.
Note: follow along with this tutorial for the Easter Treat Bag. Simply rather than assembling the decoration cut and glue acetate rectangle to the inside of the egg shaped window.
Below is an assembly tutorial video or scroll below the video to view the text instructions.
The decorations for the front feature 2-3 pieces depending on which bag you have. First assemble the decorations by adhering the backs to the front piece. In the case of the pumpkin there is also the stalk which gets adhered flush with the bottom part of the pumpkin directly on the treat bag.
Once your decoration is assembled, it is time to fold and adhere your treat bag. Start by folding the score lines which for the outside corners of the bag. You can also fold the score lines which allow you to fold the sides of the bag inwards. It folds more easily if you fold the same way as the other lines first and then fold in the opposite direction. I chose to not fold the diagonal lines but you may choose to fold those to make design more crisp. Once you have folded all score lines it is time to adhere the bag. I have found it easiest to place adhesive on the smaller bottom pieces and the side tab first.
Start by folding the first smaller bottom tab flush with the next larger bottom tab to make a crisp square corner. Repeat with the second smaller bottom tab to the same larger bottom tab. Next adhere the tab on the smaller side of the bag to the inside of the larger side of the bag keeping the edges flush with each other. Next fold the final larger tab onto the bottom to close the bag by pushing the adhesive of the tab to the bottom of the bag. If needed push down on the bottom with your hand inside the bag or other implement.
Now that the bag is fully assembled adhere the front decoration. I used foam squares to give a 3D look. With the pumpkin stalk I used adhesive to adhere it flush with the top of the pumpkin. Instead of using foam squares I used regular adhesive to allow the pumpkin to stand out a little further from the face of the bag than the stalk.
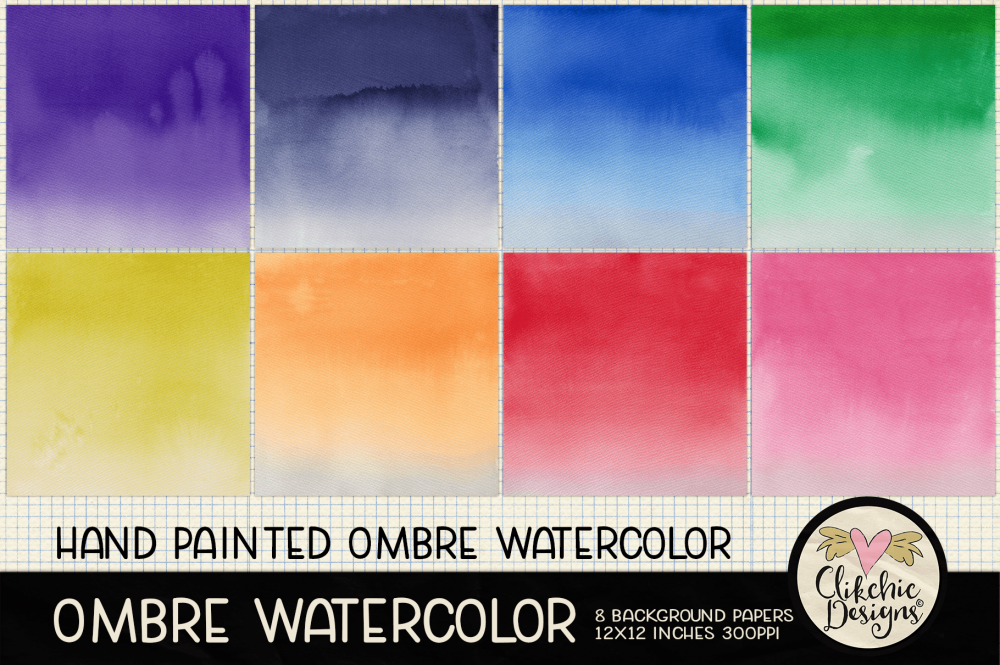
It has been a while since I have designed backgrounds and since watercolor remains quite popular thought it was time I did some more watercolor backgrounds! So that brings me to my latest set of watercolor backgrounds, Ombre Watercolor. They are available as sets in my Design Bundles, Creative Market and Etsy Stores and individually as background patterns in my Silhouette Store. Make sure you check out my other watercolor designs while you are there! Links are as follows.
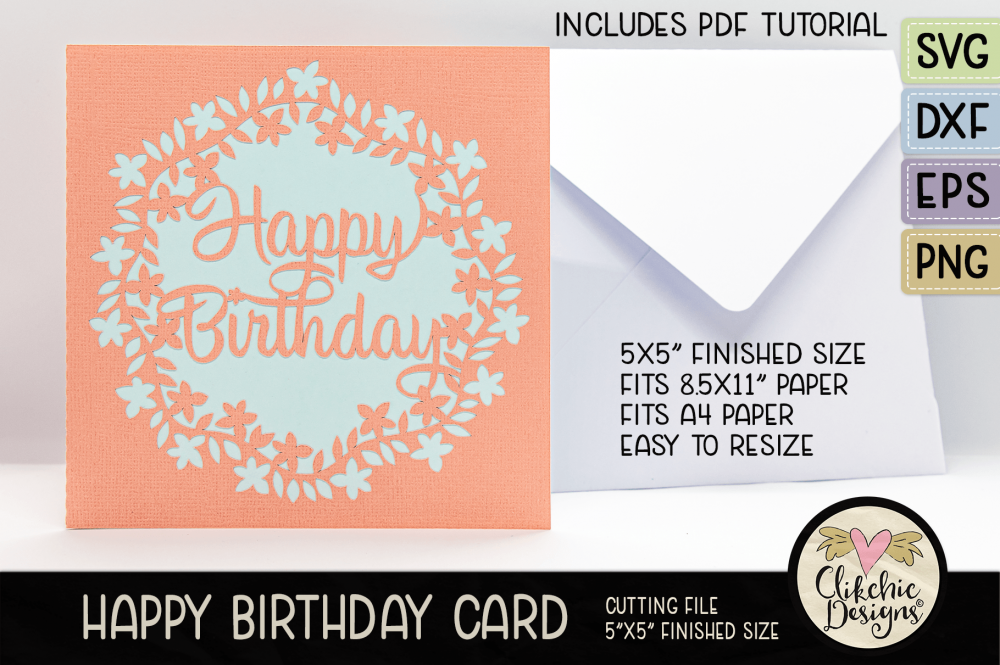
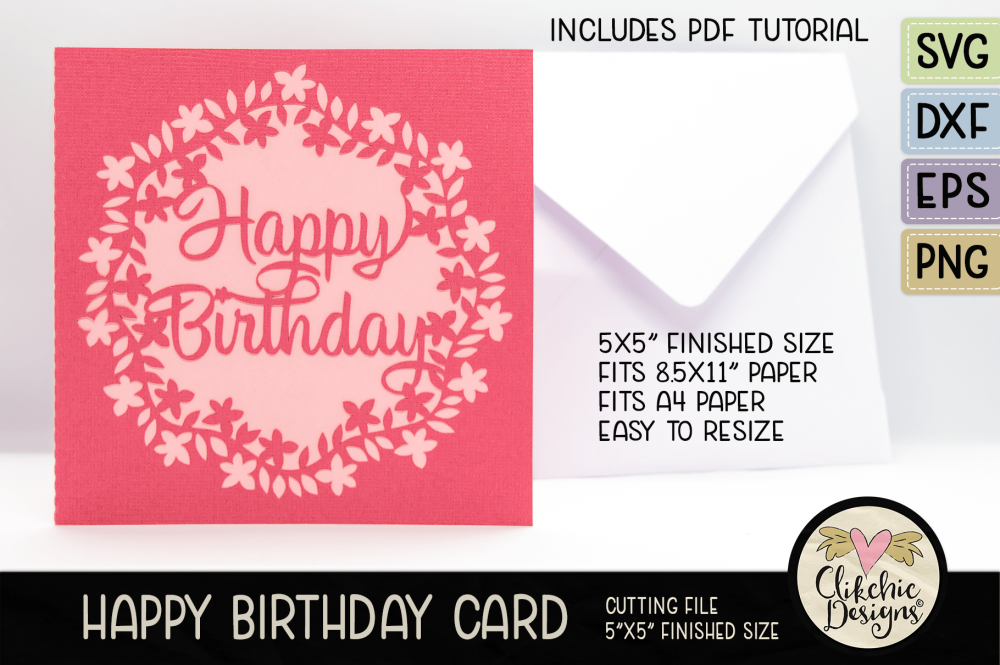
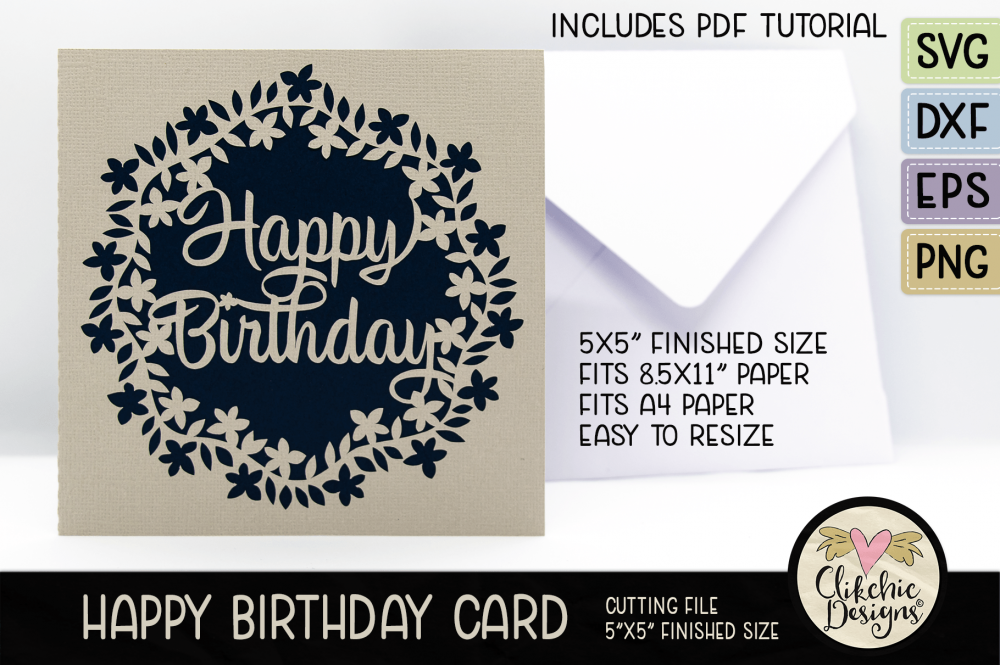
This gorgeous Floral Wreath Happy Birthday Card is now one of my favourites. The circle of flowers and leaves on a vine are so pretty and I know I will use this SVG Cutting file over and over again for Birthdays as I am sure it will please. I think it will look fabulous with a subtle patterned insert as well. I find high contrast always looks best on photos but in person monochrome and patterns look great as well.
The Floral Wreath Happy Birthday Card is available in my stores below.
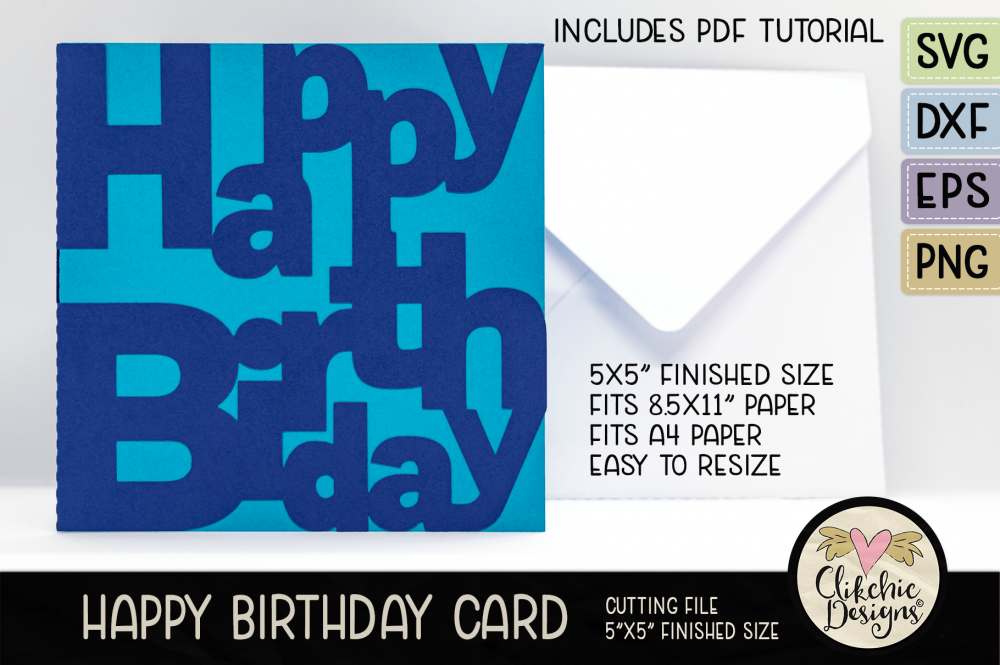
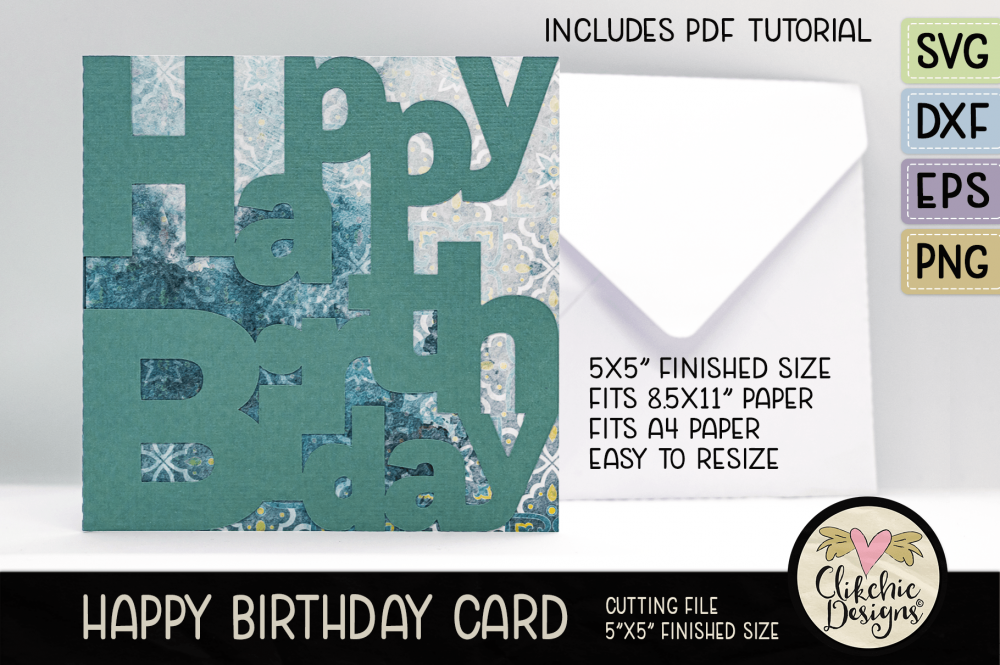
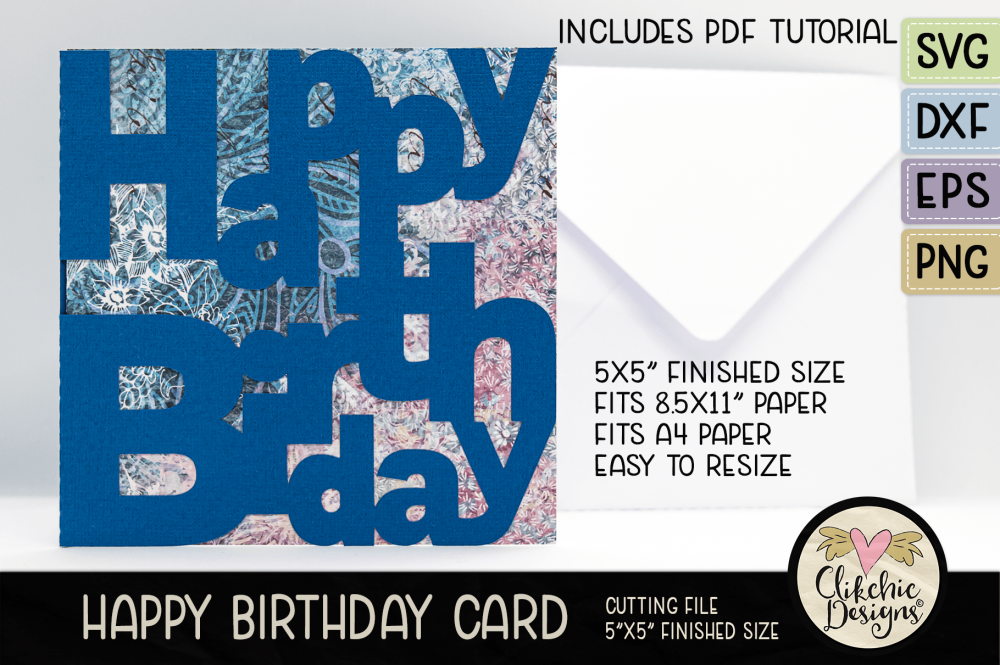
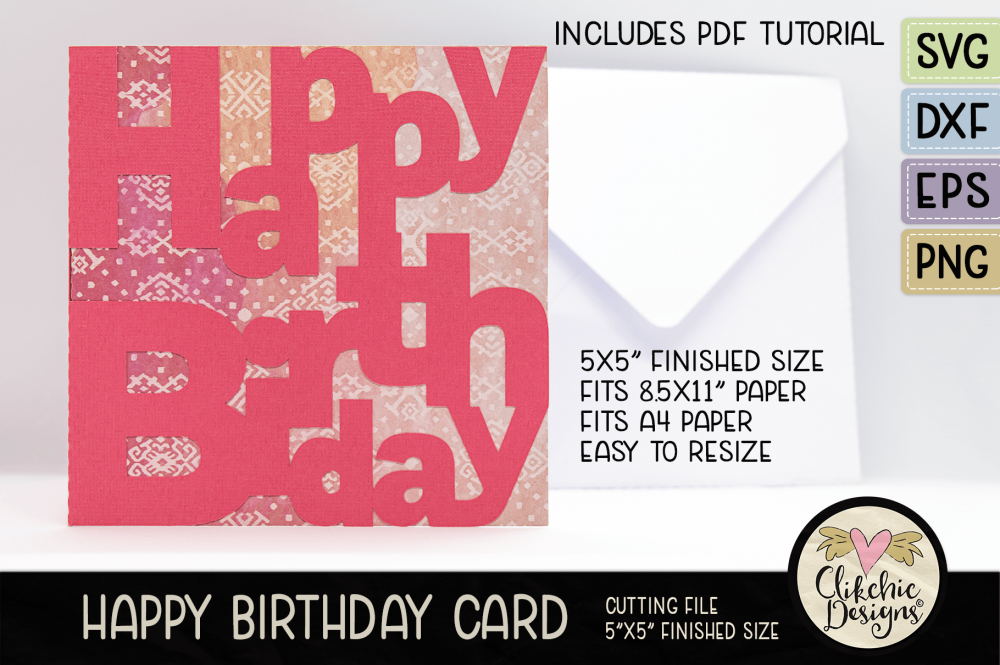
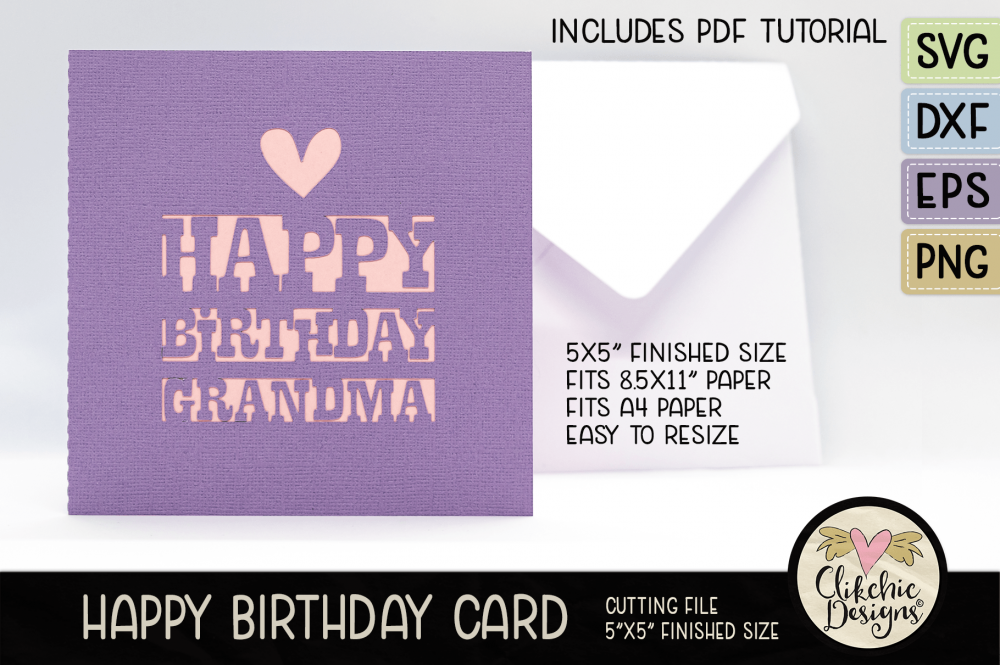
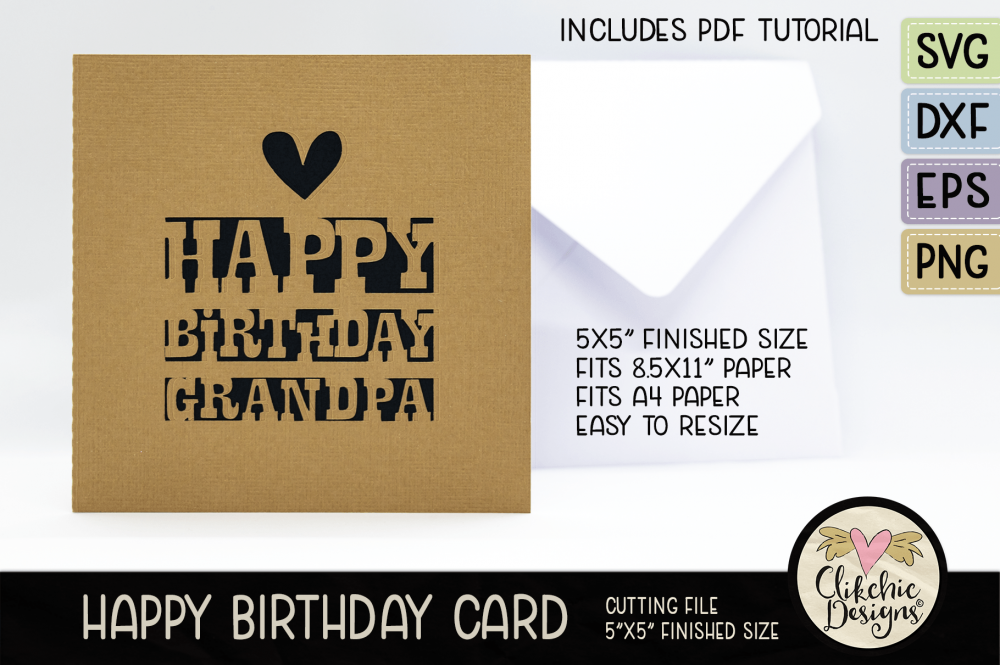
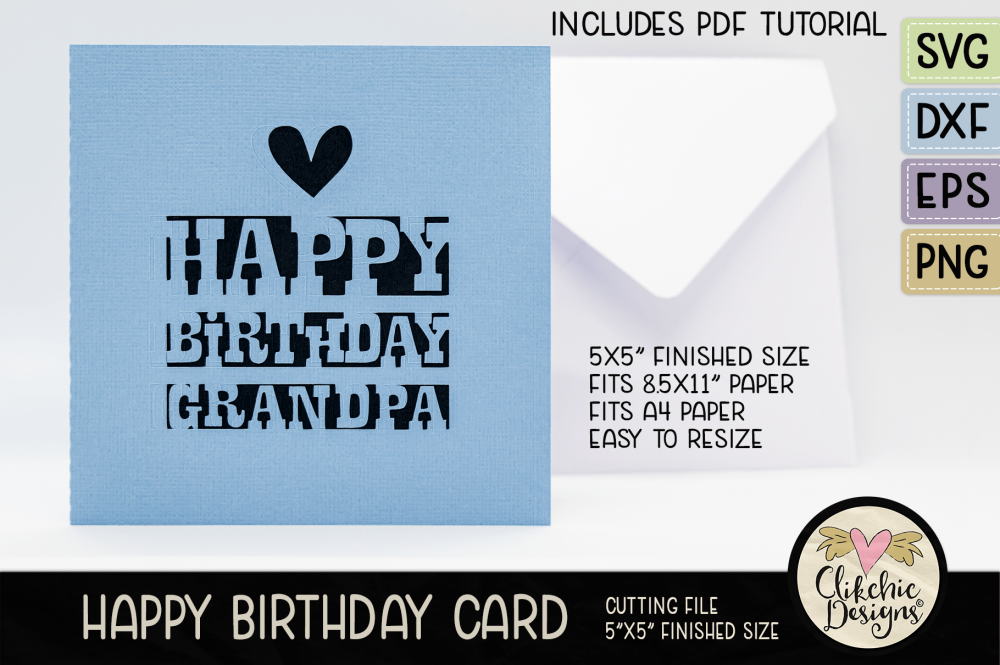
I really like the simplicity of this card. It is striking and can really pop with the right combination of cardstock papers. I chose monochromatic and plain with patterned papers in the samples below but I made one the other day in bright green and black and it turned out to be my favourite version so far even though I am not overly fond of the colour green. I must remember to make another to share a photo of. A bright colour on a black background always seems to look really striking.
If the insert is black you can overcome the issue with being able to see your writing by using a good quality white gel pen or a metalic pen of some sort. Not all gel pens will show up on black, so it is worth testing them first before buying if you are able. I chose the top chosen brand in this article and it has been a great pen choice. I orderd some silver and gold in the same brand as well but haven’t tried them out yet. Anyway! Back to the cards! Check them out in my stores below and scroll down to see the previews.
If anyone will appreciate the effort of you making them a handmade card it will be your Grandma and Grandpa! They may not know what an SVG cutting file is but they will certainly appreciate you took the time to make it yourself I am sure! Scroll down to see store links and previews of what these gorgeous cards look like finished.
The Happy Birthday Grandma cards are available at the store links below.
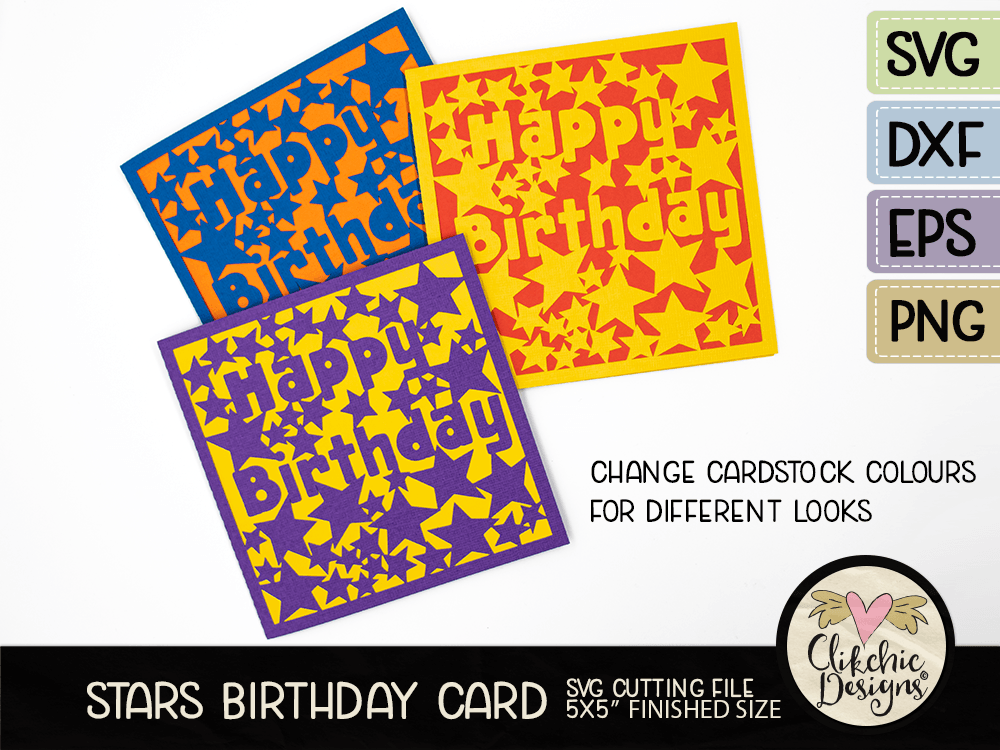
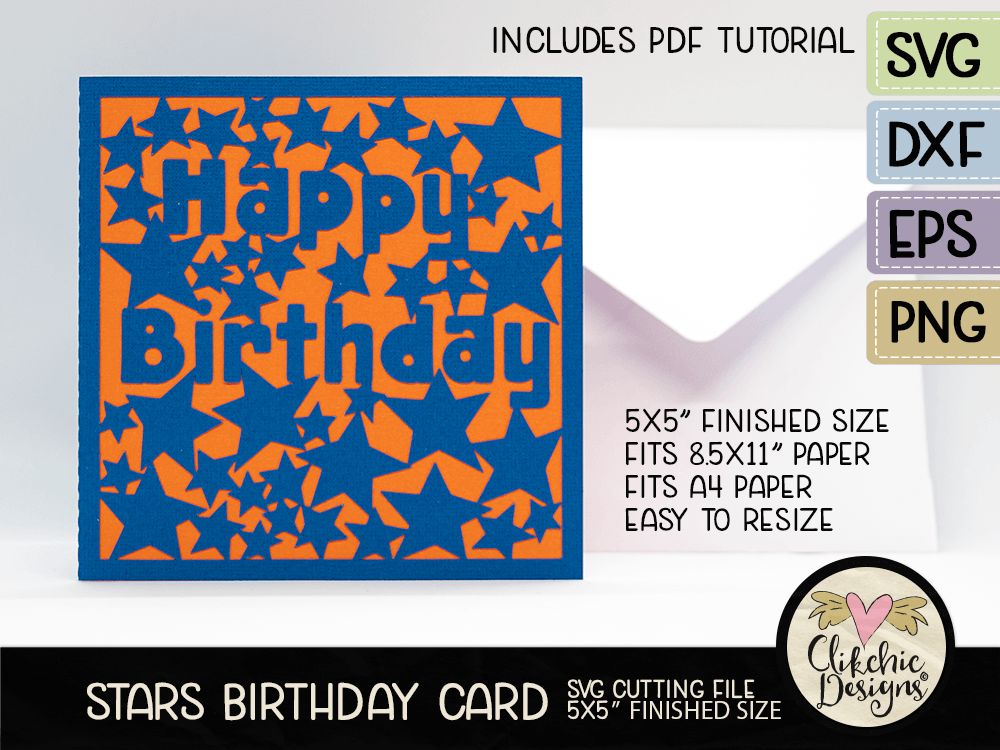
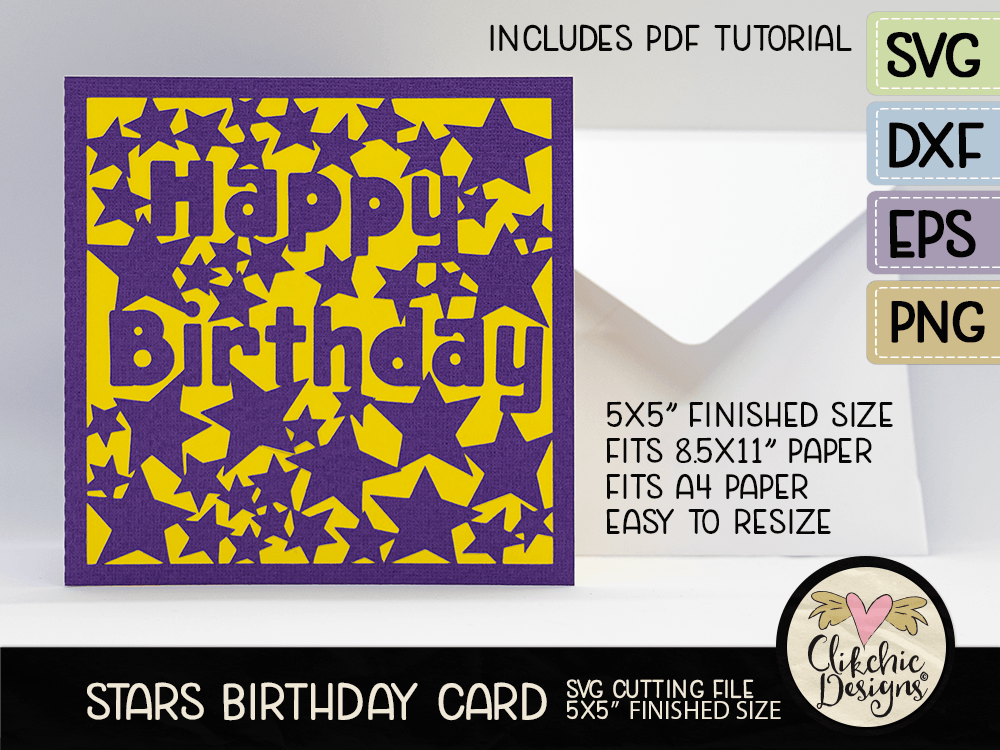
This Stars Happy Birthday SVG Card Cutting File is super cute and perfect for the Birthday of those little Stars in your life. Use this gorgeous SVG cutting file to make a handmade card befitting of such adorable small humans! The Stars Happy Birthday SVG Card Cutting File is available in my stores below.