In this tutorial I am going to demonstrate a quick and easy way to cut shapes from Digital Scrapbook Papers/Backgrounds in Photoshop. This method will work in all versions of Photoshop.
First I have opened the paper I am choosing to work with in Photoshop. This paper is from my Floral Fancy Digital Scrapbook Kit.
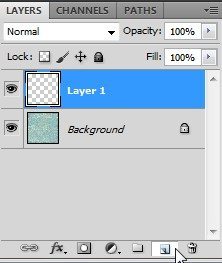
First we need to create a new layer above the paper layer.
I am going to cut a heart shape from my paper, and will use the custom shape tool to create the heart to cut my paper with. The custom shape tool can be found above the hand tool on the left hand tool bar.
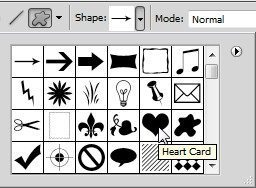
Once you have clicked this tool you will see the custom shapes menu appear in the above menu bar.
First you need to ensure the Fill Pixels button is selected.
Once the Fill Pixels button is selected you can go ahead and click on the Custom Shape Picker to choose your shape. Photoshop has several preinstalled shapes, but you can also create or add more.
I will use a Photoshop custom shape for the purpose of this tutorial. The shape I am using is called Heart Card.
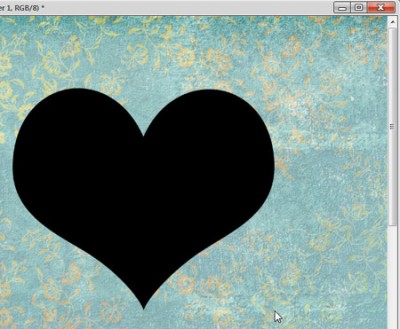
Click on the Heart Card Shape to select that custom shape. Click on your new layer to ensure it is selected. Using your mouse, click and drag over the canvas to create your shape. Hold down the SHIFT key while doing so to maintain aspect ratio. (keep the shape in the correct proportions) Holding down the SHIFT key is a good tip to maintain aspect ratio when resizing any object in Photoshop.
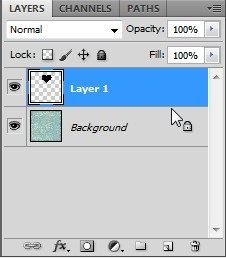
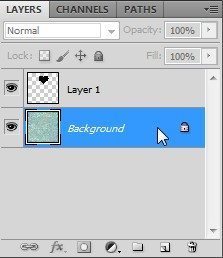
You can now see on the layers palette that there is a layer with your custom shape and the layer underneath with the paper.
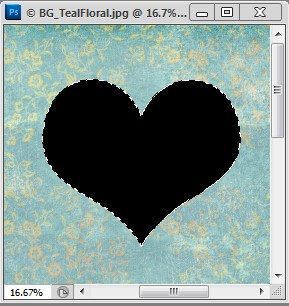
Next we need to hold down the CTRL key and click on the shape layer to select the outline of the shape. When you do this you will see ‘marching ants’ appear around the outline of the shape.
Now we need to select the paper layer so that we can cut the shape from it.
Once the paper layer is selected, you can use the Edit>Copy command or press CTRL and C to copy.
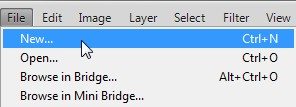
Now we need to open a new canvas to paste the shape onto.
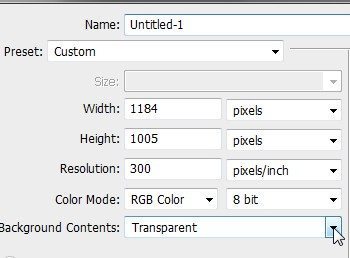
Ensure the background contents are selected as transparent and click on OK.
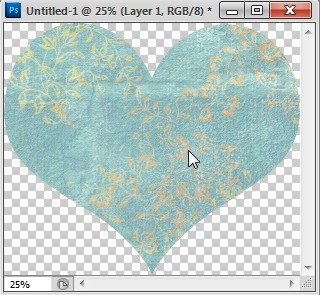
Now use the Edit>Paste command or press CTRL and V to paste. You will now have your shaped paper in a new canvas, to save or drag to your layout.
Once you have dragged the shape onto your layout add a drop shadow to complete the look!
© Clikchic Designs 2011, All Rights Reserved
Not to be reproduced without written permission.
Subscribe to the Clikchic Designs Newsletter and get a FREEBIE! There are ongoing freebies as well. Don't worry, we won't inundate you with emails.



Thank you Robyn, Your tutorial makes it so easy to understand. xx kel
thanks for posting this, I knew there was a way to use the shapes to make a cut out from background paper but I couldn’t figure out how to do it.