Create a heartfelt handmade card this Mother’s Day using your Silhouette cutting machine. This tutorial combines a beautiful watercolor floral background with a bold sentiment for a layered design full of colour and charm. It’s a simple but elegant way to show your love and appreciation.
Don’t miss the Instagram reel showing the process at the end of this tutorial.
What You’ll Need:
- Silhouette cutting machine
- Silhouette Studio software
- Home printer
- White cardstock
- Blue cardstock
- Best Mum Ever SVG: Download here or
- Best Mom Ever SVG (US version): Download here
- Watercolor floral background: Download here
- FREE 10×5″ card template: Download here
- Optional Envelope cutting file to create coordinating envelope – Download here
Step-by-Step Instructions:
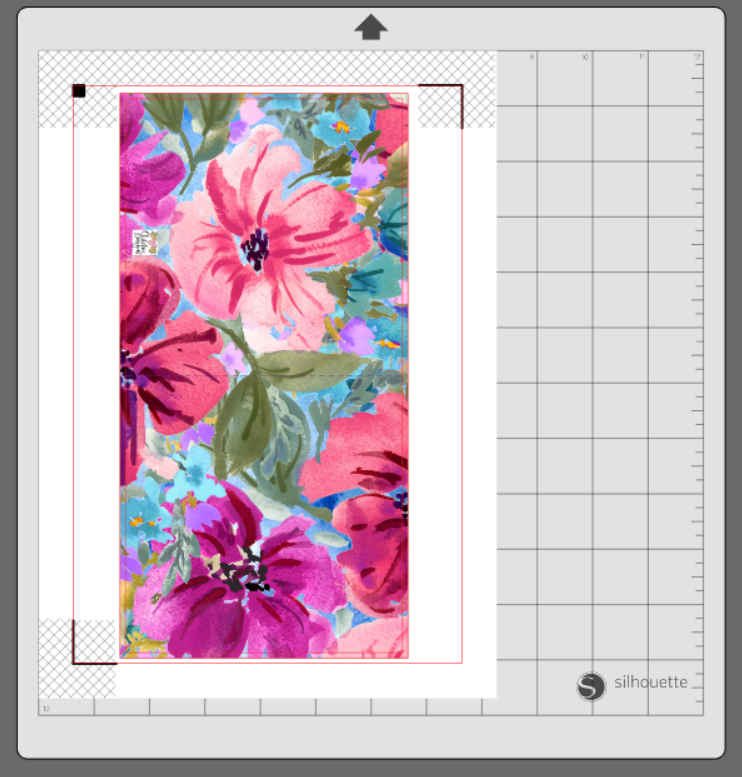
1. Create the Card Front
In Silhouette Studio, draw a rectangle sized 10.2″ x 5.2″ and fill it with the watercolor floral background. To fill a shape with a pattern in Silhouette Studio, select the shape, open the Fill Panel, click the Pattern Fill tab, and choose your desired pattern from the available options or import your own. The slightly larger rectangle acts as a bleed, ensuring the background prints edge-to-edge.
2. Add the Card Template
Paste the 10″ x 5″ card template over the background and centre it. This template includes cut and score lines to form your card base.
3. Enable Print & Cut Settings
Turn on Print & Cut with registration marks enabled. Print the design on photo paper or white cardstock using your home printer.
4. Cut by Line in Silhouette Studio
When sending your printed design to your cutting machine, make sure to cut by line colour.
Turn off cutting for the larger background rectangle—this is only used for bleed and should not be cut.
Ensure only the template border and score lines are active in your cut settings.
5. Fold the Card
Once cut, fold along the score line to form your card base.
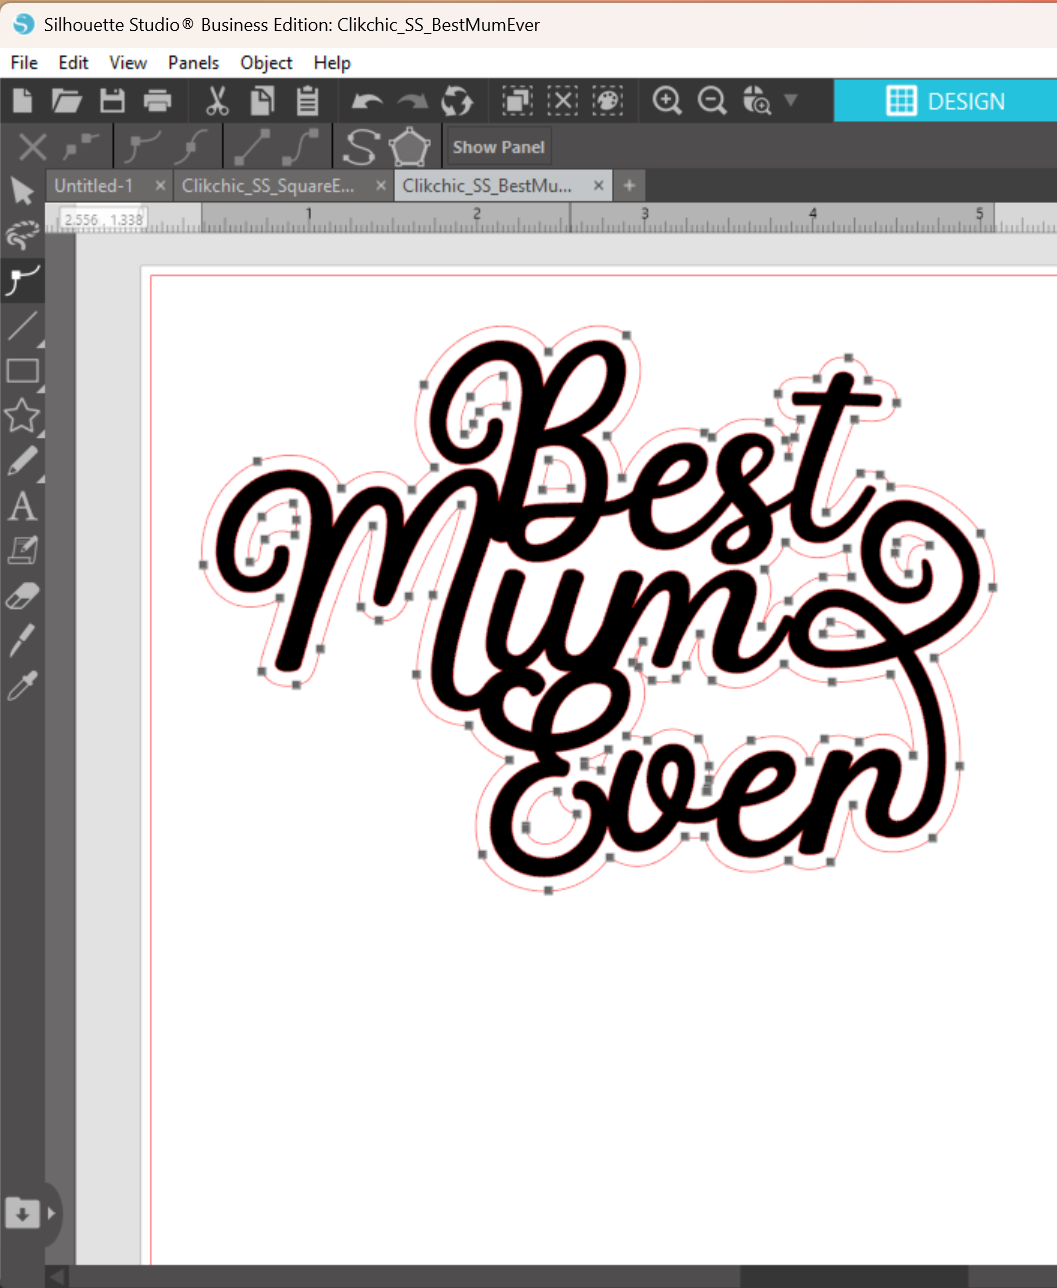
6. Import the Sentiment
Open the Best Mum Ever or Best Mom Ever sentiment SVG in Silhouette Studio.
7. Cut the Sentiment
Cut the sentiment from white cardstock or any colour of your choice.
8. Create and Cut an Offset
Use the Offset tool set to 0.085″ to create a border for your sentiment. Adjust the offset shape as needed using the Edit Points tool, especially if you’d like to remove small inner cut areas based on your preference.
9. Assemble the Sentiment
Glue the sentiment onto the sentiment border (offset layer) and let it dry.
10. Finish the Card
Add adhesive foam tape to the back of the assembled sentiment and adhere it to the front of your card for dimension and impact.
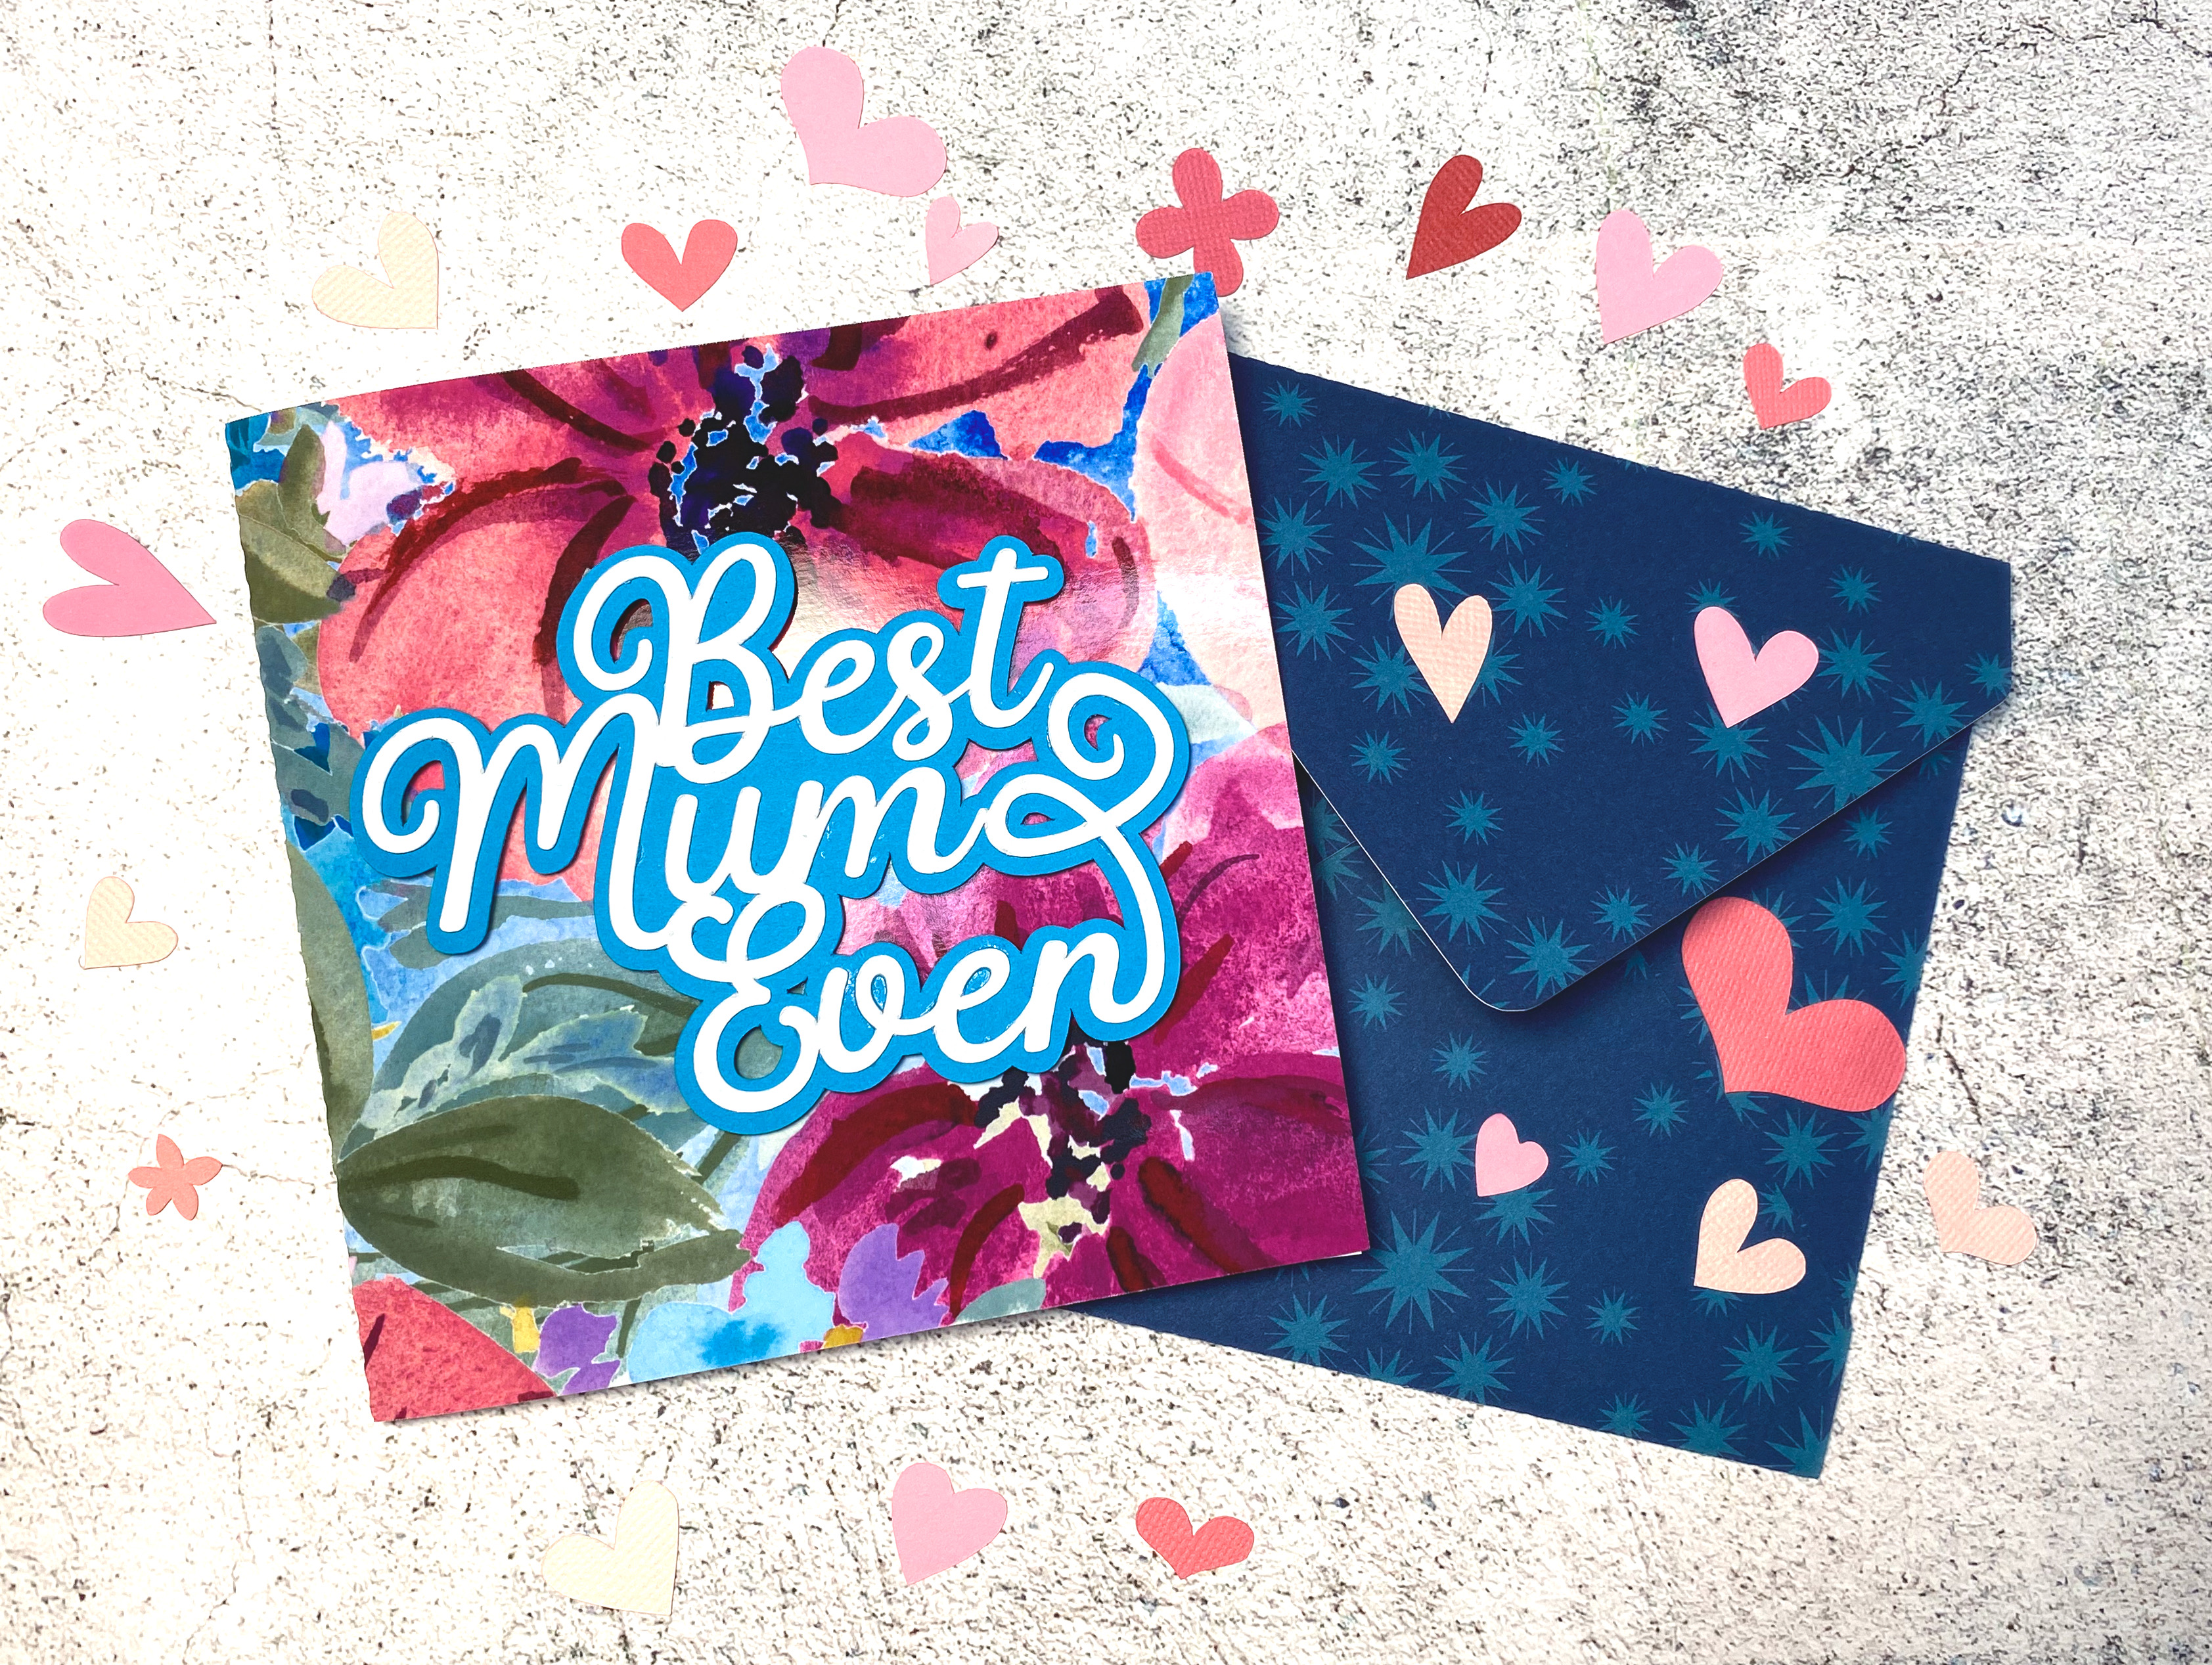
Your Finished Project
A beautiful, professional-looking handmade card full of layered texture and vibrant colour—ready to make any Mum or Mom feel extra special this Mother’s Day.
Looking for the perfect envelope to match your card? Make it extra special with my Square Envelope Cutting File—ideal for creating a beautifully coordinated finish!
Scroll on to see the video of the card making process.
Subscribe to the Clikchic Designs Newsletter and get a FREEBIE! There are ongoing freebies as well. Don't worry, we won't inundate you with emails.