I had a question today about recoloring the png files I include with my Photoshop brushes, so I thought I would do a quick tutorial on how to recolor in Photoshop. I am using Photoshop CC for this tutorial but the instructions will work for any version of Photoshop. For the purpose of this tutorial I am going to use my Clean Watercolor Splodge Photoshop Brushes available in my Etsy store, Clikchic Designs store and Creative Market store.
For this tutorial I am going to use the .png of the brush named Clikchic_ABR_PaintSplodgeClean_03.png.
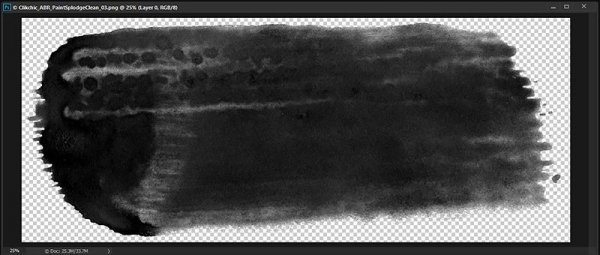
As you can see, all the .png’s of my brushes come in black as this is the best shade for making Photoshop brushes. It is also more easy to recolor sometimes than other colors.
I am going to recolor the brush stroke to pink, since that is my favorite color. As for most things in Photoshop there are multiple ways to do that. For the purpose of this tutorial I am going to do it using my foreground color picker. On the toolbar on the left side of the Photoshop screen there is a tool where you can select your foreground and background colors. I am going to change the foreground color to the color I want my brush stroke to be.
![]()
The foreground color is the black square and the background color is the white square. To change the foreground color, I need to click on the black square, which will bring up the color picker.
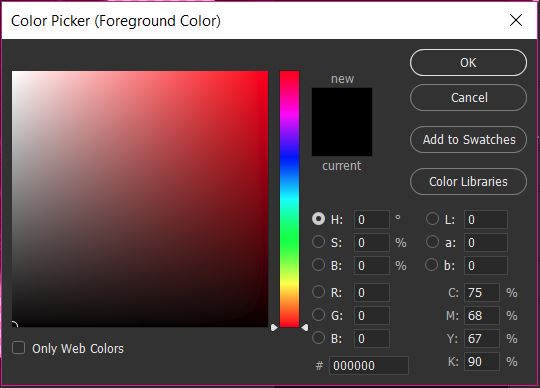
With the color picker, I can slide the rainbow scale to the color range I want to work in and then choose the color shade from the resulting screen.
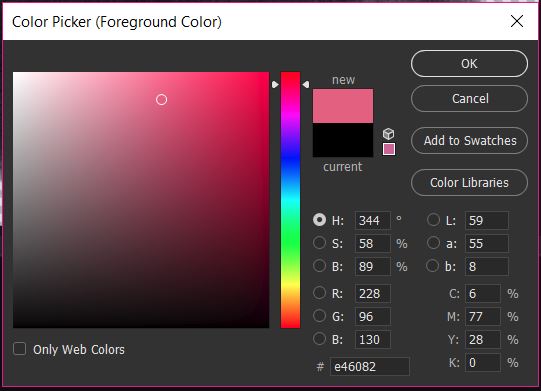
As you can see I have moved the slider up to a reddish pink and clicked and moved the cursor to a mid range pink on the gradient. The color I have chosen appears in the new rectangle.
Once you have chosen the color, click OK and that color will become your foreground color.
![]()
Now we have to adjust the color of the brush stroke using the foreground color. To do so we need to go to Image>Adjustments>Hue/Saturation
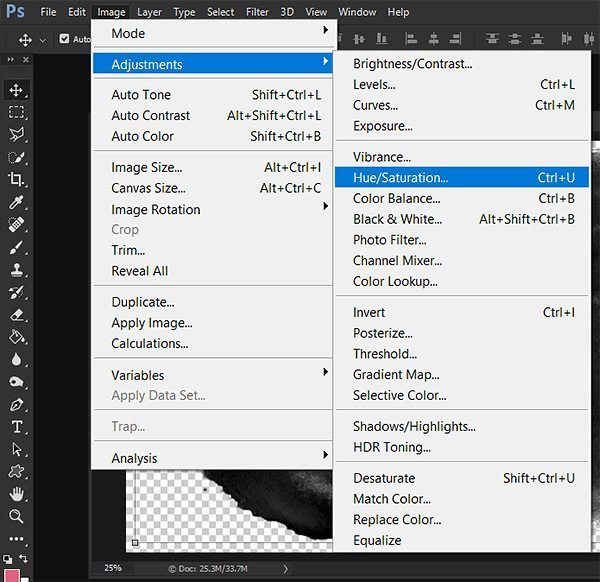
In the Hue/Saturation screen you need to click on the Colorize check box which will change the color tone of the brush stroke to your foreground color. In my example this is a dark shade of pink. The black of the stroke is a much darker shade than the pink so we need to adjust this to get the correct shade.
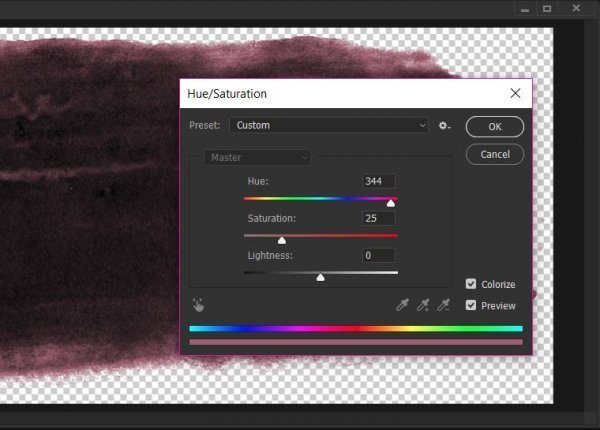
To do this we need to adjust the saturation and lightness. To do that you move the sliders till you are happy with the shade of your chosen color.
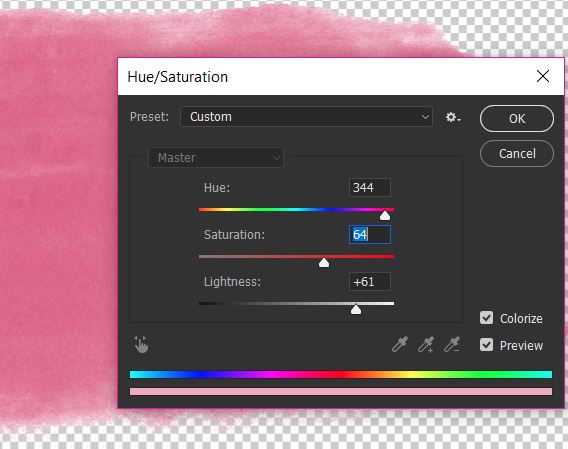
As you can see I have increased the lightness by quite a bit, and have also increased the saturation to get a good depth of color.
This is the end result of the recolored paint stroke.
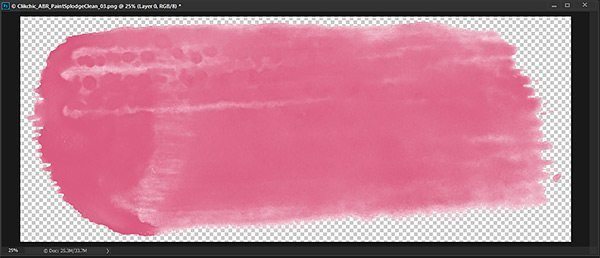
You now have a gorgeous colored stroke and can now save as a new file so that you preserve the original in black.
Subscribe to the Clikchic Designs Newsletter and get a FREEBIE! There are ongoing freebies as well. Don't worry, we won't inundate you with emails.

