Clipping masks can be a very effective creative tool when designing for photography, digital scrapbooking or when doing graphing design projects. I hope you enjoy this quick tutorial on Using Clipping Masks in Photoshop.
For this tutorial I am going to use a background paper and photo to demonstrate how to use Clipping Masks. The Clipping Mask is from the Ornate Grunge Clipping Masks set I have in my store. I will include links to purchase items used at the bottom of this tutorial. First, we need to choose our background for which we want our image to appear on top of. I have chosen a background paper from the Distressed Damask Digital Paper Pack as the colour goes beautifully with the image I have chosen.
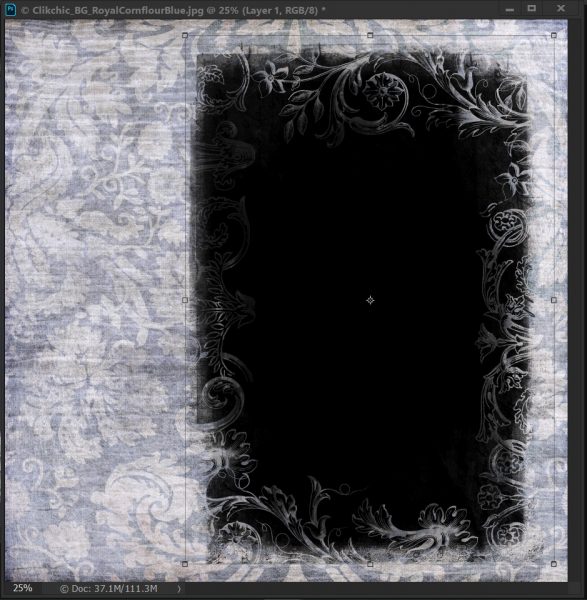
Open the background paper in Photoshop. Then open the clipping mask you choose to use and drag it onto the background image.
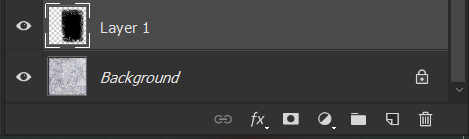
In the layers palette you will see that the clipping mask is a layer above the background layer. I have also resized and dragged the clipping mask where I wish to have it on the layout.
Next, we need to open the photo we wish to use and drag it onto the layout. We need to make sure it is on the layer above the clipping mask. If it isn’t above the clipping mask layer you can simply click on the photo layer and drag it to the layer above on the layers palette.
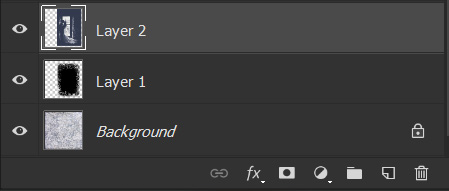
The positioning isn’t critical at this point but I usually place the image roughly above the clipping mask. I leave the fine tuning of the size of the photo until the layers are clipped together, which we will do next.
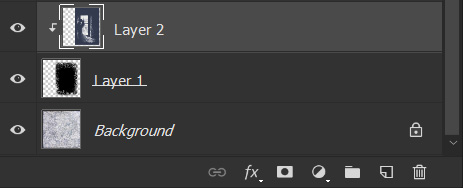
To clip the photo to the clipping mask layer, hold down the alt key and hover your cursor above the line between layer 1 & layer 2. Once the cursor changes to a square with a cornered arrow pointing down, click your left mouse button. This will clip the photo layer to the clipping mask layer underneath.
You can see by the icon next to the layer 2 thumbnail on the layers palette that the layer is clipped to the one below it.
On the layout below, you can now see that the photo has been given the shape and texture of the clipping mask.
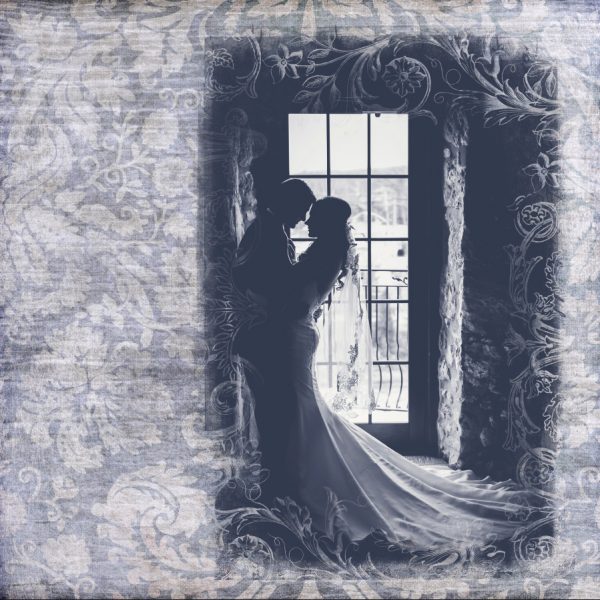
Depending on your intention for the photo and the type of mask you use you can create quite a variety of effects. If there are sections of the photo missing, such as if a portion of someone’s face is missing, you can use the paintbrush tool on the mask layer to add back that part of the photo to make the face complete. In this case, that wasn’t necessary. To finish the project, I added a title making it perfect for a photobook cover, canvas or print.
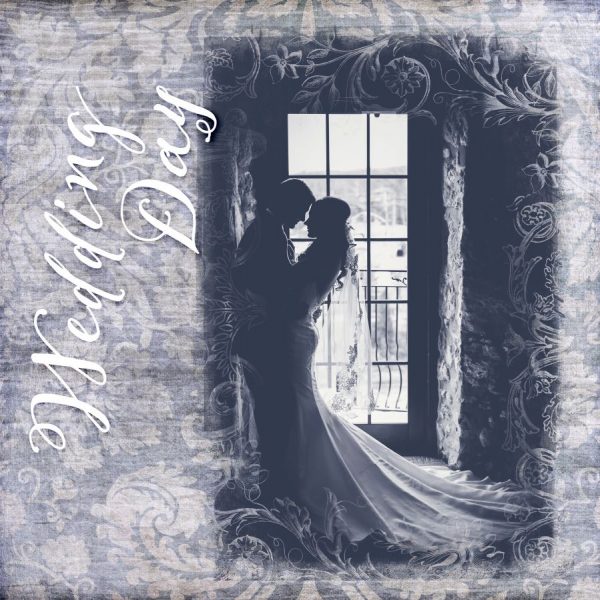
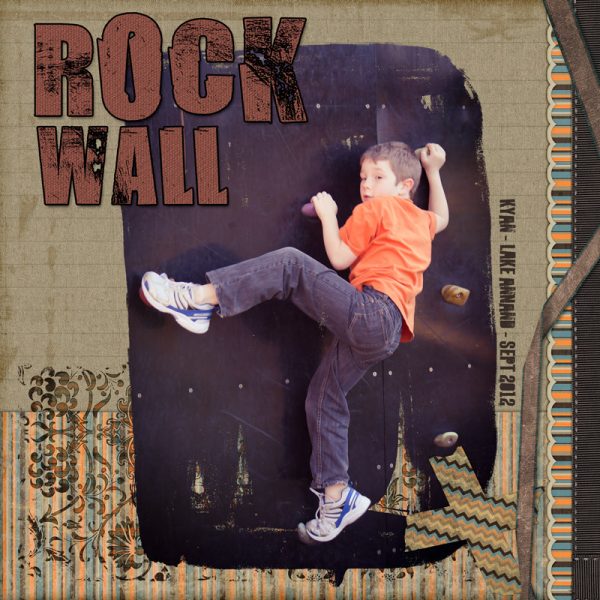
In this instance, the paper, photo and clipping mask are quite a romantic style, but I have a large collection of clipping mask sets available for a variety of photo styles and subjects. For example, this is a digital scrapbook layout I did of my son using the Messy Painted Clipping Mask set.
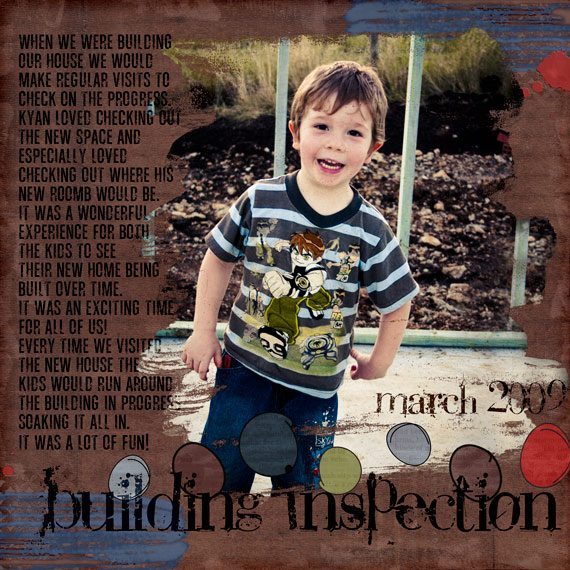
This layout is also created using the Messy Painted Clipping Masks set.
For the purpose of this tutorial I used the Distressed Damask Digital Paper Pack available on Etsy.
The clipping mask used is from the Ornate Grunge Clipping Mask set and is available on Creative Market, Design Bundles, The Hungry Jpeg and on Etsy.
The first sample digital scrapbook layout – Rock Wall, is created with the Dreaming Digital Scrapbook Kit availabl on Etsy and I also used the Messy Painted Clipping Masks available on Creative Market, Design Bundles, The Hungry Jpeg and on Etsy.
The second digital scrapbook layout – Building Inspection, is created using the Childhood Adventures Digital Scrapbook Kit available on Design Bundles, The Hungry Jpeg and on Etsy. Messy Painted Clipping Masks available on Creative Market, Design Bundles, The Hungry Jpeg and on Etsy.
I hope you found this tutorial helpful for using clipping masks in Photoshop. Please visit my stores on Creative Market, Design Bundles, The Hungry Jpeg and On Etsy to buy some!
© Clikchic Designs 2018
Subscribe to the Clikchic Designs Newsletter and get a FREEBIE! There are ongoing freebies as well. Don't worry, we won't inundate you with emails.