This tutorial assumes you have a basic knowledge of using your individual cutting machine and appropriate settings for the papers you are using. If files are not cutting at the correct depth, please see instructions for your cutting machine. If your cutting machine does not use one of the above file formats, the cutting files may not work with your machine. I sell SVG, DXF, EPS, PNG & Studio formats.
Cutting the Card
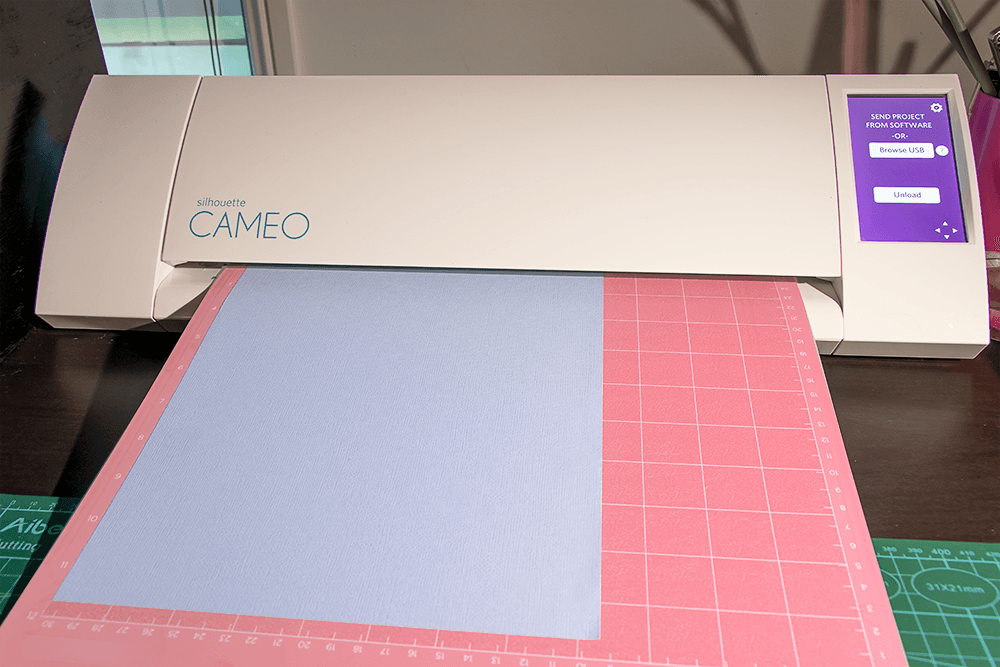
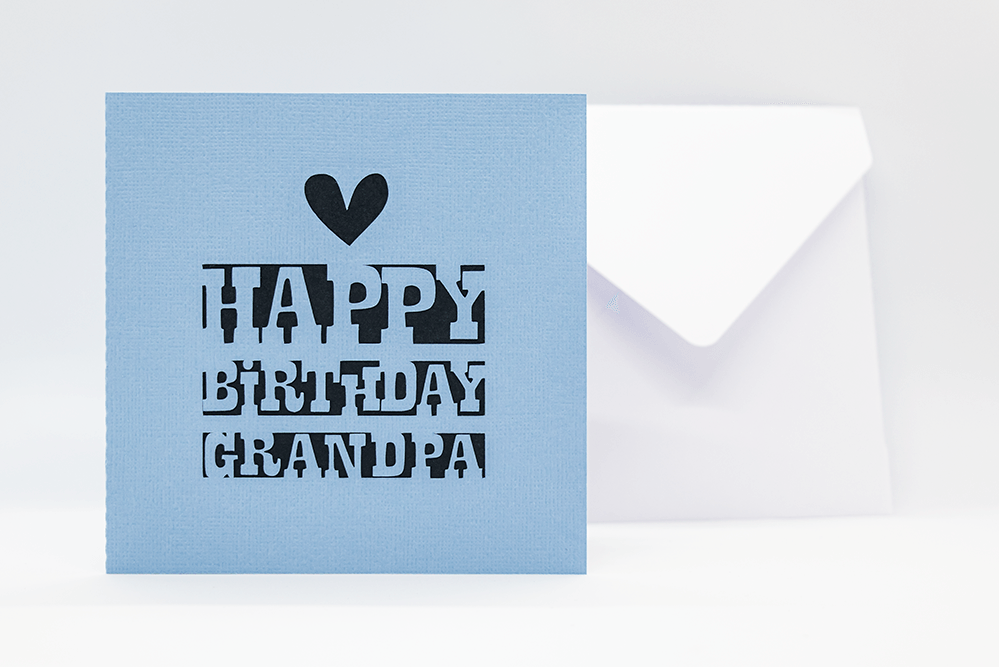
Place your chosen cardstock on the correct spot on your cutting mat and insert into your machine. Open the best file for your software and choose the appropriate settings for your chosen cardstock to ensure the cut lines cut appropriately for your cardstock. Send the file to your machine for cutting.
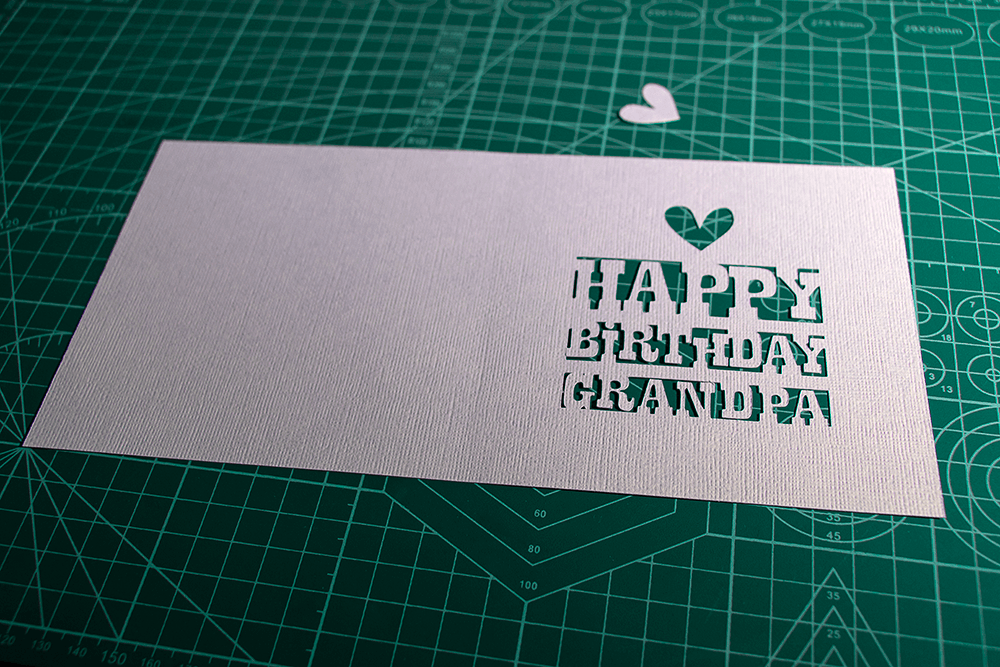
Once your machine has finished cutting the cardstock, eject from your machine and weed the cardstock to reveal the final cut card.
Before I go any further I will post a video which some of you might find easier. I made this video assembling a different card but the assembly applies to all of my basic folded cards with inserts. If you prefer written tutorials, just scroll on further and the rest of this tutorial will continue below.
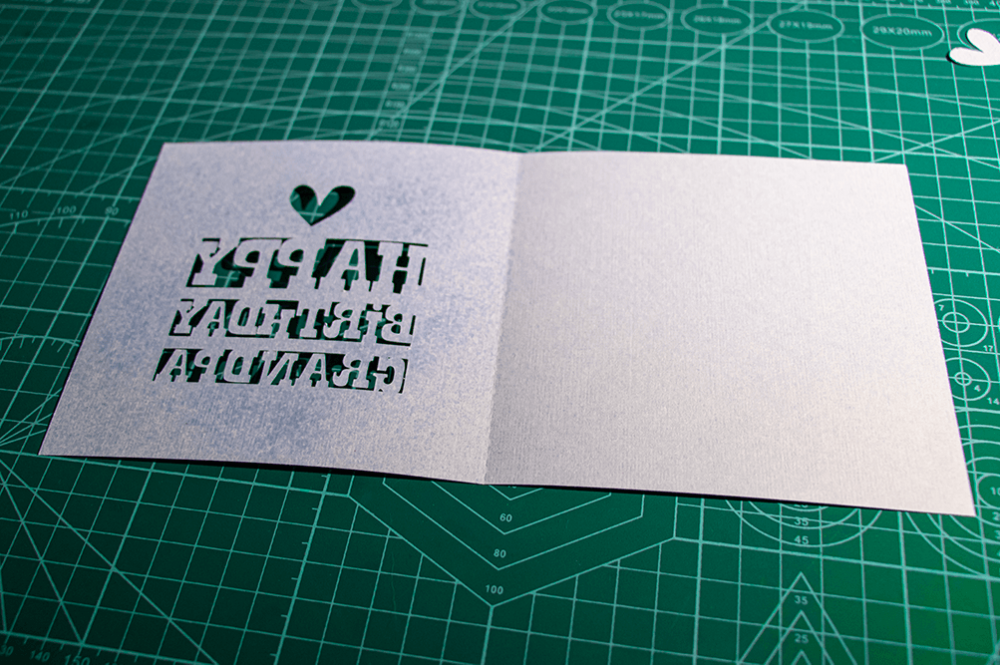
At this point you can fold the card along the score line and add the insert cardstock or paper for cutting into your machine. Ensure appropriate settings are chosen in your software and send the file to your cutting machine for cutting. Once your insert has been cut, remove from your cutting machine and weed the insert for use inside the card. Fold the insert along the score line.
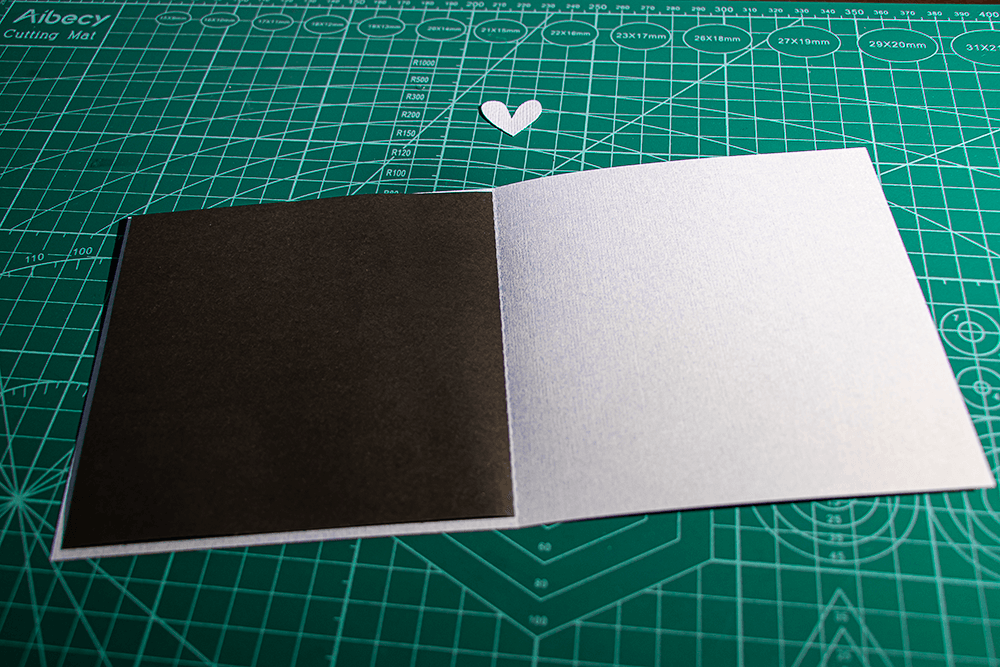
Open the card and place glue to suit your preferred opening experience. It is best to only glue on one side of the card to prevent problems with opening. Some people might prefer the front side of the insert be glued down completely to the front of the card, but others might prefer the back side of the insert be glued down. It is entirely up to you and your preferred style. Spray Adhesive works well to completely glue down insert on intricate parts of cards. When using spray adhesive, I like to cover the other side of the card with paper so that only one side is glued. With this particular card I glued the insert to the front of the card.
My cards are designed to be quick and easy to make. I am not someone who enjoys making overly intricate cards, but I do love being able to give people a handmade card.
I also have square envelopes available which allow you to cut envelopes with custom cardstock to make a gorgeous coordinating envelope.
Envelopes are available in my Sihouette Design Store, my Etsy store, Creative Market store, Design Bundles Store and Hungry Jpeg store.
Good luck with your card making! I hope you enjoy my designs.
© Clikchic Designs 2020. All rights reserved.
Subscribe to the Clikchic Designs Newsletter and get a FREEBIE! There are ongoing freebies as well. Don't worry, we won't inundate you with emails.