Below is a simple YouTube Video on the process of assembling the card. Scroll down further to view the written tutorial.

A basic assembly tutorial will be included with the files as all my cards to date have both the outer card and an insert and assemble the same way.
With his card I wanted to include the option of having different colours for the golf ball, tee and sentiments.
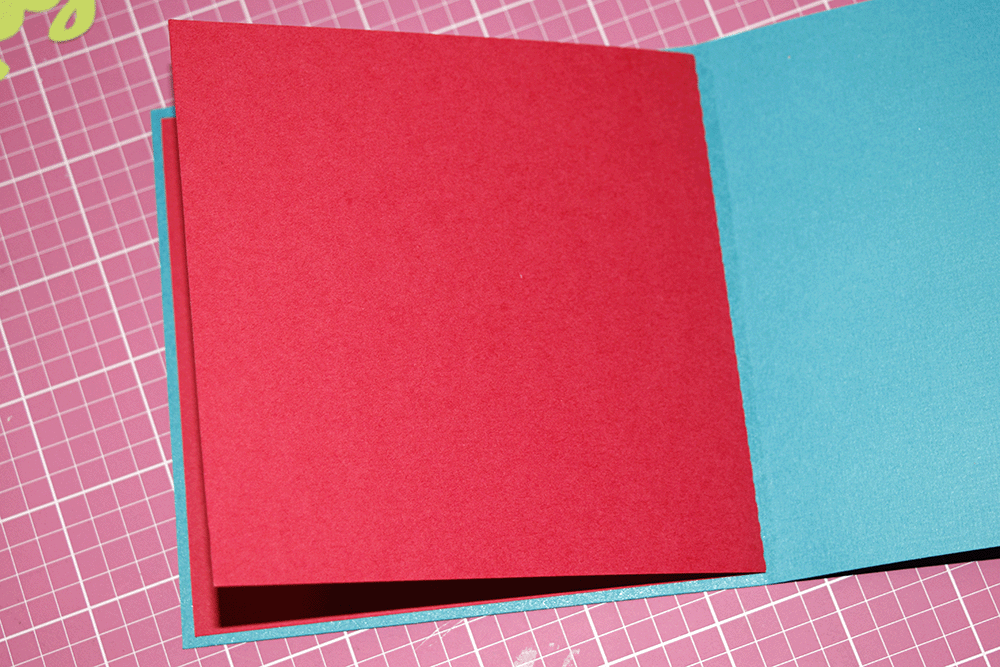
The included file for background pieces is optional to use to add extra colour to your card. If you wish to make a card more quickly you might choose to just use a patterned or brightly coloured paper insert. Making different colours when you have the time however gives the card a bit of pop, so I have included the cutting files to do so. The insert pieces should be cut in the colours required. In my case I kept the word Birthday the colour of the insert I used so did not use the optional piece for the word Birthday. I chose to use red carstock to make a colourful insert as well as make the word birthday the colour red.
I then cut the tee insert in purple and the golf ball insert in white. Once all the pieces were cut I placed the golf ball and tee pieces in place on the left inside of the card and traced around the edges of each piece so that when it comes time to glueing it is easy to know exactly were to place the pieces.


Once you have marked the pieces spray the left side of the card with adhesive or use other adhesive of choice. I used a glue stick for a while till I got the spray adhesive, but I find the spray adhesive gives better hold on the delicate pieces. I usually cover the other side of the card with scrap paper before spraying to ensure the other side does not get sprayed.
Attach the golf ball, tee and Birthday piece (optional) in the correct positions. Then once pieces are attached add more adhesive on back of each piece.
Attach the insert to the adhesive side of the card to complete your card. Additional instructions on card assembly are included in the other tutorial.
Once insert is adhered to the inside left of the card you can then adhere the Happy portion of the Birthday sentiment to the front of the card. I chose to use adhesive foam pieces to give a 3D effect.


Obviously, you can choose any colour cardstock you wish to suit your recipient.


I also have envelopes available which allow you to cut envelopes with custom cardstock to suit a large range of sizes.
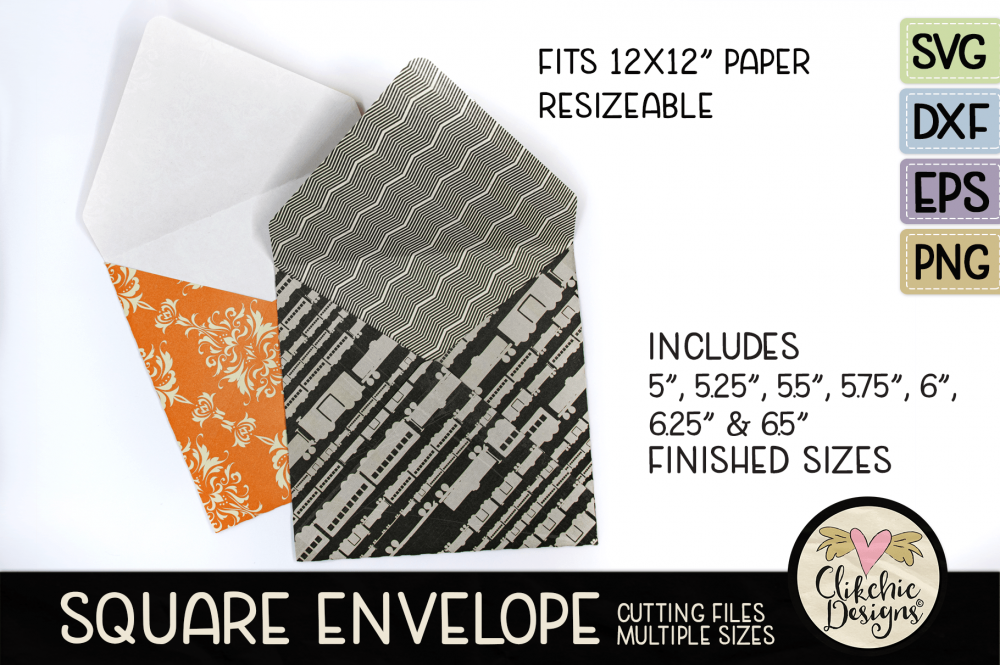
Envelopes are available in my Silhouette Store, my Etsy store, Creative Market store, Design Bundles Store.
Good luck with your card making! I hope you enjoy my designs.
© Clikchic Designs 2022
Subscribe to the Clikchic Designs Newsletter and get a FREEBIE! There are ongoing freebies as well. Don't worry, we won't inundate you with emails.