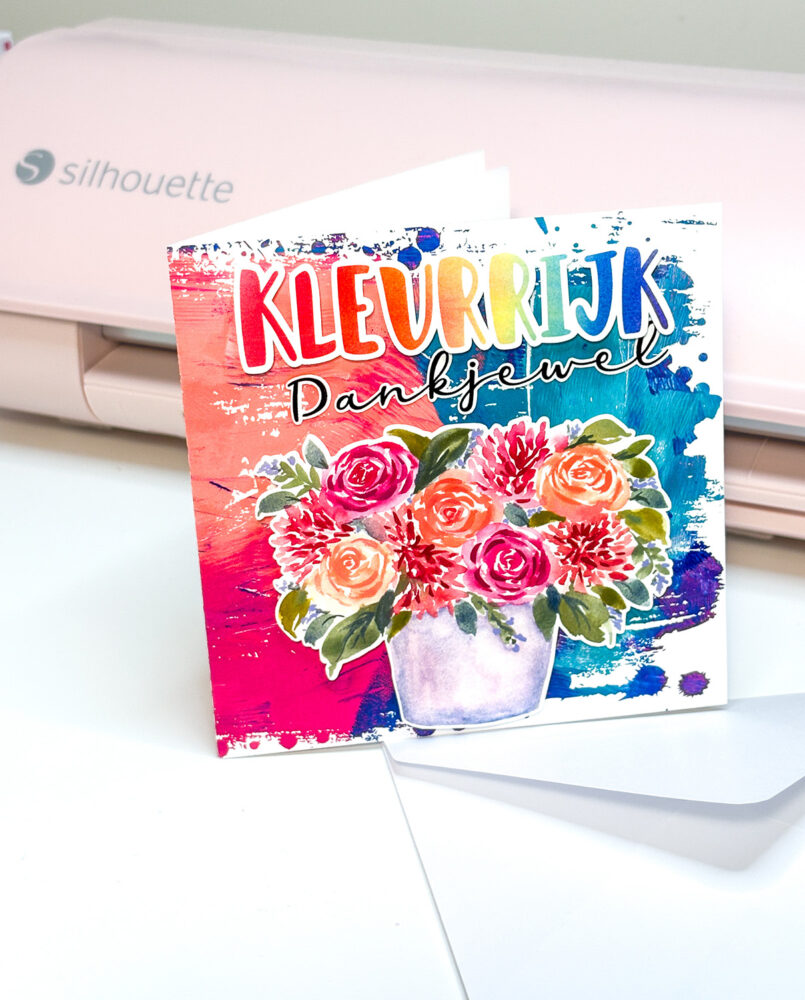
Creating your own handmade Thank You cards is a wonderful way to share appreciation in a personal and creative way. With digital crafting, it’s easier than ever to design professional-looking cards for a friend or family member using beautiful watercolor backgrounds, floral illustrations, and stylish sentiments. In this tutorial, I’ll show you how to make a unique Thank You card using my designs from the Clikchic Designs Silhouette Store. This project combines a textured grunge-style base, vibrant watercolor florals, and a soft rainbow ombre sentiment to create a heartfelt card perfect for any occasion.
For a quick look at how the project comes together, you can watch the short tutorial video below :at the end of this article. Scroll on to find out what you need.
What You’ll Need
– Silhouette Studio® software
– Gloss Photo Paper (A4, 8.5×11″, or 12×12″)
– Printer
– Cutting machine – I am using the Silhouette Cameo & Electrostatic Mat
– Double-sided tape and/or glue
– Designs from the Silhouette Design Store:
• Fuschia Peach Teal Blue Abstract Grunge Background
• Pink Peach Watercolor Roses & Dahlias Flowers in Pot Print & Cut
• Dotted Mess Urban Grunge Clipping Mask Frame
• Rainbow Ombre Watercolor Gradient Background
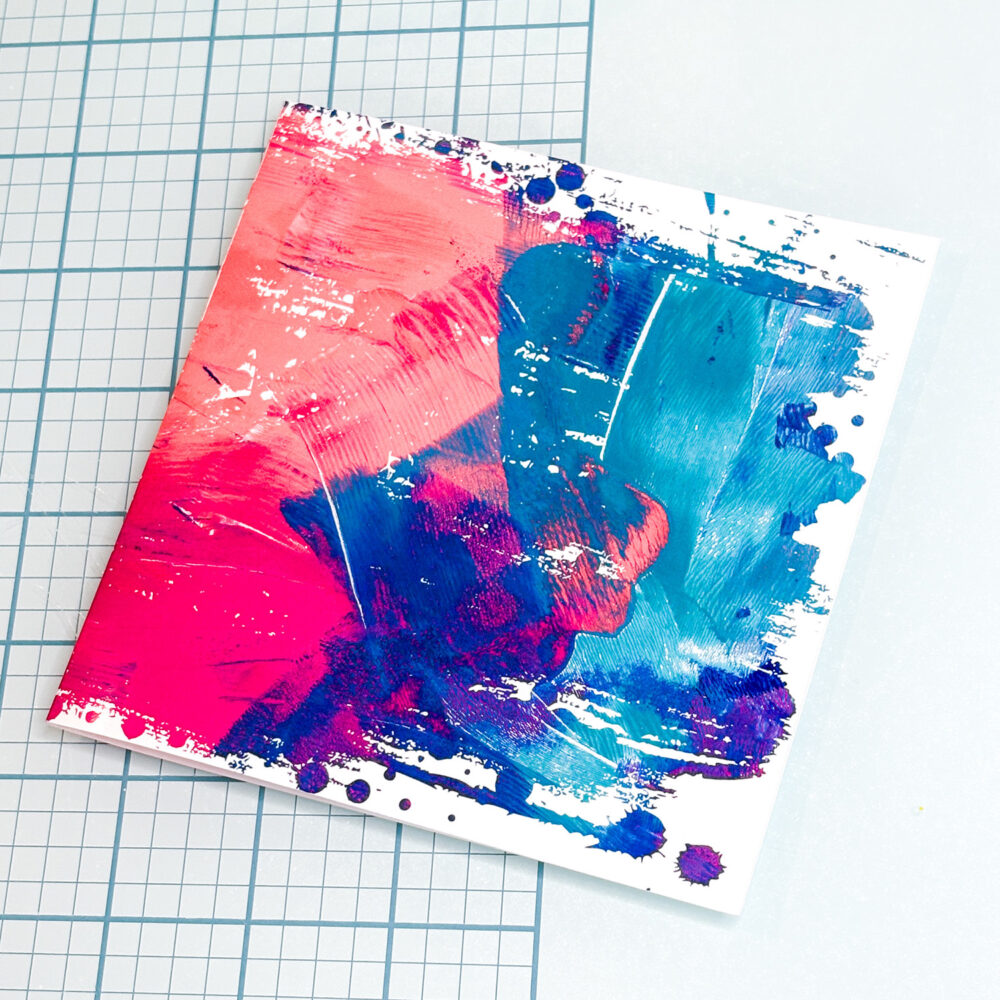
Step 1: Create the Card Base
Open the Dotted Mess Urban Grunge Clipping Mask and size to suit your card base. Drag the Fuschia Peach Teal Blue Abstract Grunge Background in Silhouette Studio® to the Dotted Mess Urban Grunge Clipping Mask, hover patiently till the shape fills with the design and then release your mouse. (see this tutorial for more info on this process) Resize it to fit your card base (perfect for a 5×5” folded card). Place the over the background and use it to create a distressed edge effect. Create a rectangle to use as a card base surrounding the grungy framed image and add a score line or snag this freebie to use for this over and over for your square cards. Print and cut this layer on photo paper for a polished finish.
(make sure the cut lines on the grungy outline are turned off)
Step 2: Add the Floral Feature
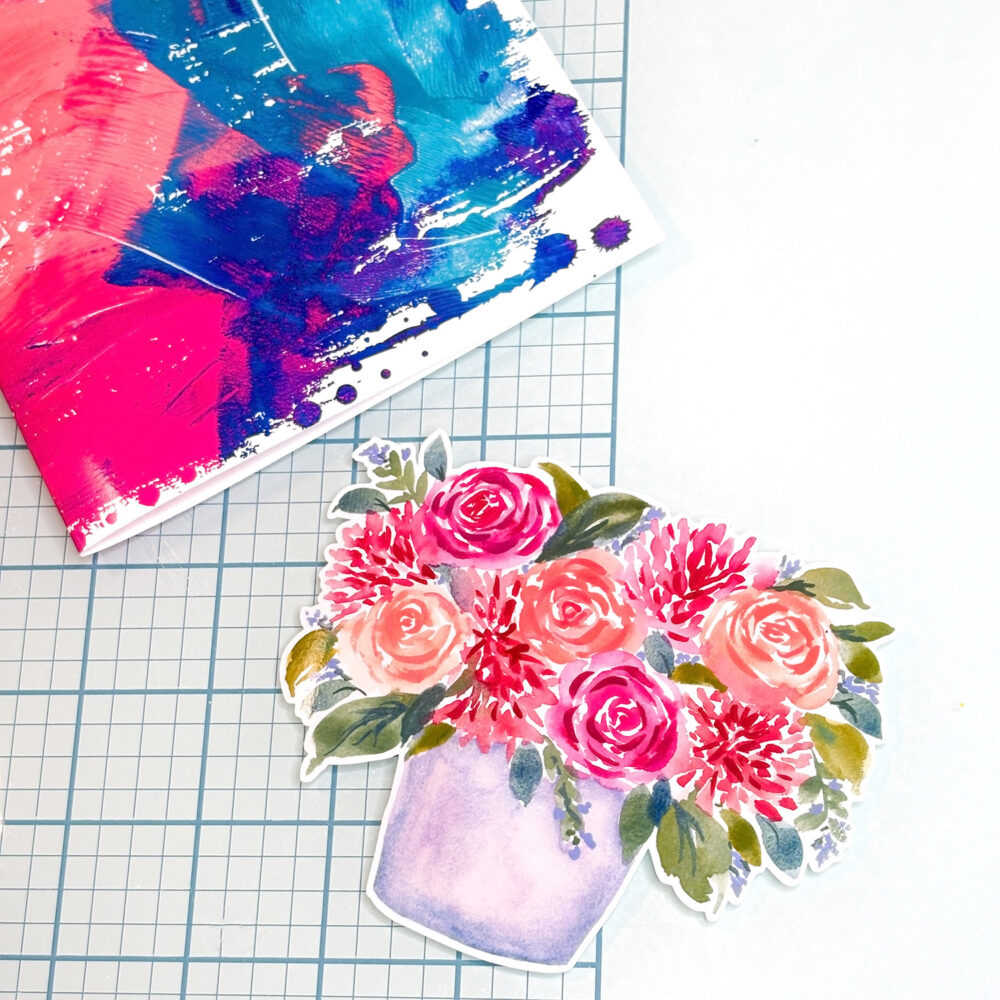
Bring in the Pink Peach Watercolor Roses & Dahlias Flowers in Pot Print & Cut design. Print and cut the floral piece, then attach it to the centre of your card front using foam tape or adhesive for added depth. The delicate watercolor roses and dahlias create a vibrant, eye-catching focal point.
Step 3: Design the Sentiment
Use the Rainbow Ombre Watercolor Gradient Background to craft your “Colourful Thank You” sentiment. Type your message in Silhouette Studio®, fill the letters for “colourful” (Kleurrijk) with the gradient background. Add an offset to the Colourful and thank you that suits you and cut them out using your cutting machine. Position the sentiment above the floral arrangement on the card base using your chosen glue method to complete your design with a cheerful burst of colour. I used foam squares for the flowers and “Colourful” (Kleurrijk) and a glue pen for the “Thank You” (Dankjewel) which is a script font with an offset.
Step 4: Assemble and Finish
Layer your pieces onto the grunge background base. Adjust until balanced, then secure with foam squares or preferred method. The combination of abstract watercolor textures, painterly florals, and a rainbow gradient greeting makes this card a joyful way to show your appreciation.
Subscribe to the Clikchic Designs Newsletter and get a FREEBIE! There are ongoing freebies as well. Don't worry, we won't inundate you with emails.