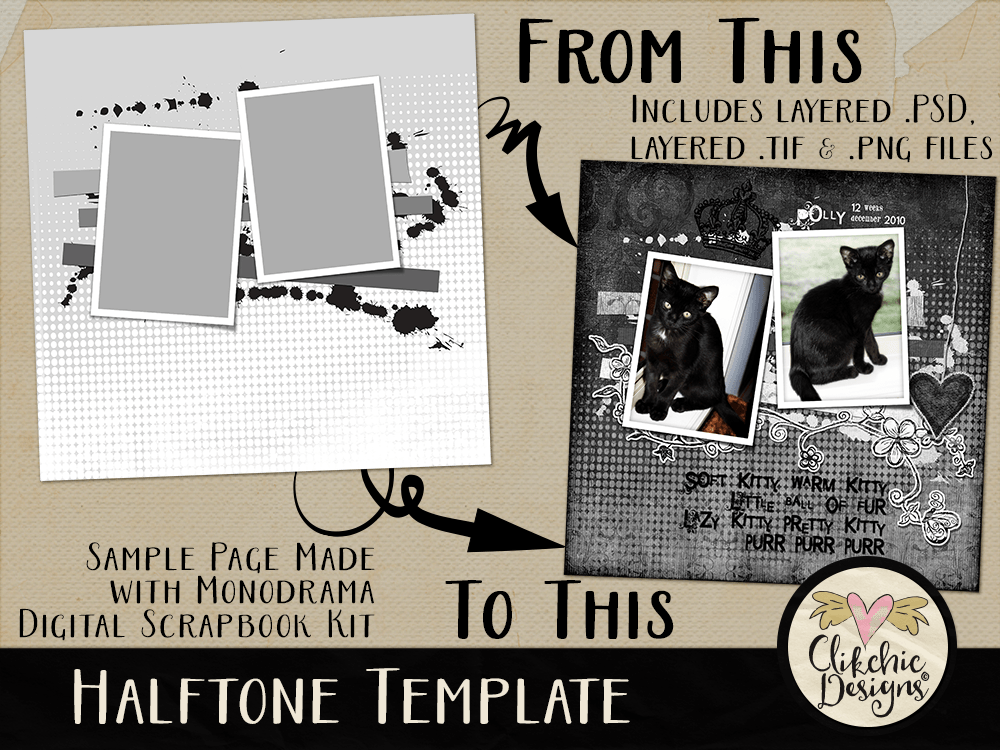
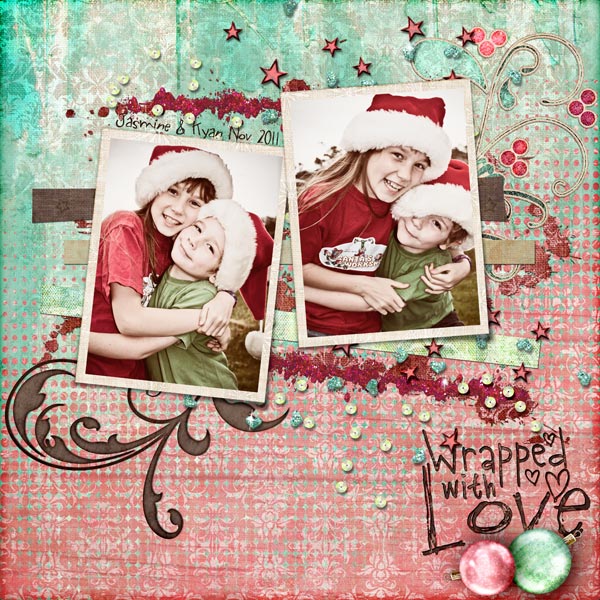
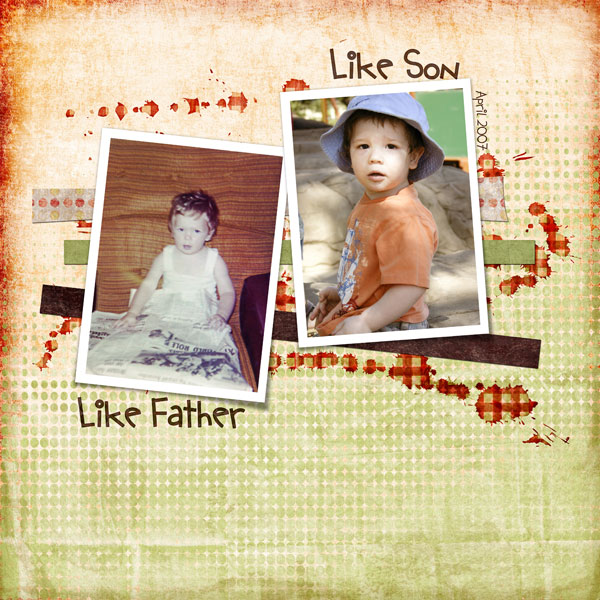
Create a layout showcasing two photos on your page using the Halftone Layered Digital Scrapbook Template. Show a precious event or moment with a halftone background or photo overlay. A special day, or just every day Project 365 photos. The possibilities are endless and the design work is done making for a beautiful quick and easy layout! Check out the Halftone Layered Digital Scrapbook Template now available in my Etsy Store.
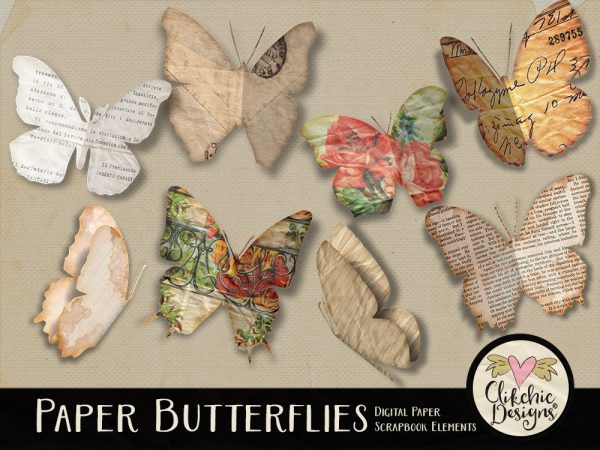
The Paper Butterflies Digital Scrapbook Element set features flittering, fluttering, Paper Butterflies perfect for adding that finishing touch to your digital scrapbook layouts and creative projects. These butterflies are perfect for altered art and art journal projects, adding wings to babies and children and adding a bit of fluttering flourish. These butterflies were created with various pieces of ephemera and shaped and primped and prettified. Use individually or mix and match a selection of butterflies, the options are endless. The Paper Butterflies Digital Scrapbook Element Set is available in my Etsy store.
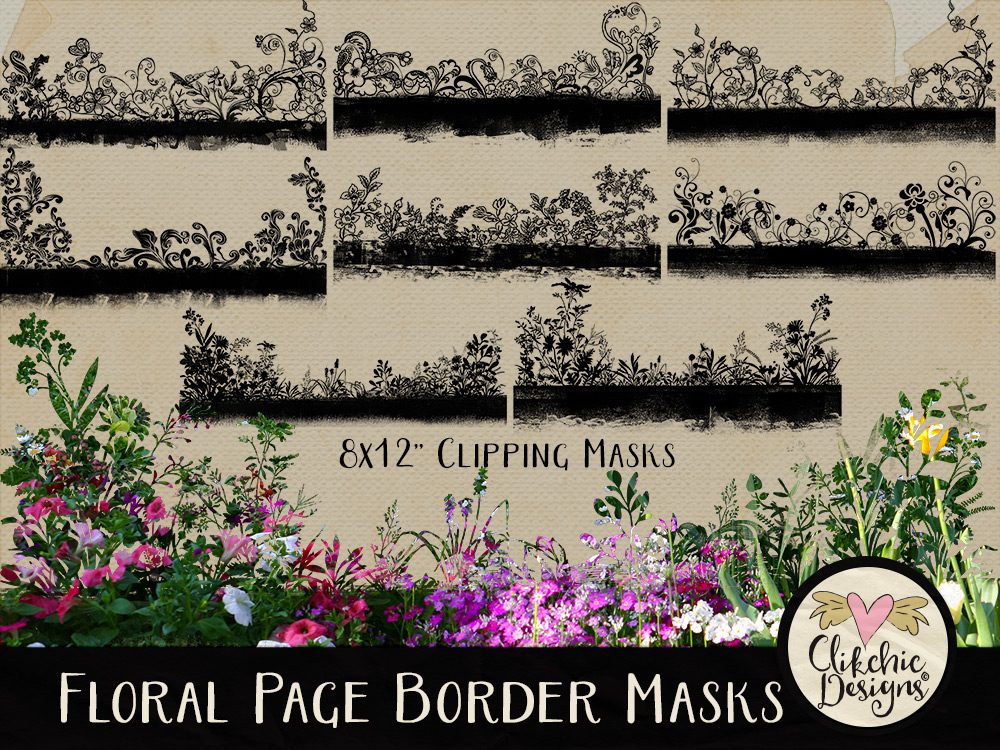
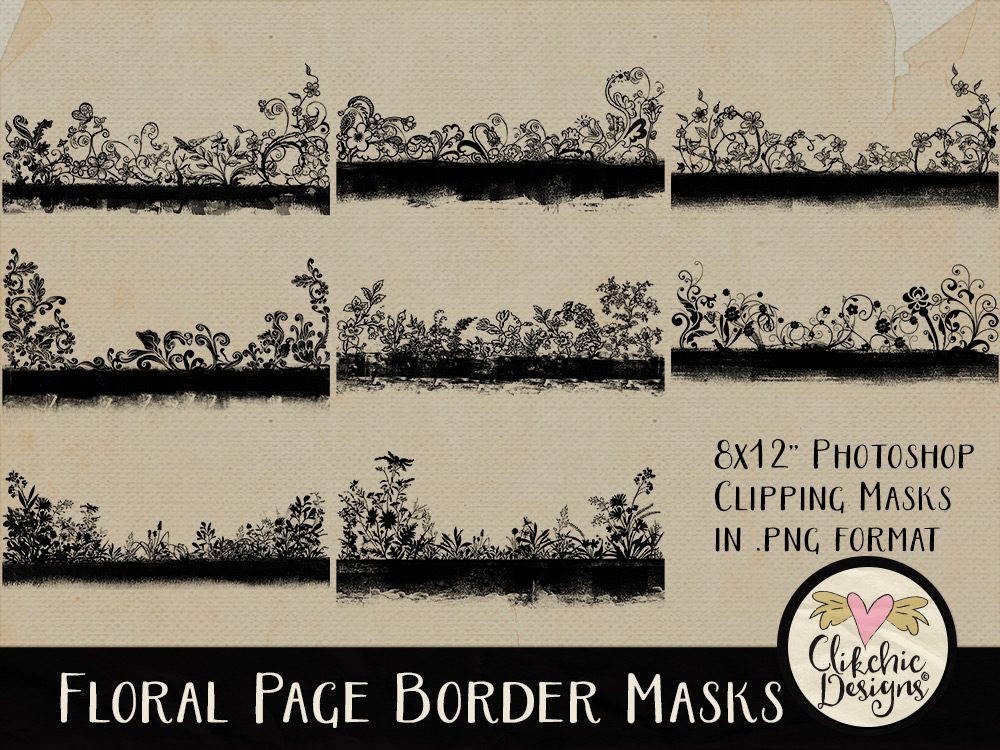
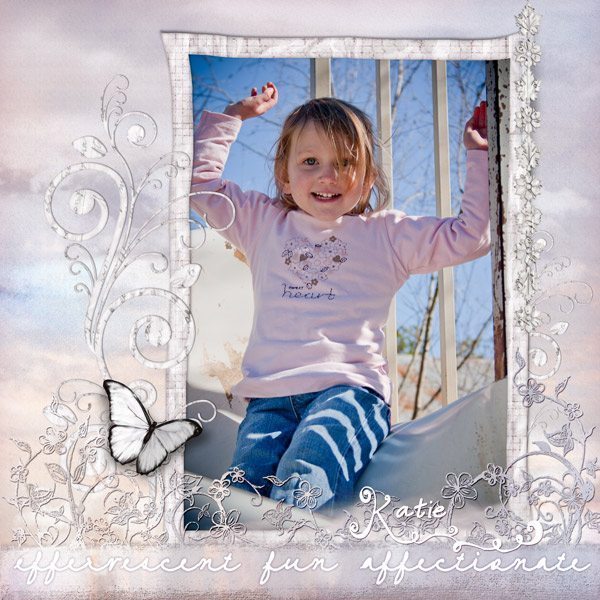
These large versatile borders (12″ wide) are a fabulous and easy way to give your layouts and photos stylish flowery look. You can re-colour them to suit your layout or leave them as is, or simply use them as a clipping mask to clip them to your photo. The page borders are a quick and easy way to add some art to your layouts and are ideal for a wide variety of layouts.
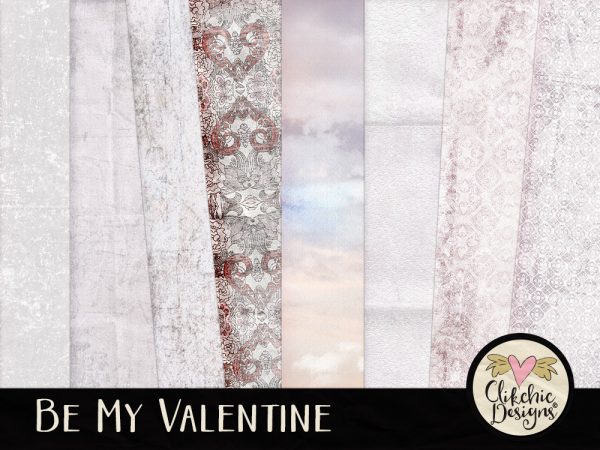
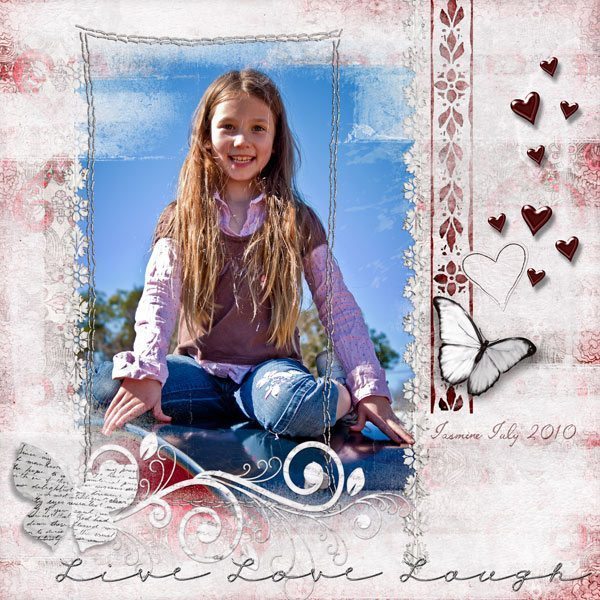
Beautiful whites with splashes of red and shabby with an altered art flair. The Be My Valentine Digital Scrapbook Kit is perfect for scrapping your loved ones, sweetie, best friend or baby. Gorgeous and romantic hearts, altered paper elements, chic stenciling and dreamy clouds. The Be My Valentine Digital Scrapbook Kit is available in my Etsy store and Clikchic Designs store.
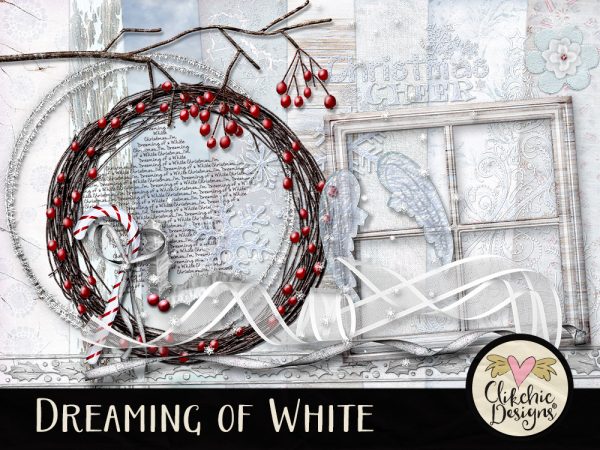
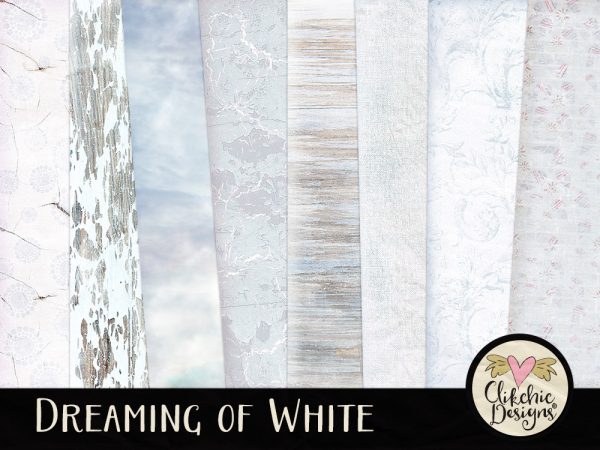
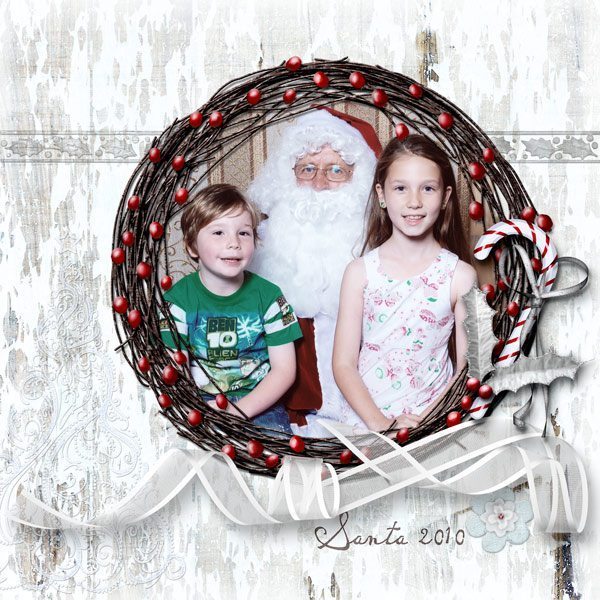
Dreaming of White is now available in my Etsy Store. Dreaming of White features beautiful winter tones with splashes of red to add warmth and wonder. Lovely Rowan Berry Branches and Wreaths, beautiful icy elements for scrapping your winter and Christmas photos. Dreaming of White is available in my Etsy store and Clikchic Designs store.
You can produce some interesting selective blur effects with the Lens Blur filter in Photoshop. It is a technique originally created with a specialized camera and sometimes used in advertising images. Following is a quick tutorial on how to create a similar Lens Blur effect in Photoshop. Photoshop gives us a lot more control after the image is taken and how the blur is applied. It is a very effective technique great for emphasising a focal point or drawing the eye to a specific area of your photo.
First, create a selection on you photograph with the Elliptical Marquee tool. (situated on the rectangular marquee button).
Now feather the selection using Feather Selection in the Select – Modify – Feather Selection.
Type in 80 as a feathering range. (can vary depending on photo size)
Click on ok. Your selection may not change much on the screen but it will now be a feathered selection.
Click on Filter – Blur – Lens Blur. This will bring up a window for adjusting your lens blur settings.
Within this window you can adjust your settings. Select invert so that the outside of your subject is blurred. Below are the settings I used, you can adjust yours and experiment with your own settings to get an effect you are happy with.
And here is the final image. I love this effect and I am sure you will find many uses for it as well.