Unlock your creativity with exquisitely detailed SVG files, perfect for crafting captivating clipping mask effects in Silhouette Studio. While highly intricate SVG or Studio files might not be suitable for cutting due to their abundance of tiny elements, they shine when used as printable framed backgrounds and photos. These versatile designs elevate cardmaking, art journaling, and scrapbooking projects. Additionally, consider using them for sublimation printing on t-shirts and mugs.
I converted this stunning Grungy Ink Stamp Mask to an SVG/Studio file for Silhouette Studio thanks to Elly Mae Habets from Silhouette Secrets. Elly’s more in depth tutorial also provides more information on how to use this design effectively. Be sure to explore her blog for more details! Elly Mae also shares fantastic tutorials on her YouTube channel (well worth subscribing to!), covering various crafting techniques and tips. Additionally, her active Facebook group offers excellent tips and support for Silhouette enthusiasts
Please Note that the file I am about to use is not suitable for cutting due to its intensly detailed and glorious grungy goodness.
This file is available in the Silhouette Store here. Or as part of an orignal png set of masks I have available on Etsy, Design Bundles and Creative Market.
Note: The png masks would require tracing before use which can data heavy and may require patience as your computer works to process the image. The SVG versions of the files are less detailed and less data heavy but can still be slow depending on the power of your computer and what you are trying to do.
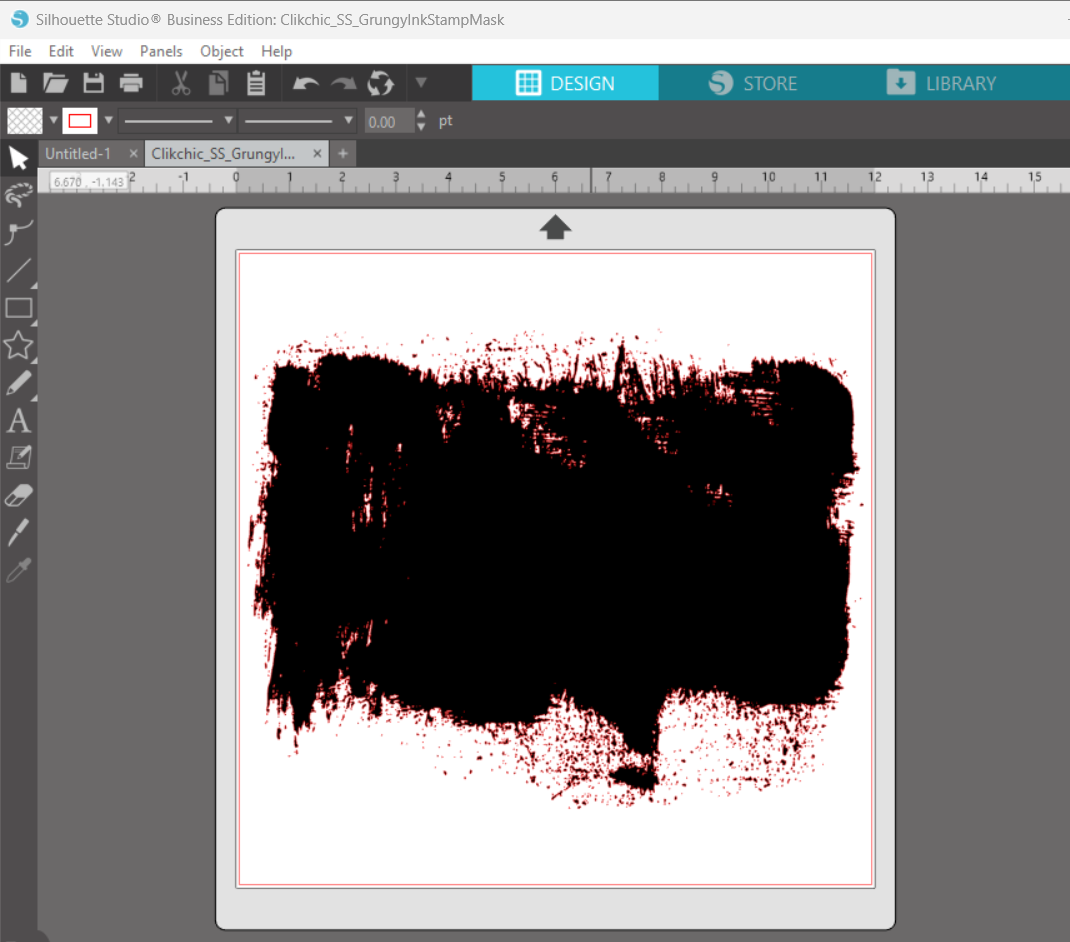
Once you have opened the file in Silhouette Studio it will look something like this.
Next open your file browser and find a background pattern you would like to have shaped by this gloriously grungy clipping mask and drag it to the open SVG Mask in Silhouette Studio.

The clipping mask will fill with the pattern you have chosen, in this case Vintage Grunge Tan Beige Ephemera Monoprint Background Pattern individually (available with co-ordinating background patterns – see collection under design in the store) on Silhouette or as part of a set on Etsy, Design Bundles & Creative Market.
Once the pattern has been dragged to the Grungy Ink Clipping Mask SVG it will “clip” to the shape of the mask and give you that gorgeous grungy edge. Once you have done this ensure the clipped image is selected and then click on the red rectangle top left of your tool bar and click on the white and grey cross hatches to change the outline to transparent to ensure it doesn’t print. Then you can print as desired and use for your crafty cards and scrapbook pages, art journaling or for sublimation. There are so many possibilities only limited by your imagination!
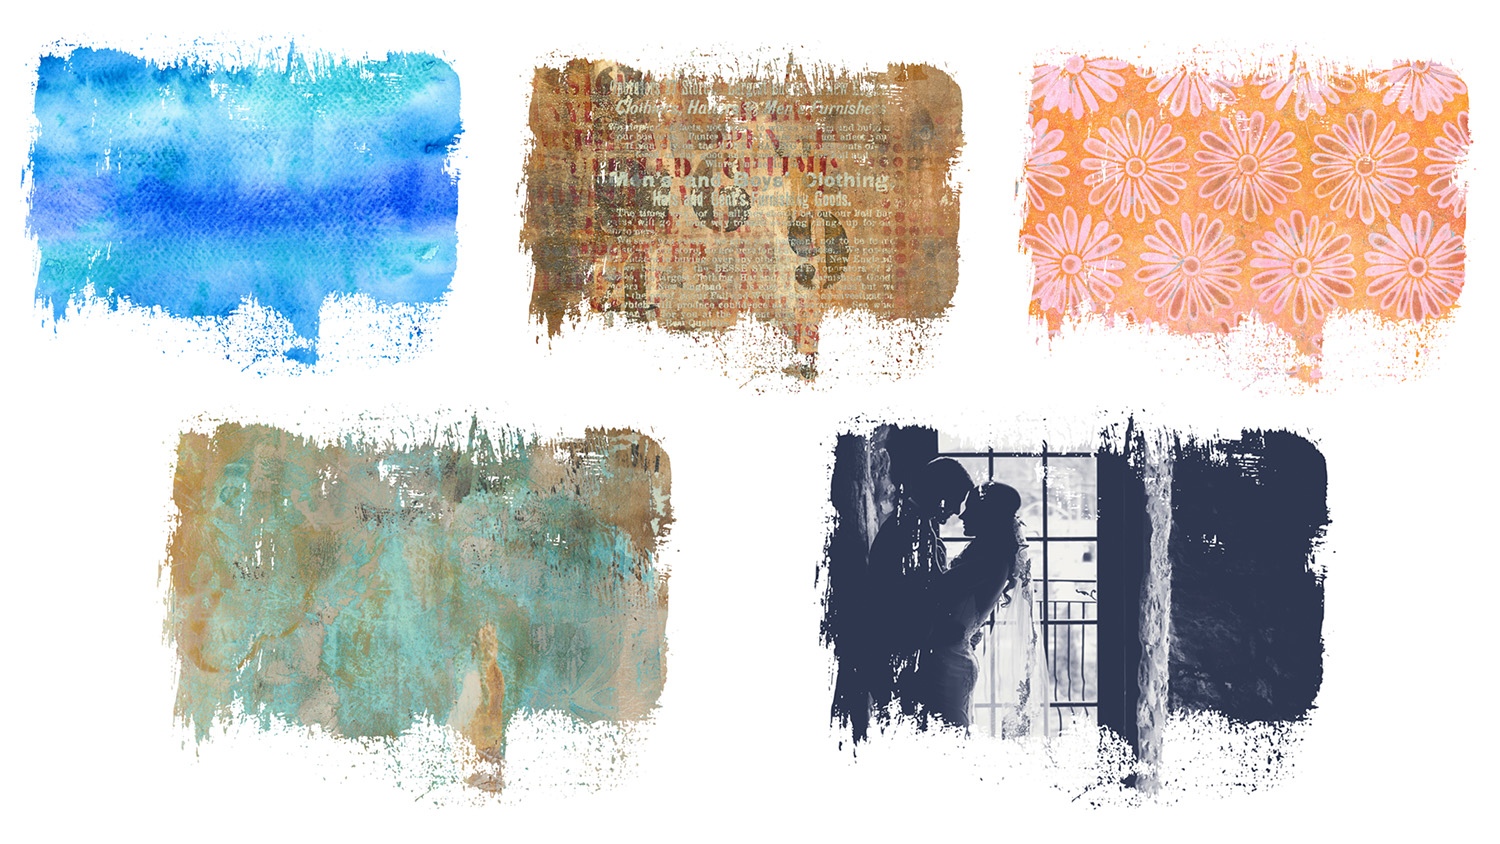
Here are a few more examples of patterns I added to the clipping mask. Don’t forget, you can do it with photos too!
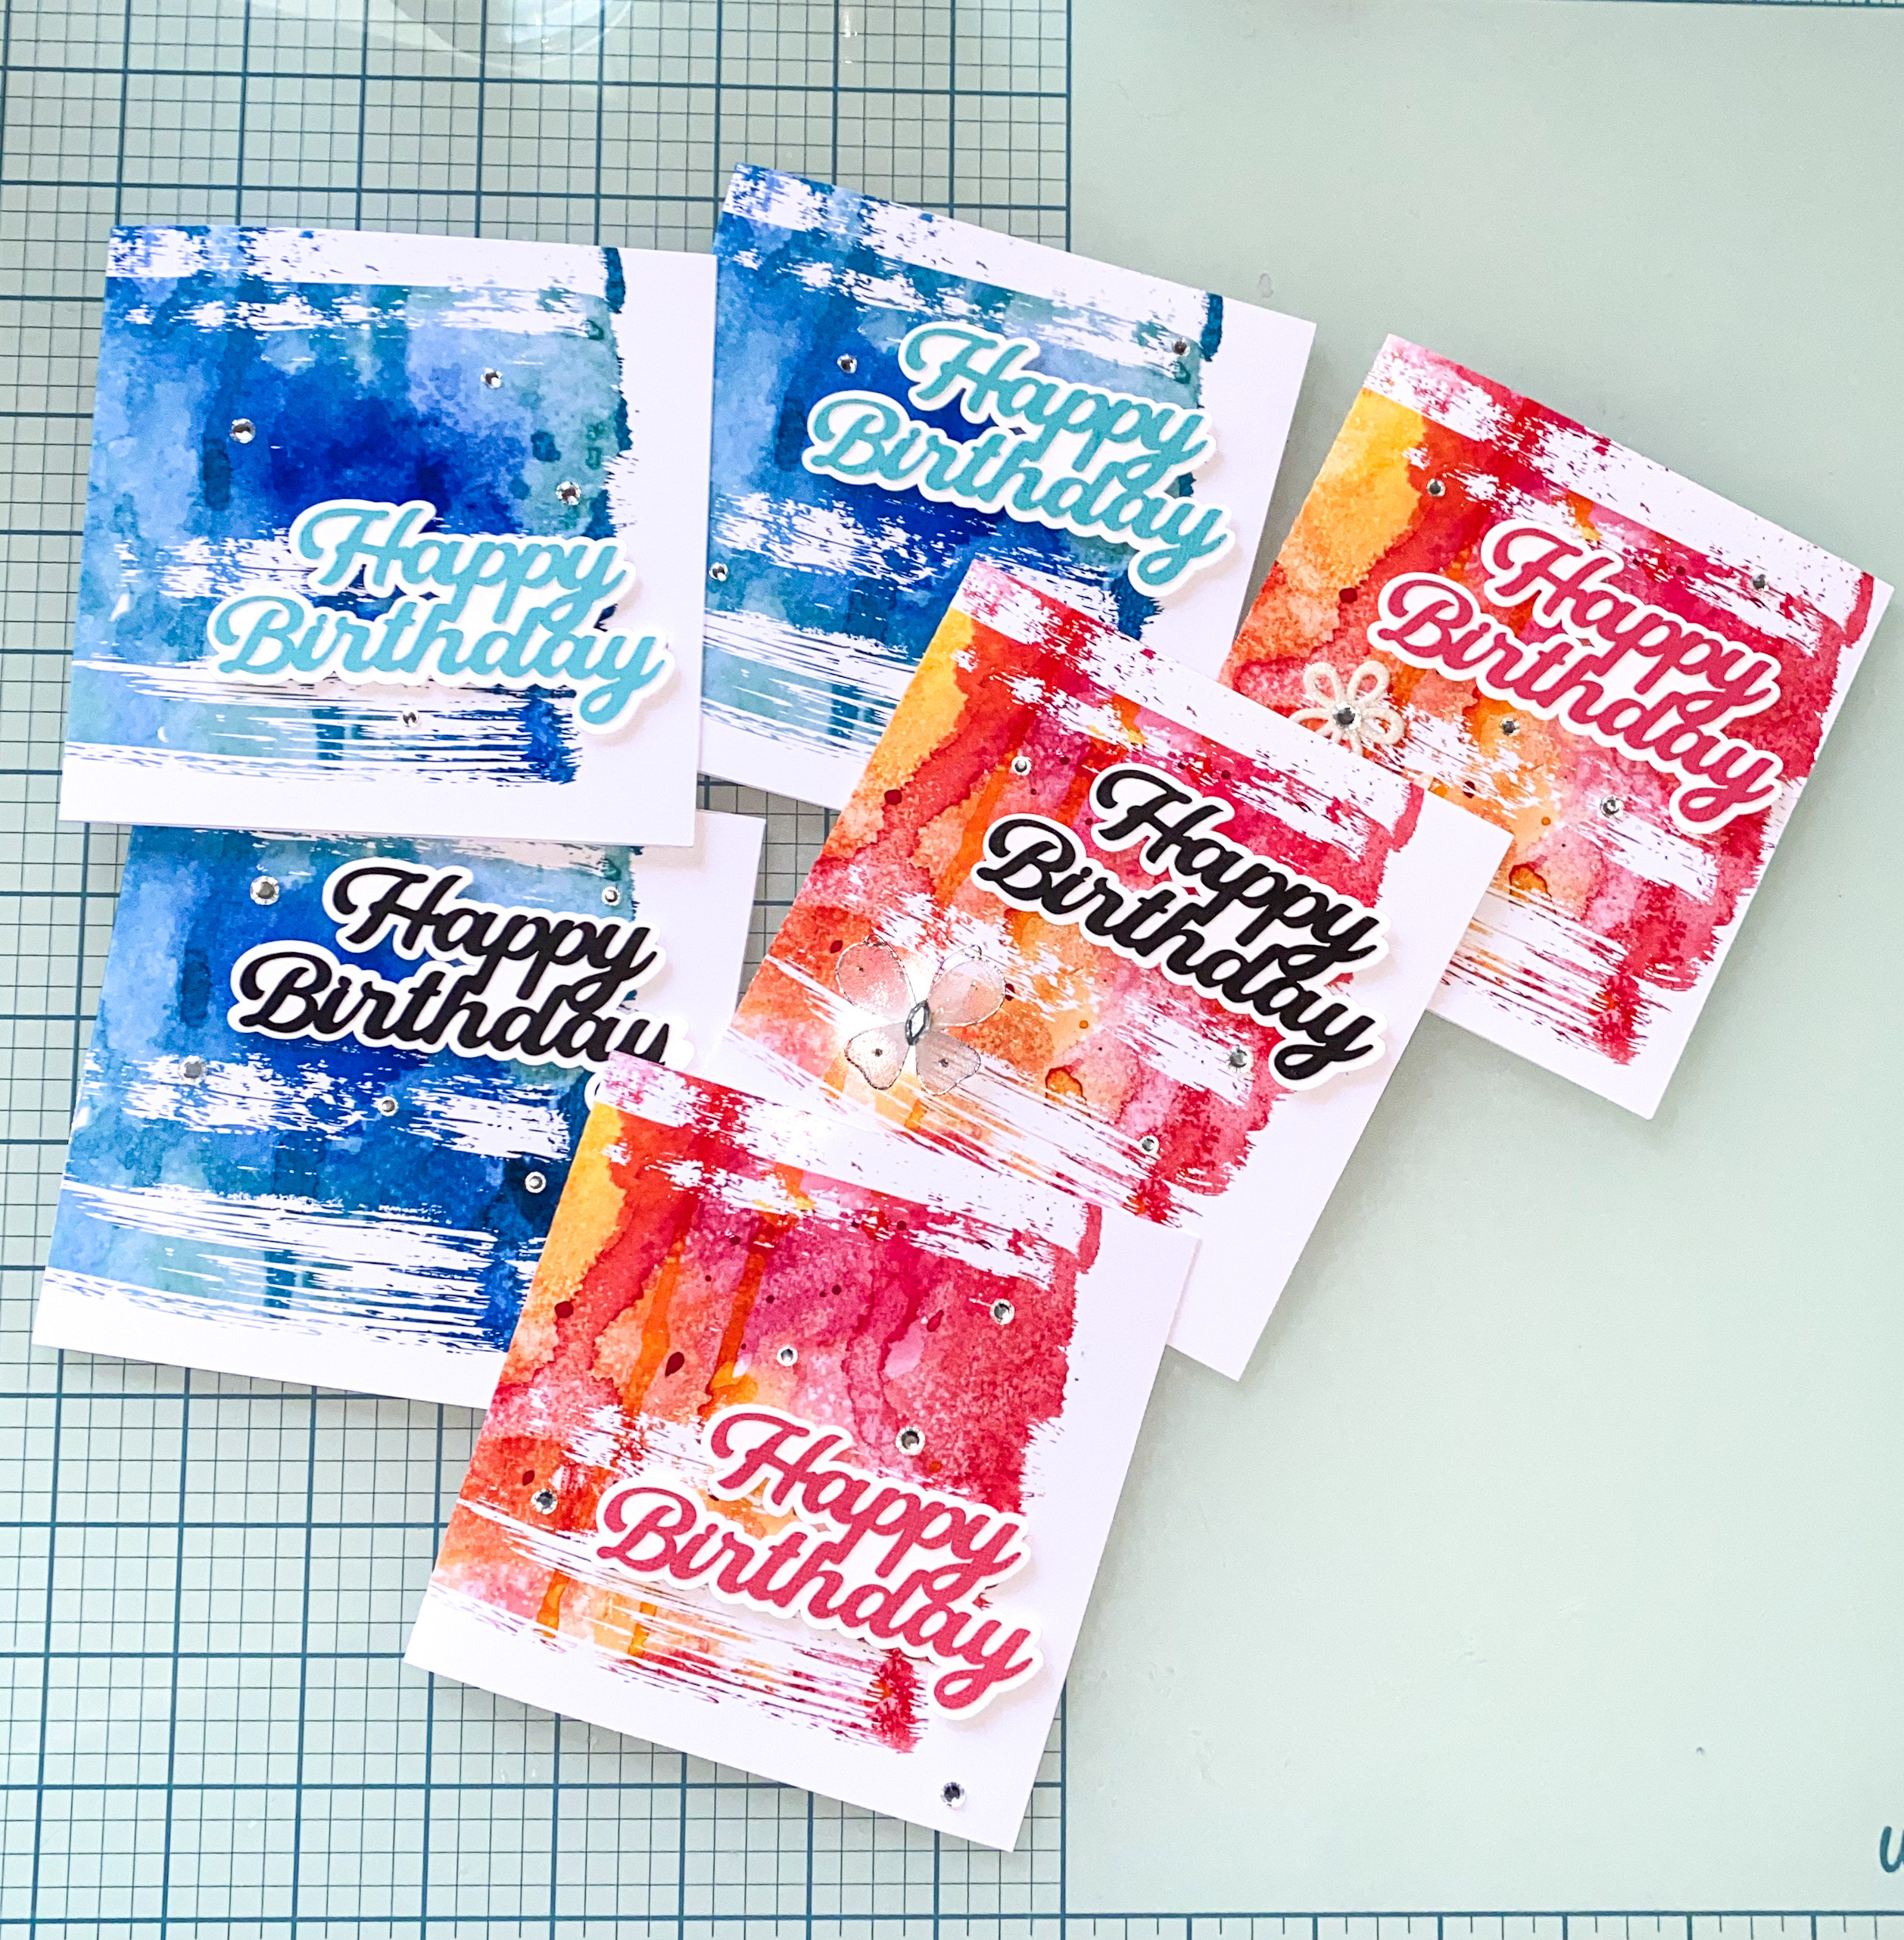
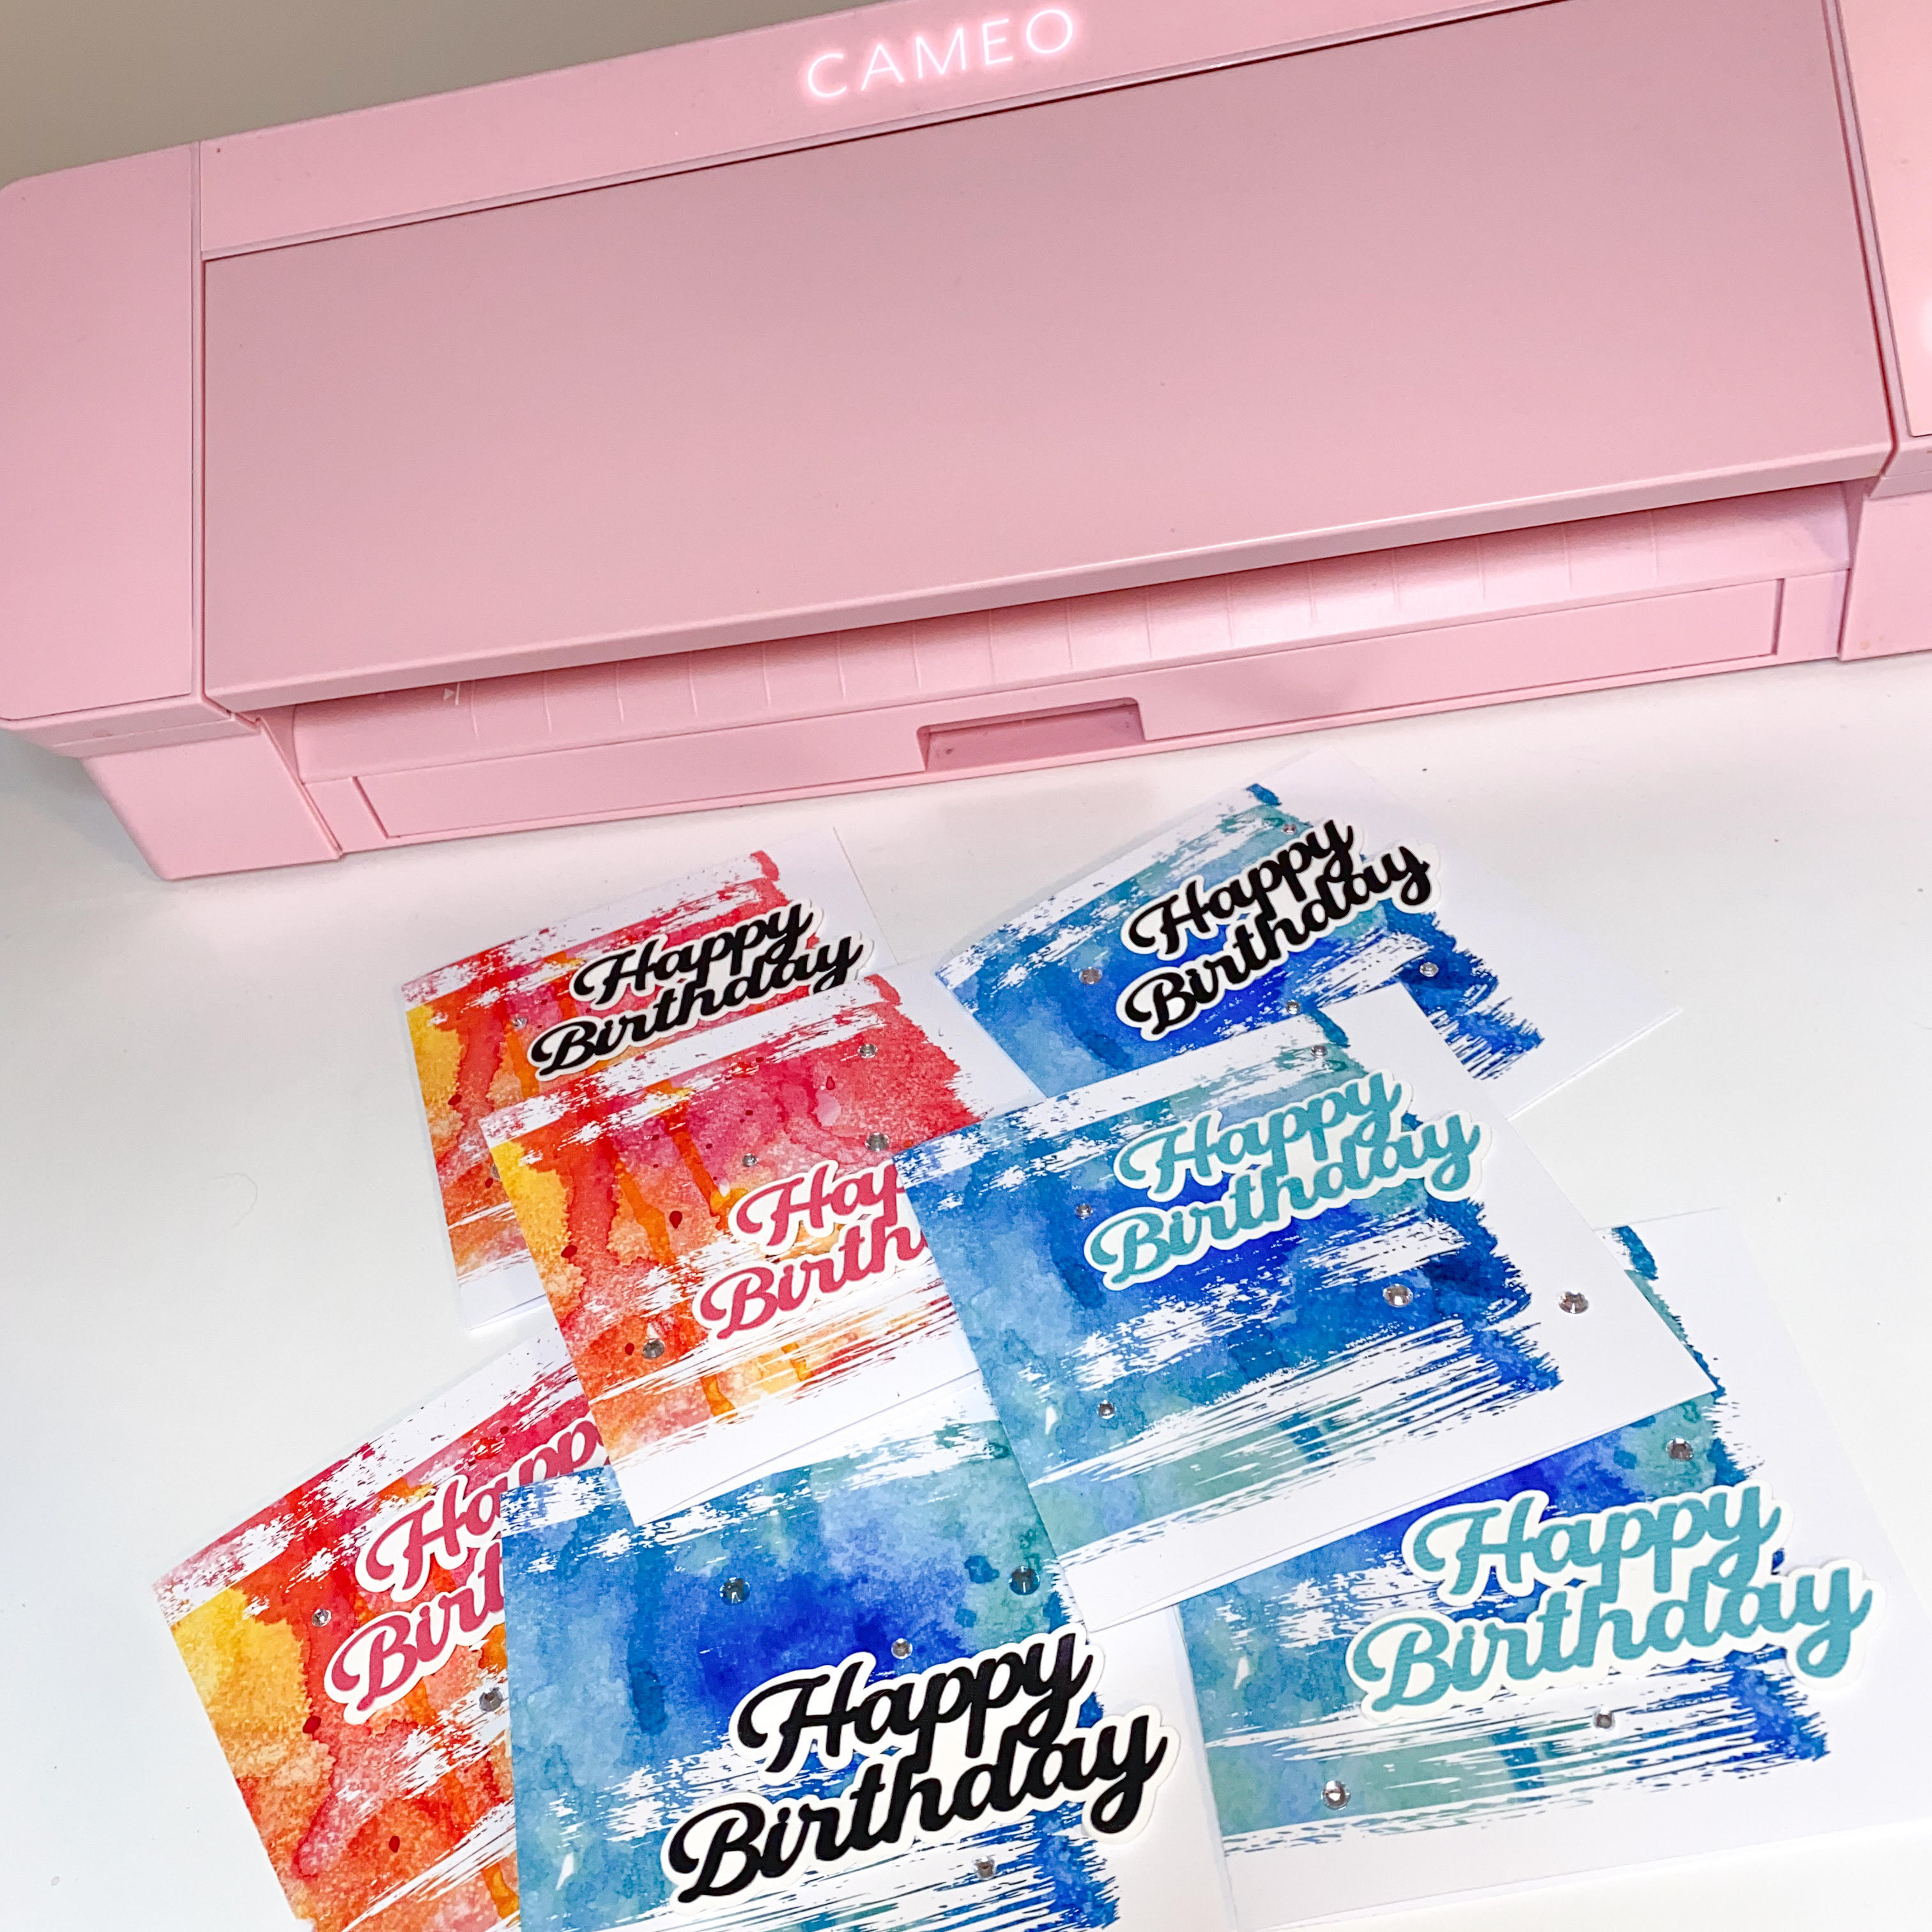
I thought I would share some cards I made using this technique with my Dry Paint Brush Grunge Clipping Mask available in the Silhouette Design Store as well as my Pink Red Yellow Grunge Watercolor Background and Turquoise Teal Blue Grunge Watercolor Background. I added some birthday sentiments which I cut on my Silhouette Cameo along with a bit of bling as well.
© Clikchic Designs 2024
Subscribe to the Clikchic Designs Newsletter and get a FREEBIE! There are ongoing freebies as well. Don't worry, we won't inundate you with emails.