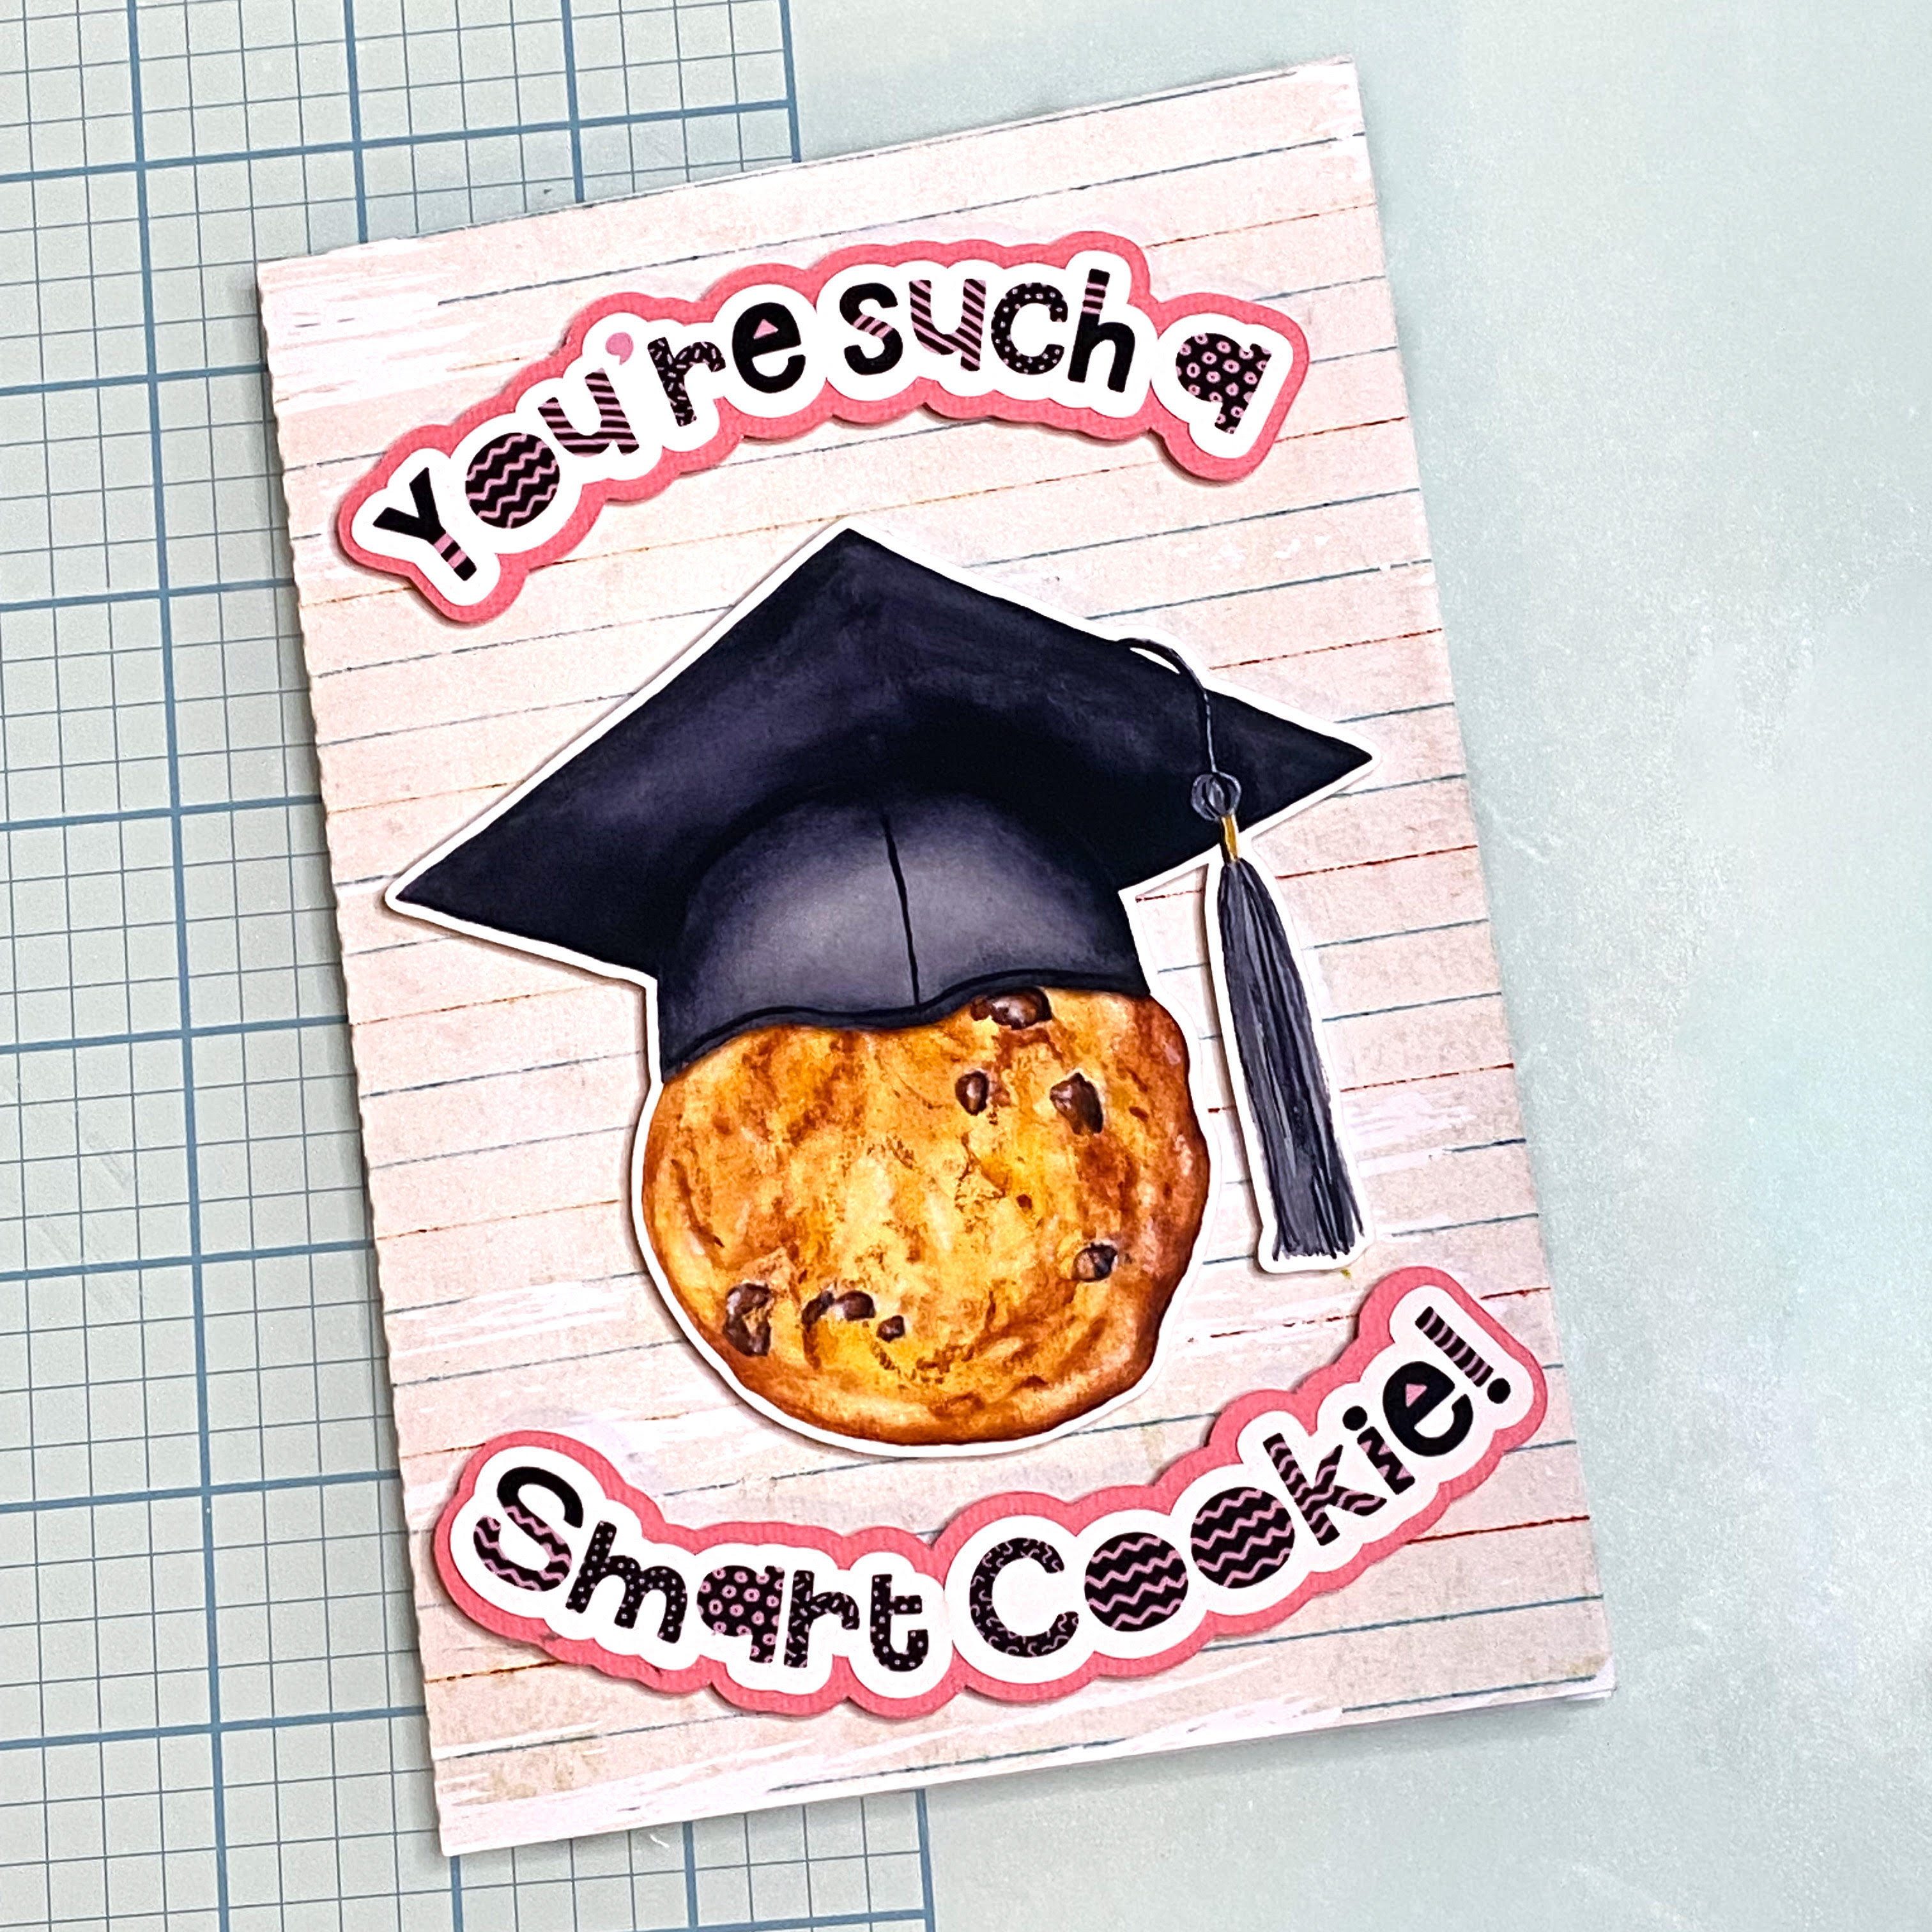
Graduation is the perfect time to get creative with your cutting machine and whip up something extra special. Today I’m showing you how to make a fun and cheerful graduation card using my Smart Cookie Graduation Print & Cut File, You’re Such a Smart Cookie sentiment, and coordinating Vintage Grade School Lined Paper Background and Dry Paint Grunge Clipping Mask Frame. This design set is perfect for celebrating all those clever cookies heading off to their next adventure. Don’t miss the instagram reel here showing the process or check it out from the bottom of this tutorial.
What You’ll Need:
- Silhouette Studio®
- Colour printer
- Photo Paper or Cardstock
- Foam tape and/or adhesive
- Silhouette Cutting machine
Step 1: Set up your design
Use the Dry Paint Grunge Clipping Mask Frame to create a beautifully distressed border around your background design, as shown in the full tutorial linked here. This grunge clipping mask adds a textured, handmade look that pairs perfectly with the school-themed lined paper. If your card design fits within the Silhouette print and cut registration area, you can take advantage of the Print & Cut feature for crisp, accurate cuts. My card was a 5×7 size, which exceeded the print and cut limits, so I made an approximation for placing and cut with my Silhouette Cameo instead. You can also score and cut the card base by hand, especially if you prefer a more flexible workflow. While I don’t often hand-cut, it’s a great backup when needed. shape. It is not often I opt for that option. Usually only if I make a mistake and need to fix an error!
Step 2: Print & Cut
Open the Smart Cookie with Graduation Cap and matching sentiment in Silhouette Studio®, then copy and paste them onto a new project page. Resize the elements to suit your preferred card dimensions—for example, a 5×7″ card front works beautifully. Enable registration marks and arrange to fit within cut borders for accurate cutting, making sure none of the design enters cross hatched areas. Then print the design onto high-quality photo paper or white cardstock for the best results. Load the printed sheet into your Silhouette cutting machine and let it precisely cut each element. Be sure to keep the original sentiment cut line intact, as you’ll need it to create an offset layer for a clean, professional-looking sentiment border.
Step 3: Cut Sentiment border
Choose a piece of coloured cardstock to use as the sentiment border, then create an offset from the ungrouped sentiment outline in Silhouette Studio®. To do this, select the ungrouped sentiment outline and click the Offset tool from the right-hand toolbar—it looks like a small star icon. Adjust the offset distance to your preference for a balanced border around the sentiment, then cut the offset shape from your chosen cardstock to add dimension and contrast to your finished card.
Step 4: Assemble Your Card
Use adhesive to glue the sentiment border to the back of the sentiment pieces. Use foam tape or adhesive to attach the Smart Cookie and sentiment pieces to the front of the card for dimension. You can also pop up the cookie separately for extra depth!
Step 5: Add Finishing Touches
Consider adding enamel dots, twine, or a little glitter to bring even more charm to your finished piece. You could even personalise the inside with a printed message or handwritten note.
This smart cookie card is a playful way to congratulate someone on their big achievement. It’s quick to make, full of personality, and totally customisable for any age or stage.
Looking for more cardmaking designs or coordinating elements? Check out the rest of the Clikchic Designs collection.
Happy crafting!
Subscribe to the Clikchic Designs Newsletter and get a FREEBIE! There are ongoing freebies as well. Don't worry, we won't inundate you with emails.