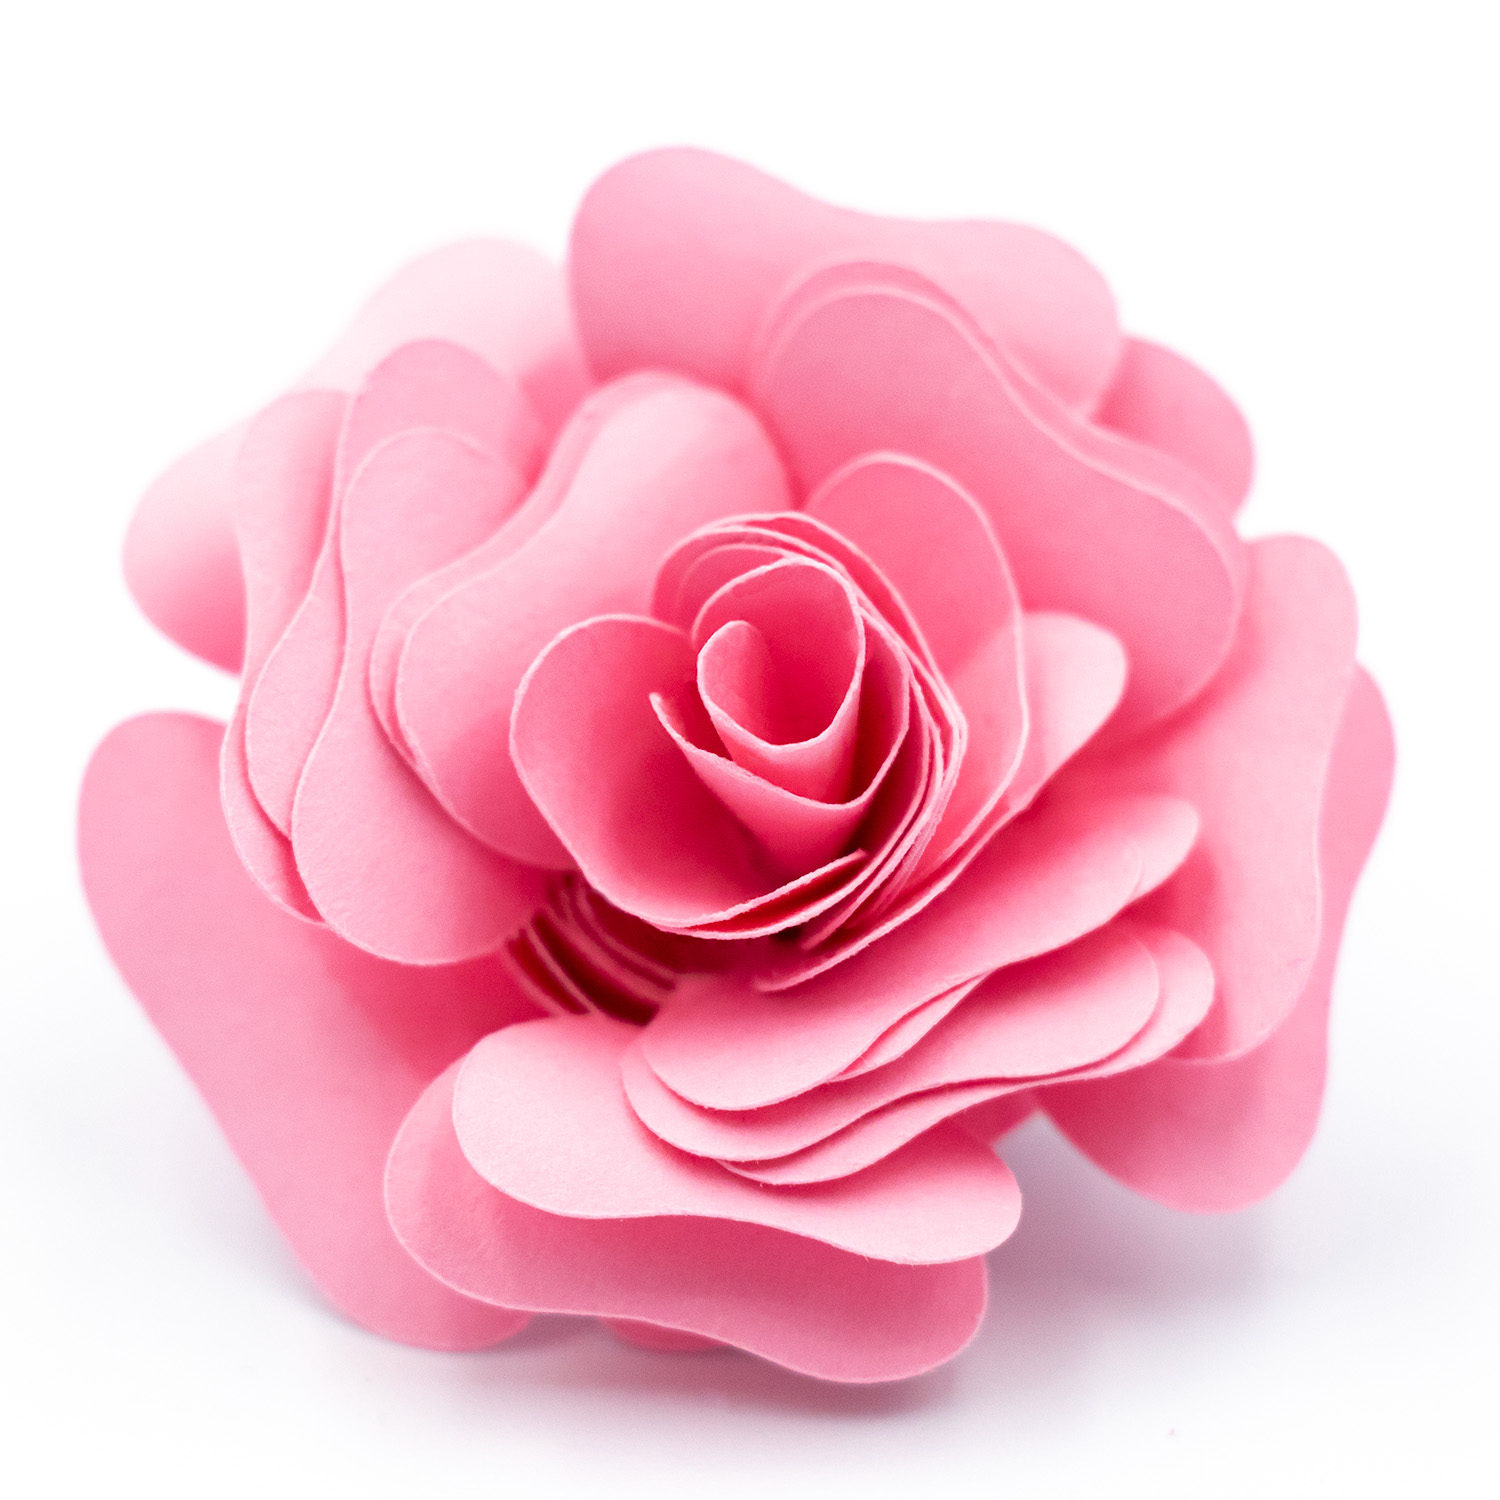
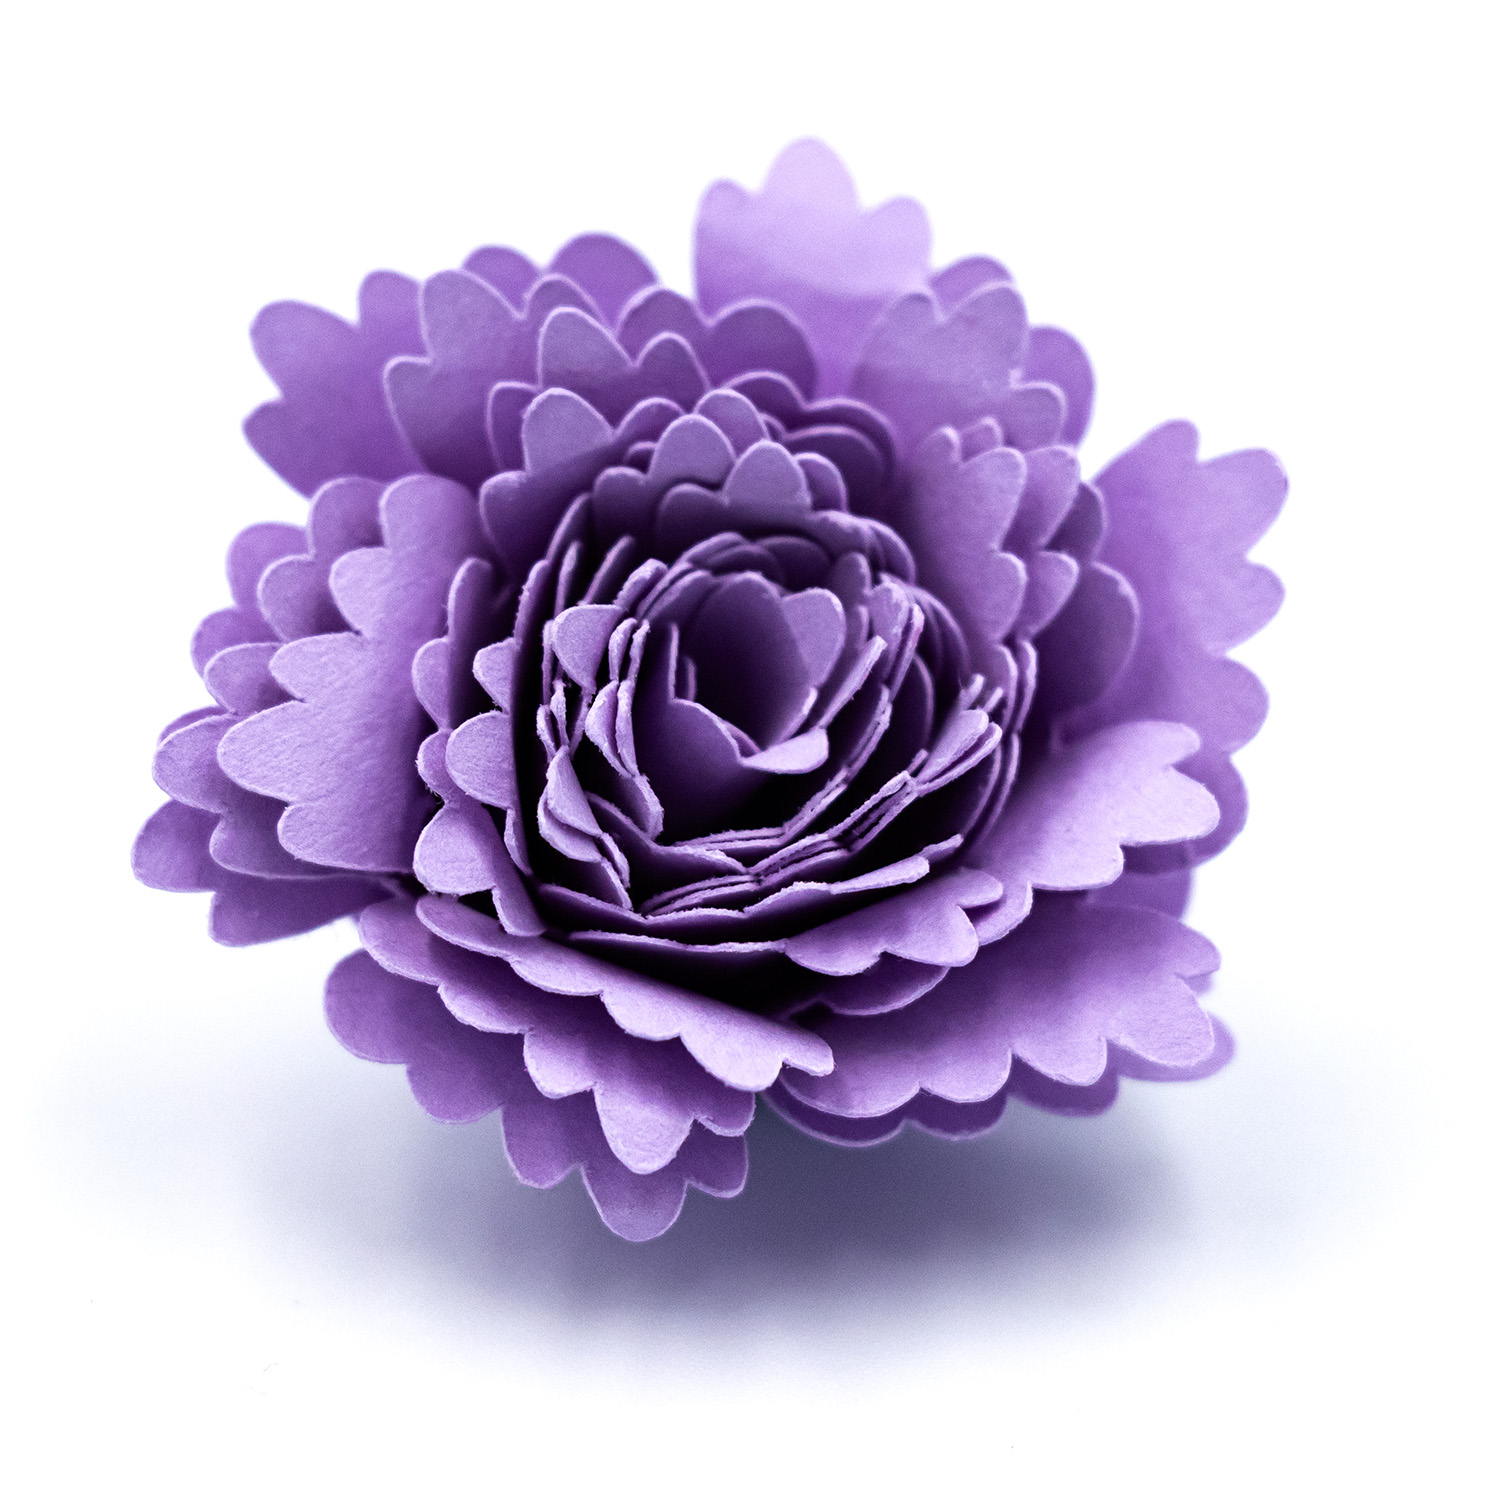
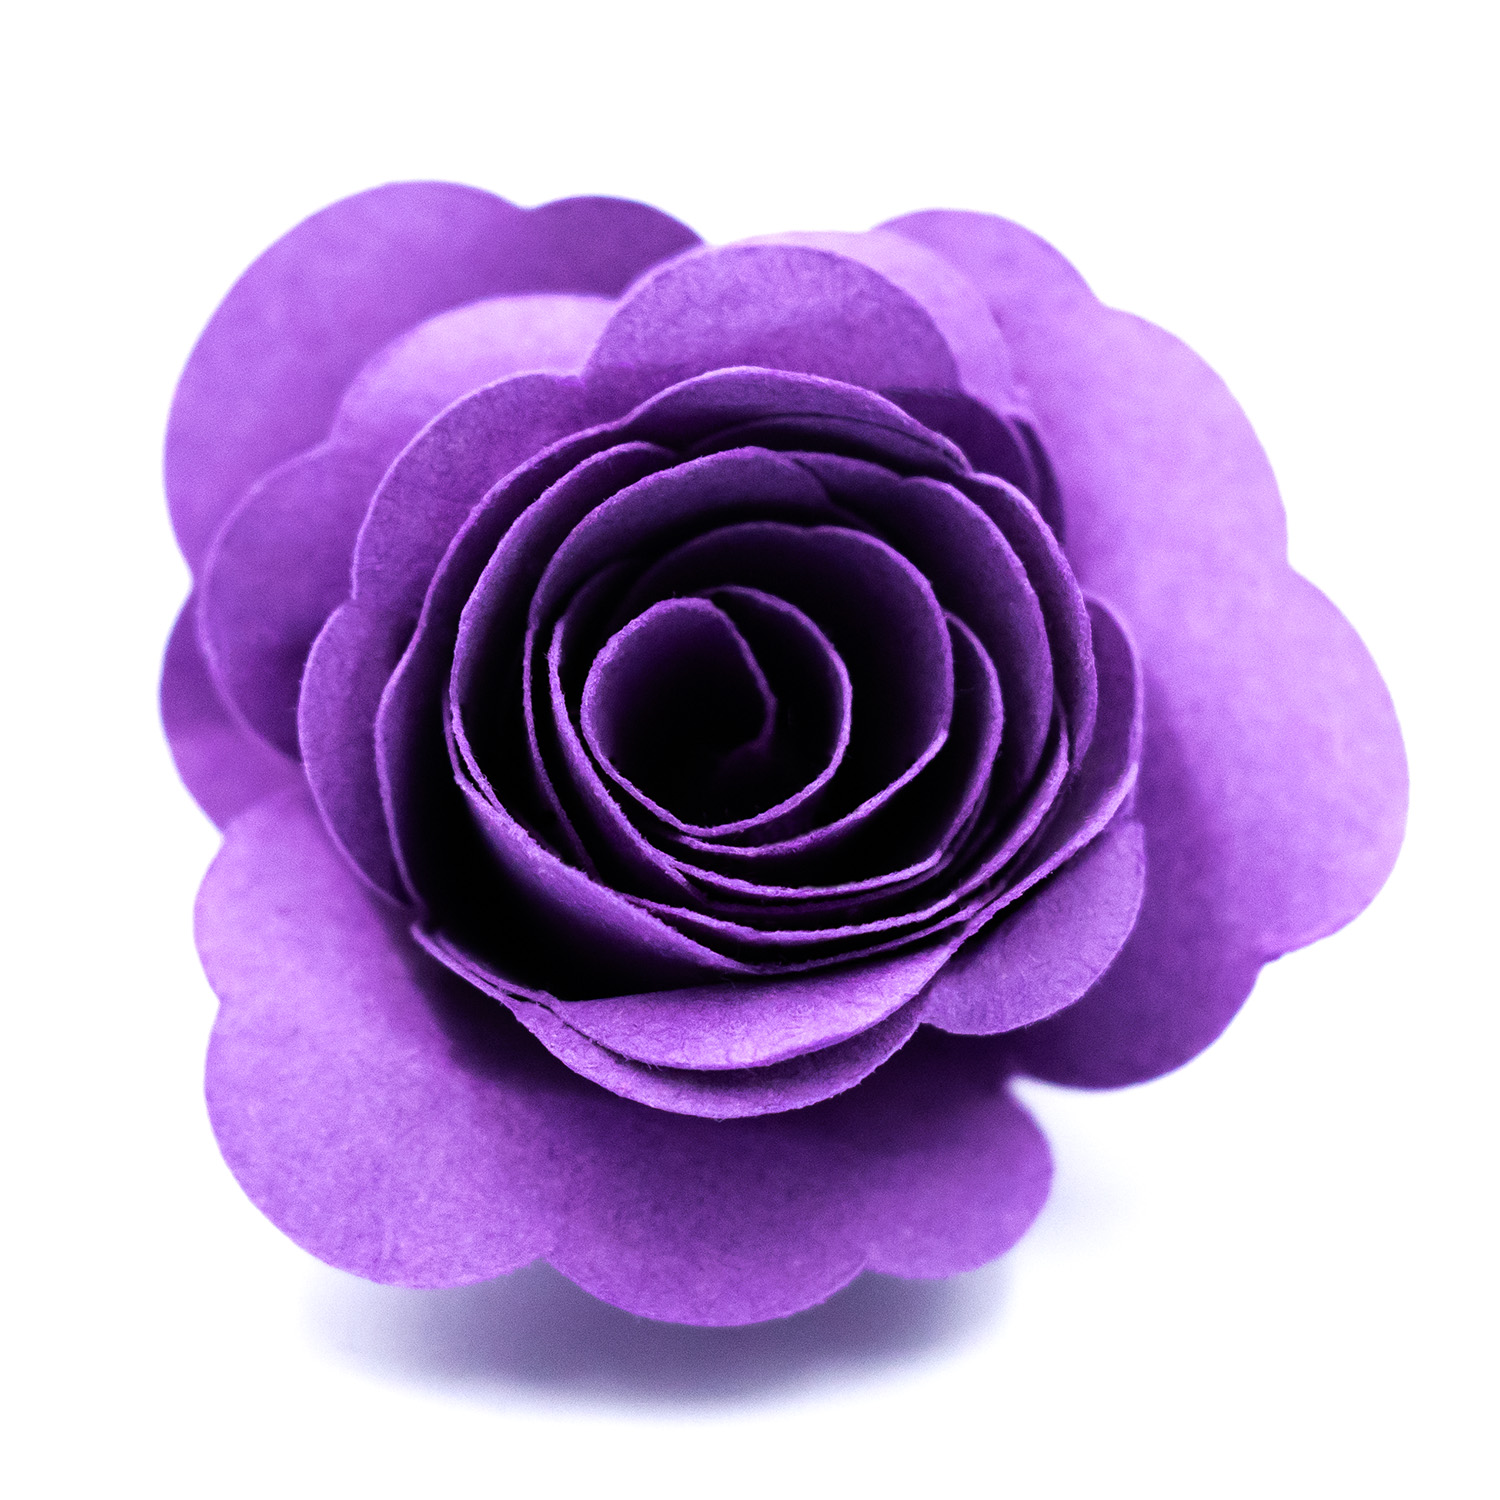
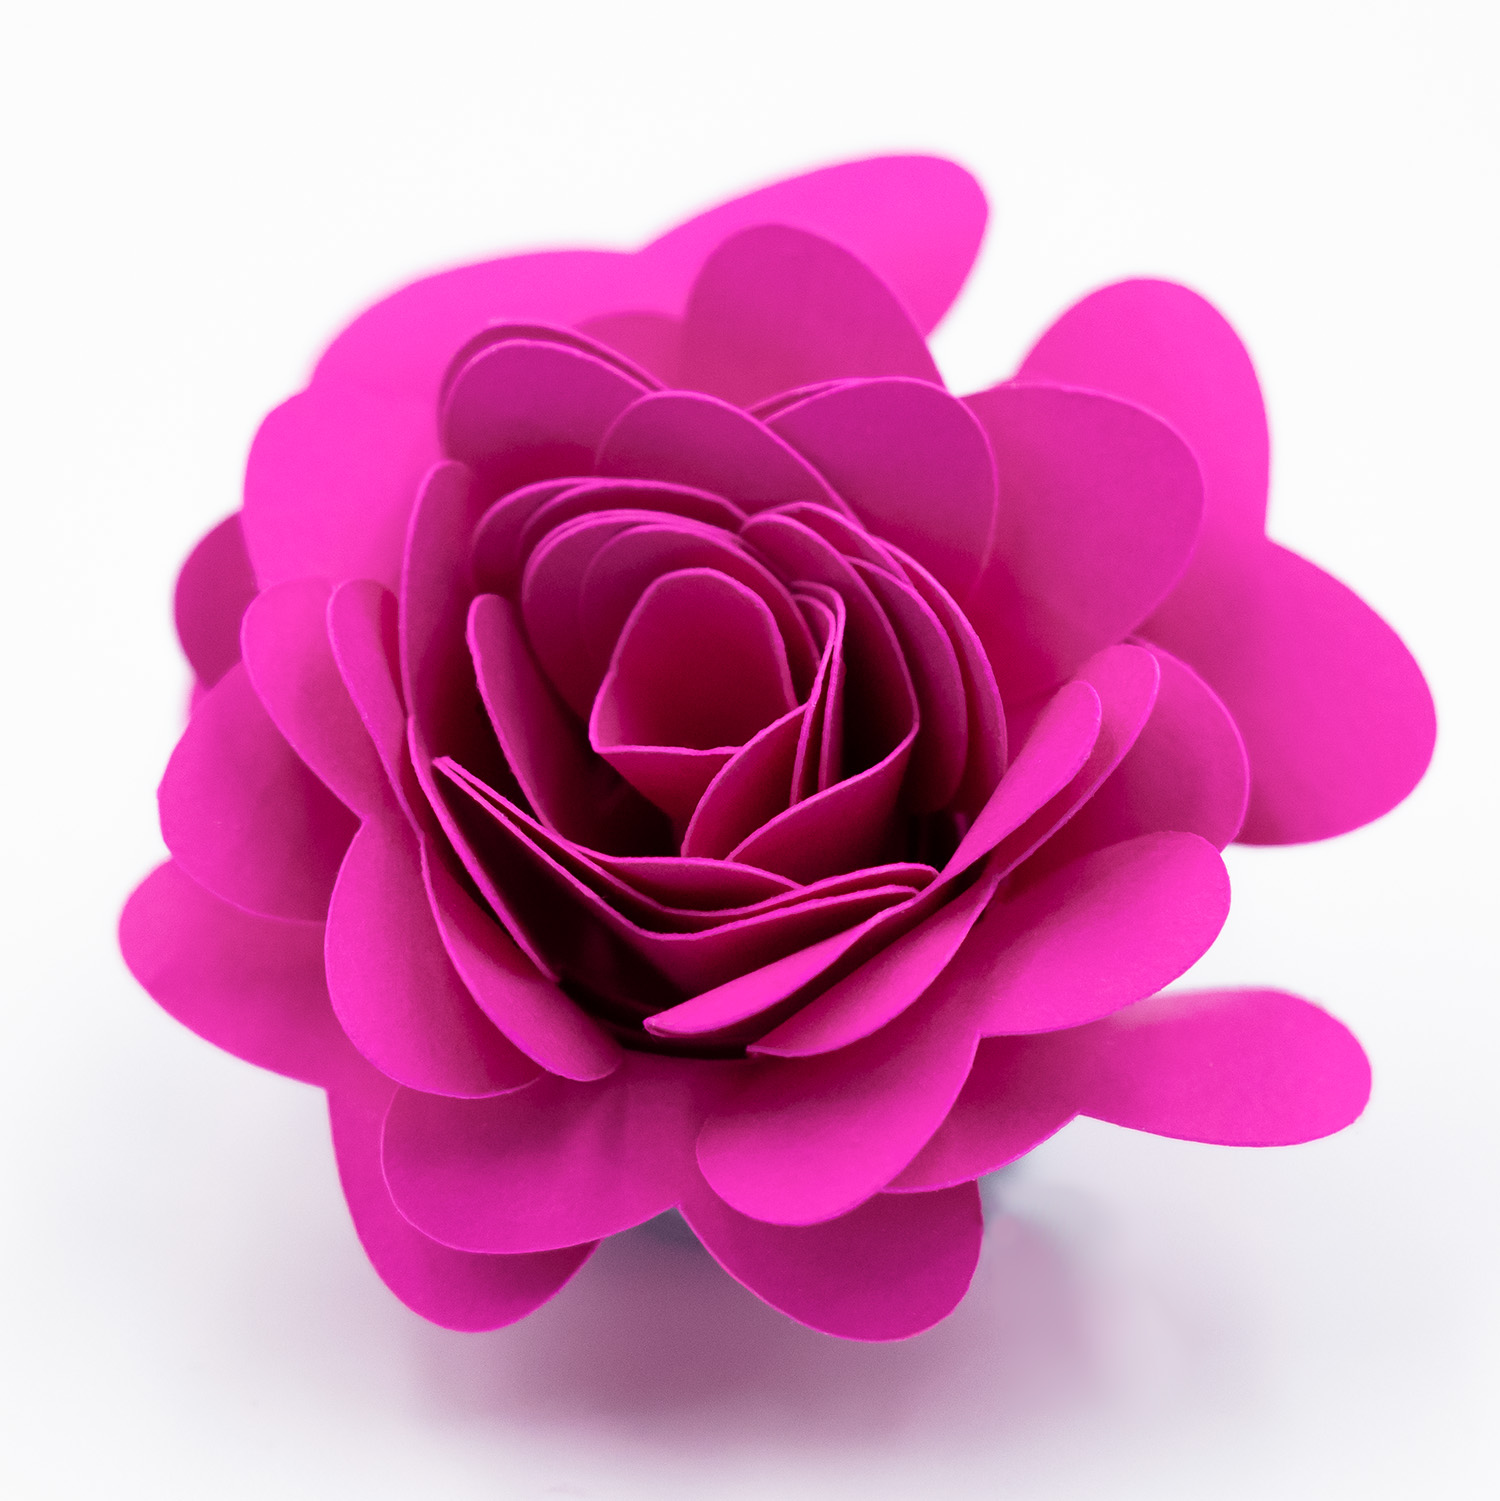
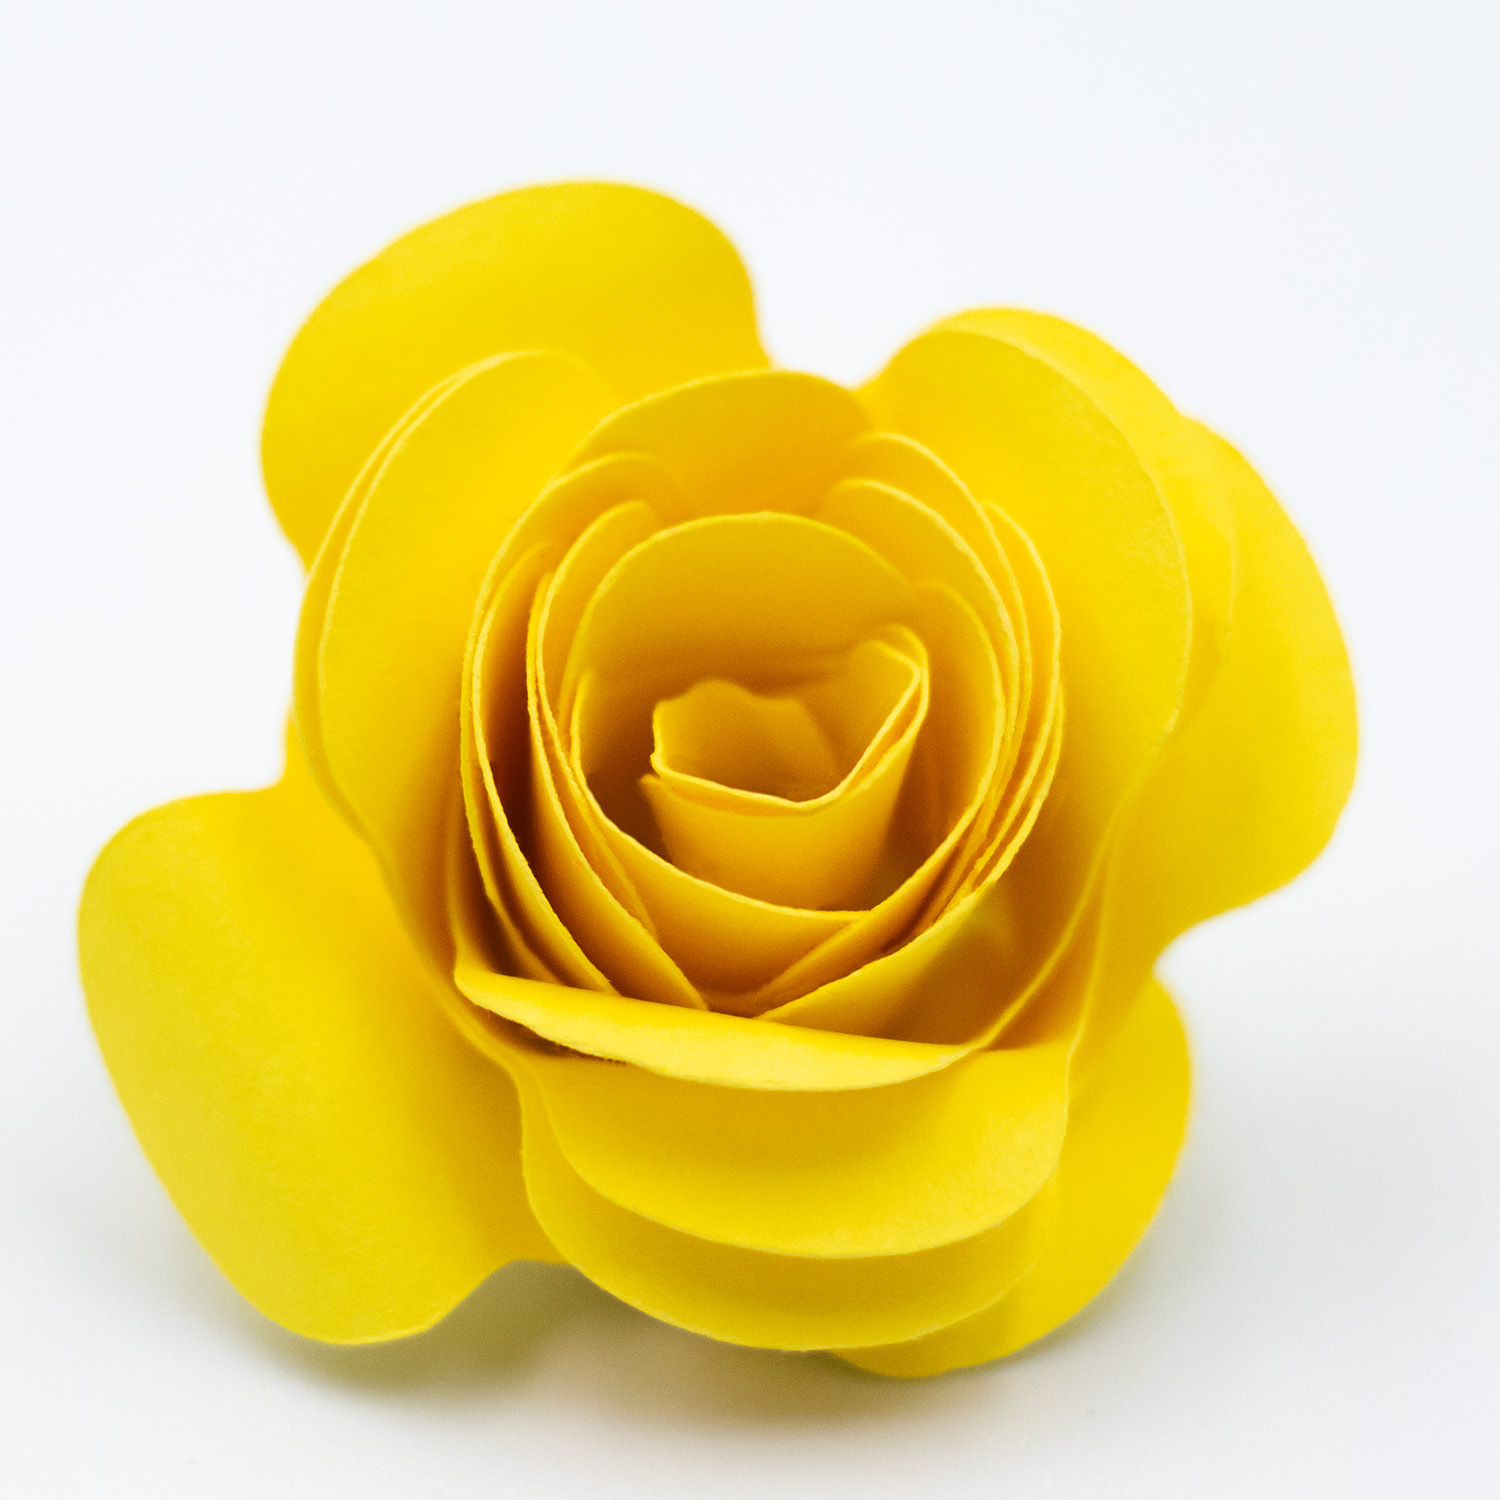
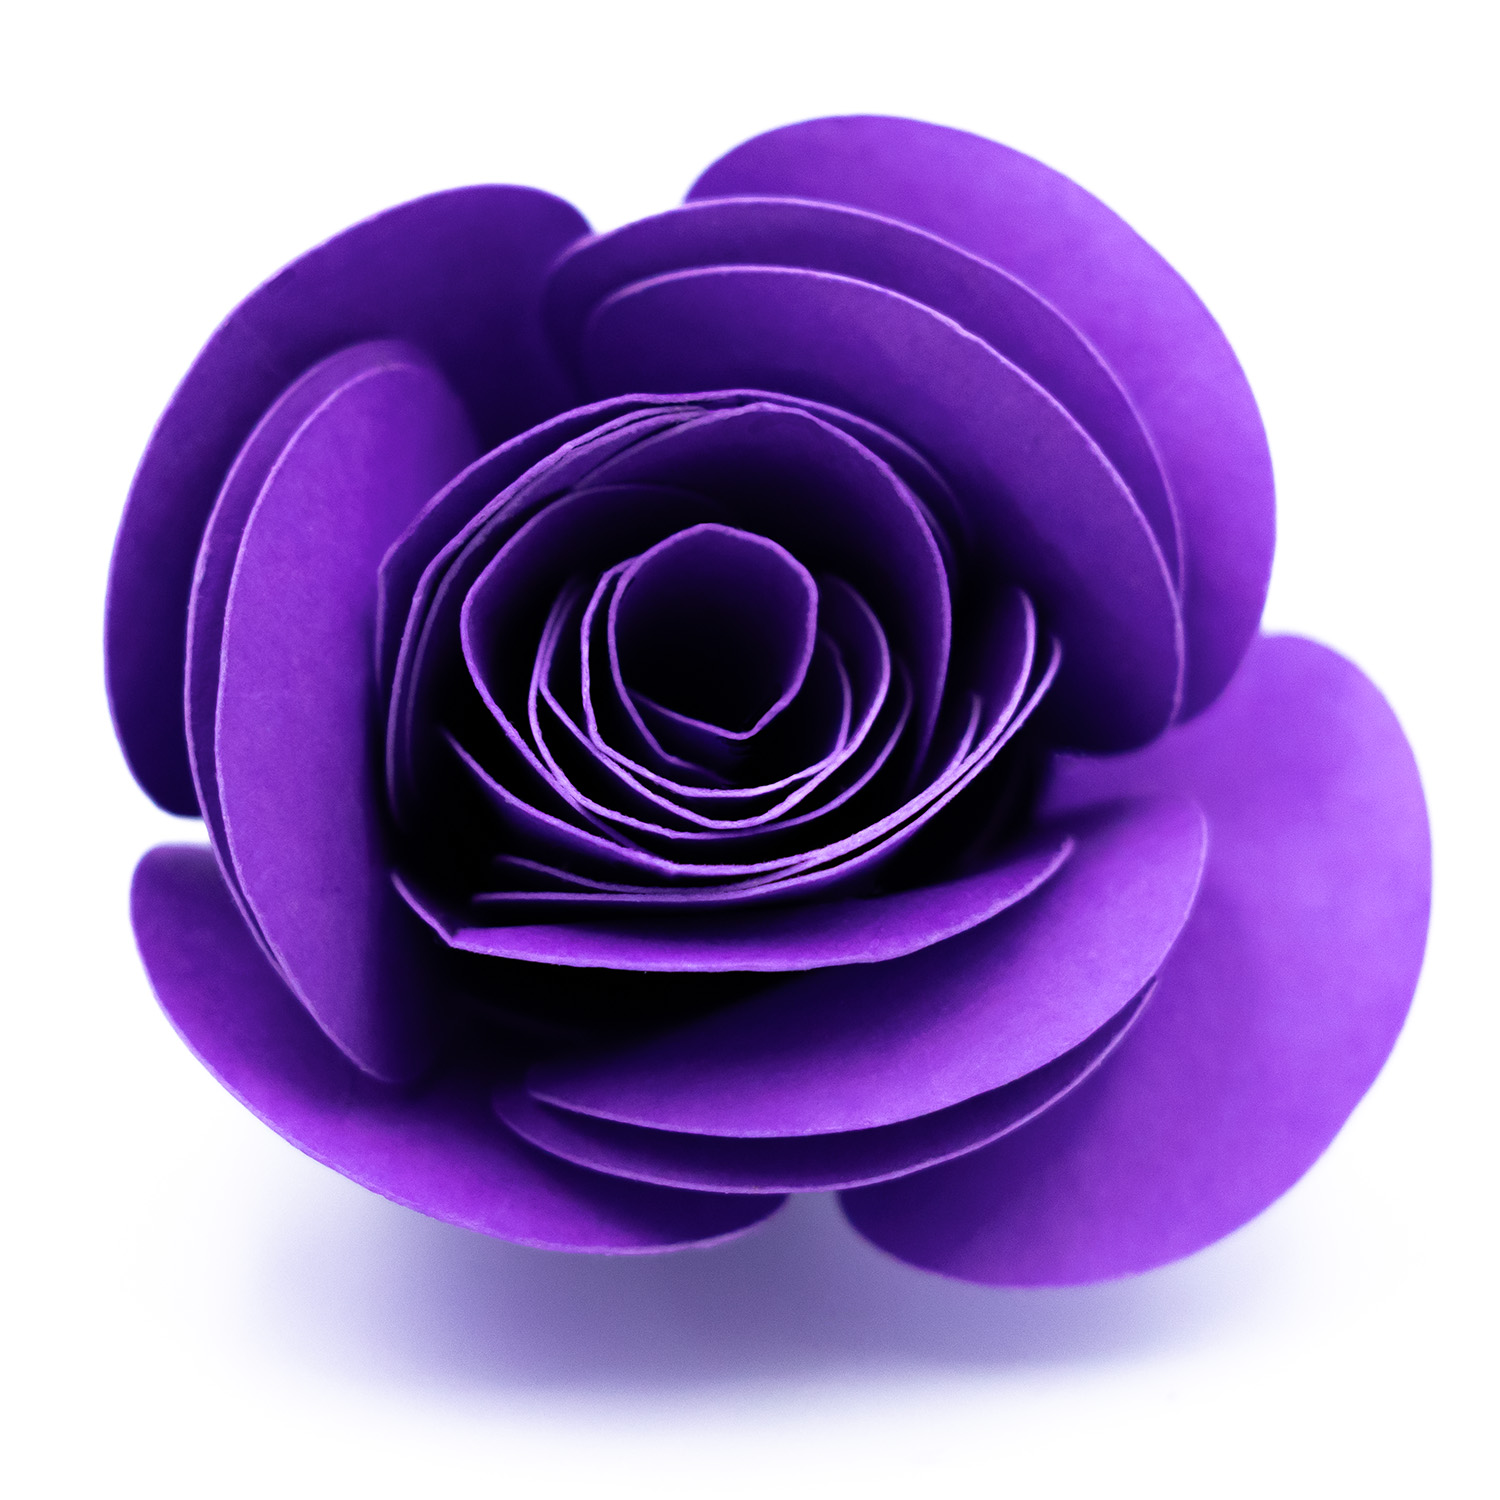
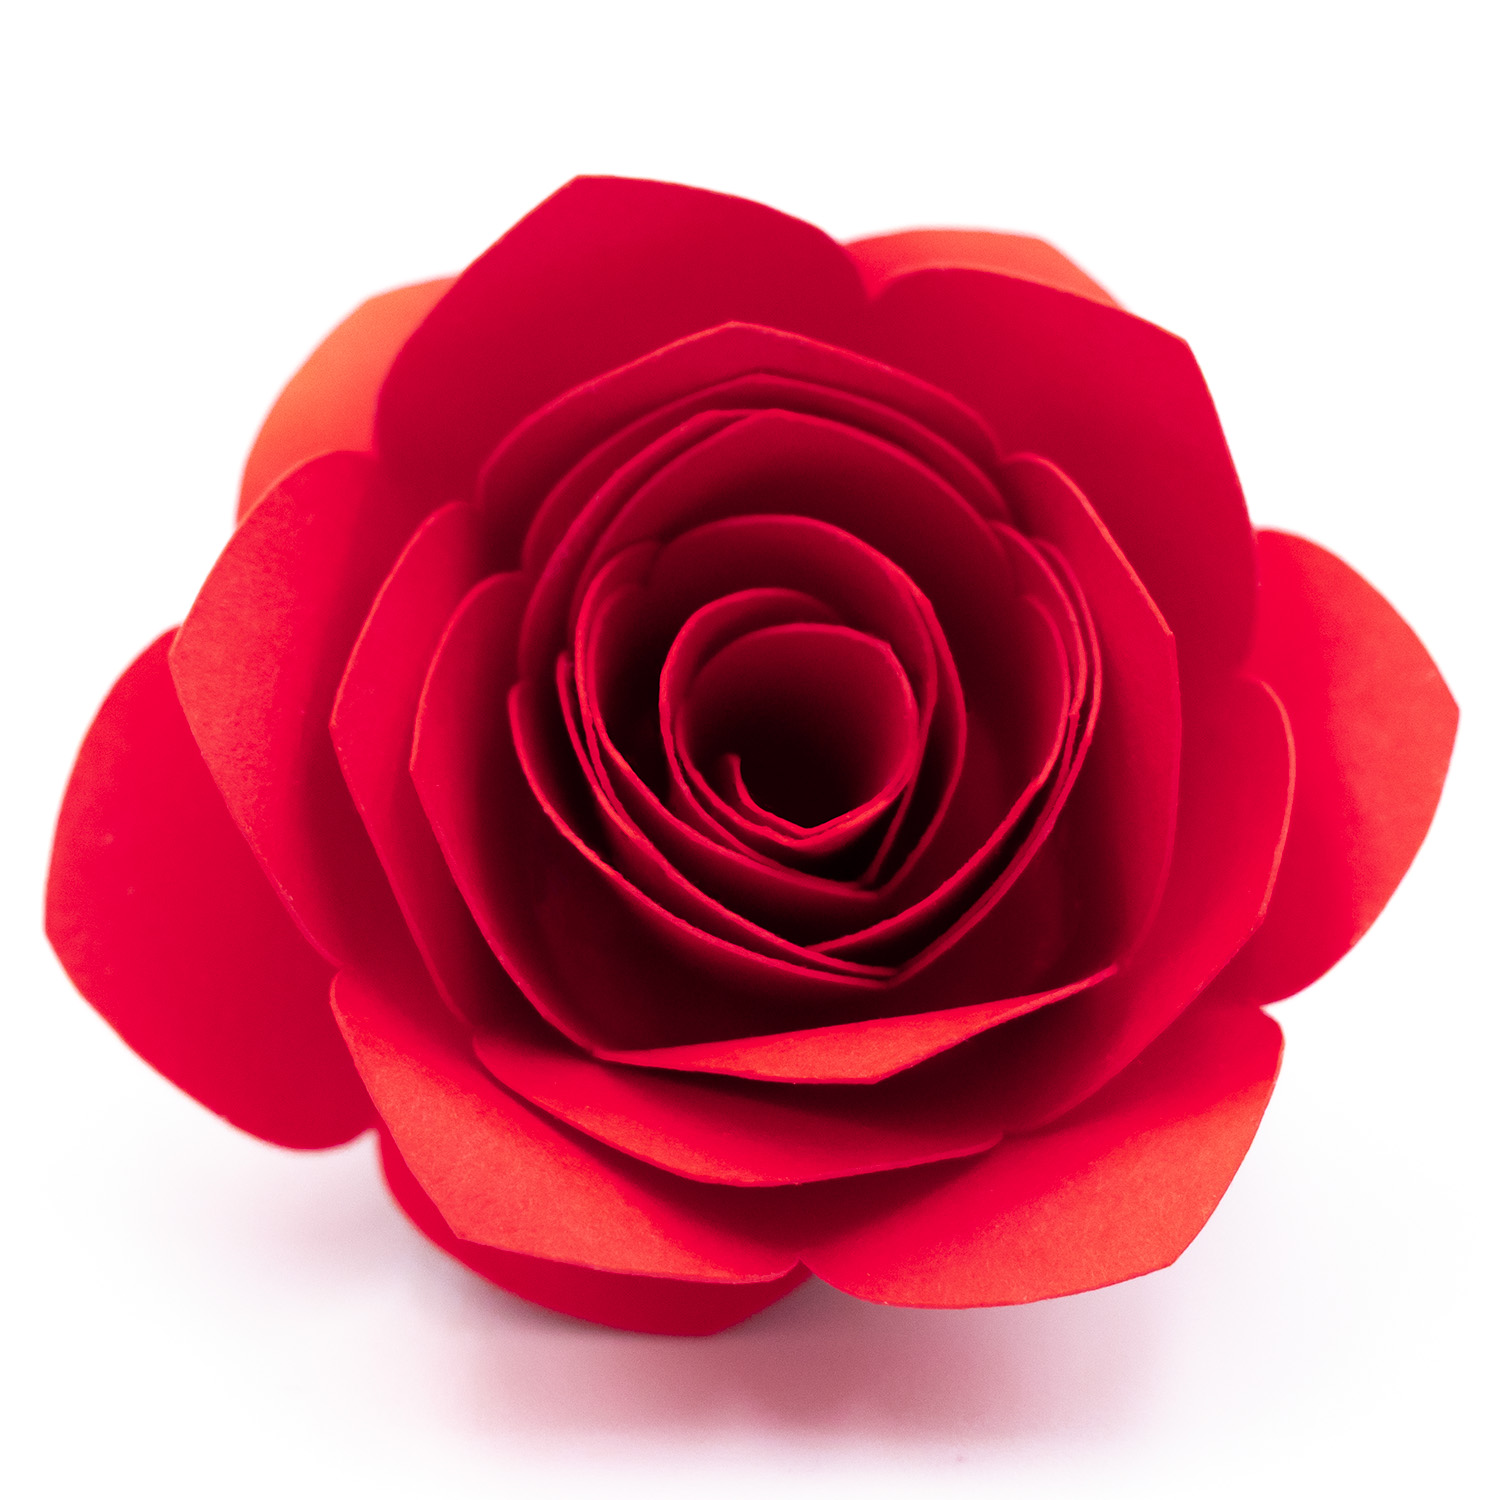
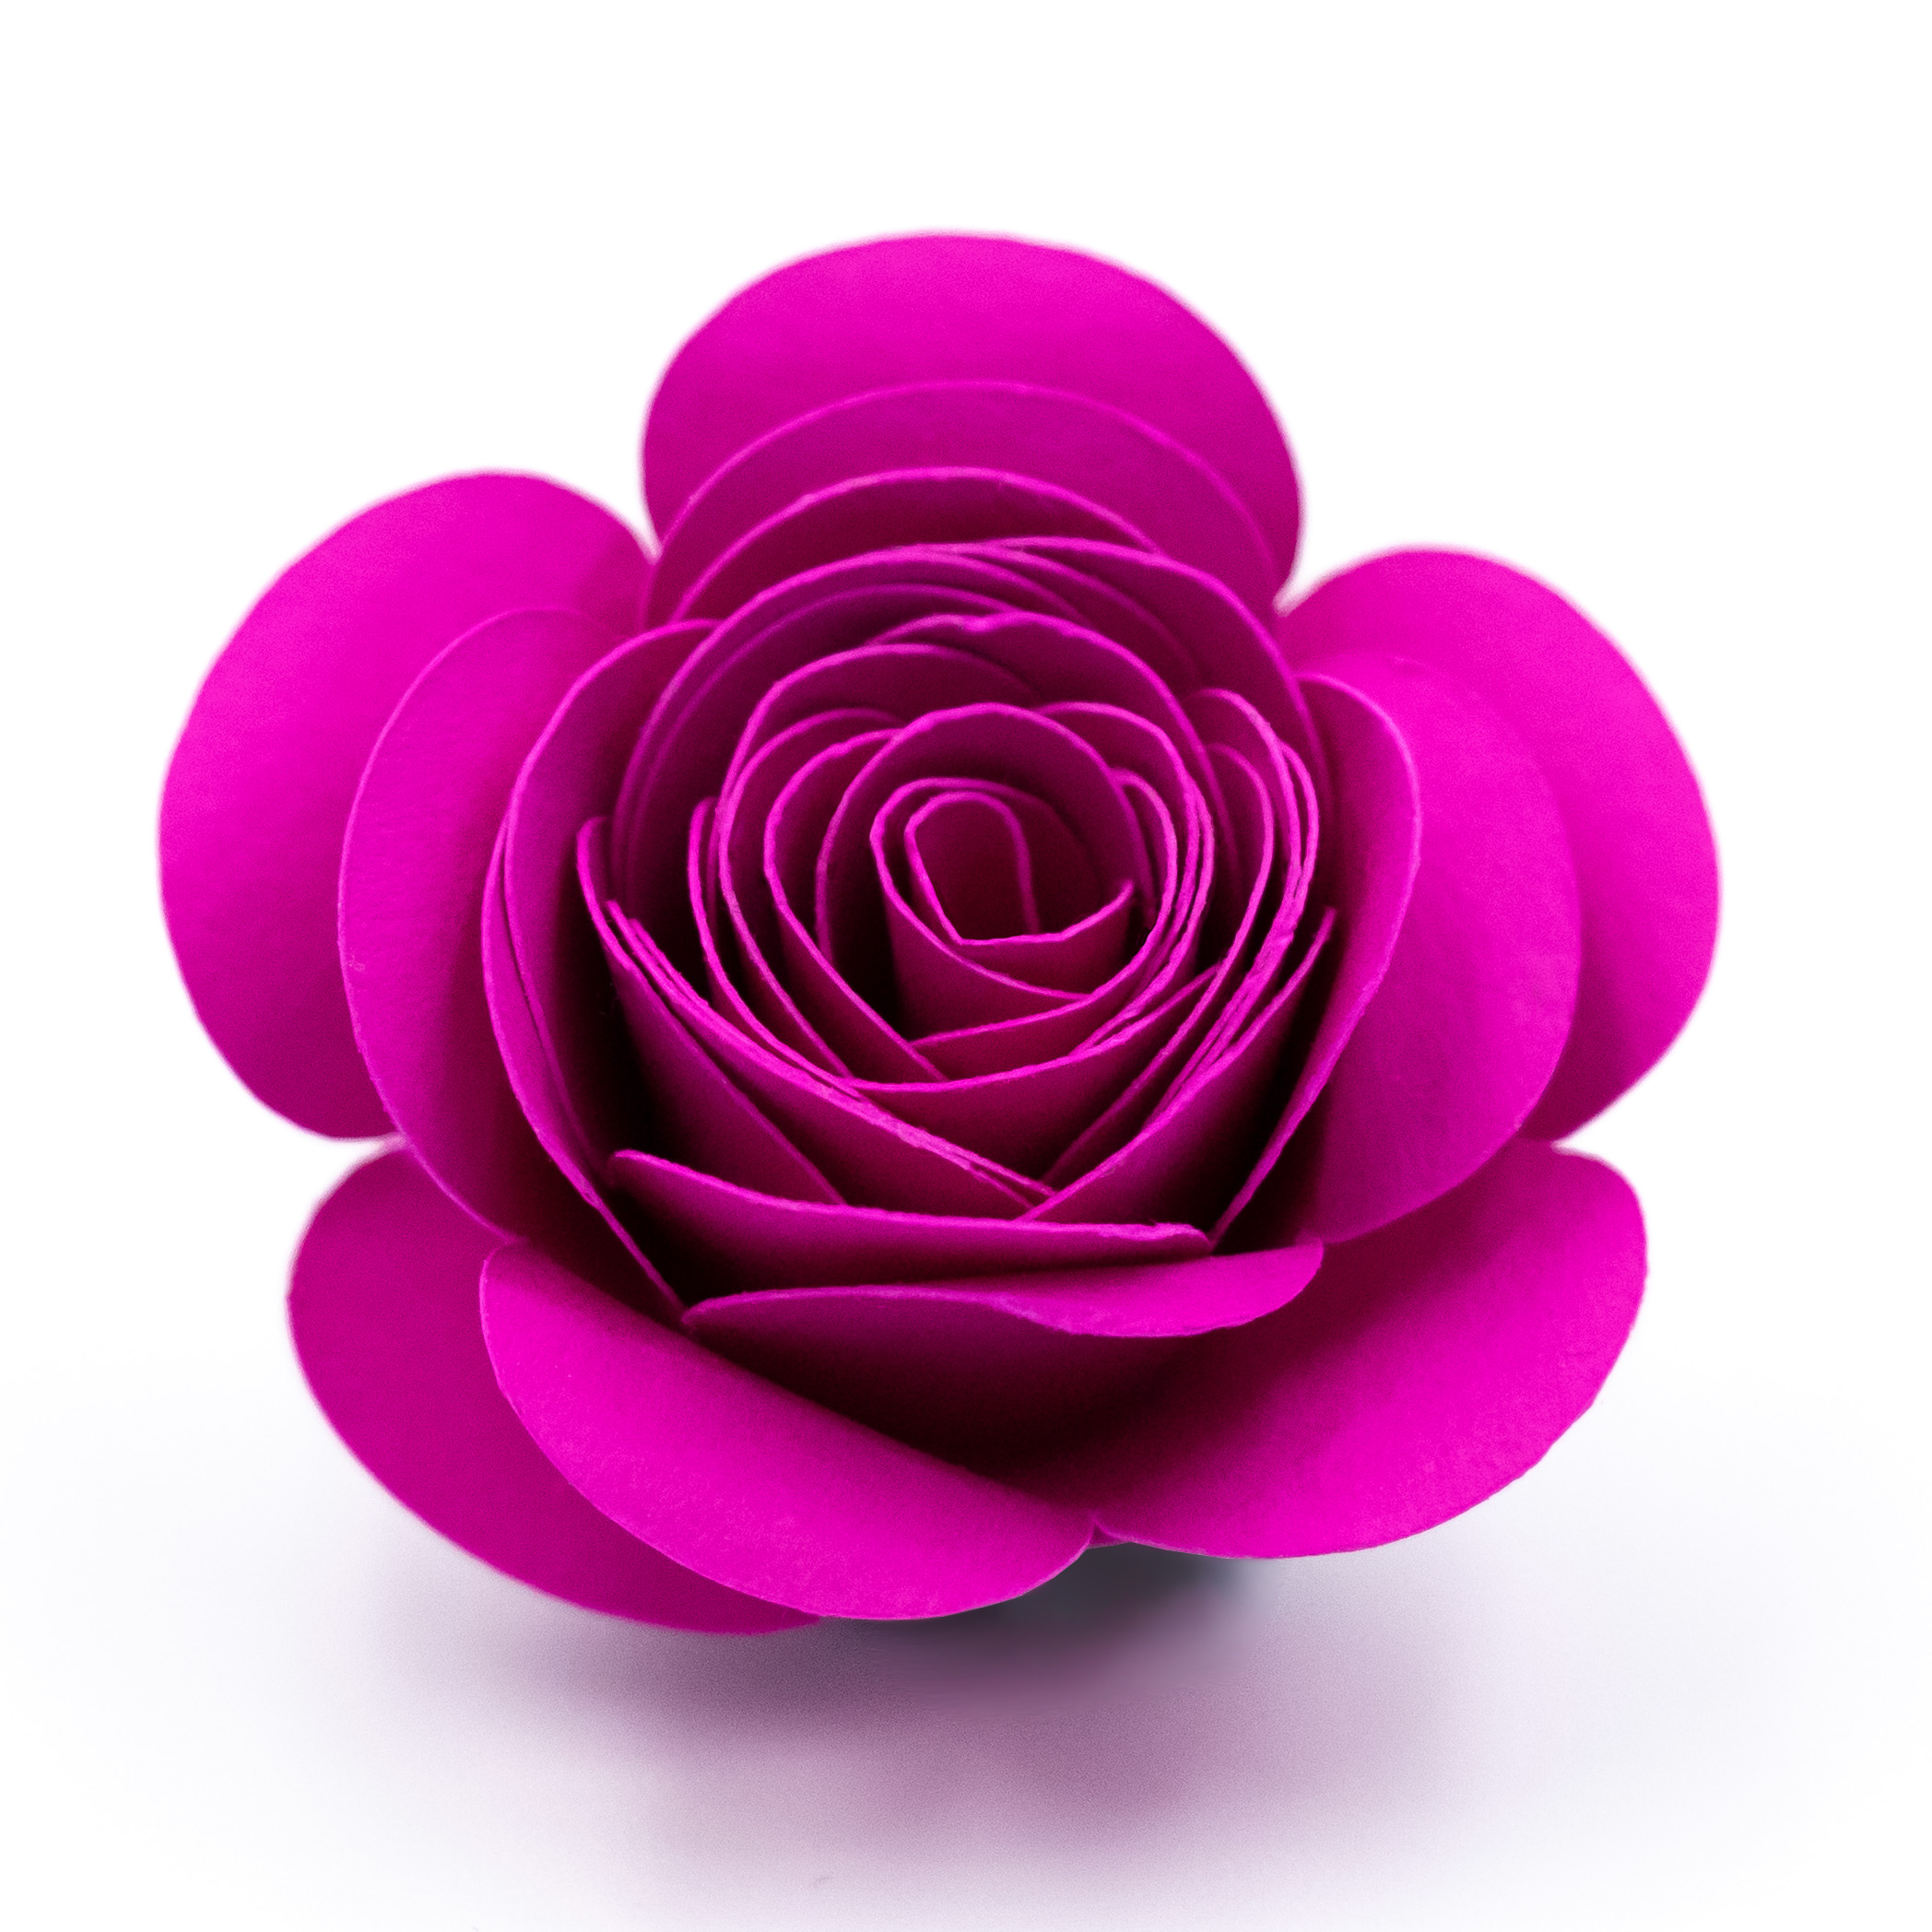
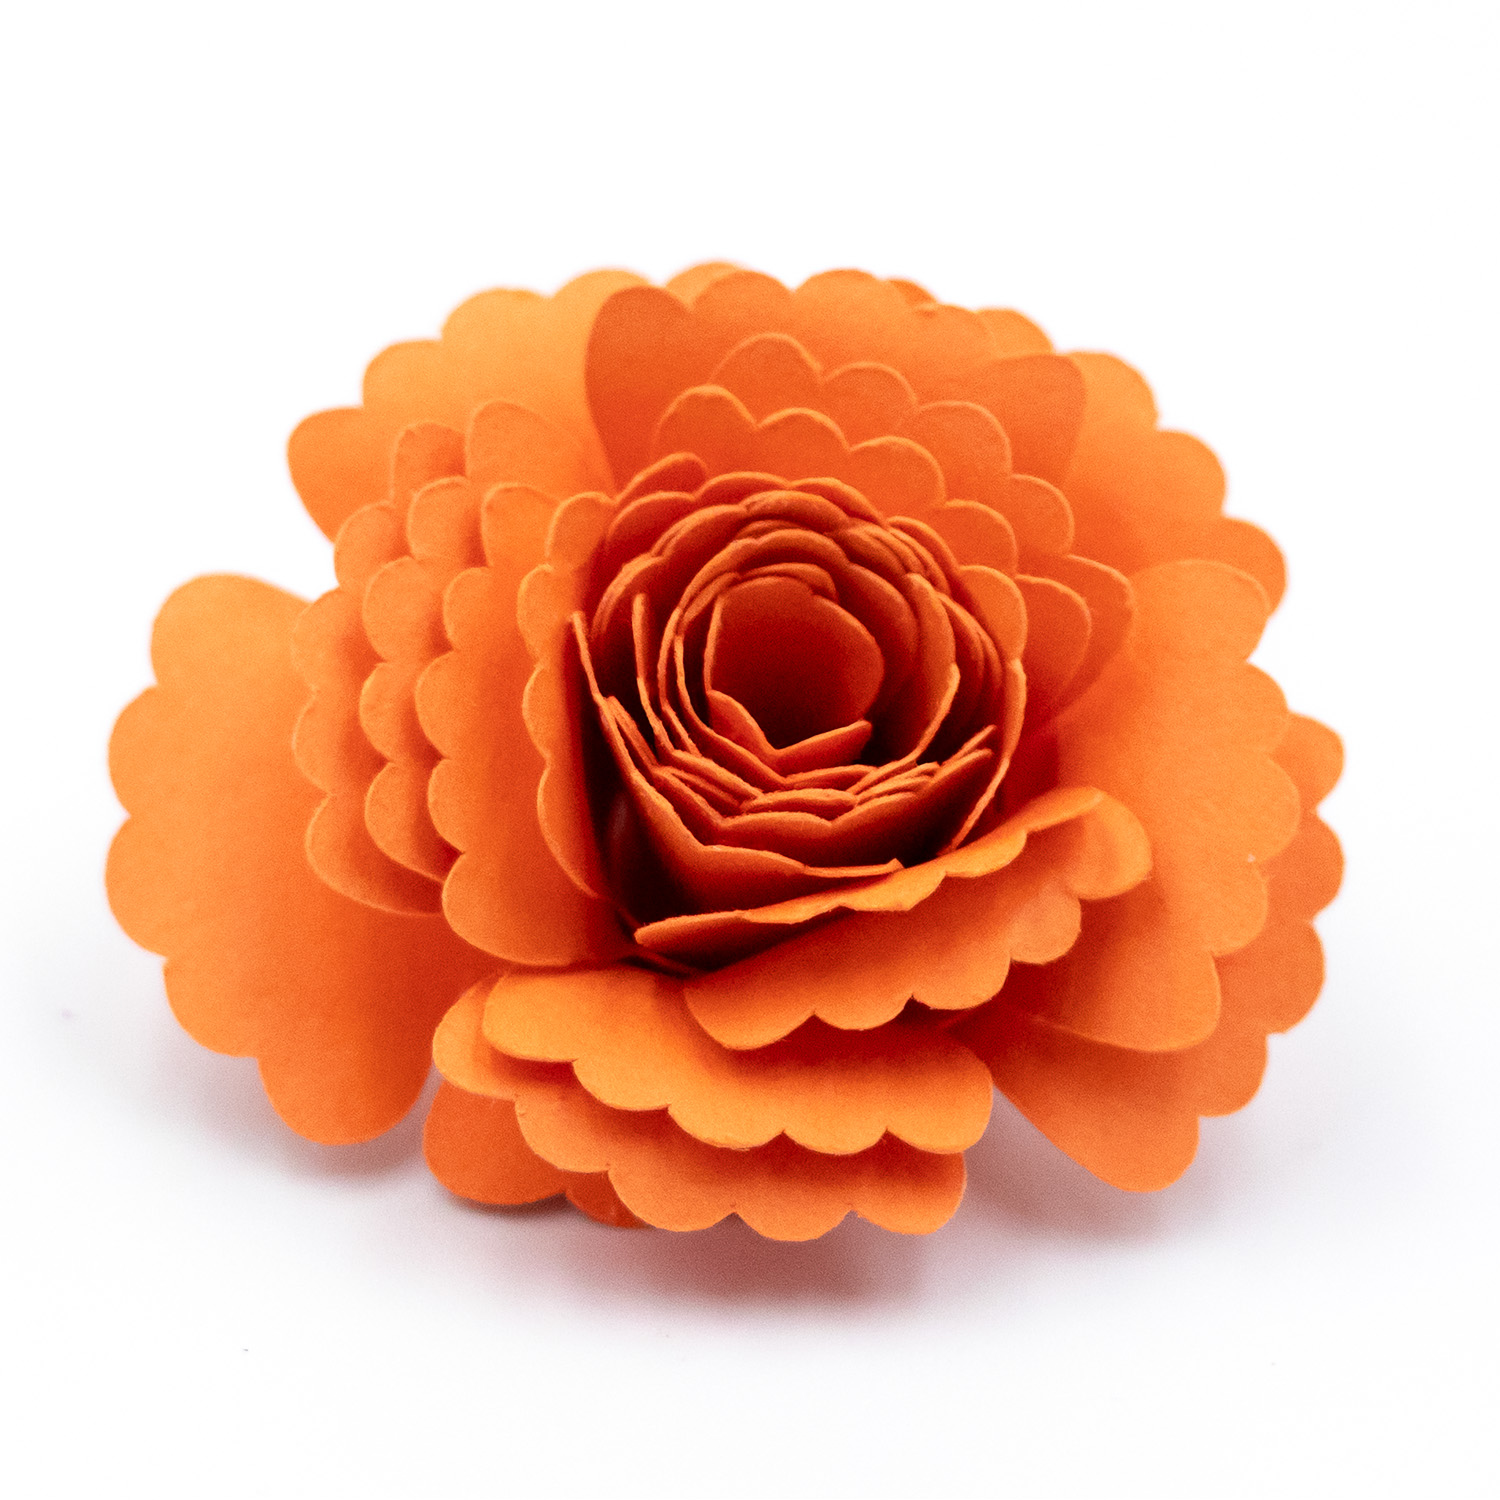
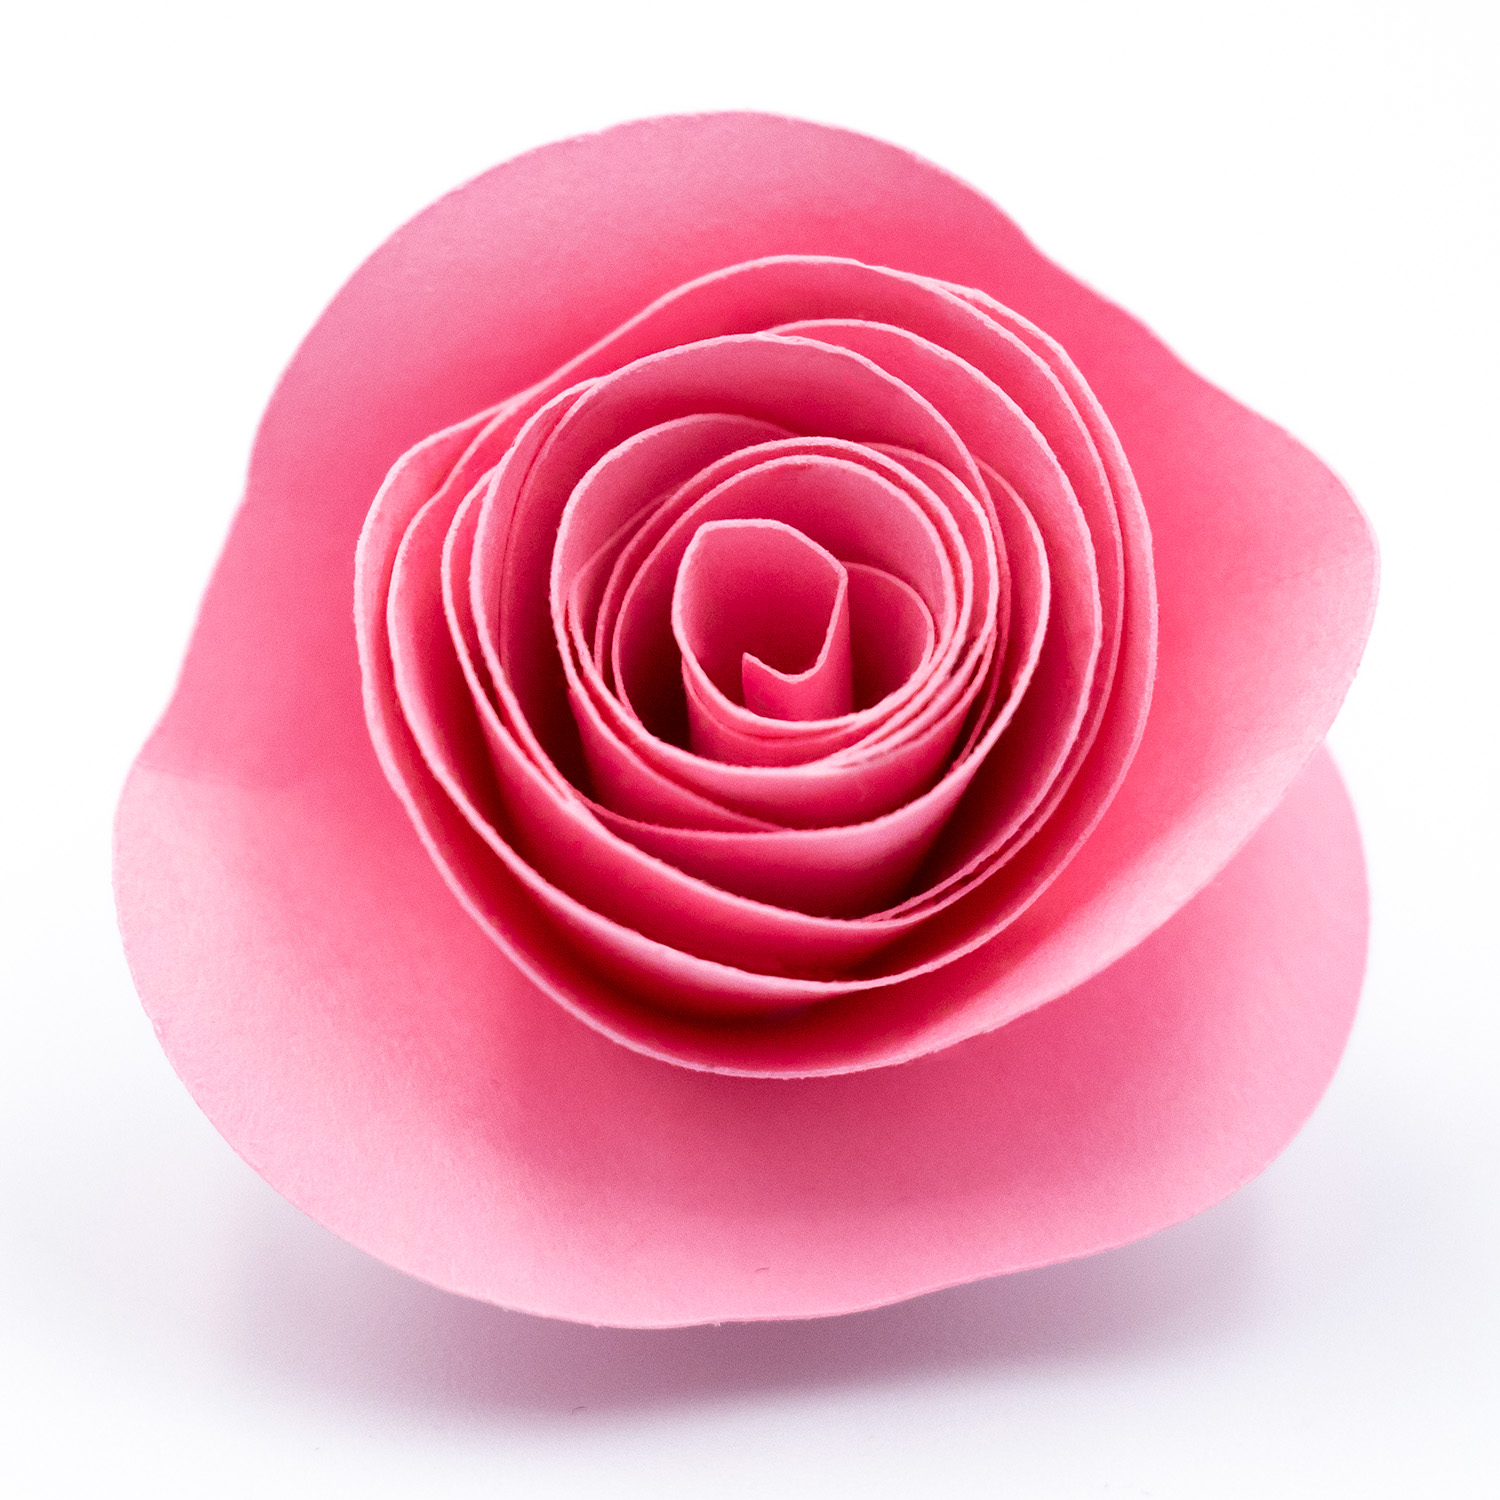
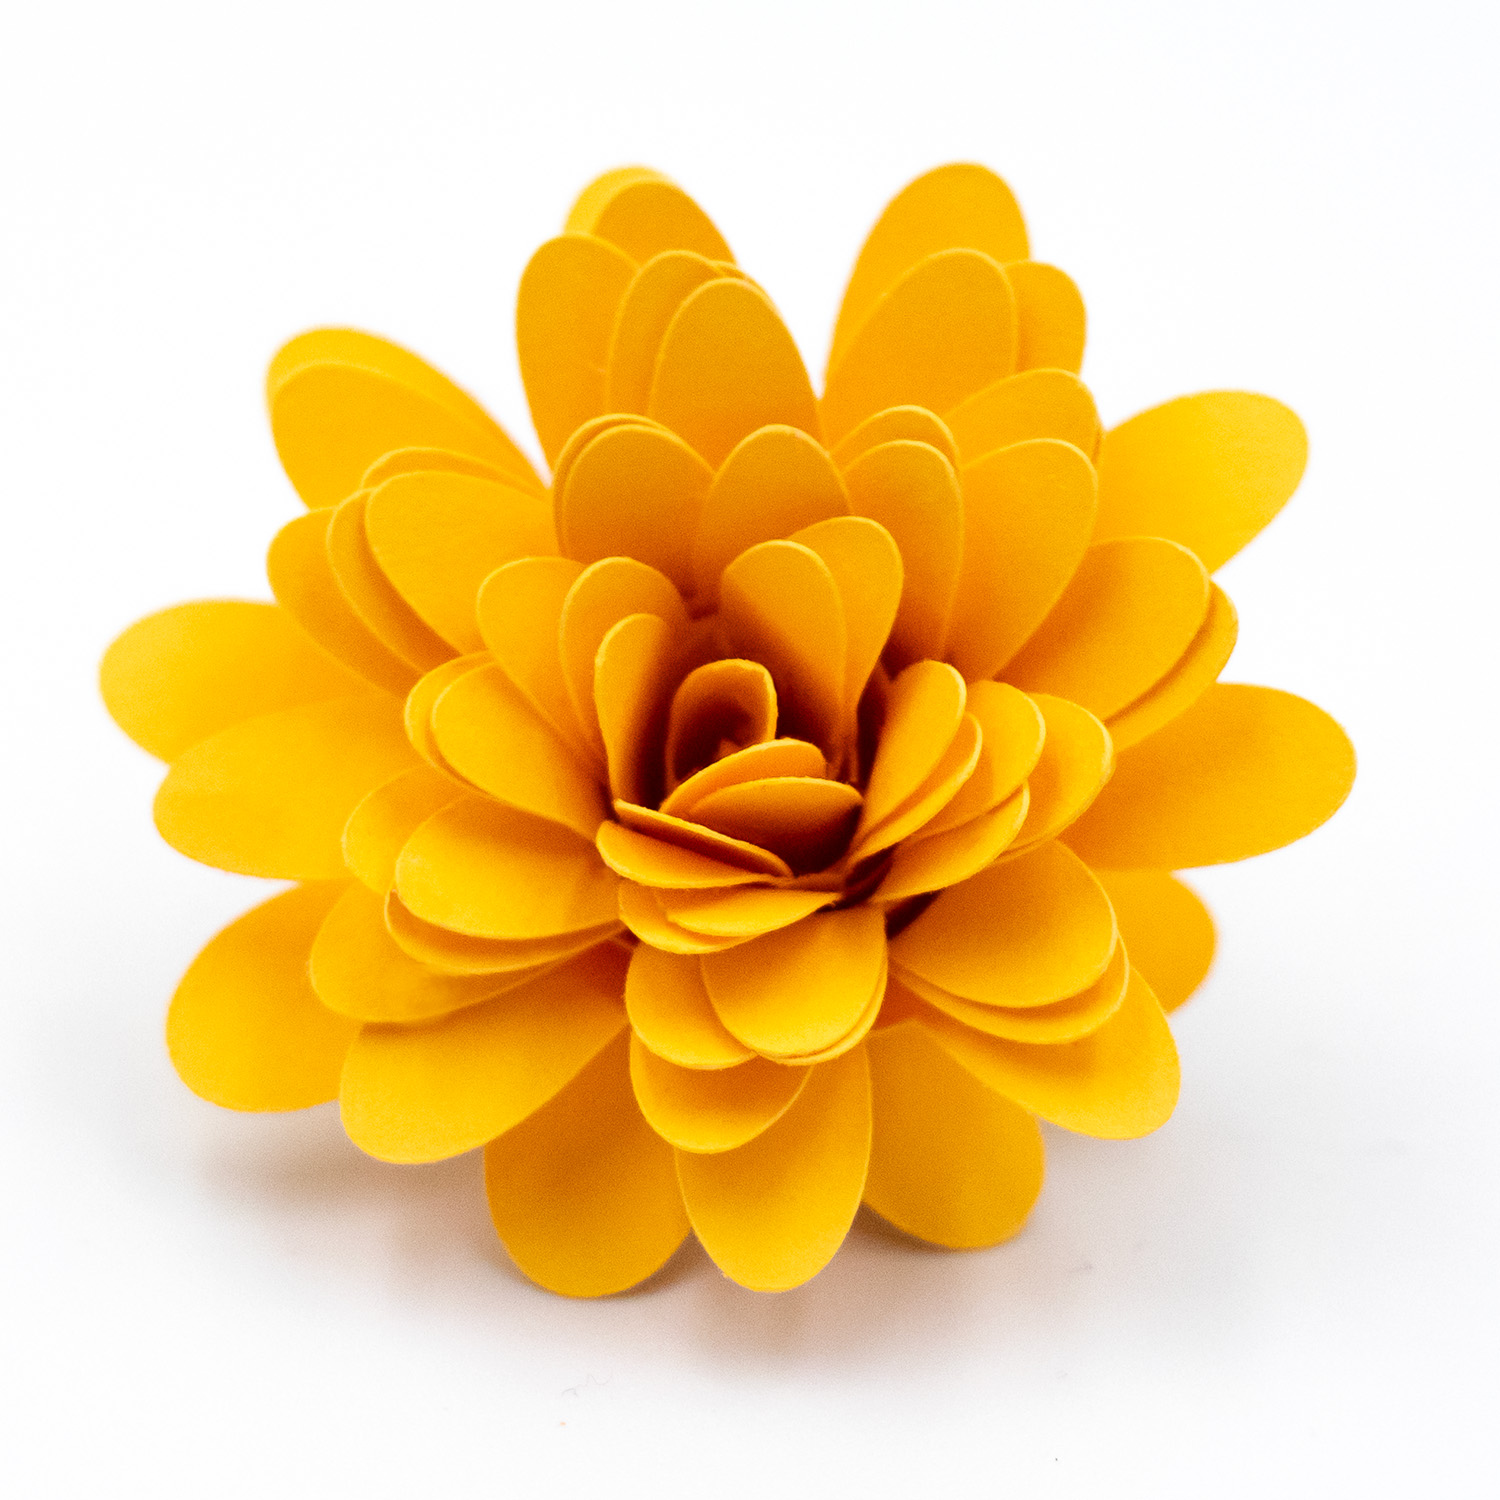
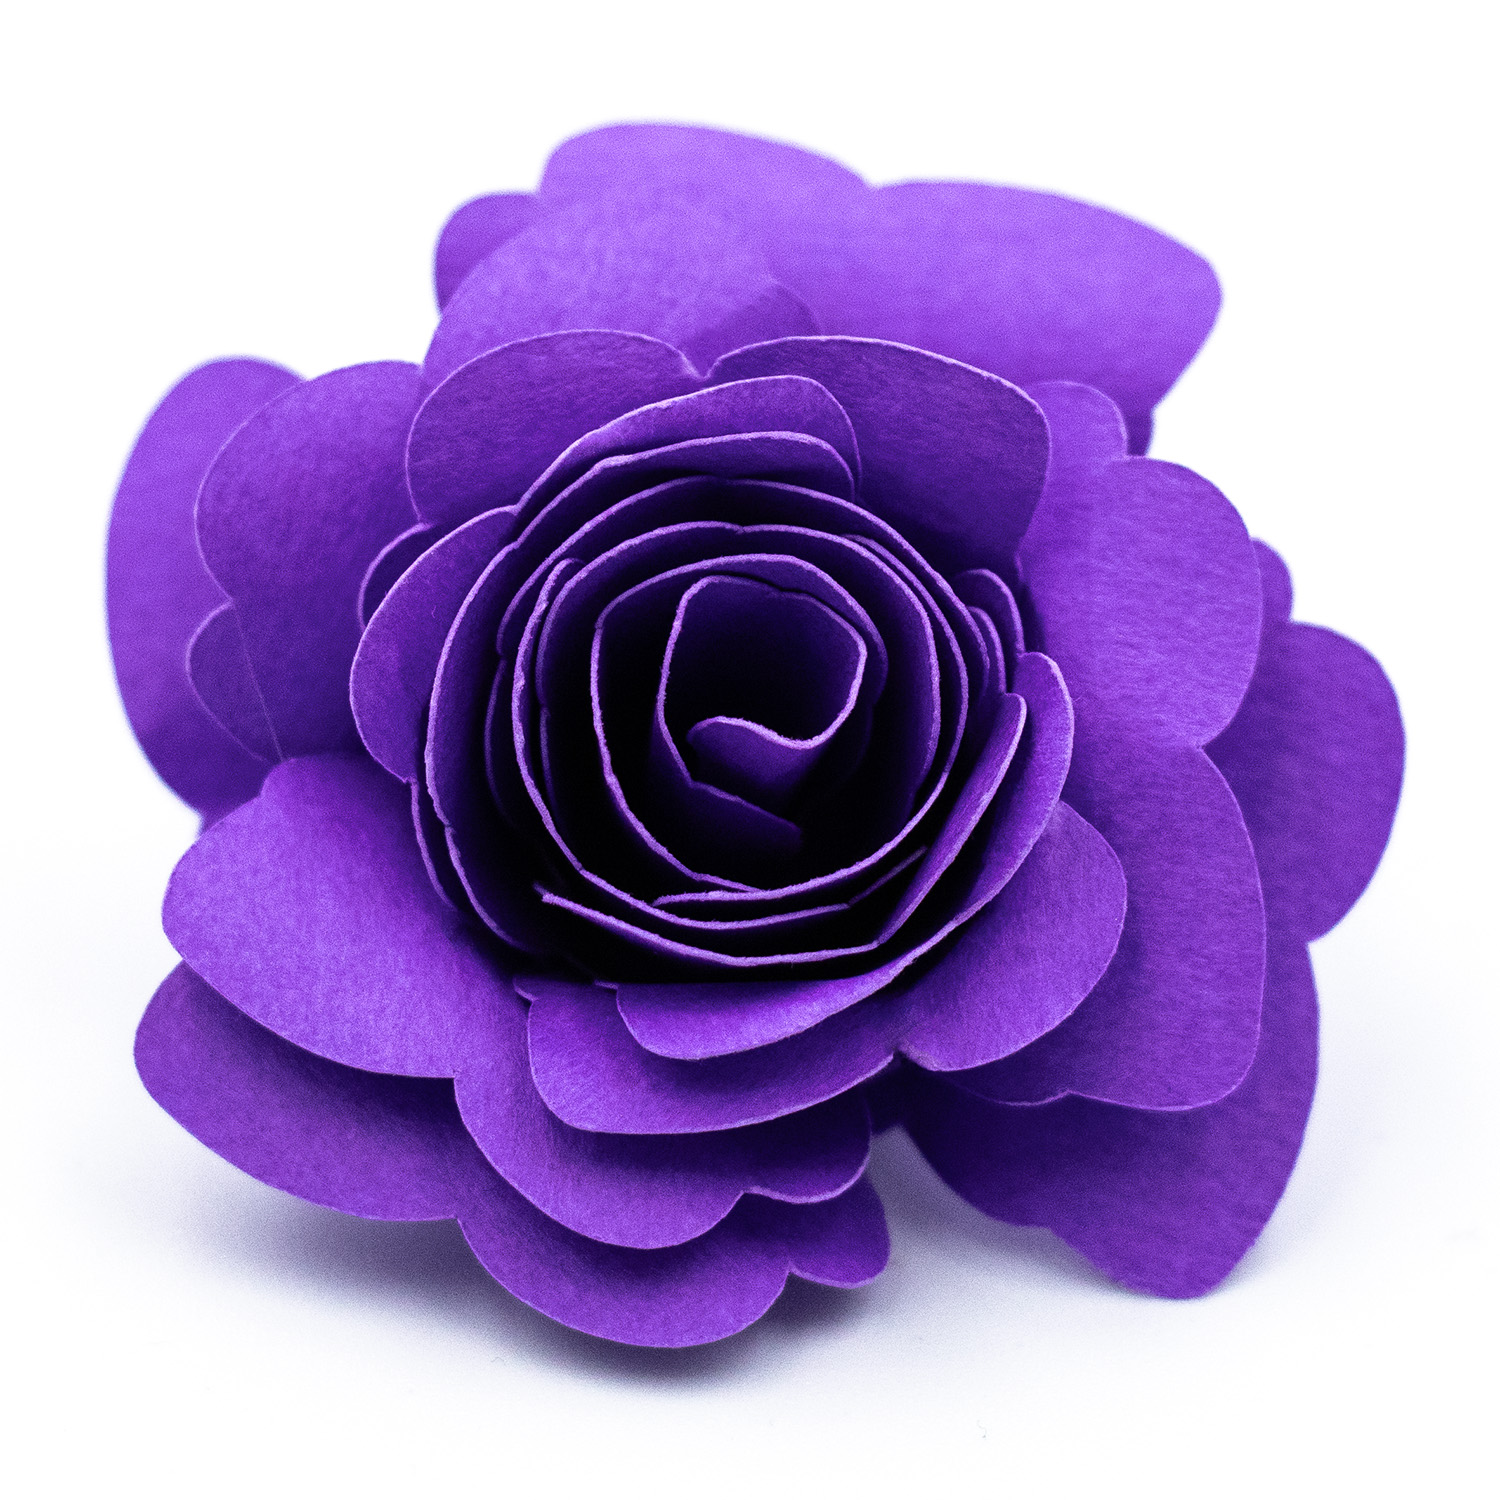
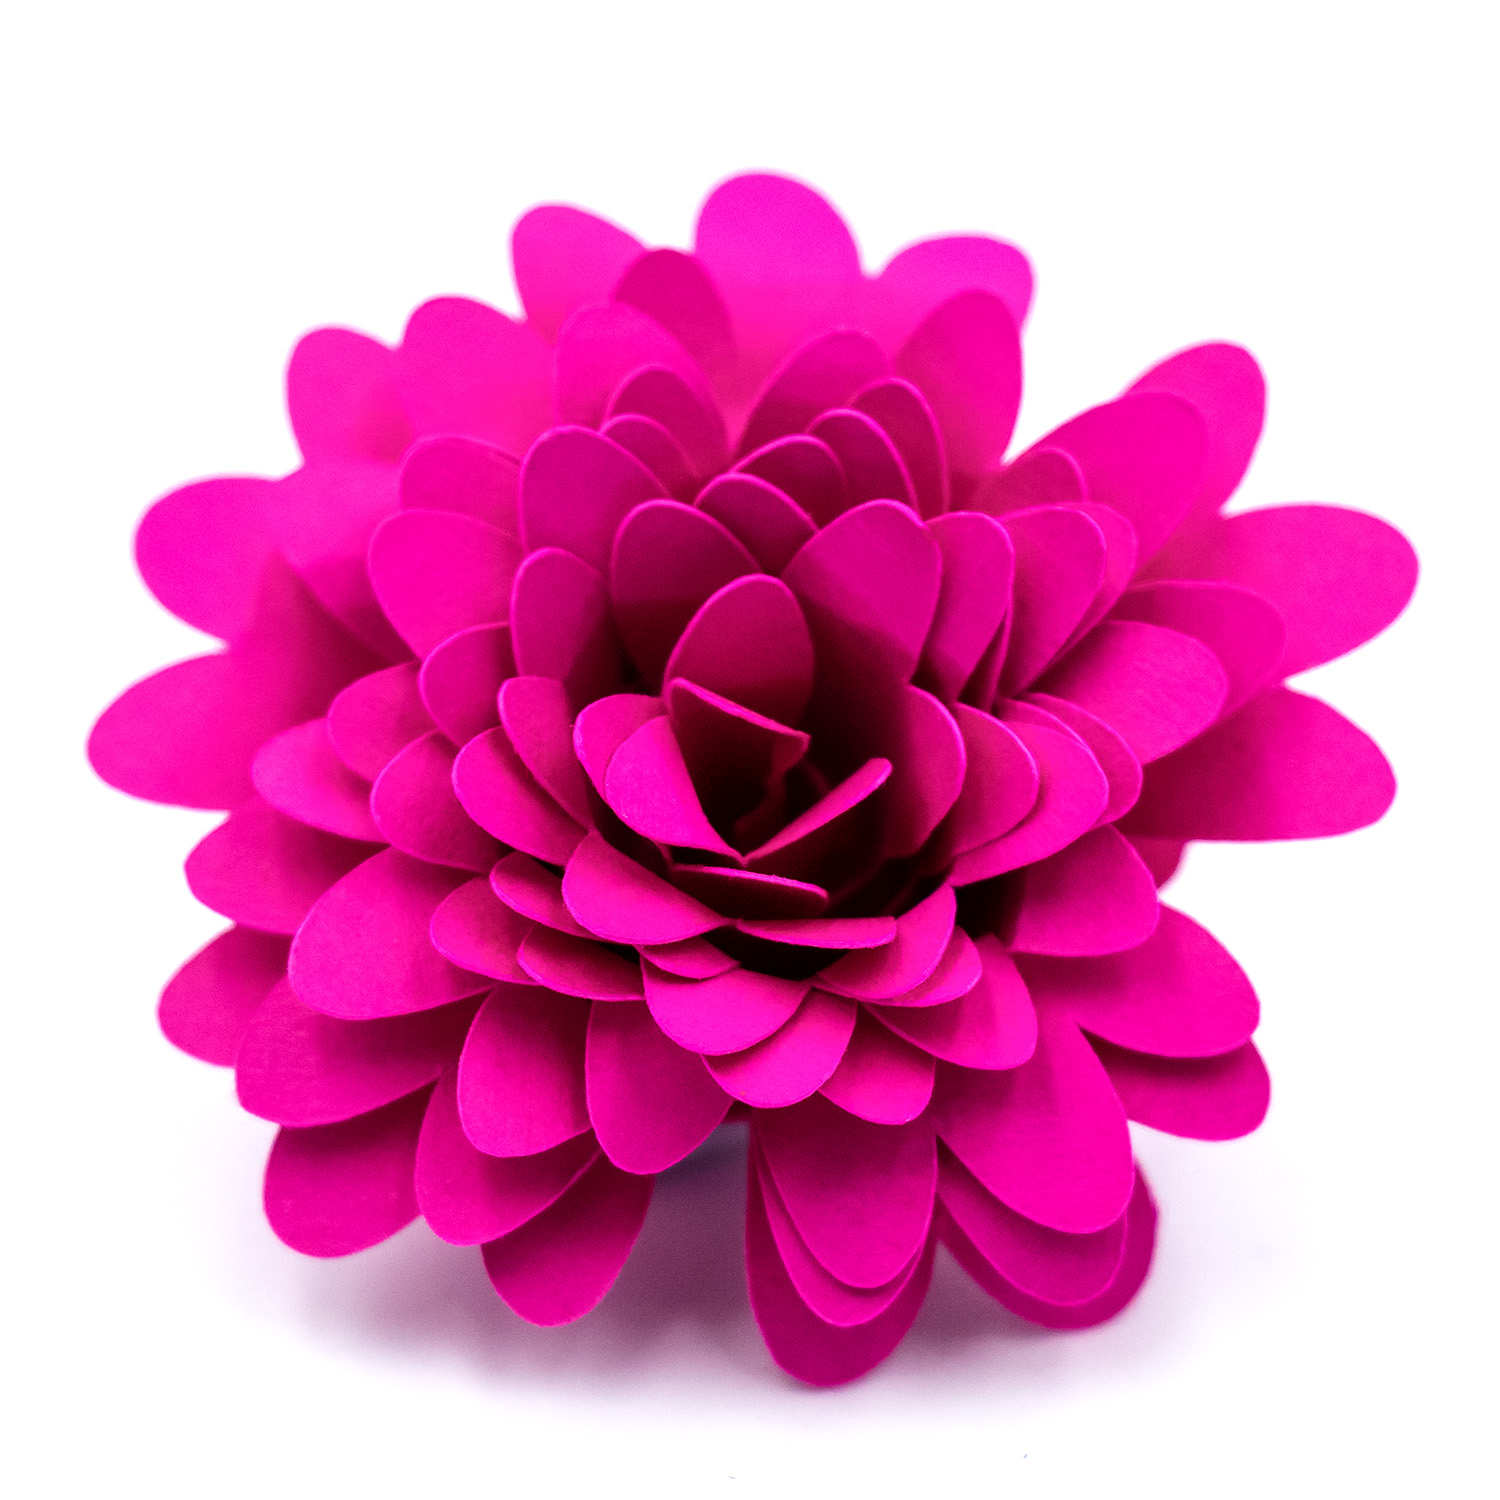
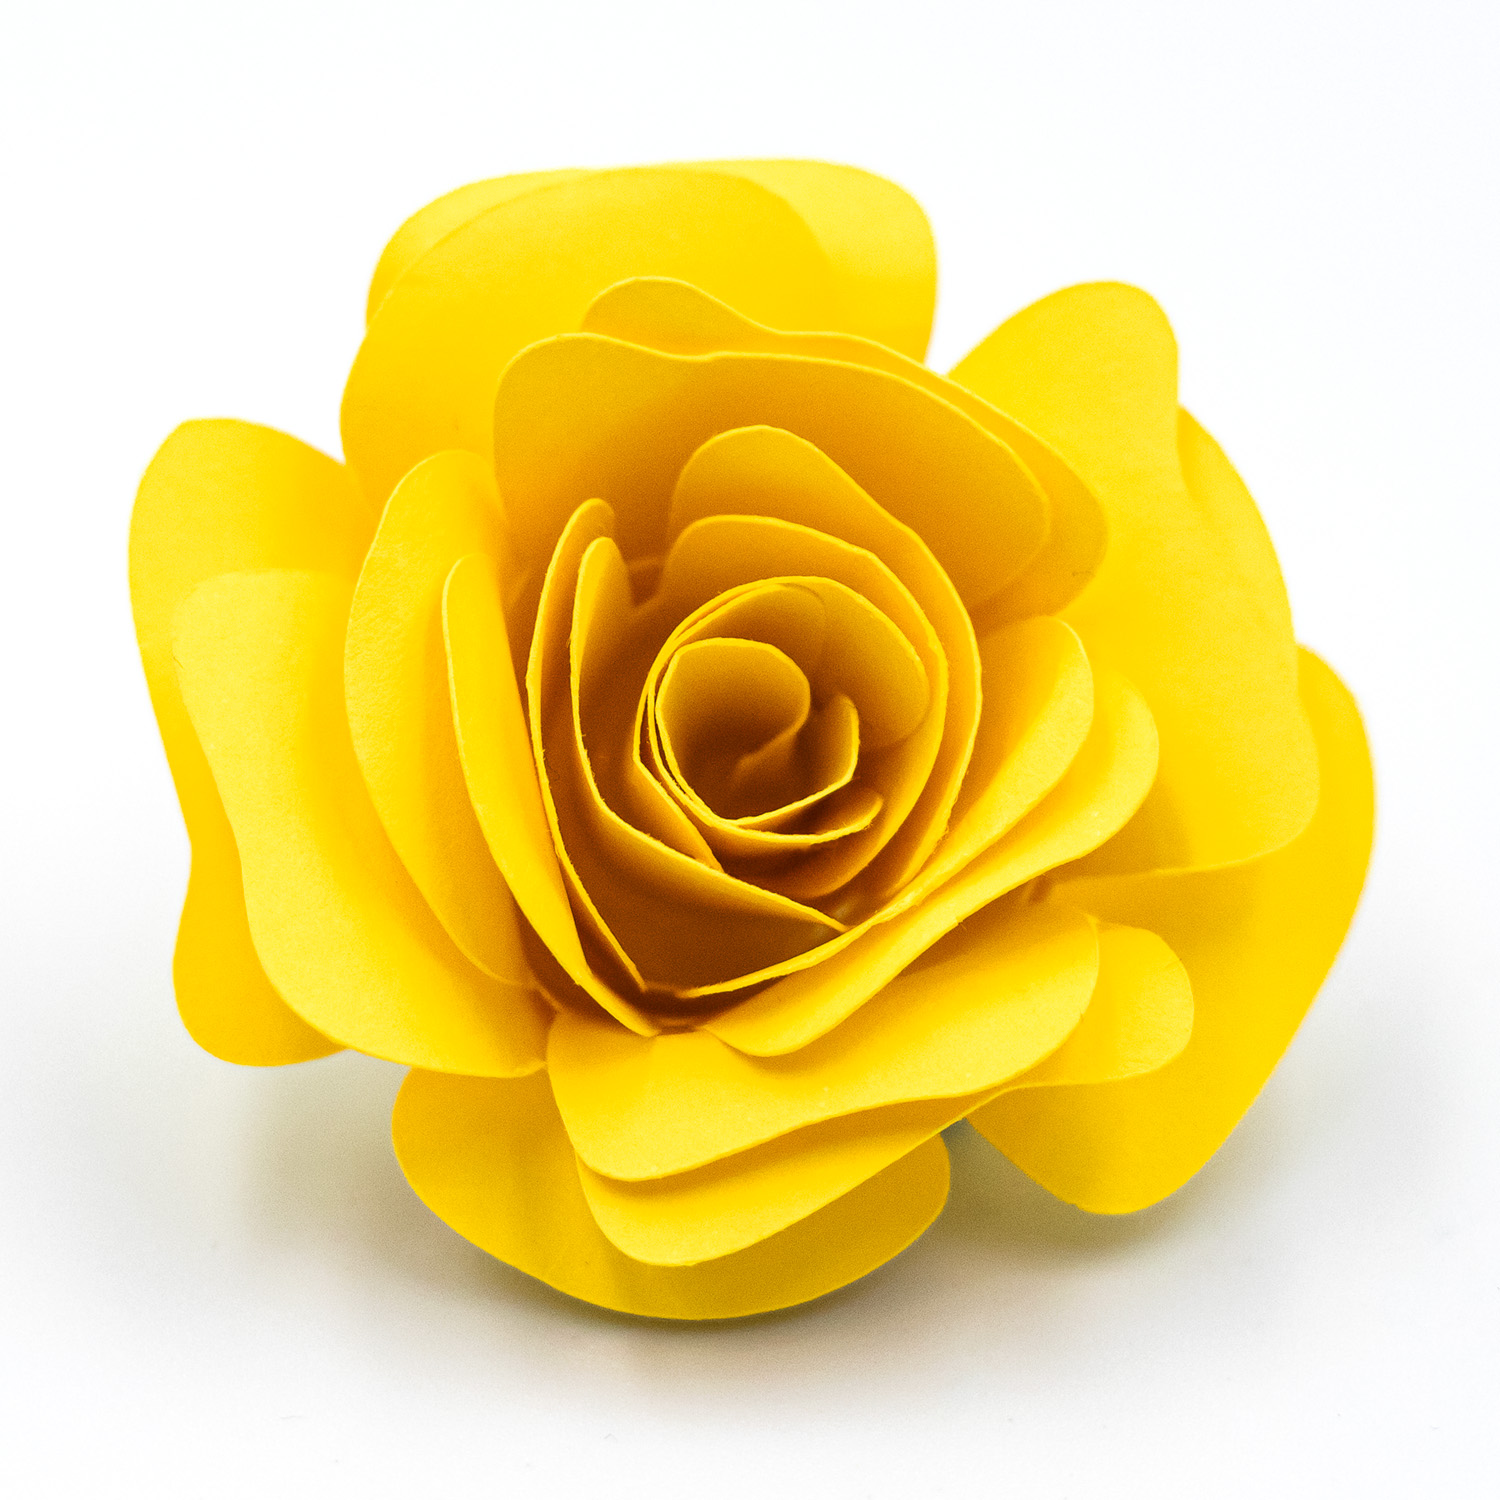
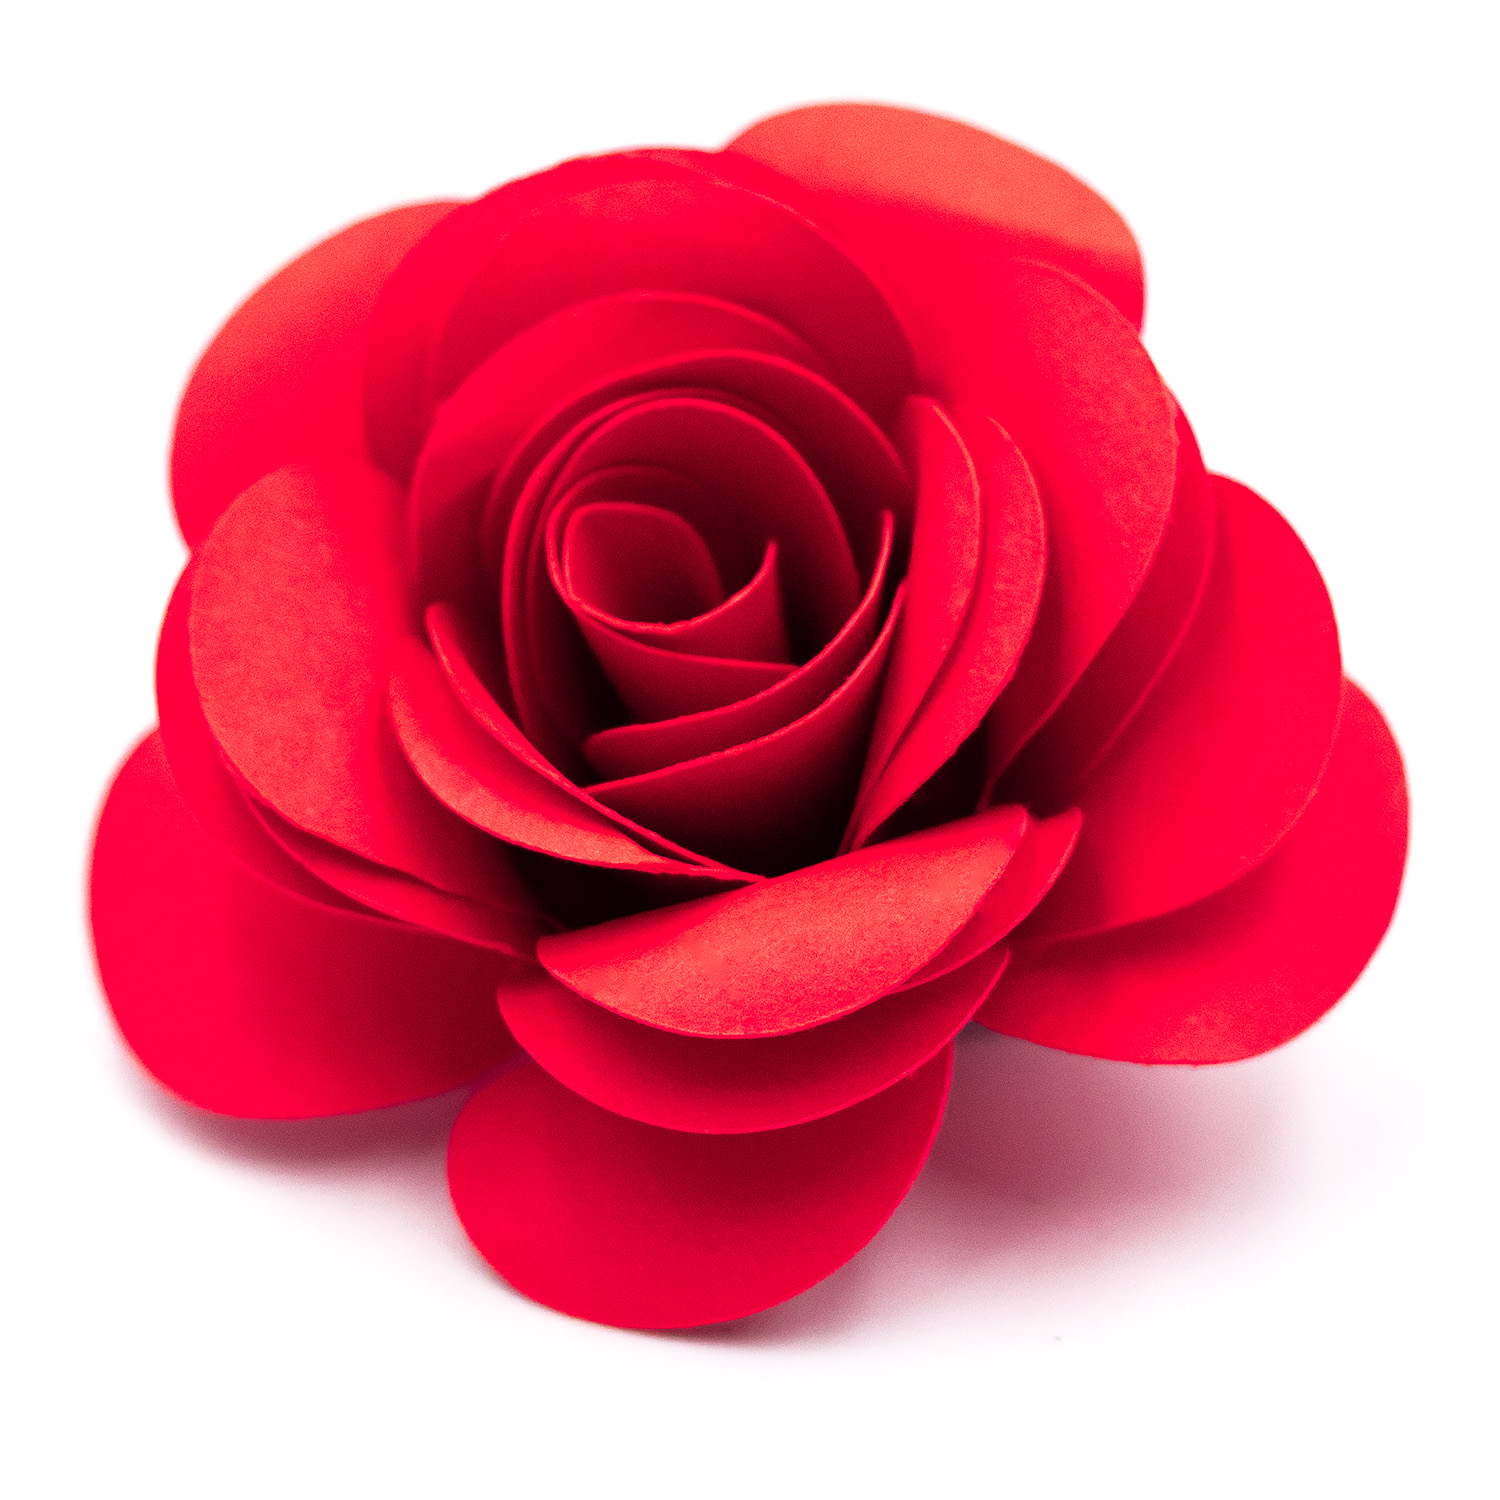
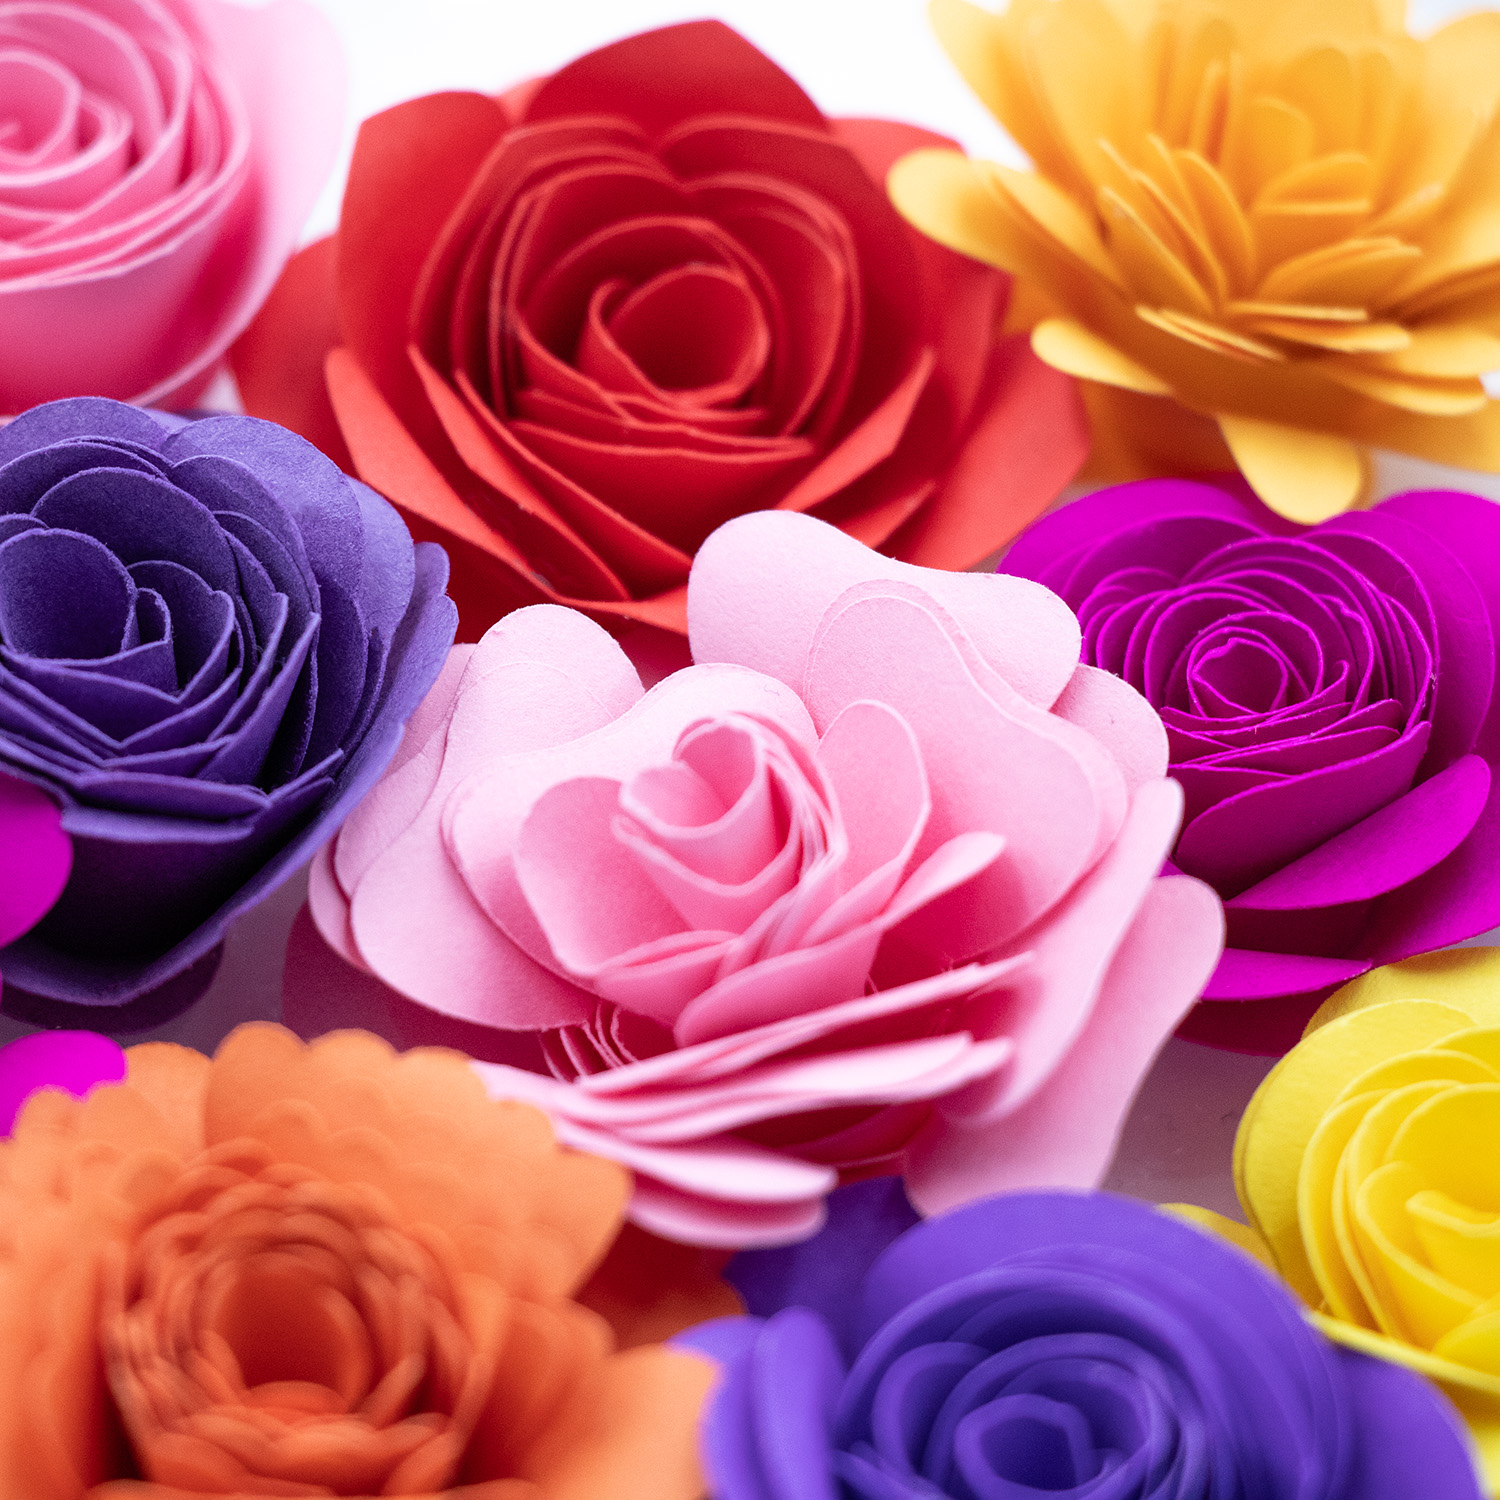
Rolled paper flowers are a beautiful, easy-to-make craft perfect for cardmaking, scrapbooking, home décor, and party decorations. With just a few supplies, you can create realistic blooms in minutes. Prefer to watch and learn? Scroll on to the tutorial or further to the bottom to watch the step-by-step video on YouTube.

Shop Rolled Flower Designs:
- Almost Heart Shaped Petals Rolled Flower
- Asymmetrical Scalloped Petals Rolled Flower
- Rounded Scalloped Petals Rolled Flower
- Heart Shaped Petals Rolled Flower
- Open Round Petal Rolled Flower
- Wide Oval Petal Rolled Flower
- Gently Pointed Petals Rolled Flower
- Spiky Petal Rolled Flower
- Round Petal Rolled Flower
- Scalloped Petal Rolled Flower
- Wavy Petals Rolled Flower
- Long Oval Petals Rolled Flower
- Sculpted Petal Rolled Flower SVG Design
- Full Bloom Triple Petal Rolled Flower SVG
- Mixed Petal Rolled Flower SVG for Crafts
- Rose Style Rolled Flower with Round Petals
Materials Needed
- Rolled flower cut file
- Cutting machine
- Paper or cardstock (65–80 lb or 176–230 gsm works best)
- Quilling tool or tweezers
- Hot glue or tacky craft glue
- Optional: inking, shaping tools, glitter, floral wire
Step-by-Step Instructions:
- Cut the Spiral Shape:
Use your cutting machine or scissors to cut out a spiral flower shape from your chosen paper. The design should have scalloped or curved edges for the petal effect. - Start Rolling from the Outside:
Begin at the outer edge of the spiral. Use a quilling tool or tweezers to start rolling the paper inward, keeping the bottom edge aligned as much as possible. Wider petal designs with gaps between them require a little more care to ensure petals fold in as you wind the spiral. - Roll to the Centre:
Continue rolling until you reach the flat circle at the centre of the spiral. This circle acts as the flower’s base. - Let It Loosen Slightly:
Once rolled, gently release the flower so the petals can relax into a more natural shape. Adjust tightness to your liking. - Glue the Base:
Apply a generous amount of hot glue to the centre circle and press the rolled petals into it. Hold for a few seconds until secure. - Finish & Shape:
You can lightly curl the petal edges outward with your fingers or a shaping tool like a thin paintbrush or similar tool. Add ink or embellishments if desired.
Tips:
- For more realistic flowers, use double-sided cardstock or ink the edges.
- Larger spirals create fuller flowers; tighter rolls form buds.
- Use a thin paintbrush handle or similar to gently curl petals outward for added dimension.
Rolled paper flowers can be layered, grouped, or used alone for endless DIY possibilities.
This tutorial contains affiliate links. If you purchase through them, I may earn a small commission at no extra cost to you.
Subscribe to the Clikchic Designs Newsletter and get a FREEBIE! There are ongoing freebies as well. Don't worry, we won't inundate you with emails.