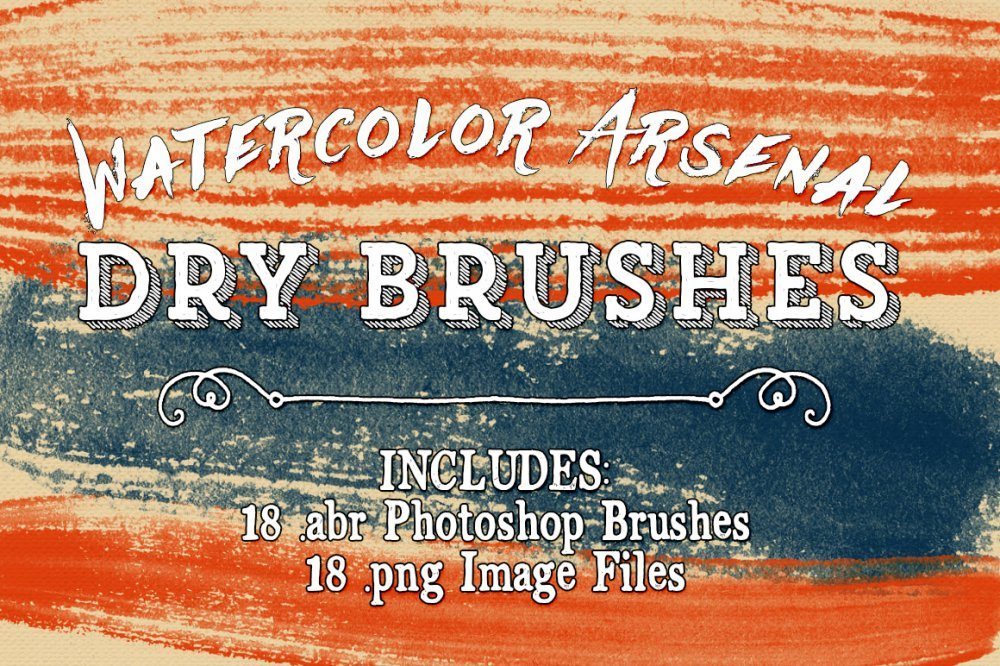
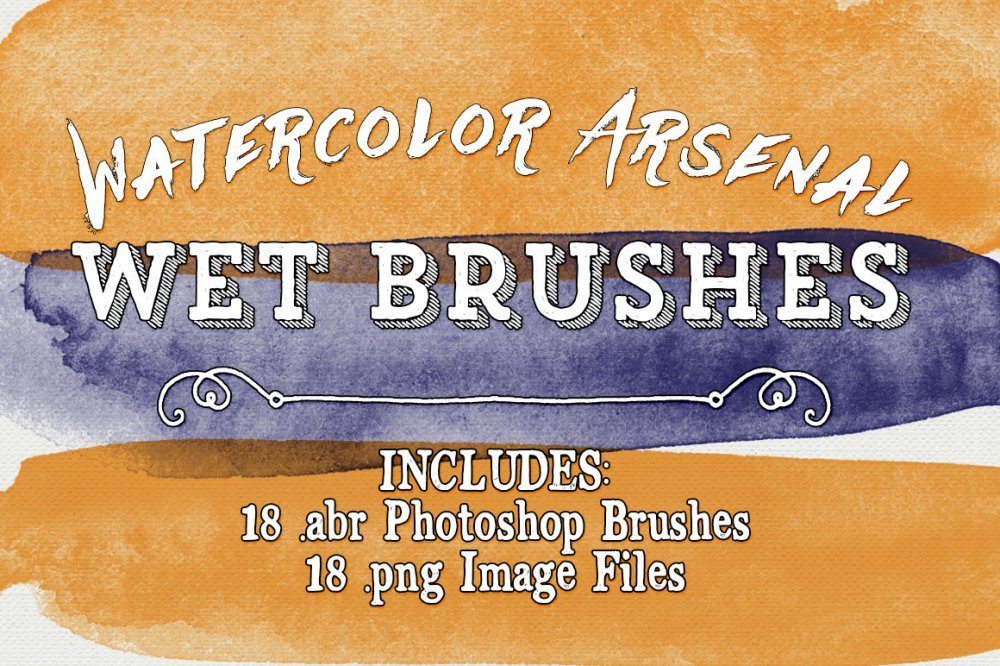
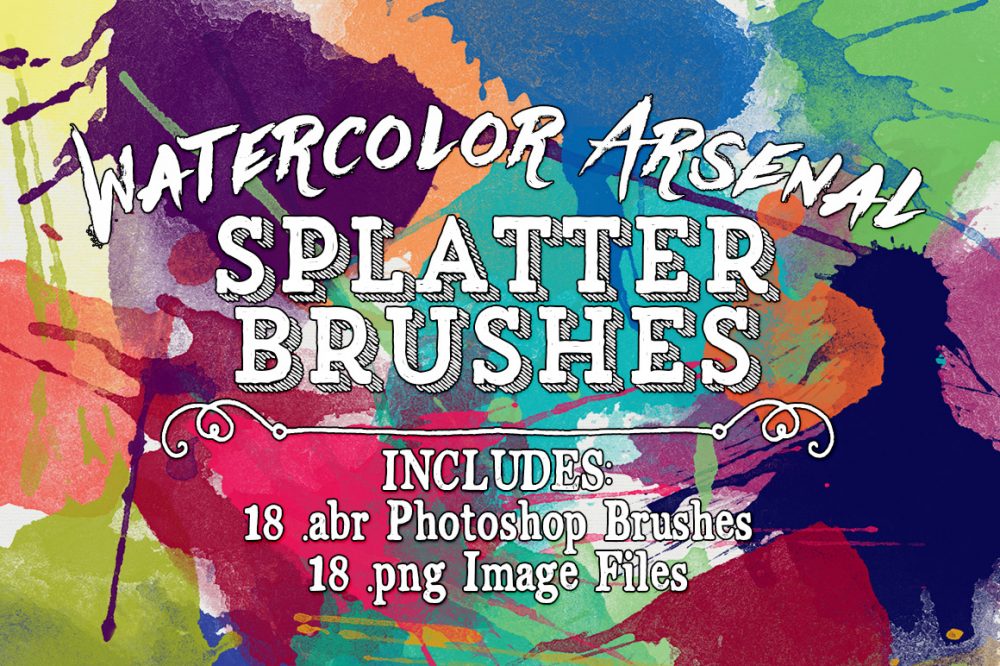
These Watercolor Arsenal Brushesare perfect for adding a touch of whimsy, artistry or a little bit of urban grunge to your layouts, whether it be childish paint strokes or arty brush strokes, the options are endless. These brush sets include both the original .png image files and Photoshop Brushes (.abr). Experiment with a variety of color and blend modes to maximize the versatility of this set.
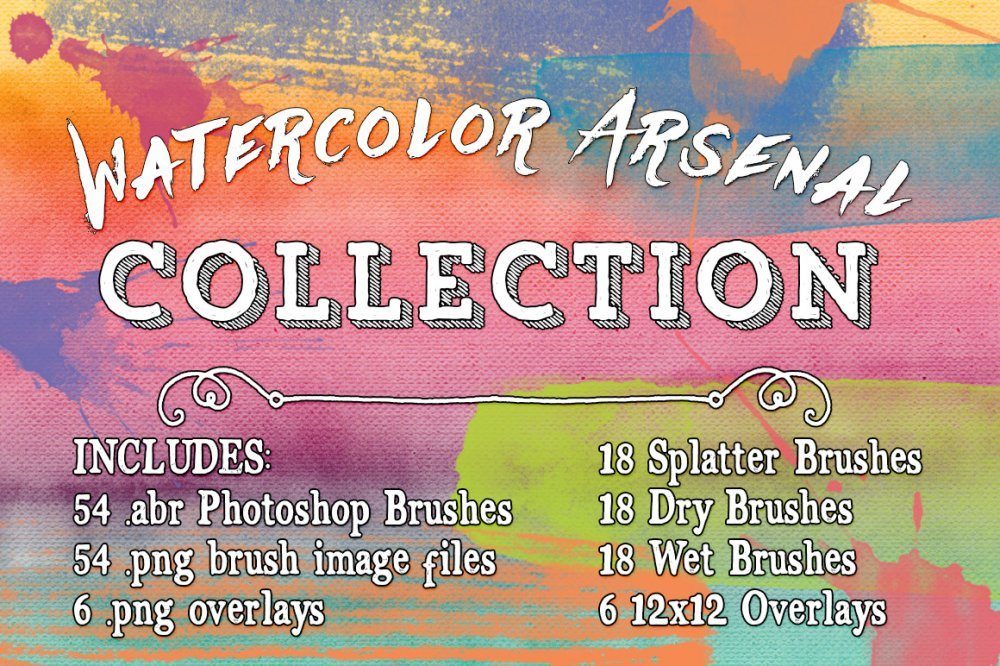
The Watercolor Arsenal Brushes come in sets of Dry Brushes, Wet Brushes, Splatter Brushes and a set of Watercolor Overlays. Read on to find out where you can get these sets!
The Watercolor Arsenal Dry brushes are available in the following stores.
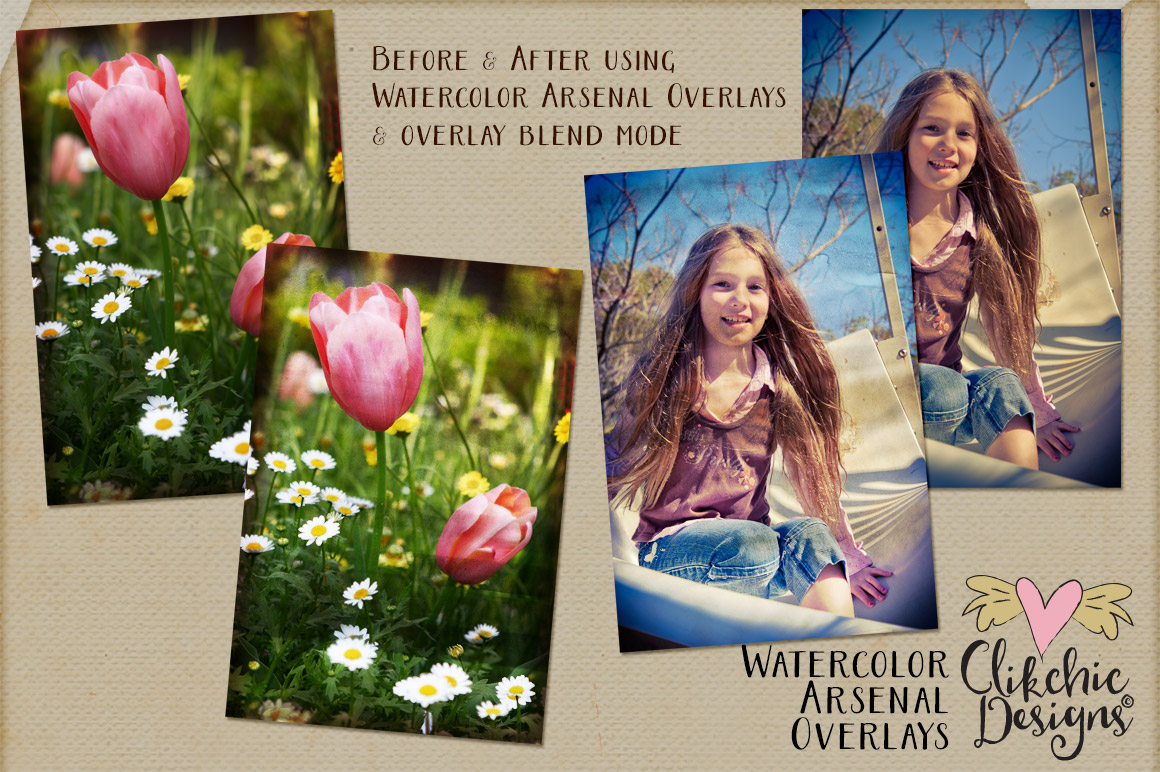
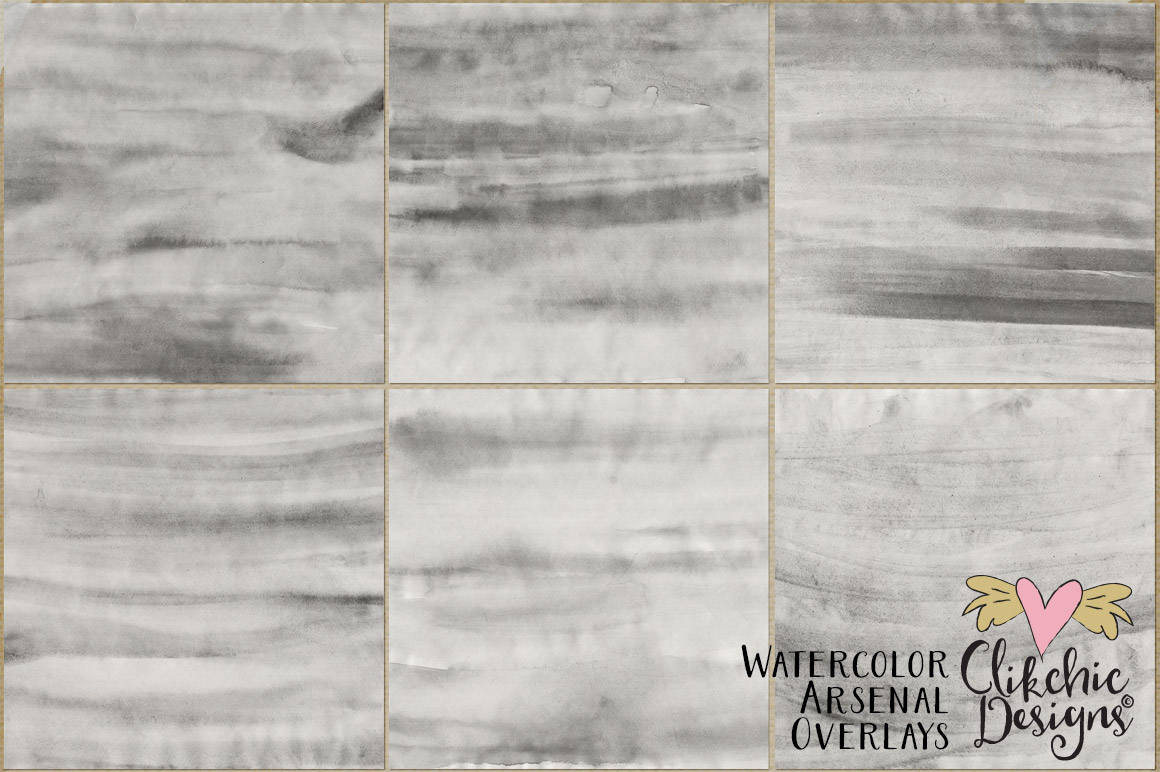
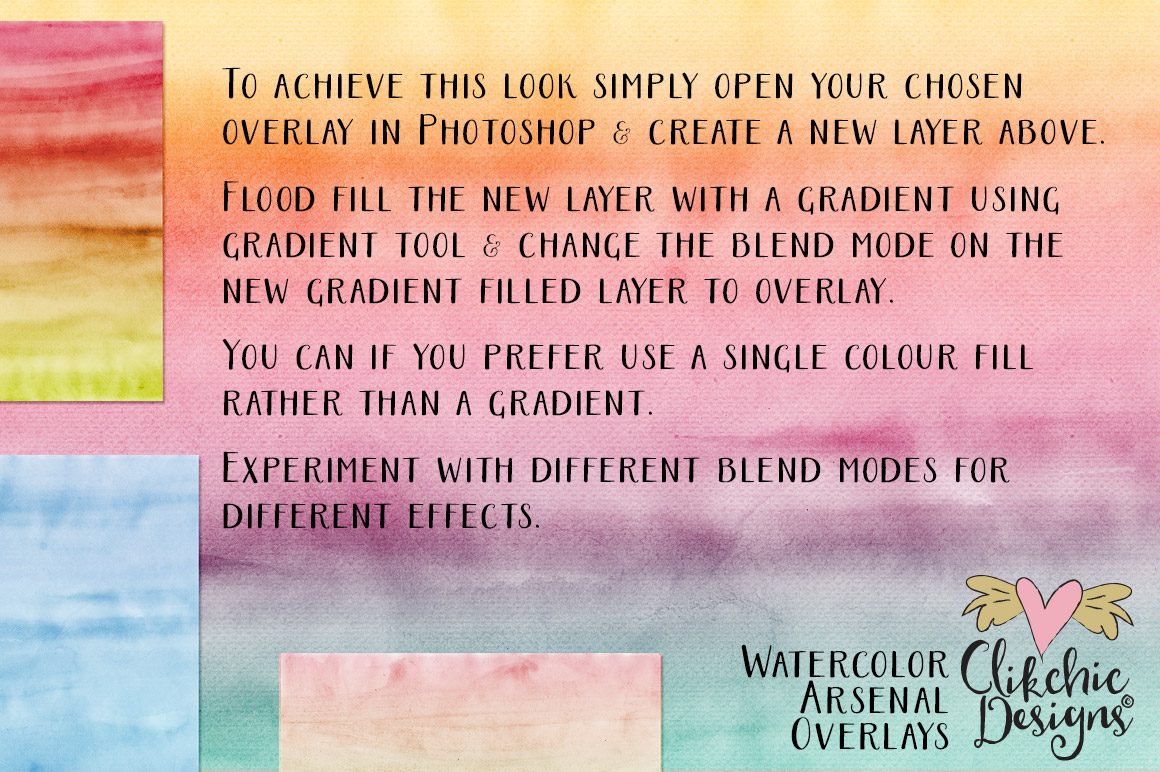
Also available is theWatercolor Arsenal Overlays to complete your collection! These Watercolor Arsenal Overlays are perfect for adding a touch of whimsy and artistry to your digital scrapbook layouts, art journal, altered art, photos and other creative projects. These six fabulous overlays are so versatile you will wonder what you did without them. You can use them to give a watercolor look to your backgrounds, photos or anything else you choose. The Watercolor Arsenal Overlays set includes 6 Water Color Overlays in the form of 12×12″ .png files. Experiment with a variety of colour and blend modes to maximize the versatility of this set.
The Watercolor Arsenal Overlays are available in the following stores.
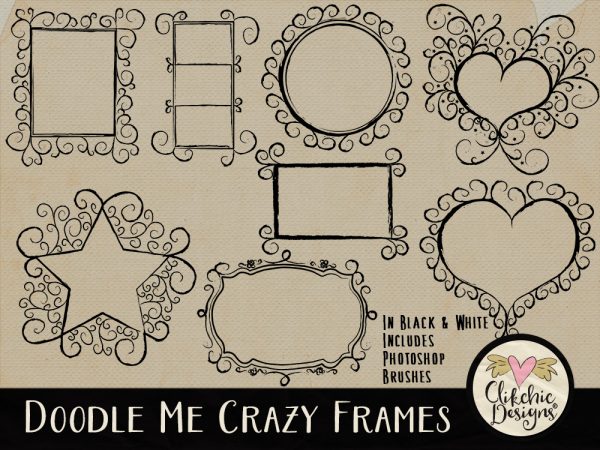
This cute and funky set of grungy doodle frames is a must have for any digital scrapbooking or graphic design collection. The versatility of these frames which are large in size will mean you will find a use for them over and over again. Included with the set are a set of Photoshop brushes (.abr) to make them even more versatile as well as each frame in black and white .png files. Experiment with different colours and blend modes to expand their use even further. Check out my Doodle Me Crazy Photoshop Brushes in my Etsy Store and my Clikchic Designs Store.
It is not often I get a chance to join in on the DSP Speed Scrap chat, because I am usually at my day job, but I am on annual leave at the moment so was able to join in for a change. What a lot of fun! If you have never done one before I totally recommend trying it.
Anyway, here is my layout, I did it in around 50mins I think. I arrived late but finished as everyone was leaving the chat. Mind you I was chatting while I was scrapping and feeding the kids insatiable appetites! What is it about school holidays that makes them so hungry???
Anyway, here is the layout created with my Urban Myths Page Kit available in the DSP store.
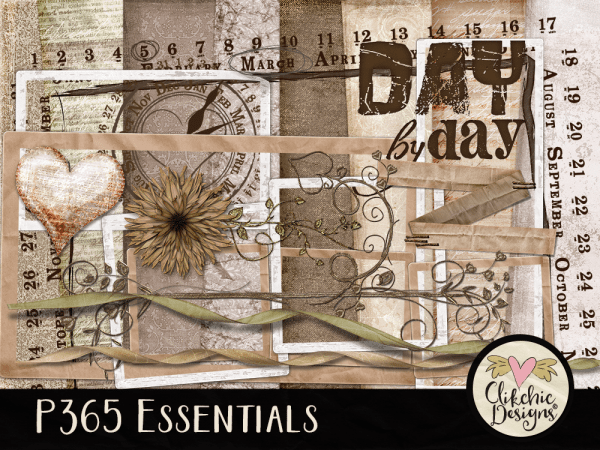
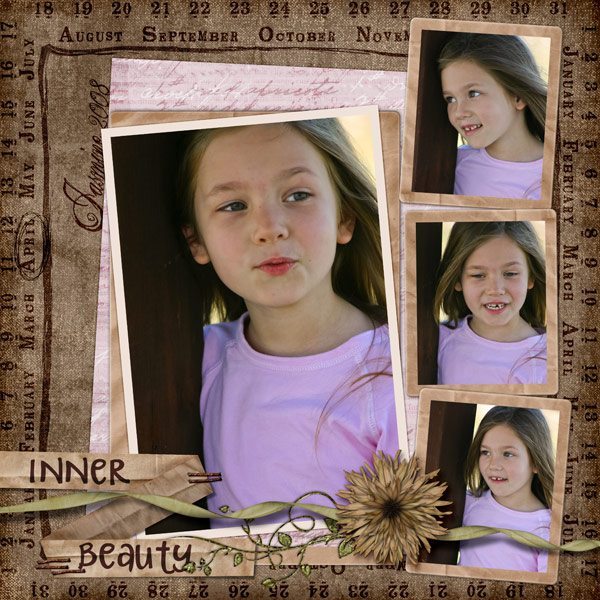
The Project 365 Essentials Digital Scrapbook Kit features pretty neutral tones that don’t overpower your photos, perfect for scrapping any P365 or photo a day photos you could have. The Project 365 Essentials Kit is perfect for all your Project 365, heritage, and nature digital scrapbook layouts as well as printable art, card making and more. The P365 Essentials Digital Scrapbook kit is great to scrap all those important day to day memories. The Project 365 Essentials Digital Scrapbook Kit is available in my Etsy store and Clikchic Designs store.
These six fabulous Watercolor Arsenal Overlays are so versatile you will wonder what you did without them. You can use them to give a watercolor look to your backgrounds, photos or anything else you choose. Experiment with blend modes for different effects. The blend mode on the sample photos is Overlay. Stack the overlay’s over papers and photos for even more interesting effects. Watercolor Arsenal Overlays are available in the stores llisted below.
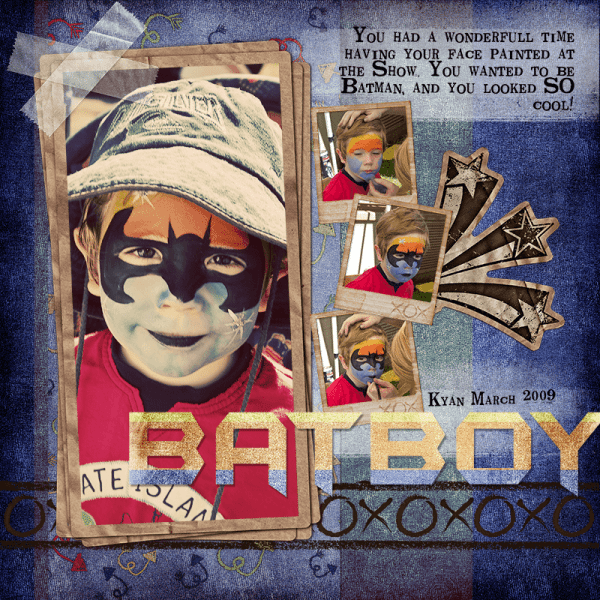
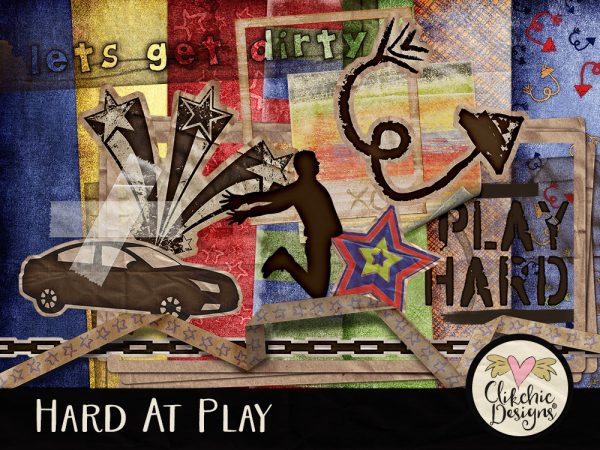
I created a layout with my Hard At Play Digital Scrapbook Kit last night. Kyan got his face painted at the local show in March and of course wanted to be Batman, the superhero fan that he is. Hard at Play is available in my Etsy Store.
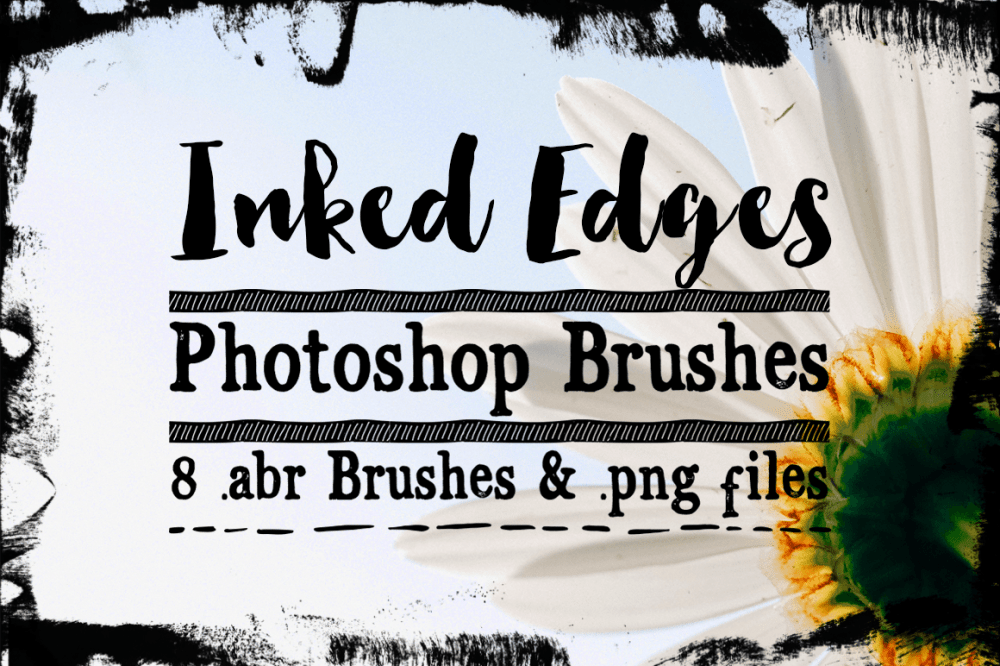
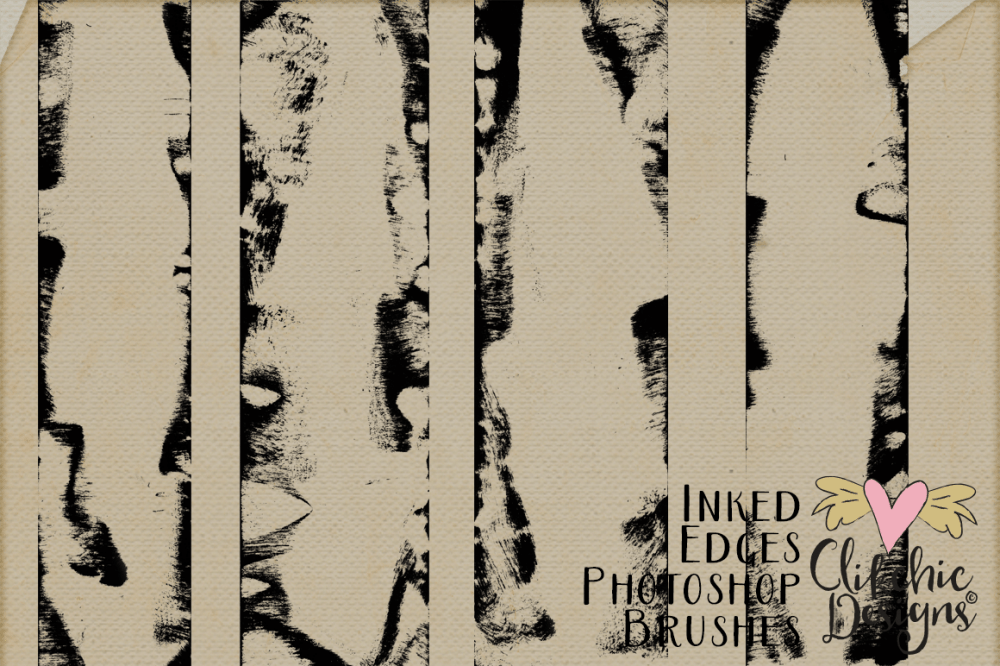
Have you ever wanted to add some ink to your layouts, well now is your chance! These gorgeously grungy brushes come in both .png and .abr Photoshop brush format within the set, for maximum usage options. The black .png images are easy to recolour or to create into brushes in your own program of choice, or if you have Photoshop just load the brush set and you are ready to go! A must have item for any die hard digiscrapper!
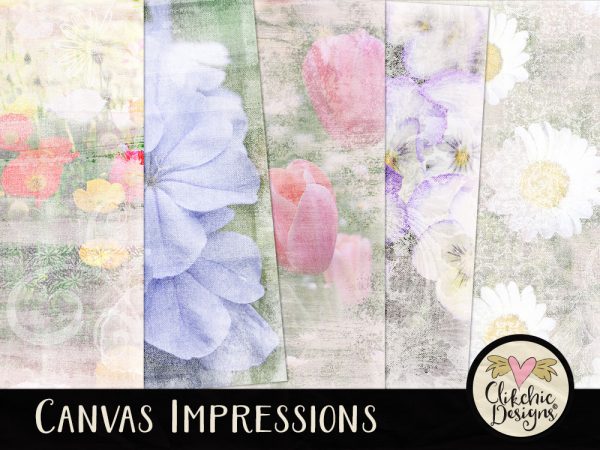
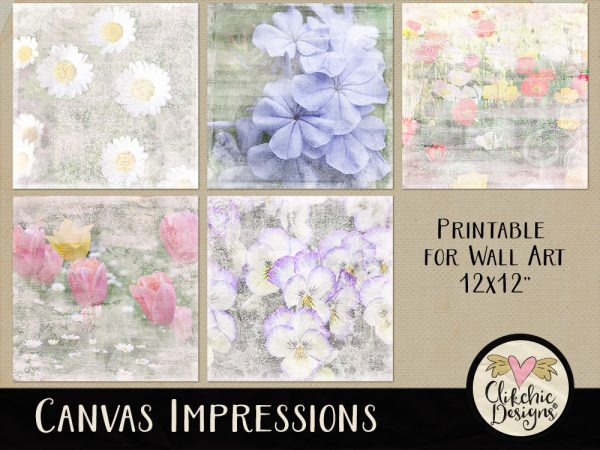
Canvas Impressions is now available in my Etsy Store. These beautiful Canvas Impressions Digital Papers are so versatile you won’t be able get enough of them. Each of these stunning backgrounds have been created from original photographs taken in some local gardens. With their unique imagery they have true versatility. Use them to print on canvas or framed as artwork, use them for your layouts, cards, graphic design and printable projects. Use them on your spring layouts and experiment with them using blend modes in your layouts. Use them as photo book covers or make them into a feature on your scrapbook pages, the possibilities are endless!
The March Graphically Challenged at DSP is to ‘cross process’ a photo and create a layout with that photo. Cross processing is a traditional still film photography technique that can produce some really striking results, however you can achieve similar effects in Photoshop without messing with those stinky chemicals! I have done a tutorial to demonstrate how to achieve the effect in Photoshop The challenge is to create a layout using the cross processed photo and have it take up the entire page. I decided to scraplift a layout done by Klamb1111 because I loved the affect she created on her layout with the tutorial and had the perfect photo to use after Jasmine learnt how to ride her bike without training wheels over the weekend! Anyway, here is my layout using the technique, using the cross processed photo, blend modes and a background paper from my Altered Heart Page Kit.
Anyone who joins the online digiscrapping communities will notice the popularity of blinking avatars and ‘blinkies’. This tutorial teaches you how to easily create you very own blinking avatars and blinkies in Photoshop Elements. This tutorial was written in PSE4, if there are any changes in later versions, please do let me know so I can update the tutorial.
Creating Blinkie’s in Photoshop Elements 4+
You will be amazed at how easy it is to create blinkie’s in PSE4. It works a little differently to Photoshop CS, so if you are using PSCS check out our article on creating blinkies in Photoshop CS+.
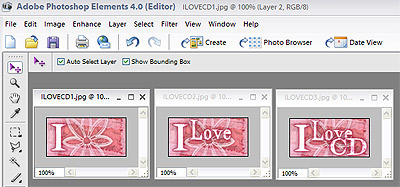
First we need to start with the images we wish to use for each frame of the animation. In PSE each frame of the animation must be a single layer. Below I have saved each combination of layers as a jpg file to enable each frame to be combined into a single file. Each file must have exactly the same dimensions. Open each of the .jpg files you intend to use for each frame.
Once you have all your frames ready, you need to compile them into several layers of one file.
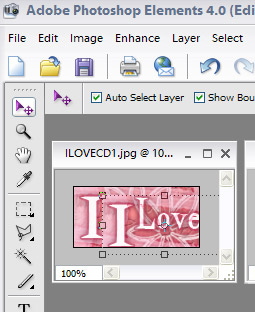
To do so click on and drag the second frame on top of the first frame. Then drag the third on top of the second. Do this as many times as you have frames in order that you wish them to appear. Make sure each layer is lined up correctly. For this blinkie there are only going to be 3 frames.
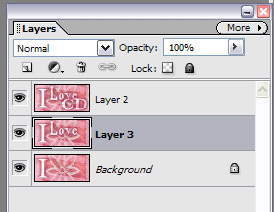
Once you have done this, you will see the three layers in your layers menu. Make sure that each frame is in the correct order. If they are not, you can correct them by dragging the incorrect layer into the correct position on your layers palette.
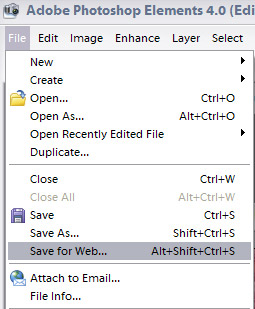
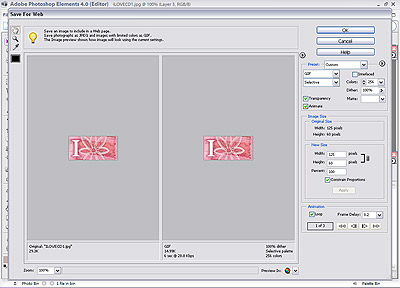
you have your layers ready to go it is time to Save For the Web. In the file menu, choose Save For Web.
A new window will open up as below.
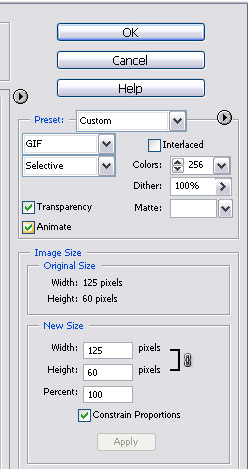
span style=”font-family: Verdana; color: rgb(0, 0, 0); font-size: x-small;”>The Optimised File Format needs to be set to GIF. Click in the Animate Box to select Animate. Other settings at the top of the screen can be left as is. IF you wish to compress your file size to make it smaller you may wish to adjust the colour setting to a smaller number.
If you wish to adjust the viewing size of your image you can do so using the settings in the ‘New Size’ section.
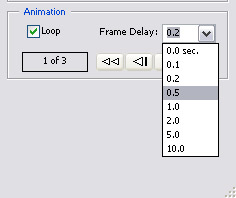
Ensure that the loop box is checked. I recommend a 0.5 sec delay as an optimum length of time to set the frame delay at.
Once you have set the frame delay click on ok and save the file to a easy to find place on your hard drive. Your blinkie is now ready for use.


Subscribe To Our Newsletter
Subscribe to receive the latest news and updates from Clikchic Designs. Get a FREEBIE just for subscribing!
You have Successfully Subscribed!