It’s been a while since I’ve shared new designs with you, and I wanted to take a moment to let you know why. I’ve been dealing with some health challenges over the past several months that have kept me away from my craft room and design table. While it’s been frustrating to step back from something I love so much, I’m grateful for the time to focus on healing.
But here’s the exciting news: I’m feeling better, and I’m back to creating! I’ve missed this creative community so much, and I couldn’t wait to share some fresh designs with you. Scroll on to find out more!
What’s New in the Shop
I’ve just released six beautiful new designs that I think you’re going to love:
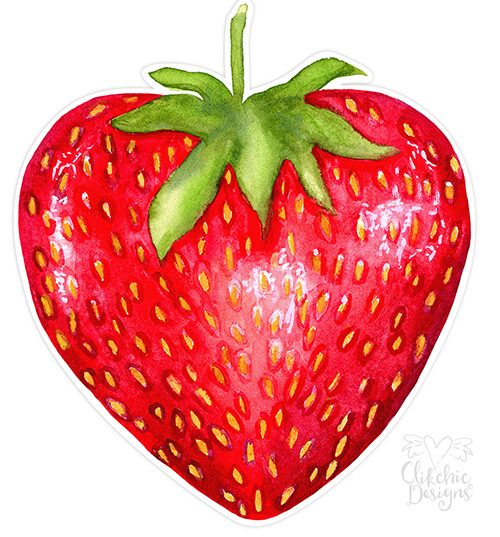
This sweet design combines the charm of watercolor strawberries in a heart shape. Perfect for Valentine’s Day projects, kitchen décor, or any project that needs a touch of berry sweetness. The print and cut format makes it super easy to create stunning results.
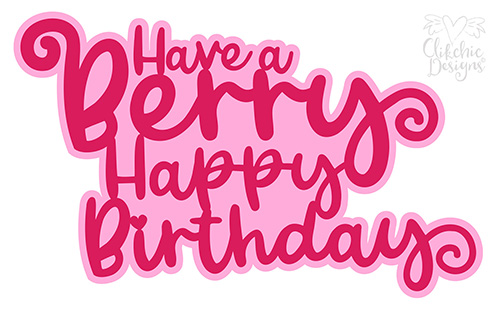
This adorable layered sentiment design brings together the berry theme with birthday wishes. The layered format creates beautiful dimension, and it’s surprisingly easy to assemble. Perfect for strawberry lovers and combines beautifully with the Print and Cut Strawberry for anyone who appreciates a punny birthday greeting!
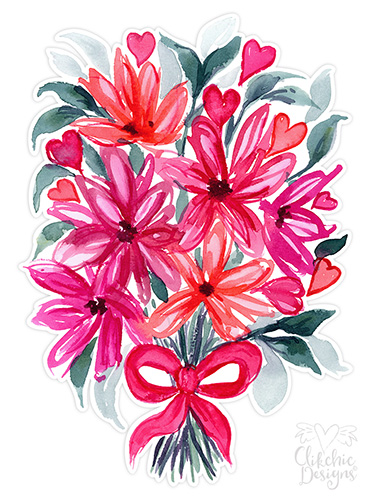
A romantic bouquet of hearts and flowers in gorgeous watercolor style. This design is ideal for cards, gift tags, scrapbook layouts, or home décor projects. The warm red and pink tones make it perfect for Valentine’s Day or any celebration of love.
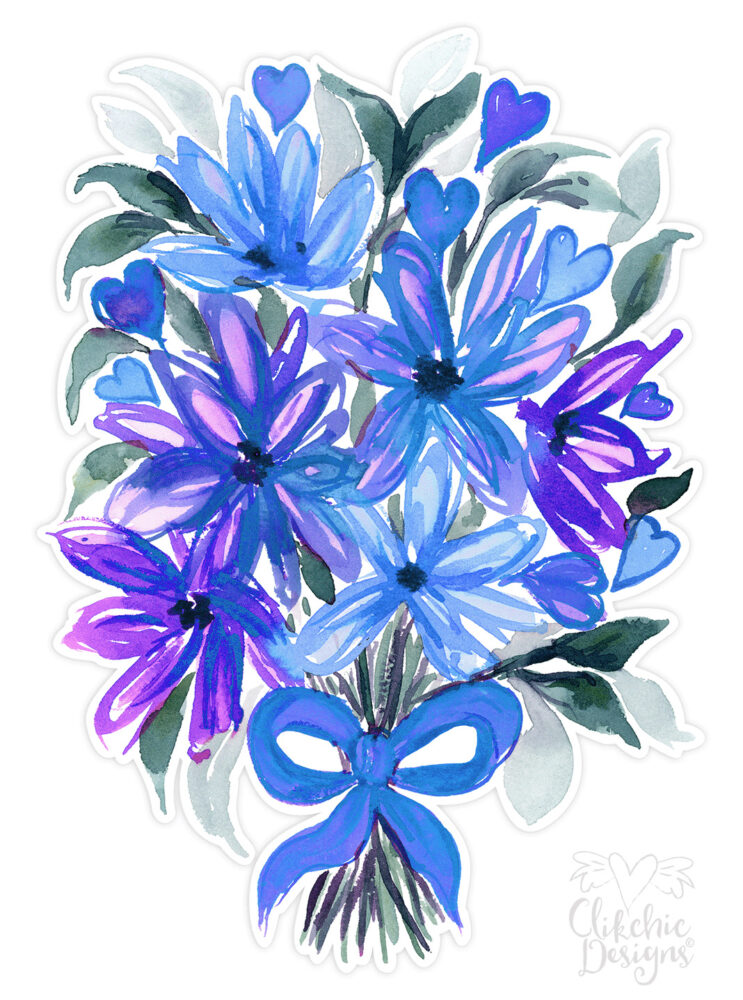
If you prefer cooler tones, this blue and purple version offers the same beautiful bouquet style with a serene, sophisticated color palette. Great for creating unique Valentine’s cards or gifts for those who love non-traditional color schemes.
A heartfelt thank you deserves a beautiful card, and this layered design delivers just that. The elegant sentiment layers create a polished, professional look that’s perfect for expressing gratitude. Whether you’re thanking a teacher, friend, or family member, this versatile design works for any occasion.
Celebrate a milestone birthday with this elegant layered sentiment! The 21st birthday is such a special occasion, and this design makes it easy to create a sophisticated card or décor piece. The layered elements add depth and visual interest that will make your project stand out.
Looking Ahead
I’m so excited to be creating again and have several more designs in the works. Thank you for your patience and continued support during my time away. Your enthusiasm for crafting and this wonderful community has been a real source of motivation for me.
I’d love to hear what you think of these new designs! Have you been working on any Valentine’s projects? What types of designs would you like to see more of? Drop a comment below and let me know.
Don’t forget to follow Clikchic Designs in the Silhouette Design Store to stay updated on all my latest releases.
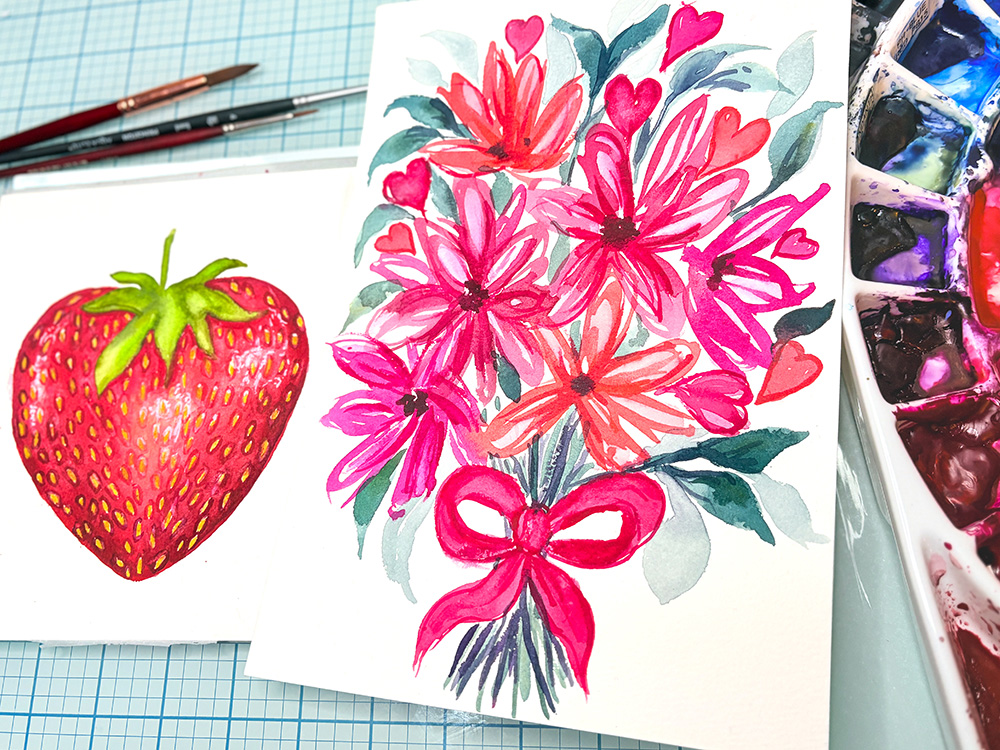
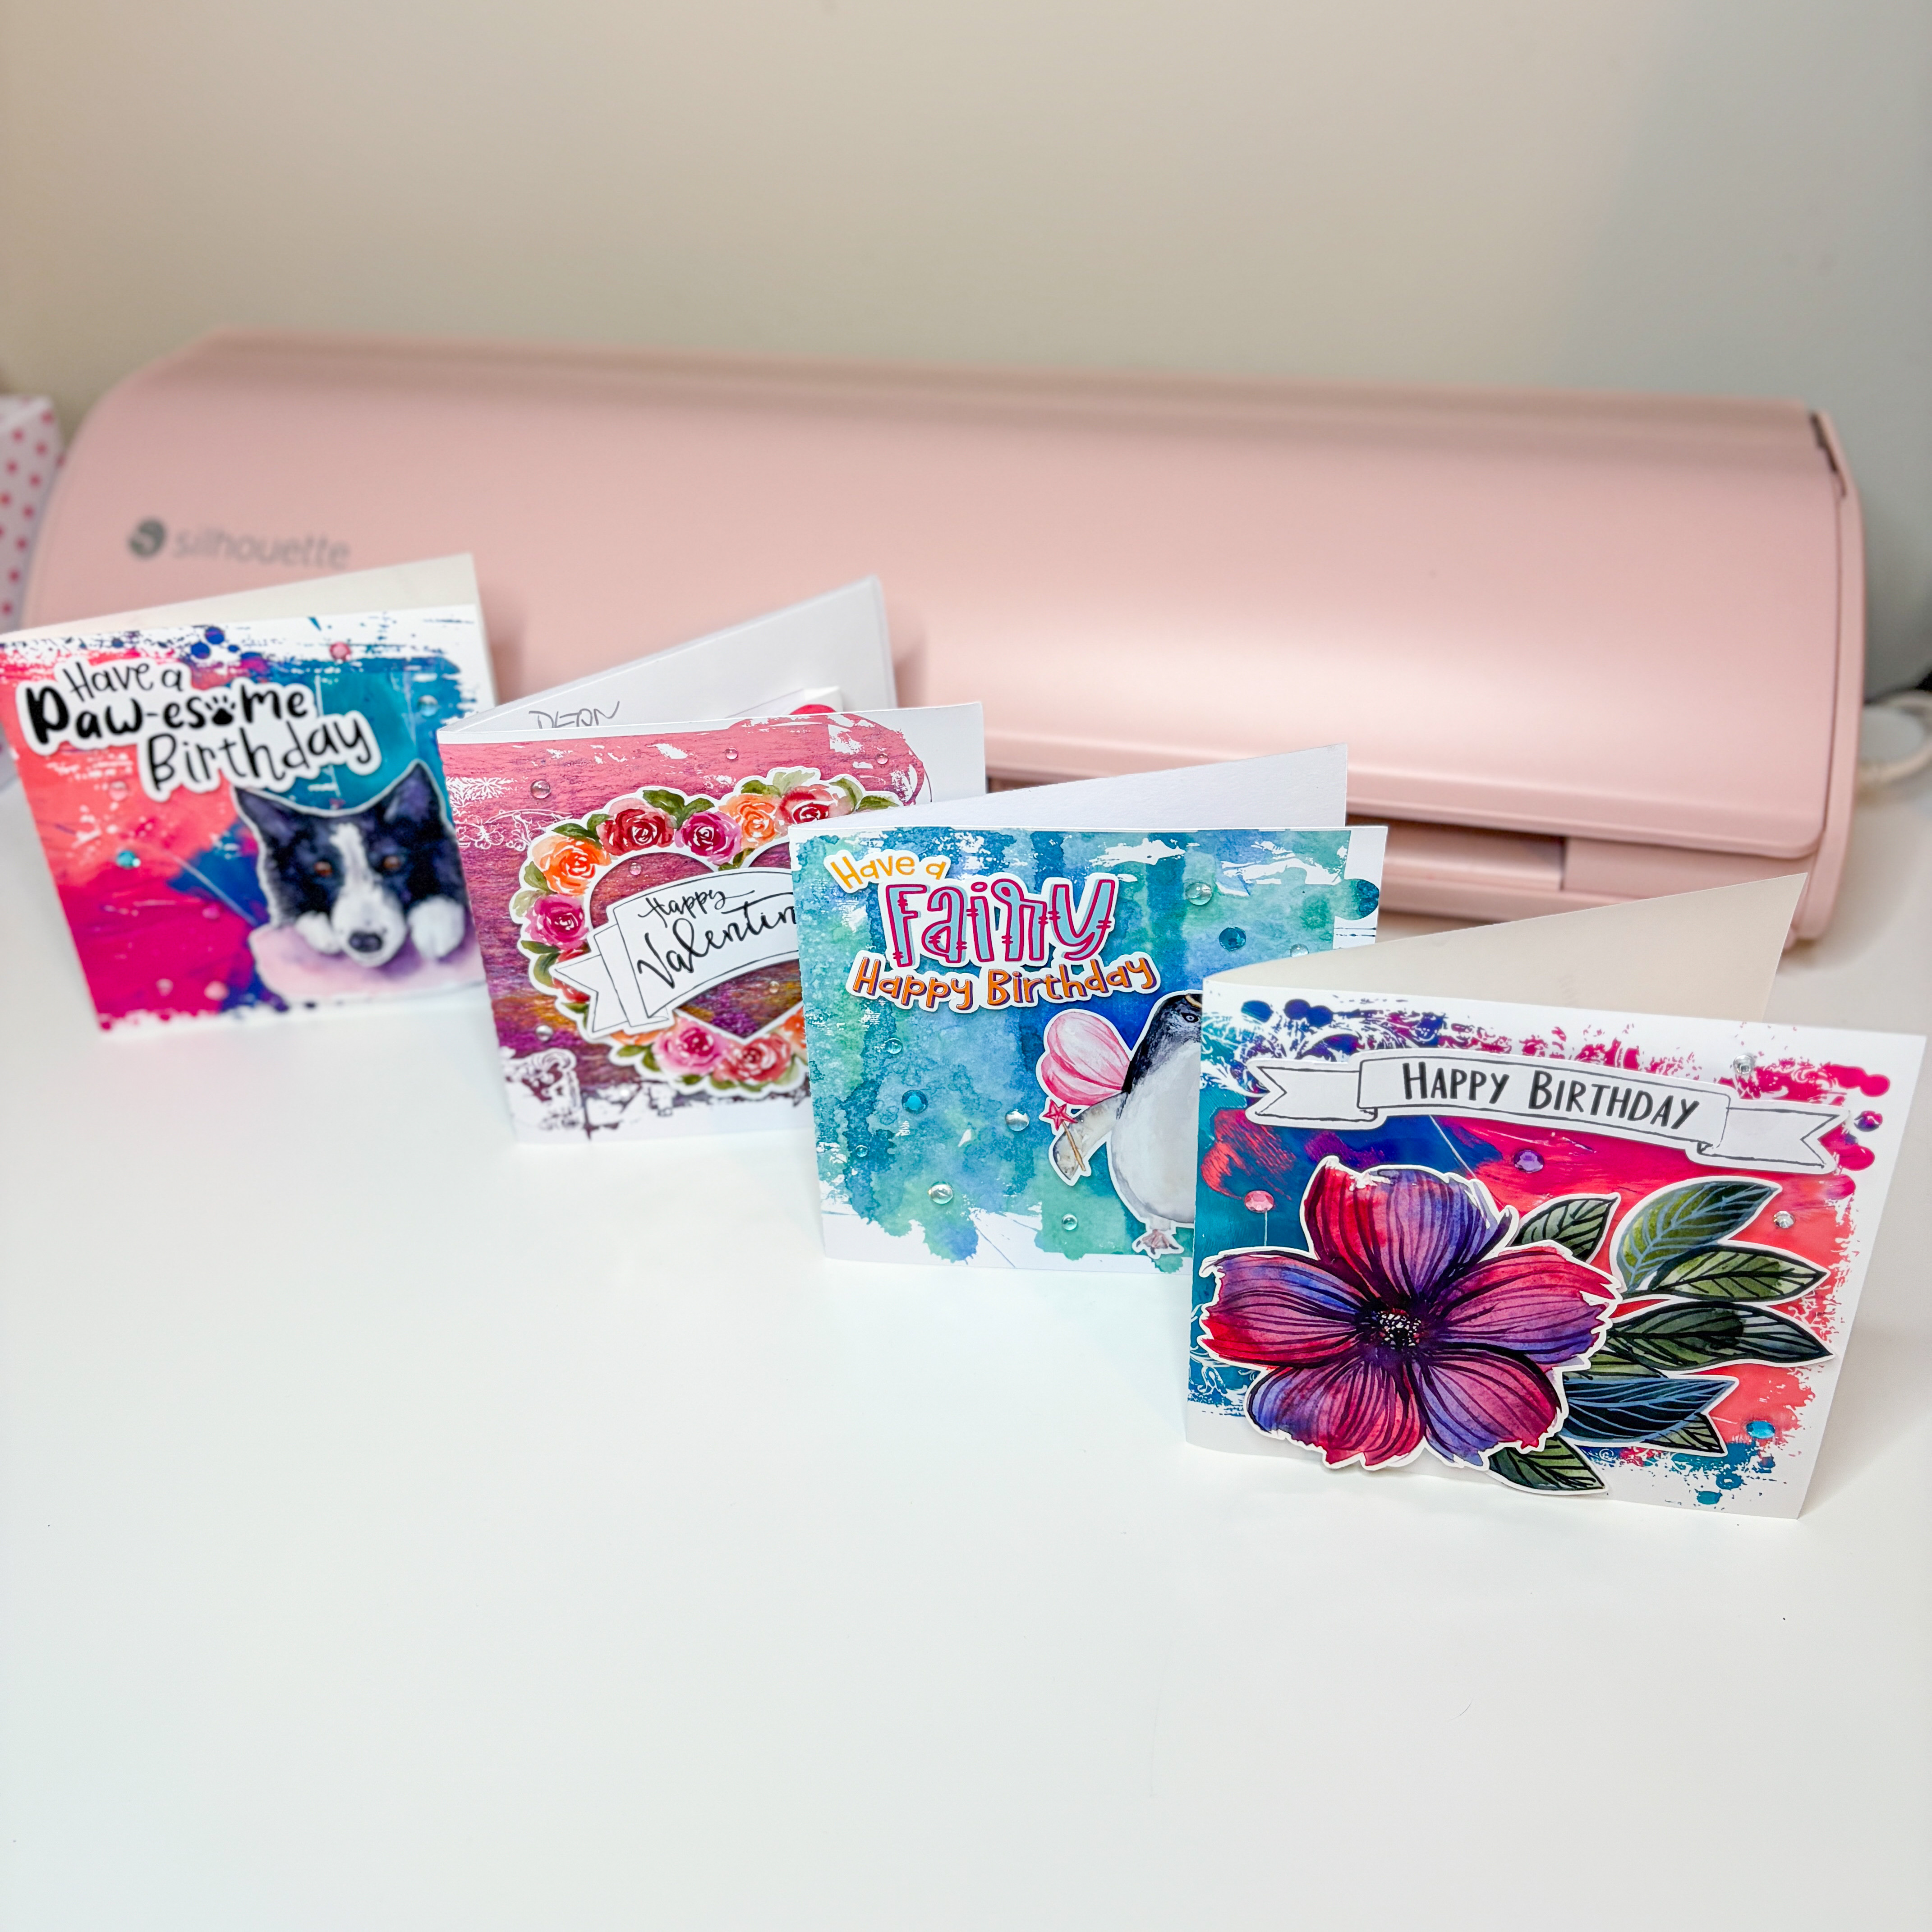
If you’ve ever wondered how I get my Print & Cut designs to look so vibrant, crisp, and just a little bit extra shiny—you’re not alone! One of the most common questions I get is, “How do you make your printed designs look so good?” The secret? I use gloss photo paper and a high-quality inkjet printer—and it makes a huge difference.
In this post, I’ll walk you through why gloss photo paper is my go-to for Print & Cut crafts, how it compares to regular cardstock, and why your choice of printer (inkjet vs laser) also plays a big role in the final result.
If you would like to check out some of the designs in my store used in the photo to the right, check out my store here. I specialise in watercolor print and cut designs.
What Makes Gloss Photo Paper So Special?
Gloss photo paper is specifically designed for high-quality image printing. It has a smooth, coated surface that enhances colours, contrast, and detail. Here’s why it’s a game changer:
Vibrancy: The glossy coating helps the ink stay on the surface instead of being absorbed into the paper fibres, which means richer, brighter colours.
Sharp Detail: Photo paper gives you cleaner lines and finer details—great for intricate designs or watercolour textures.
Professional Finish: That shiny, polished surface gives your project a more finished and professional look. Think sticker-quality prints without the need for extra lamination.
Quick Drying: High-quality photo papers are quick-drying and smudge-resistant, which is ideal for Print & Cut projects where precision matters.
Gloss Photo Paper vs Regular Cardstock
Cardstock is thick and sturdy, which makes it great for structural elements like cards or boxes. But when it comes to image quality—especially for decorative elements like florals, labels, or illustrations—it doesn’t stand a chance against gloss photo paper.
Feature
Gloss Photo Paper
Regular Cardstock
Colour Vibrancy
High
Moderate
Print Detail
Crisp and defined
Slightly muted
Surface Finish
Glossy & smooth
Matte or slightly textured
Ink Absorption
Minimal (stays on top)
High (absorbs into paper)
Best Use
Decorative print elements
Card bases, sturdy pieces
Inkjet vs Laser Printers: What’s the Difference?
This one often surprises people: inkjet printers and laser printers use entirely different methods for printing, and each affects your output in different ways—especially when printing on photo paper.
Inkjet Printers
Use liquid ink droplets
Best suited for photo-quality, full-colour prints
Ideal for glossy or coated papers
Produces vibrant, rich colours and subtle gradients
Best choice for Print & Cut when using photo paper
Laser Printers
Use toner (powder) fused with heat
Better for high-speed, high-volume text printing
May not bond well with glossy surfaces
Can result in flaking, dull colours, or blurred images on photo paper
Not ideal for glossy photo paper—results may be patchy or prone to smudging
Tips for Using Gloss Photo Paper in Print & Cut Projects
Use the right print settings: Select “photo paper” or “glossy paper” in your printer settings to optimise ink distribution.
Let it dry: Even quick-dry paper needs a few minutes before handling—especially if you’re layering or cutting straight away.
Use a light tack mat: Glossy paper can stick too well to high-tack mats and may tear when removing.
Cut settings: Adjust your Silhouette or Cricut blade settings for thicker coated paper—do a test cut first.
Final Thoughts
If you’re aiming for that wow factor in your Print & Cut designs, switching to gloss photo paper and an inkjet printer is one of the easiest upgrades you can make. The difference in print quality is instantly noticeable—more vibrant colours, sharper details, and a gorgeous glossy finish that truly elevates your projects.
So if your prints have been looking a little dull or flat, give photo paper a try. Your crafts will thank you—and so will your followers!
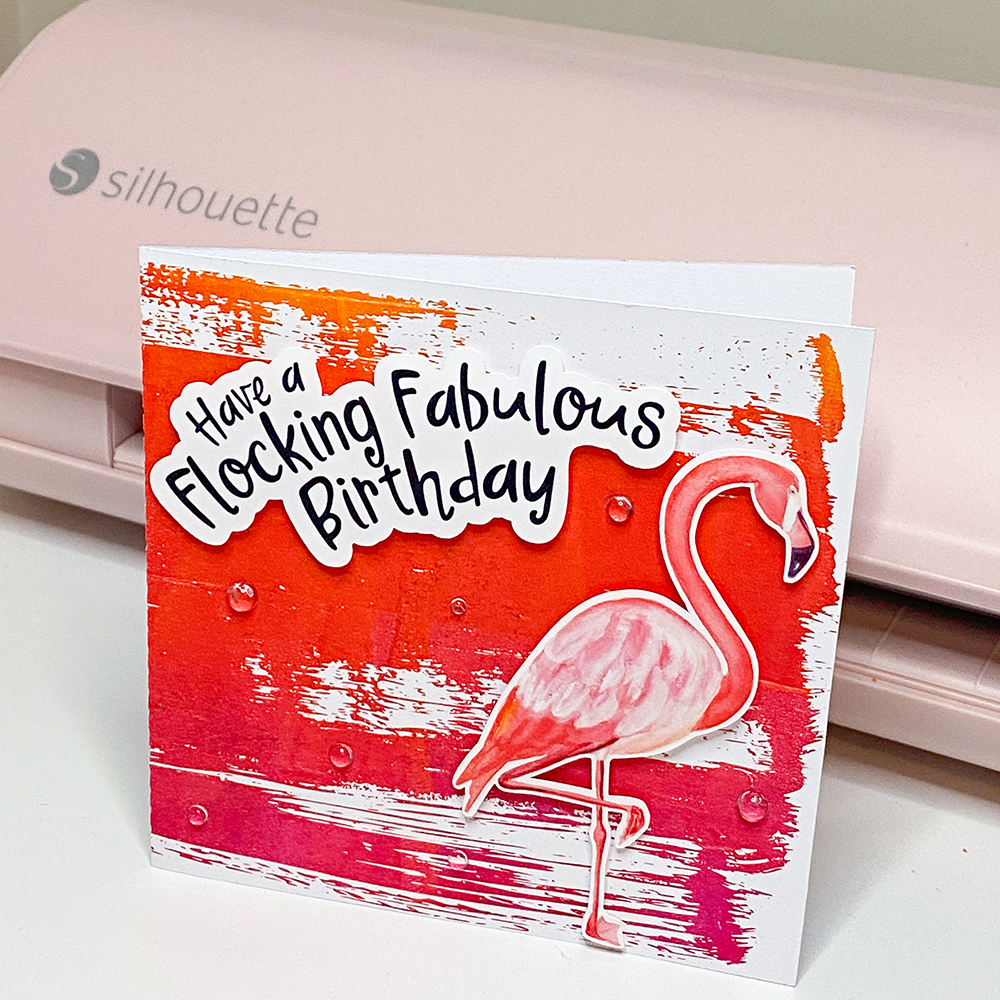
Looking for a handmade birthday card with bold tropical vibes? This flamingo-themed birthday card is bright, cheerful, and so much fun to make. Using a Print & Cut flamingo, a cheeky sentiment, a painted monoprint background, and a dry paint-style clipping mask frame, this project is perfect for Silhouette Studio users who love combining painterly effects with clean digital design.
To recreate this look, you’ll need these Silhouette Design Store files: Flamingo Watercolor Print & Cut (D-1270614) Download here Flocking Fabulous Birthday Sentiment (D-1270612) Download here Yellow Red Magenta Monoprint Background (385854) Download here Dry Paint Grunge Clipping Mask Frame (D-368127) Download here
Cut the sentiment from coordinating cardstock, or print and cut using the include offset.
Assemble the card using glue or foam tape to add depth and dimension.
The finished result is a fun, layered birthday card perfect for summer celebrations and flamingo fans alike. See the full process in the Instagram Reel! (don’t forget to follow!)
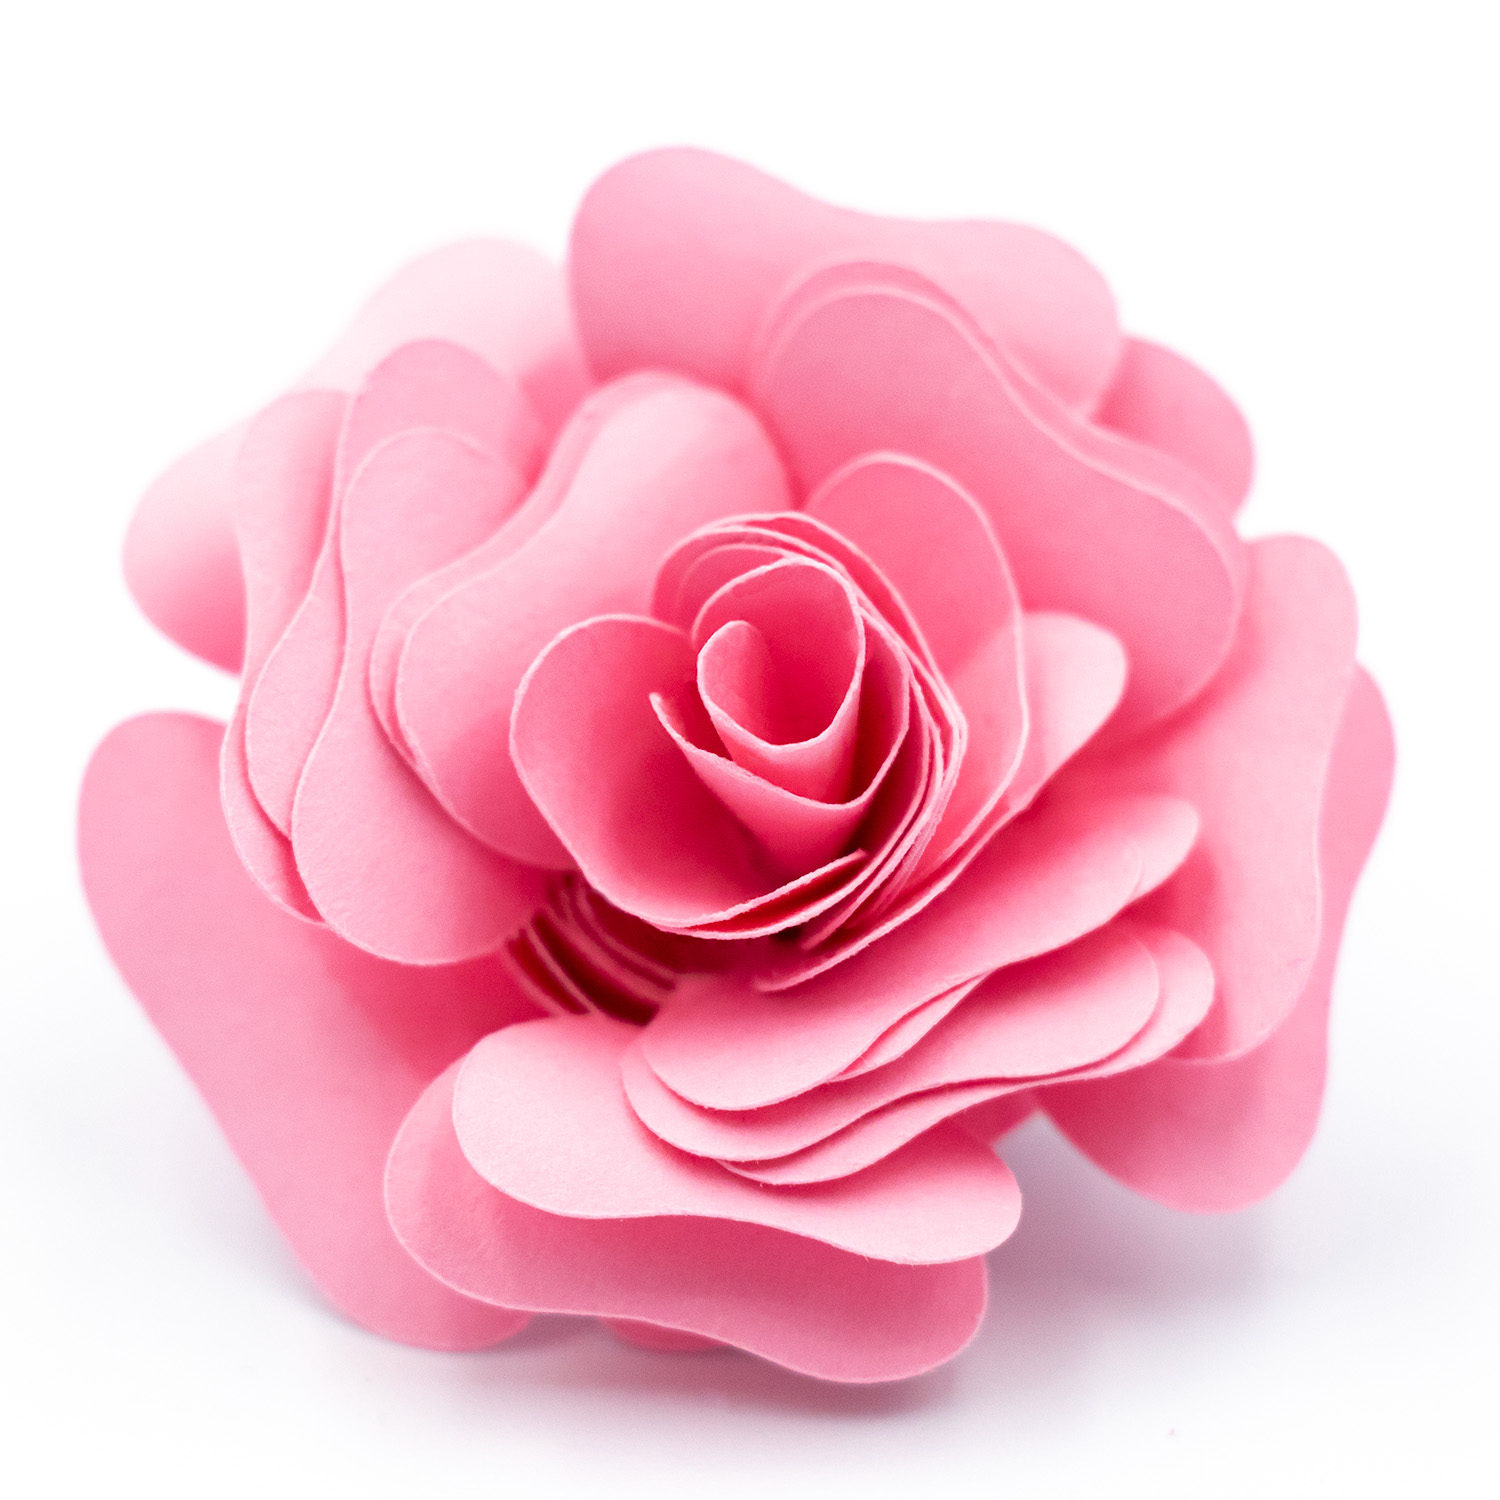
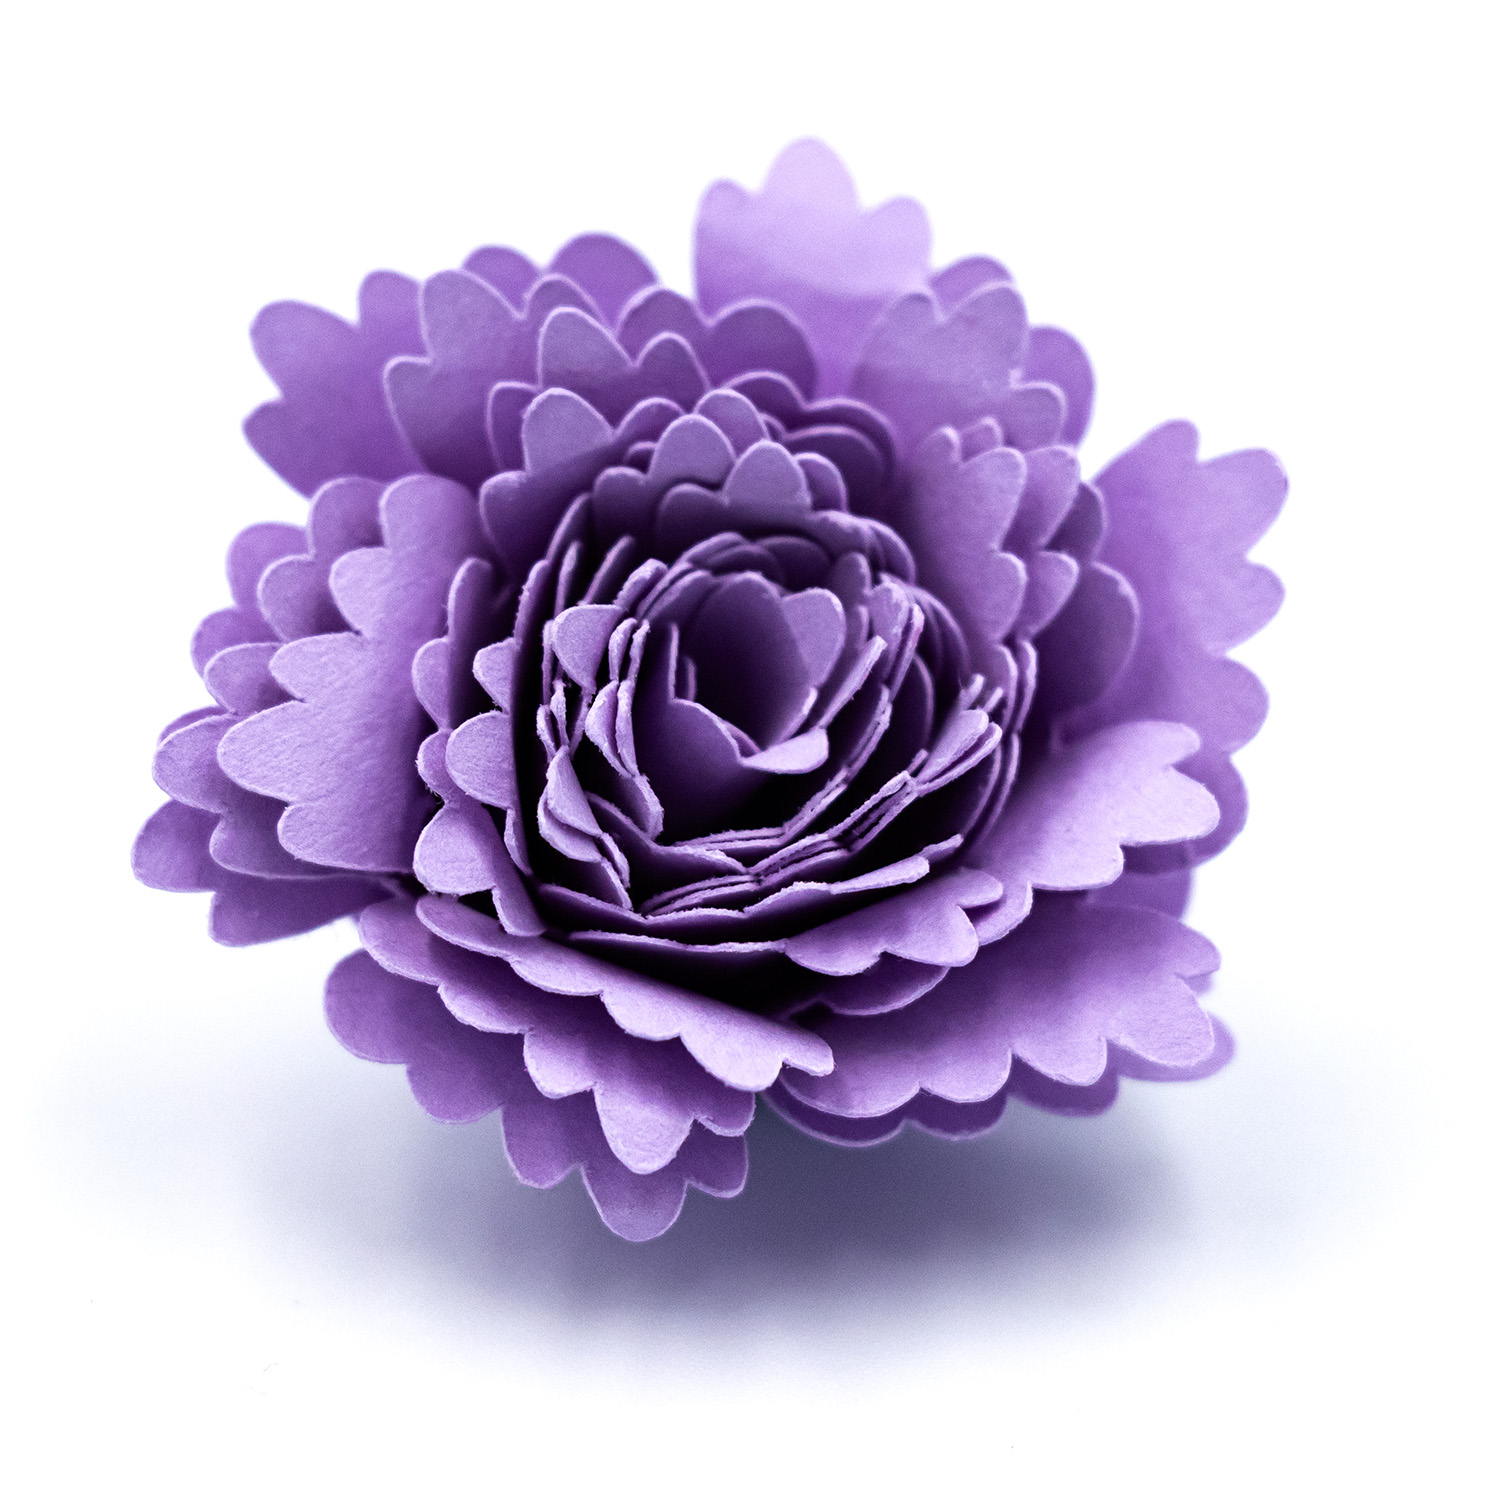
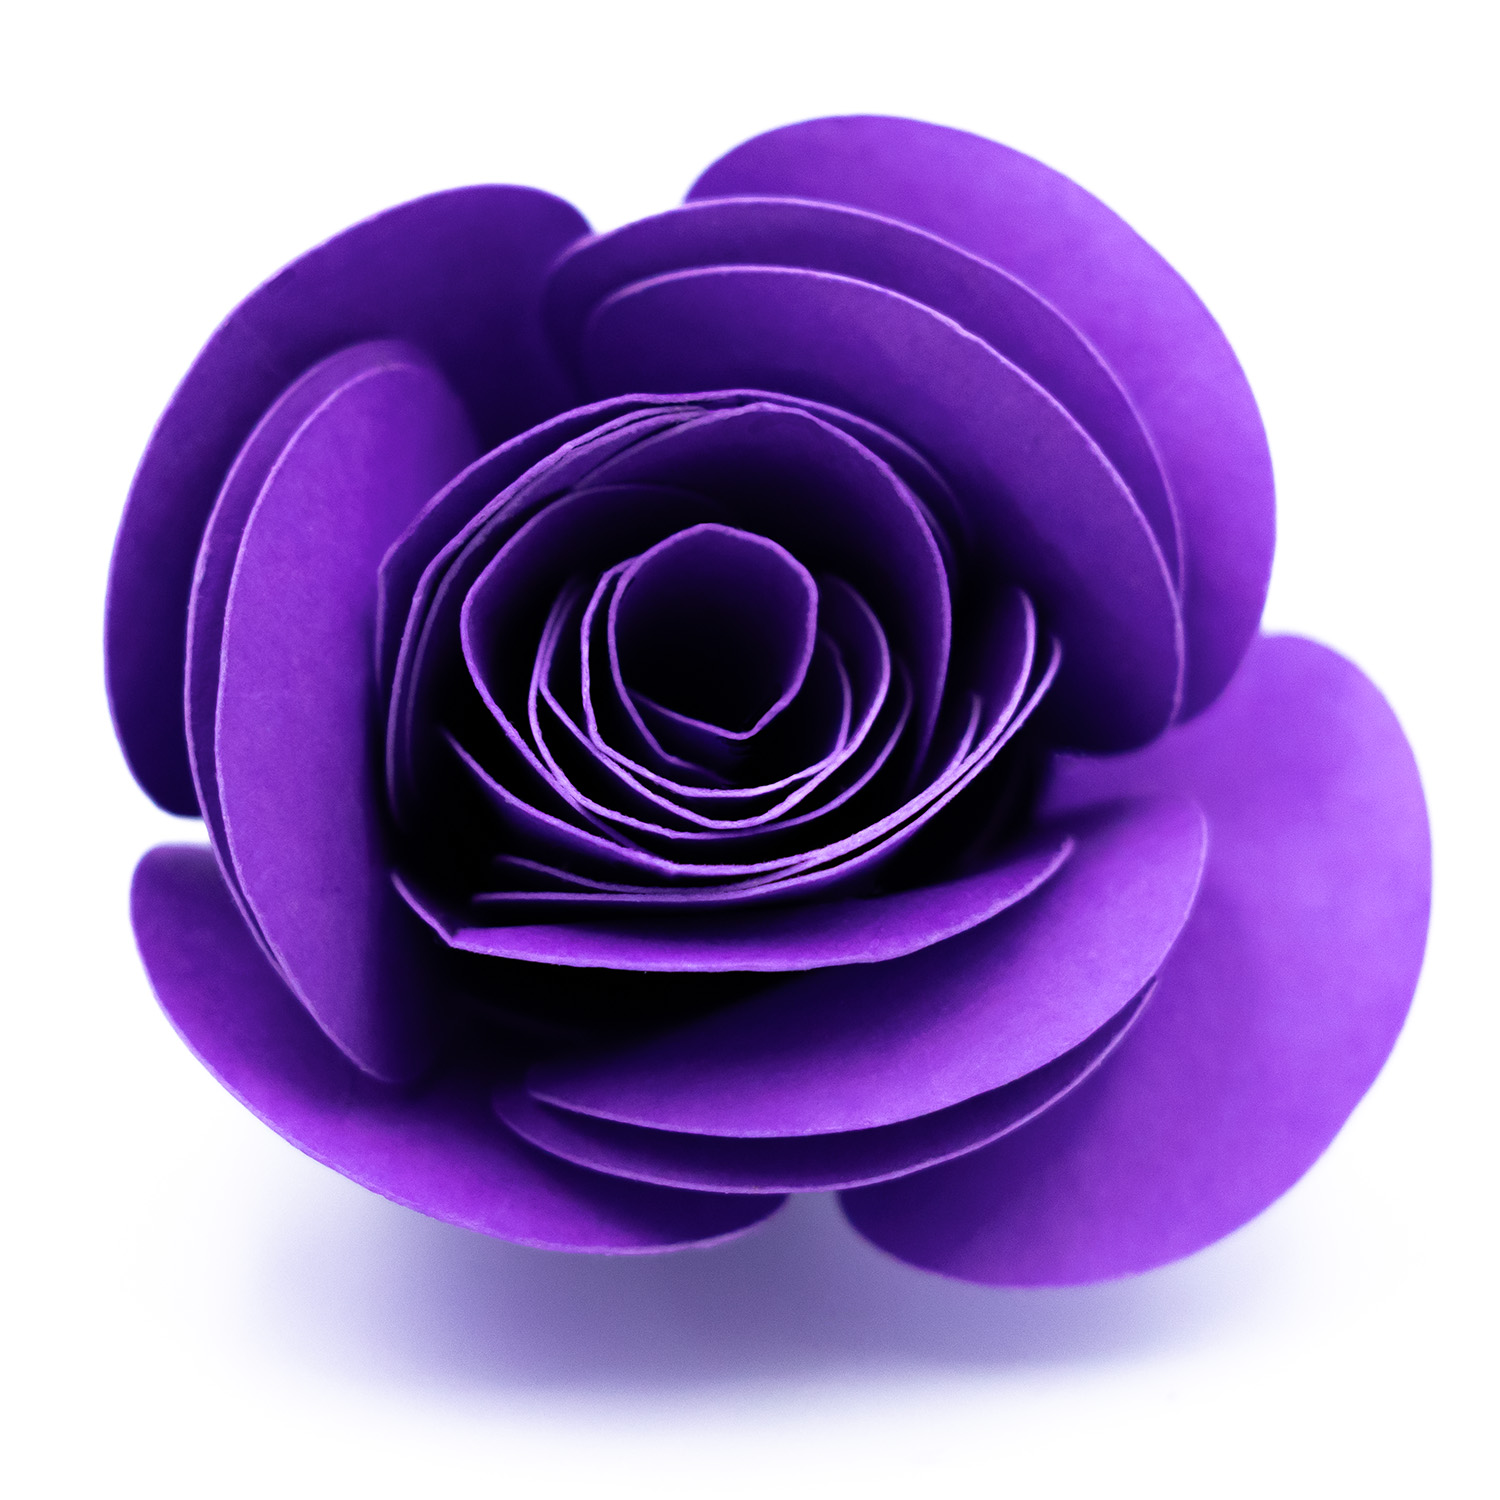
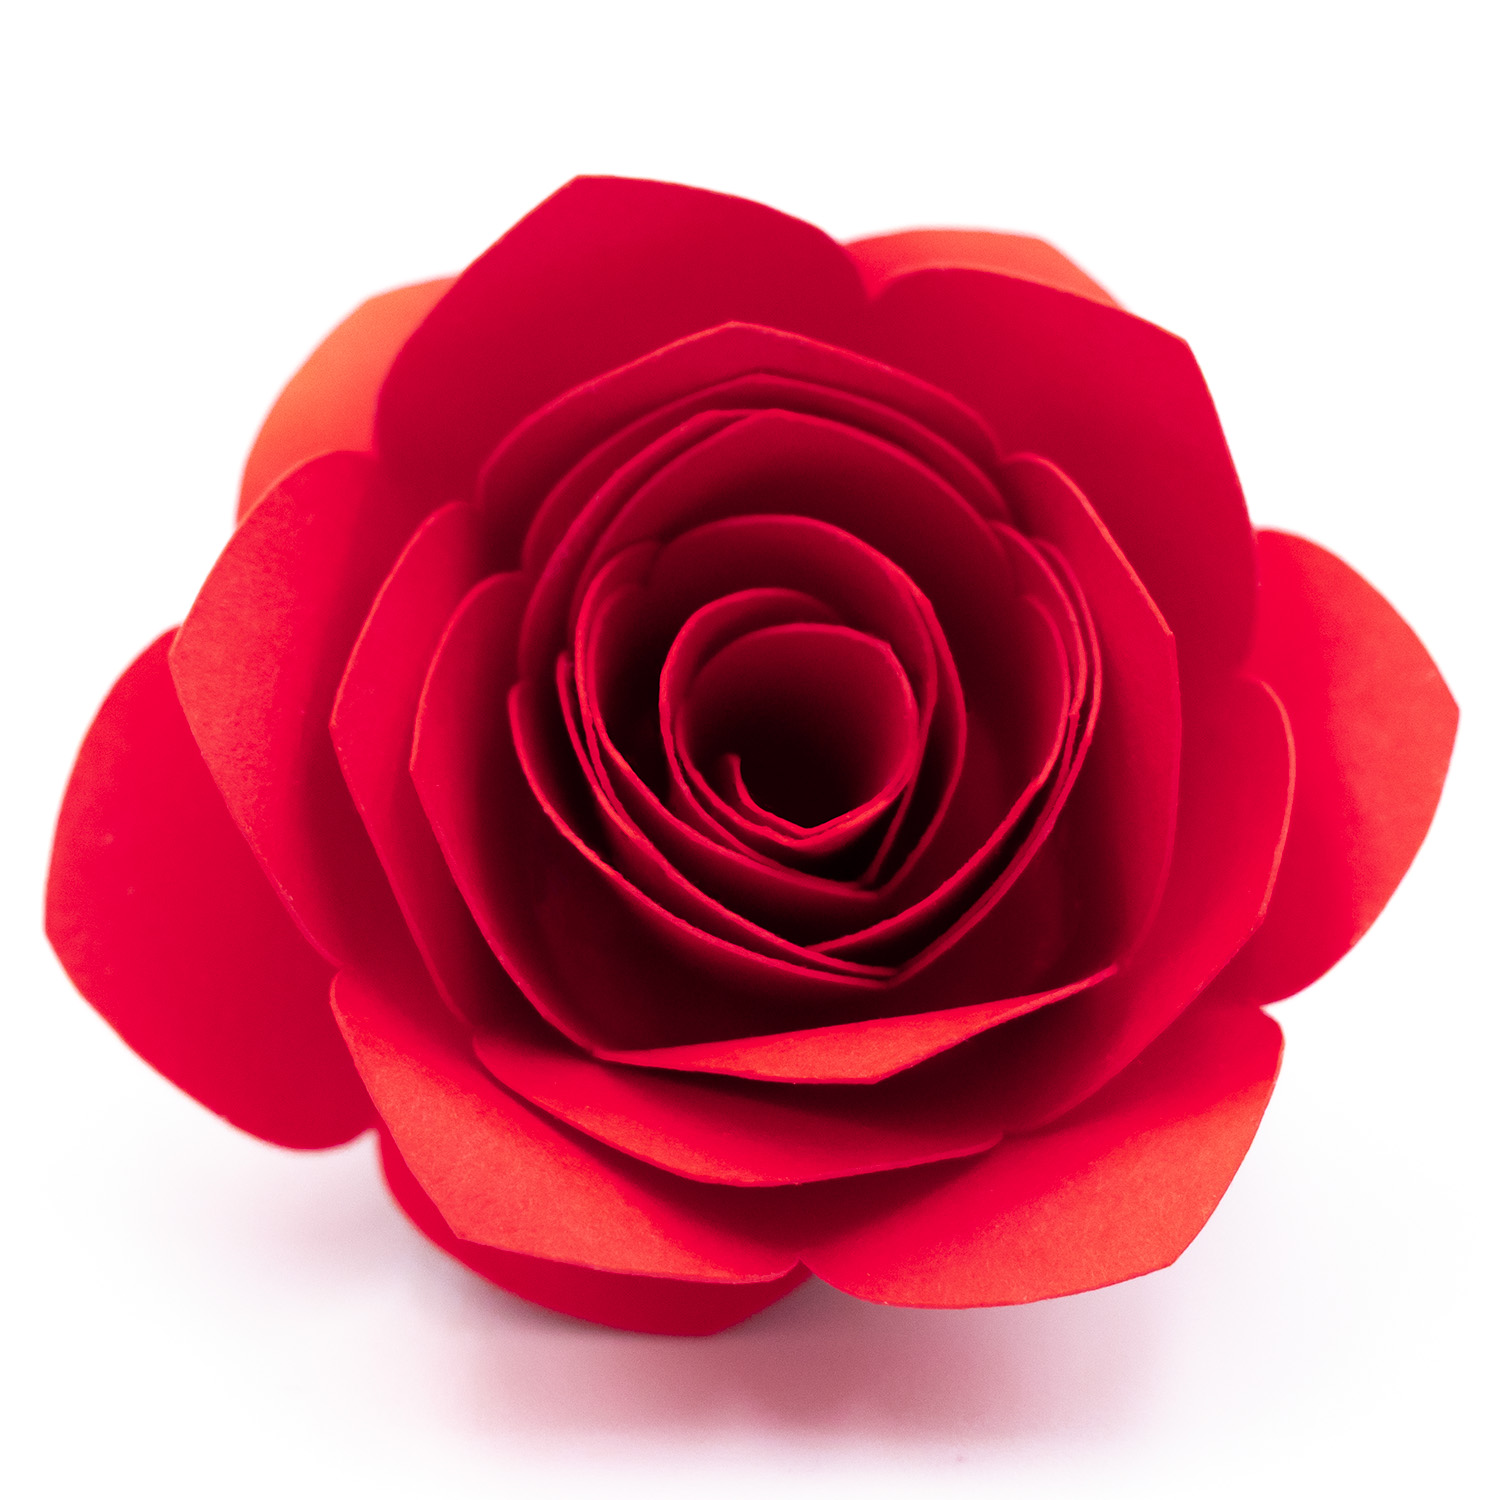
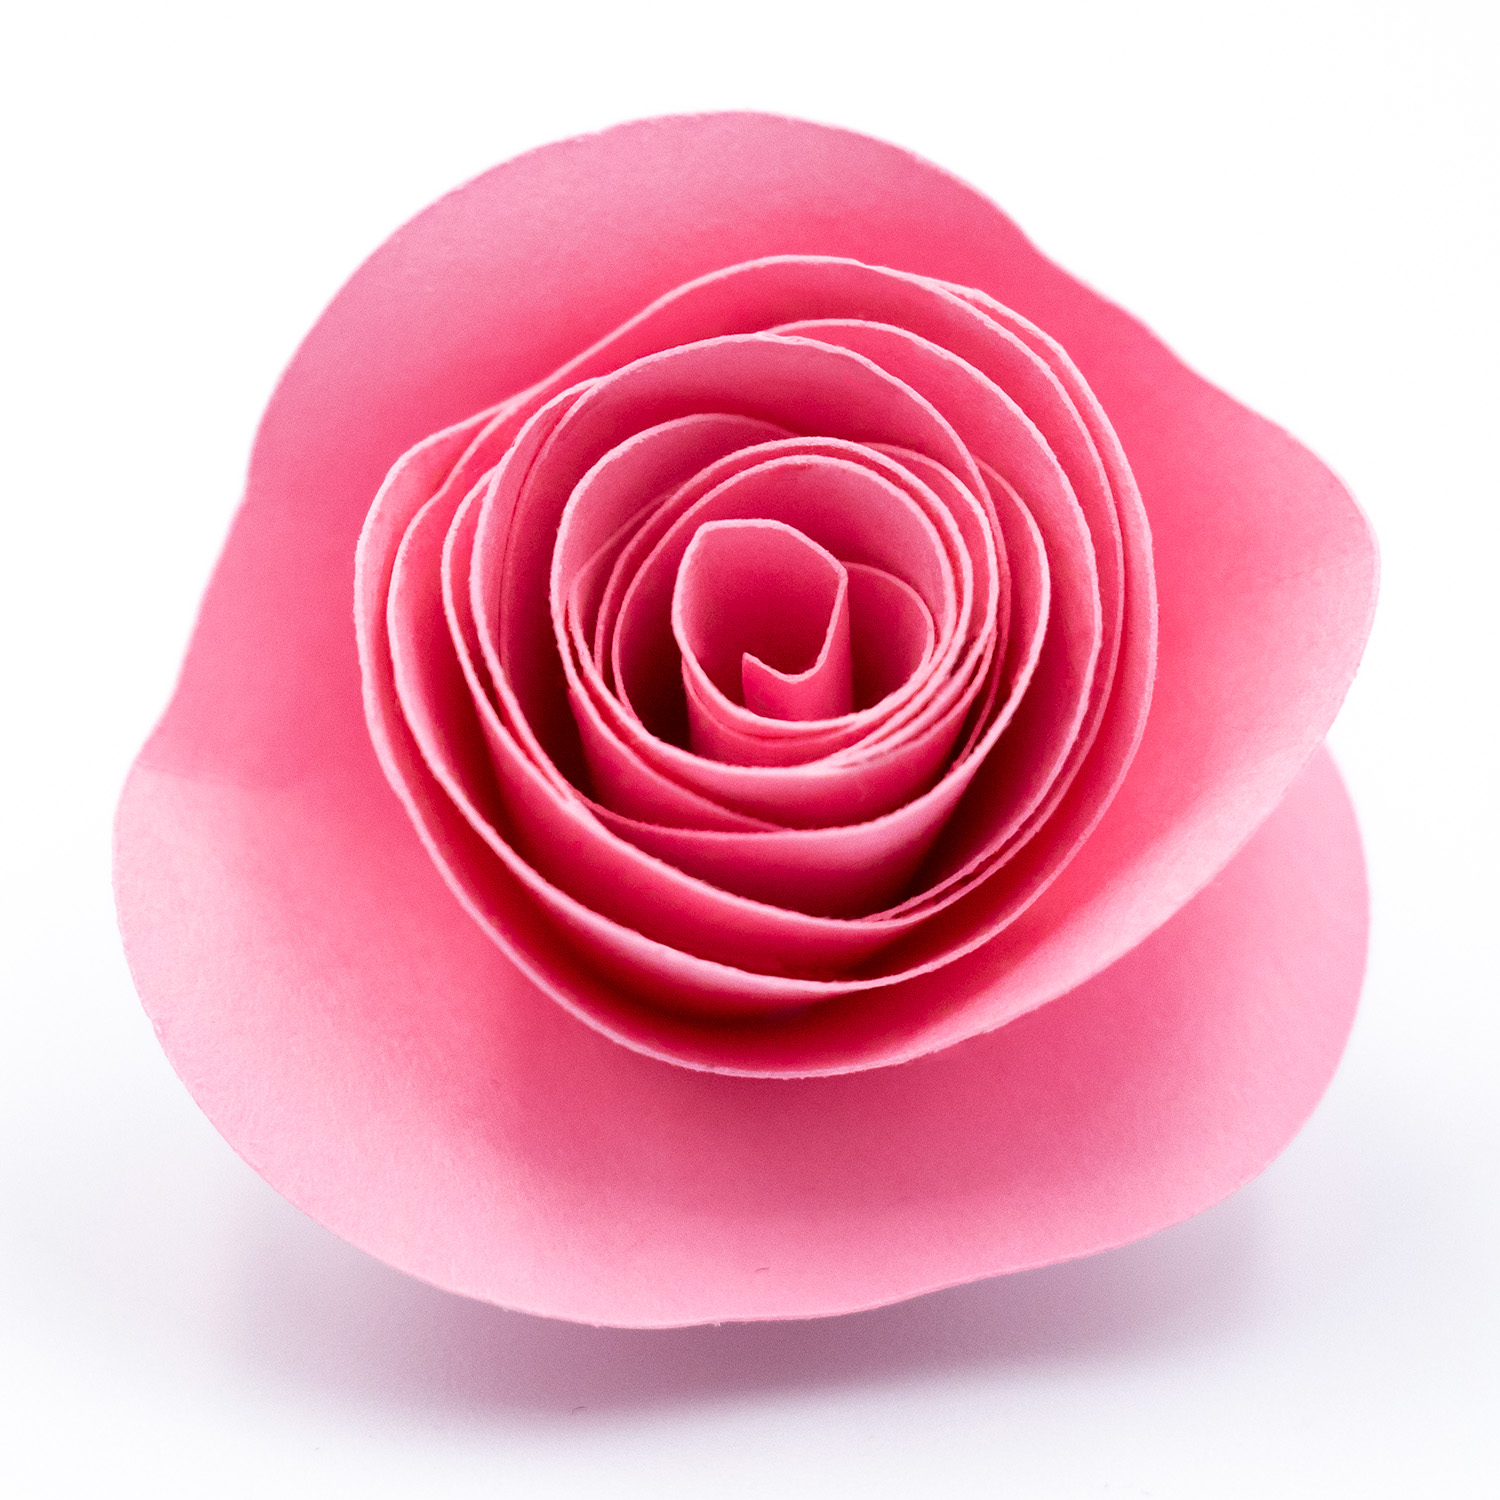
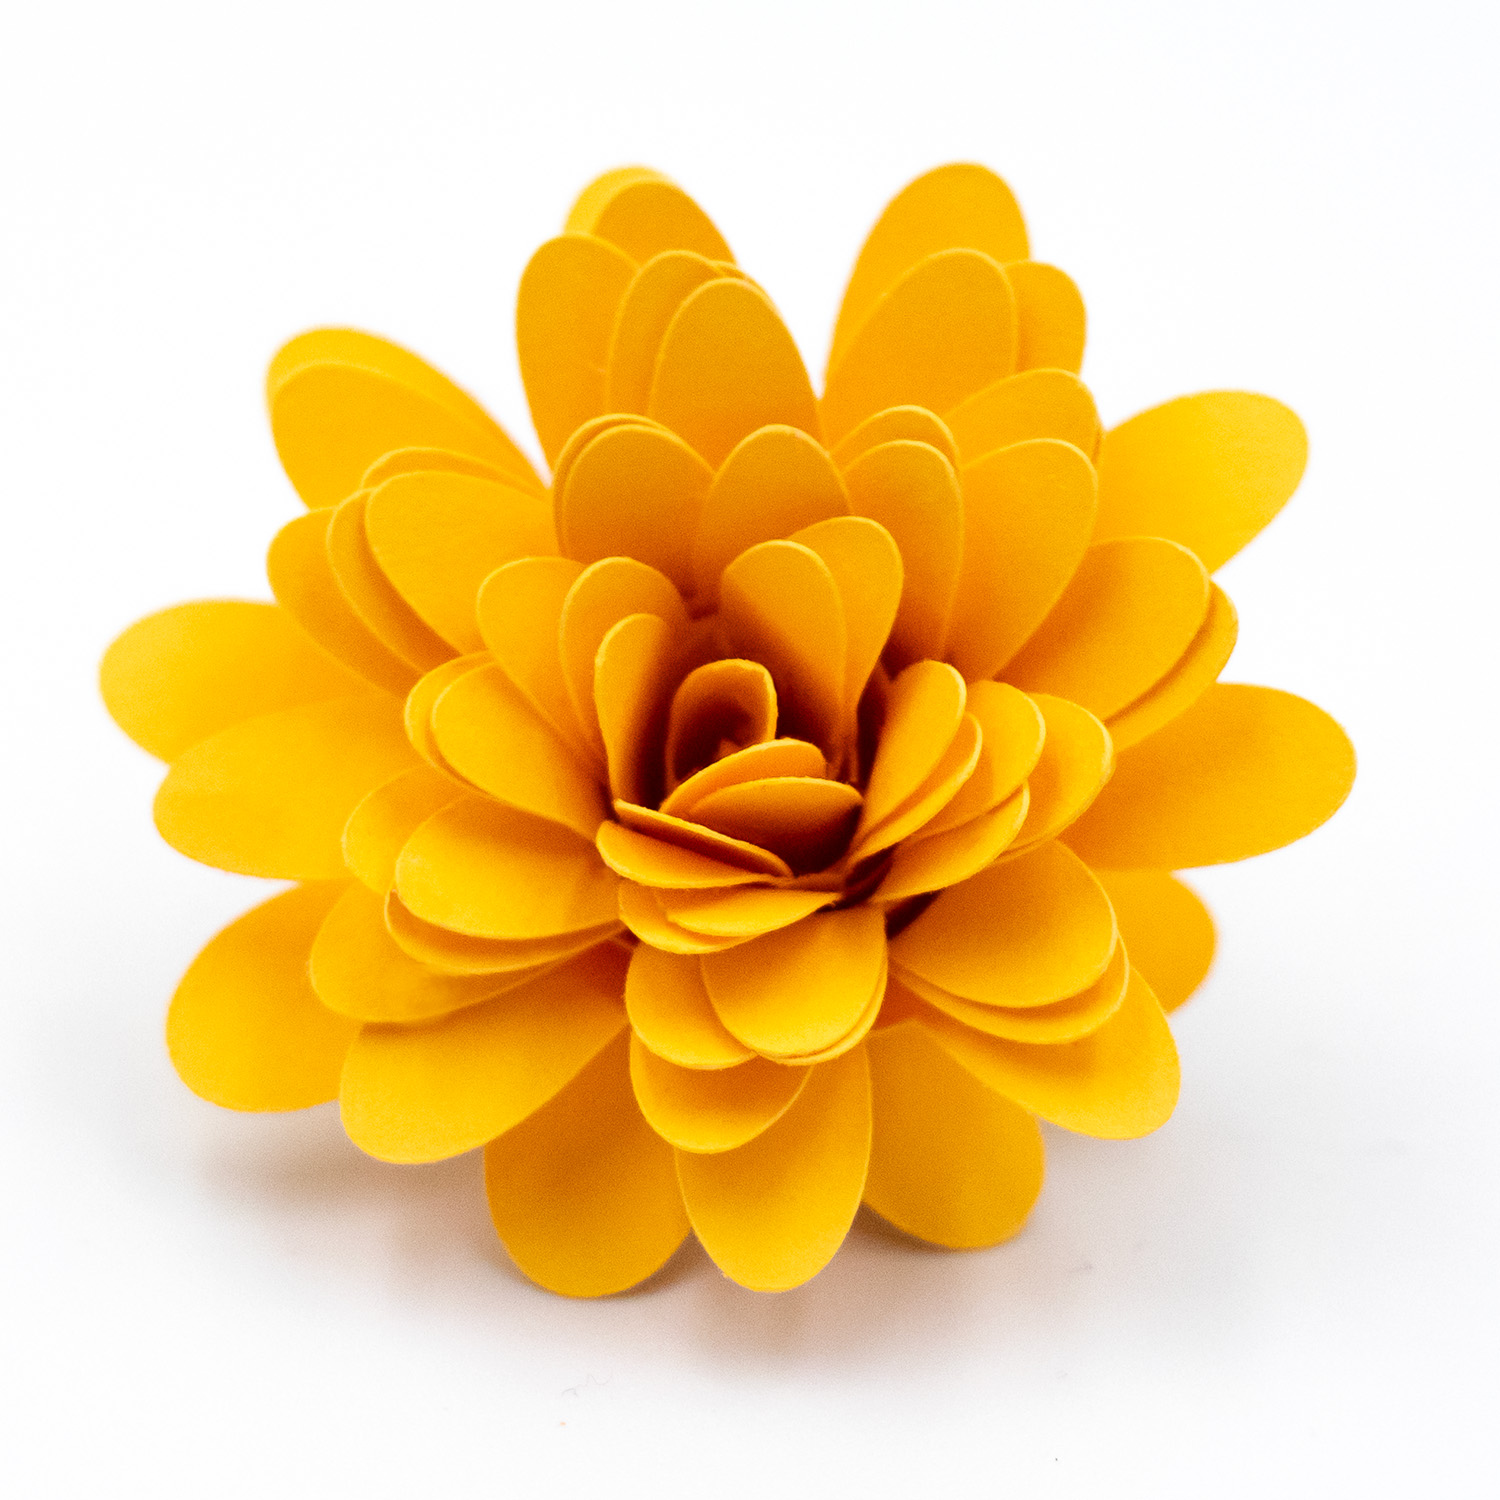
Rolled paper flowers are a beautiful, easy-to-make craft perfect for cardmaking, scrapbooking, home décor, and party decorations. With just a few supplies, you can create realistic blooms in minutes. Prefer to watch and learn? Scroll on to the tutorial or further to the bottom to watch the step-by-step video on YouTube.
Cut the Spiral Shape: Use your cutting machine or scissors to cut out a spiral flower shape from your chosen paper. The design should have scalloped or curved edges for the petal effect.
Start Rolling from the Outside: Begin at the outer edge of the spiral. Use a quilling tool or tweezers to start rolling the paper inward, keeping the bottom edge aligned as much as possible. Wider petal designs with gaps between them require a little more care to ensure petals fold in as you wind the spiral.
Roll to the Centre: Continue rolling until you reach the flat circle at the centre of the spiral. This circle acts as the flower’s base.
Let It Loosen Slightly: Once rolled, gently release the flower so the petals can relax into a more natural shape. Adjust tightness to your liking.
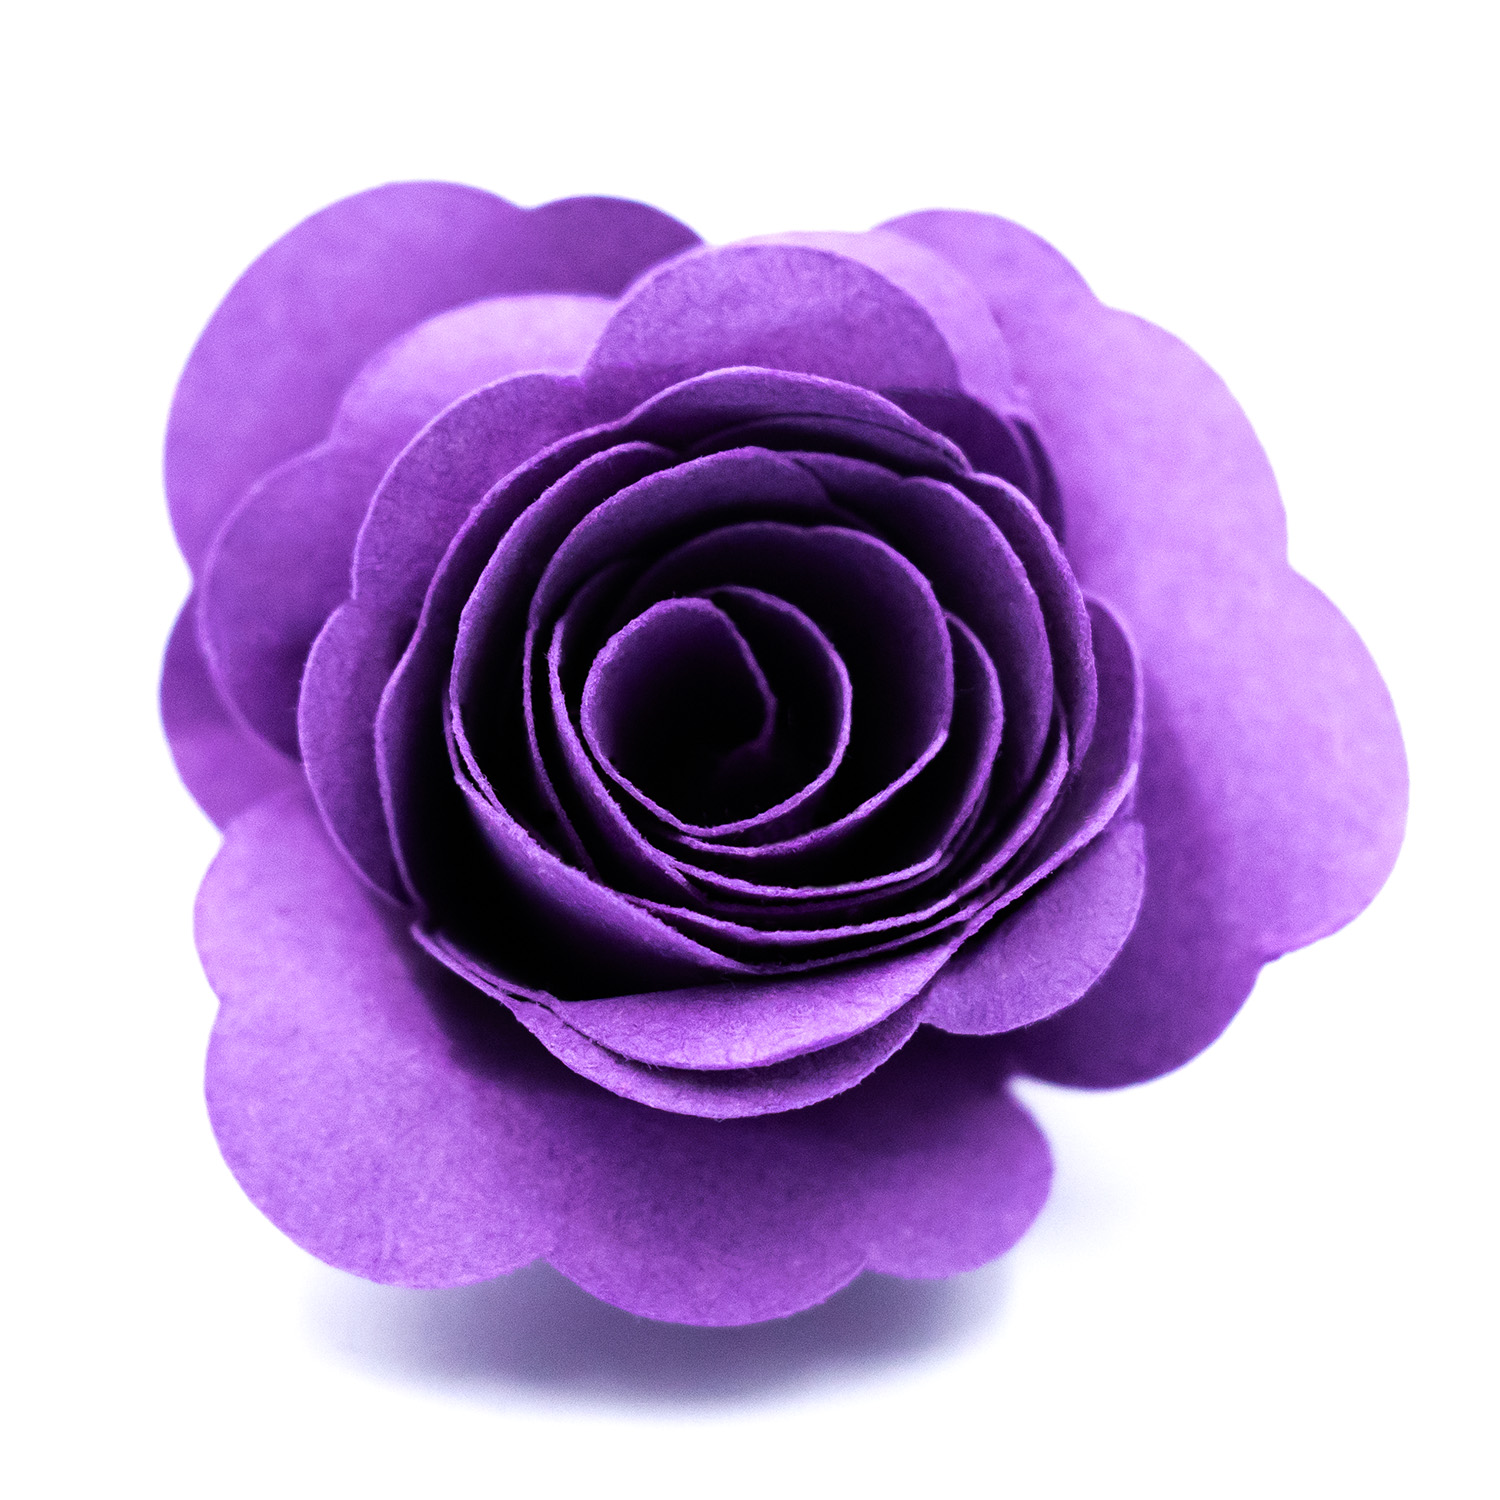
Glue the Base: Apply a generous amount of hot glue to the centre circle and press the rolled petals into it. Hold for a few seconds until secure.
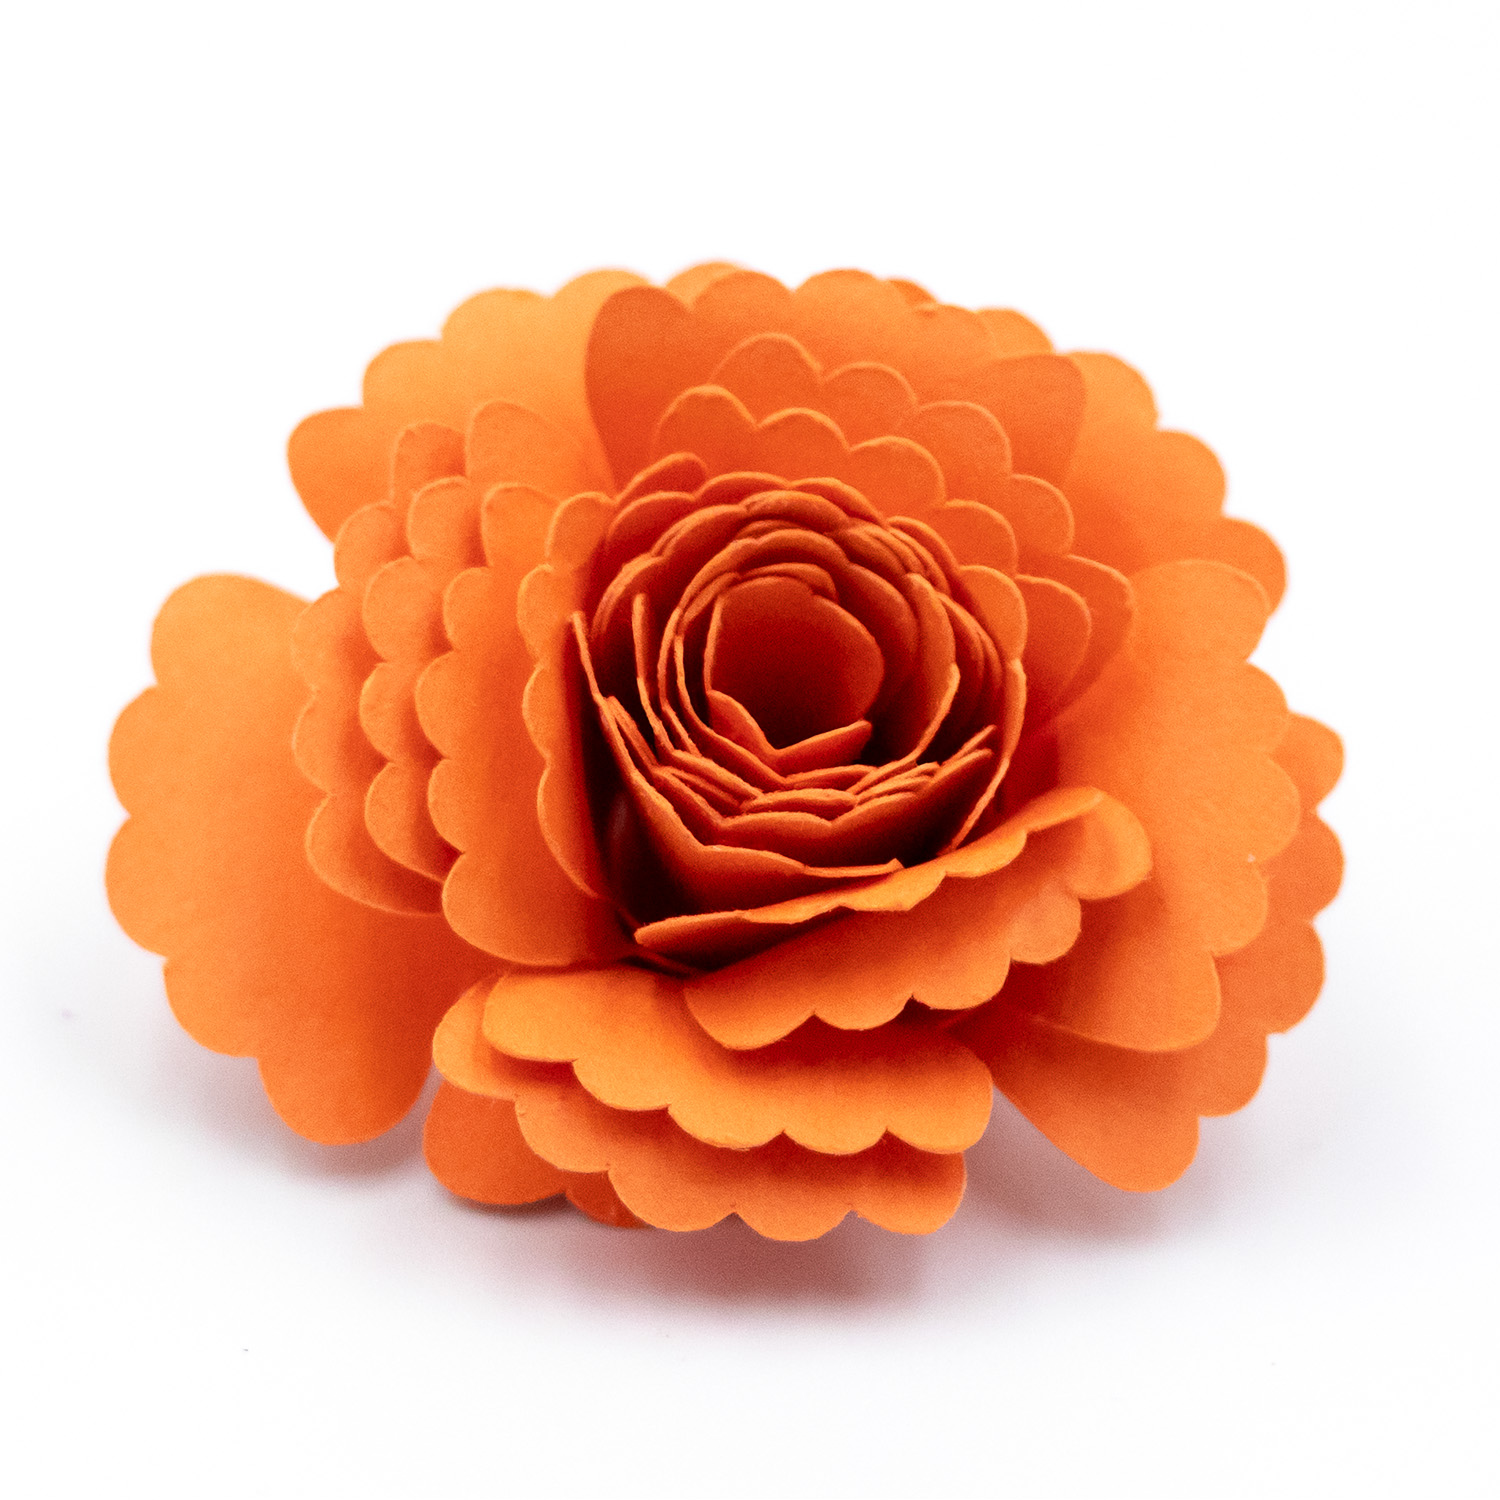
Finish & Shape: You can lightly curl the petal edges outward with your fingers or a shaping tool like a thin paintbrush or similar tool. Add ink or embellishments if desired.
Tips:
For more realistic flowers, use double-sided cardstock or ink the edges.
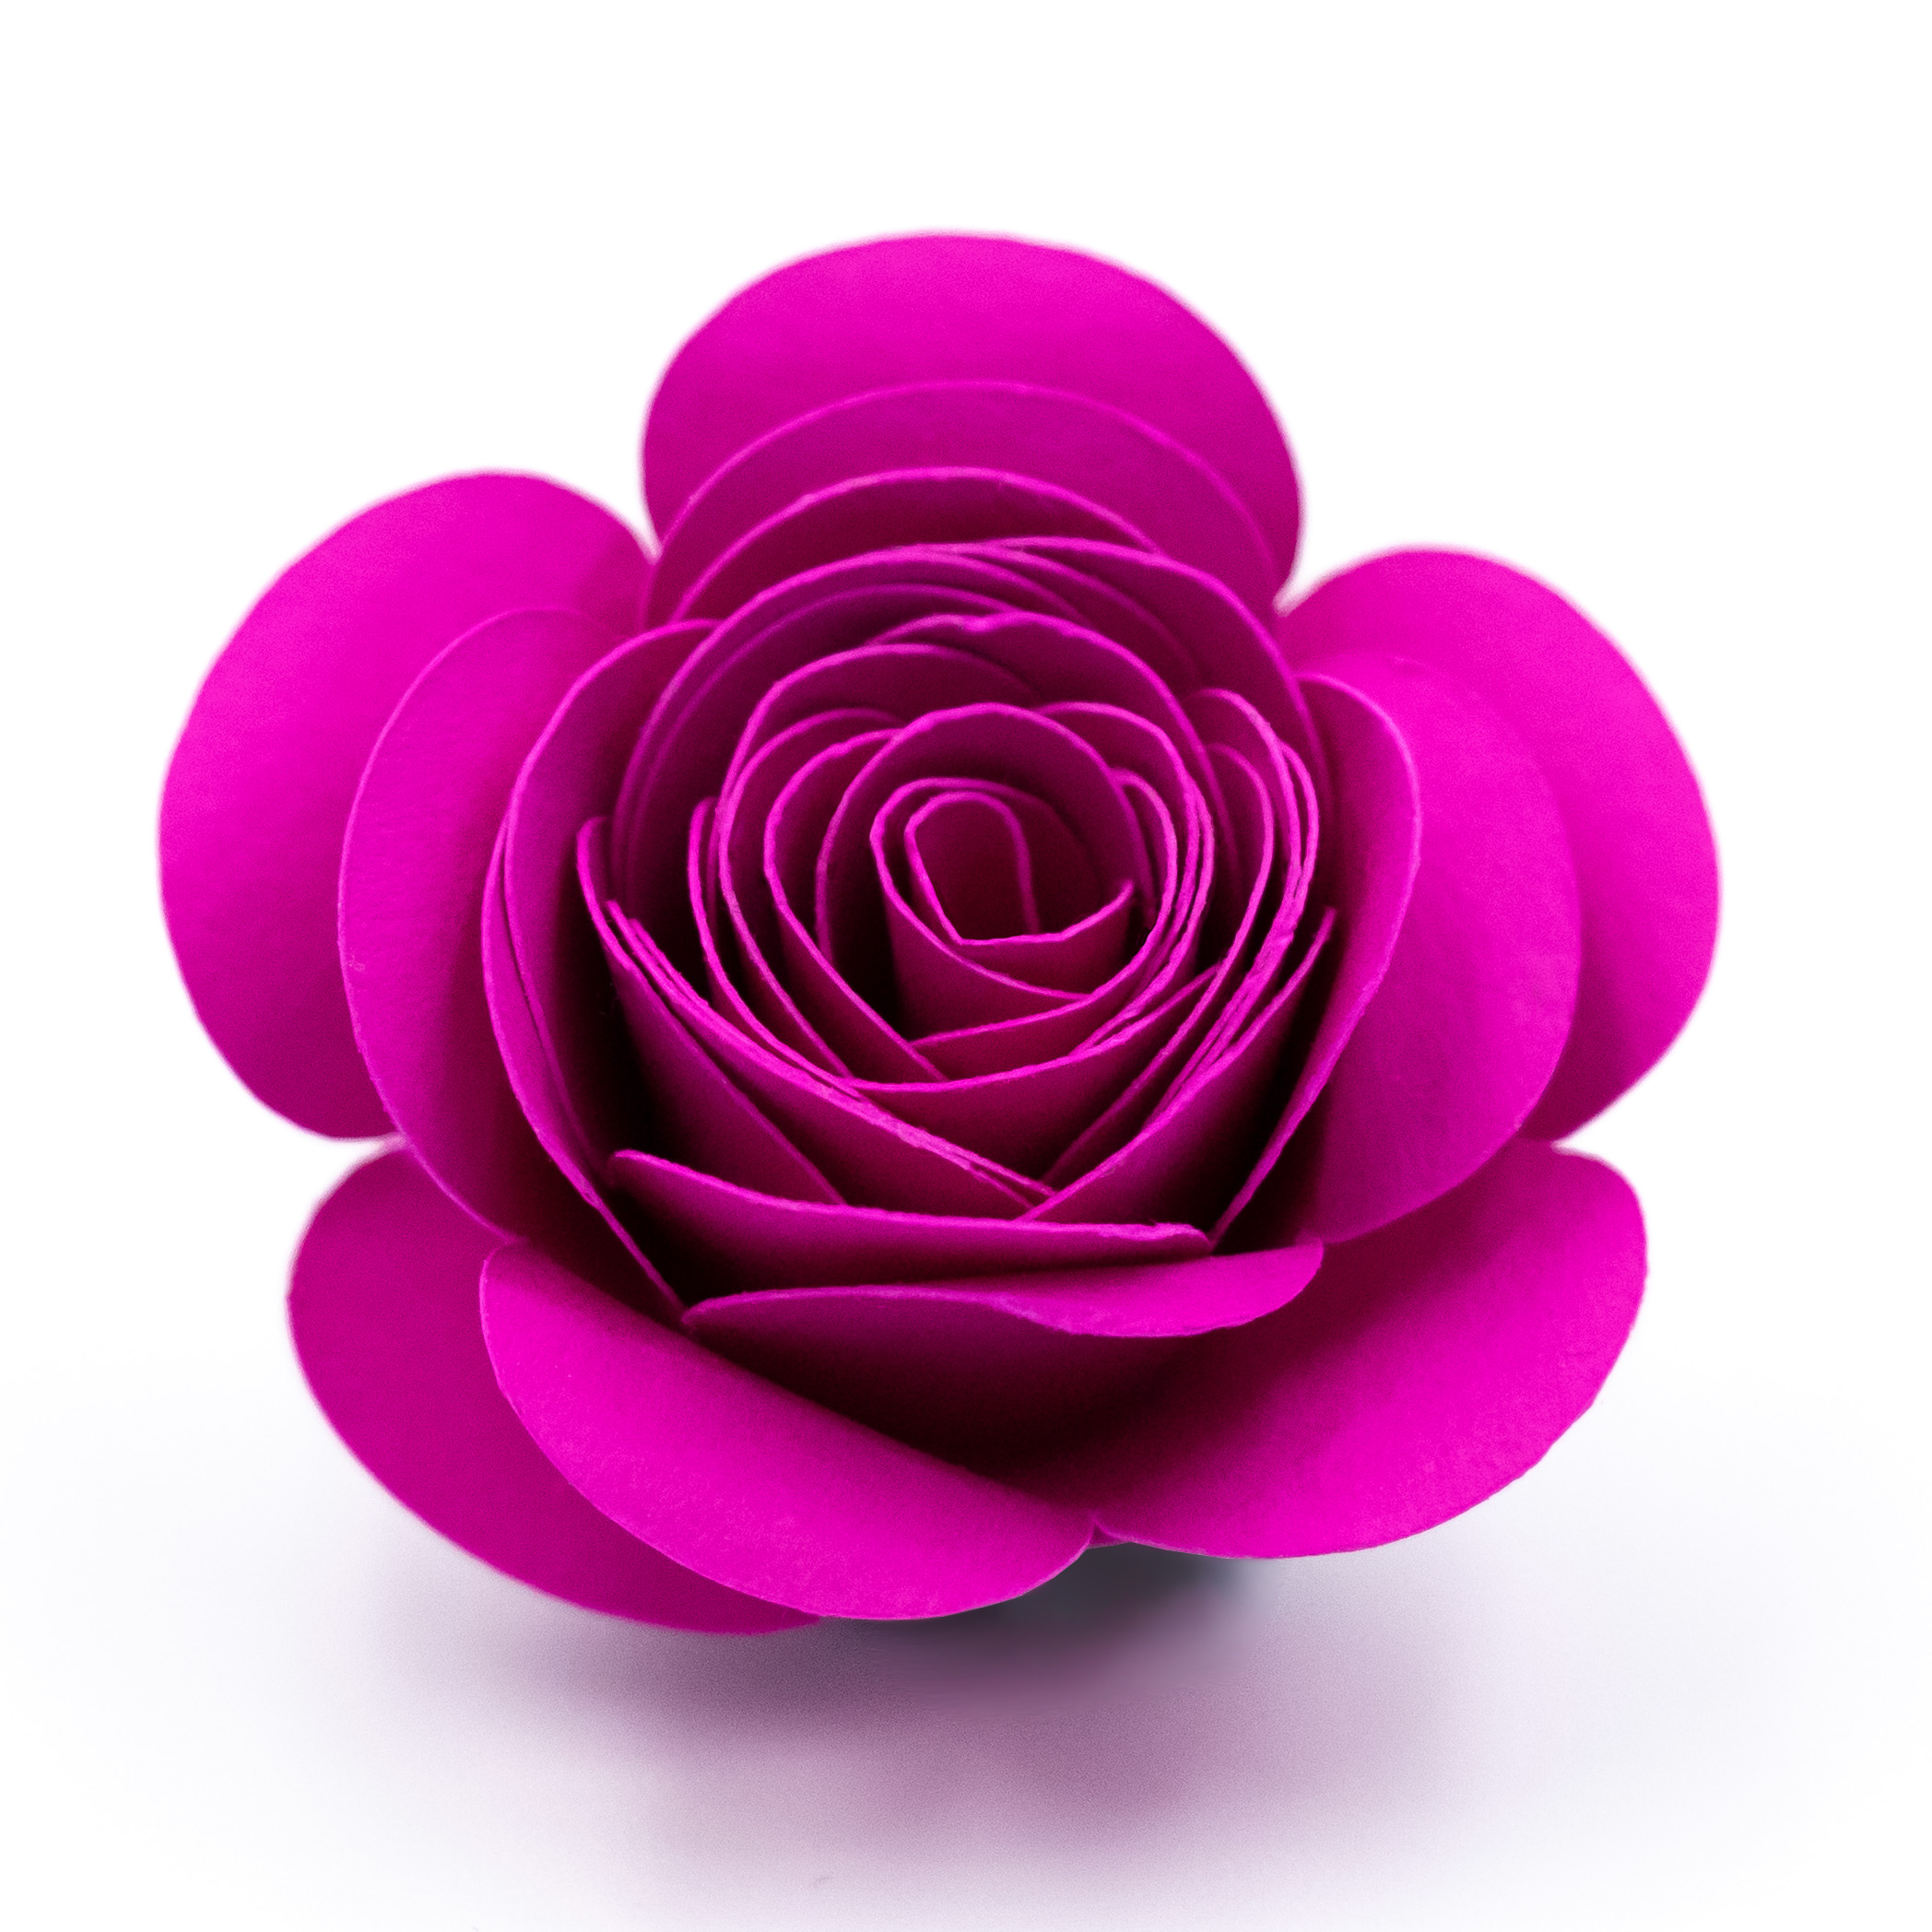
Larger spirals create fuller flowers; tighter rolls form buds.
Use a thin paintbrush handle or similar to gently curl petals outward for added dimension.
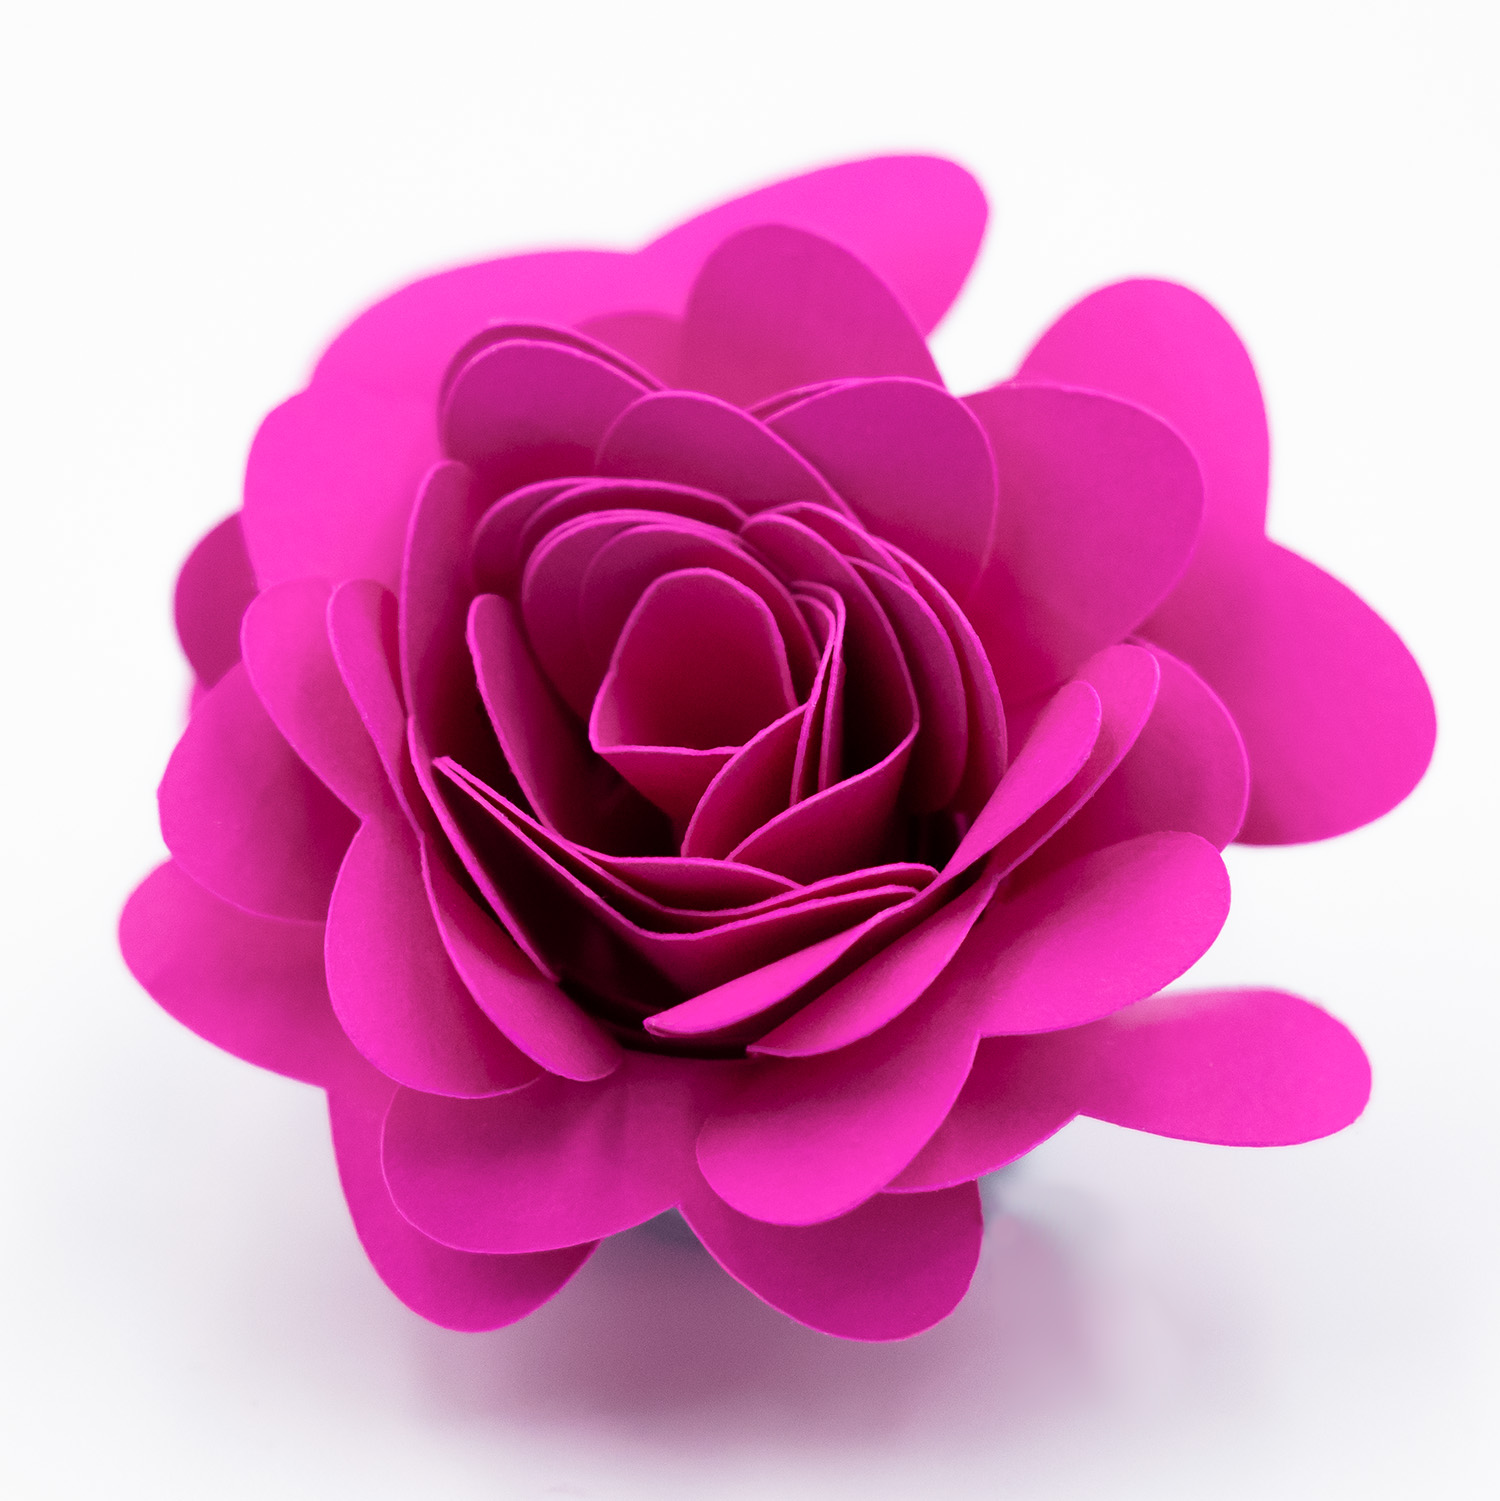
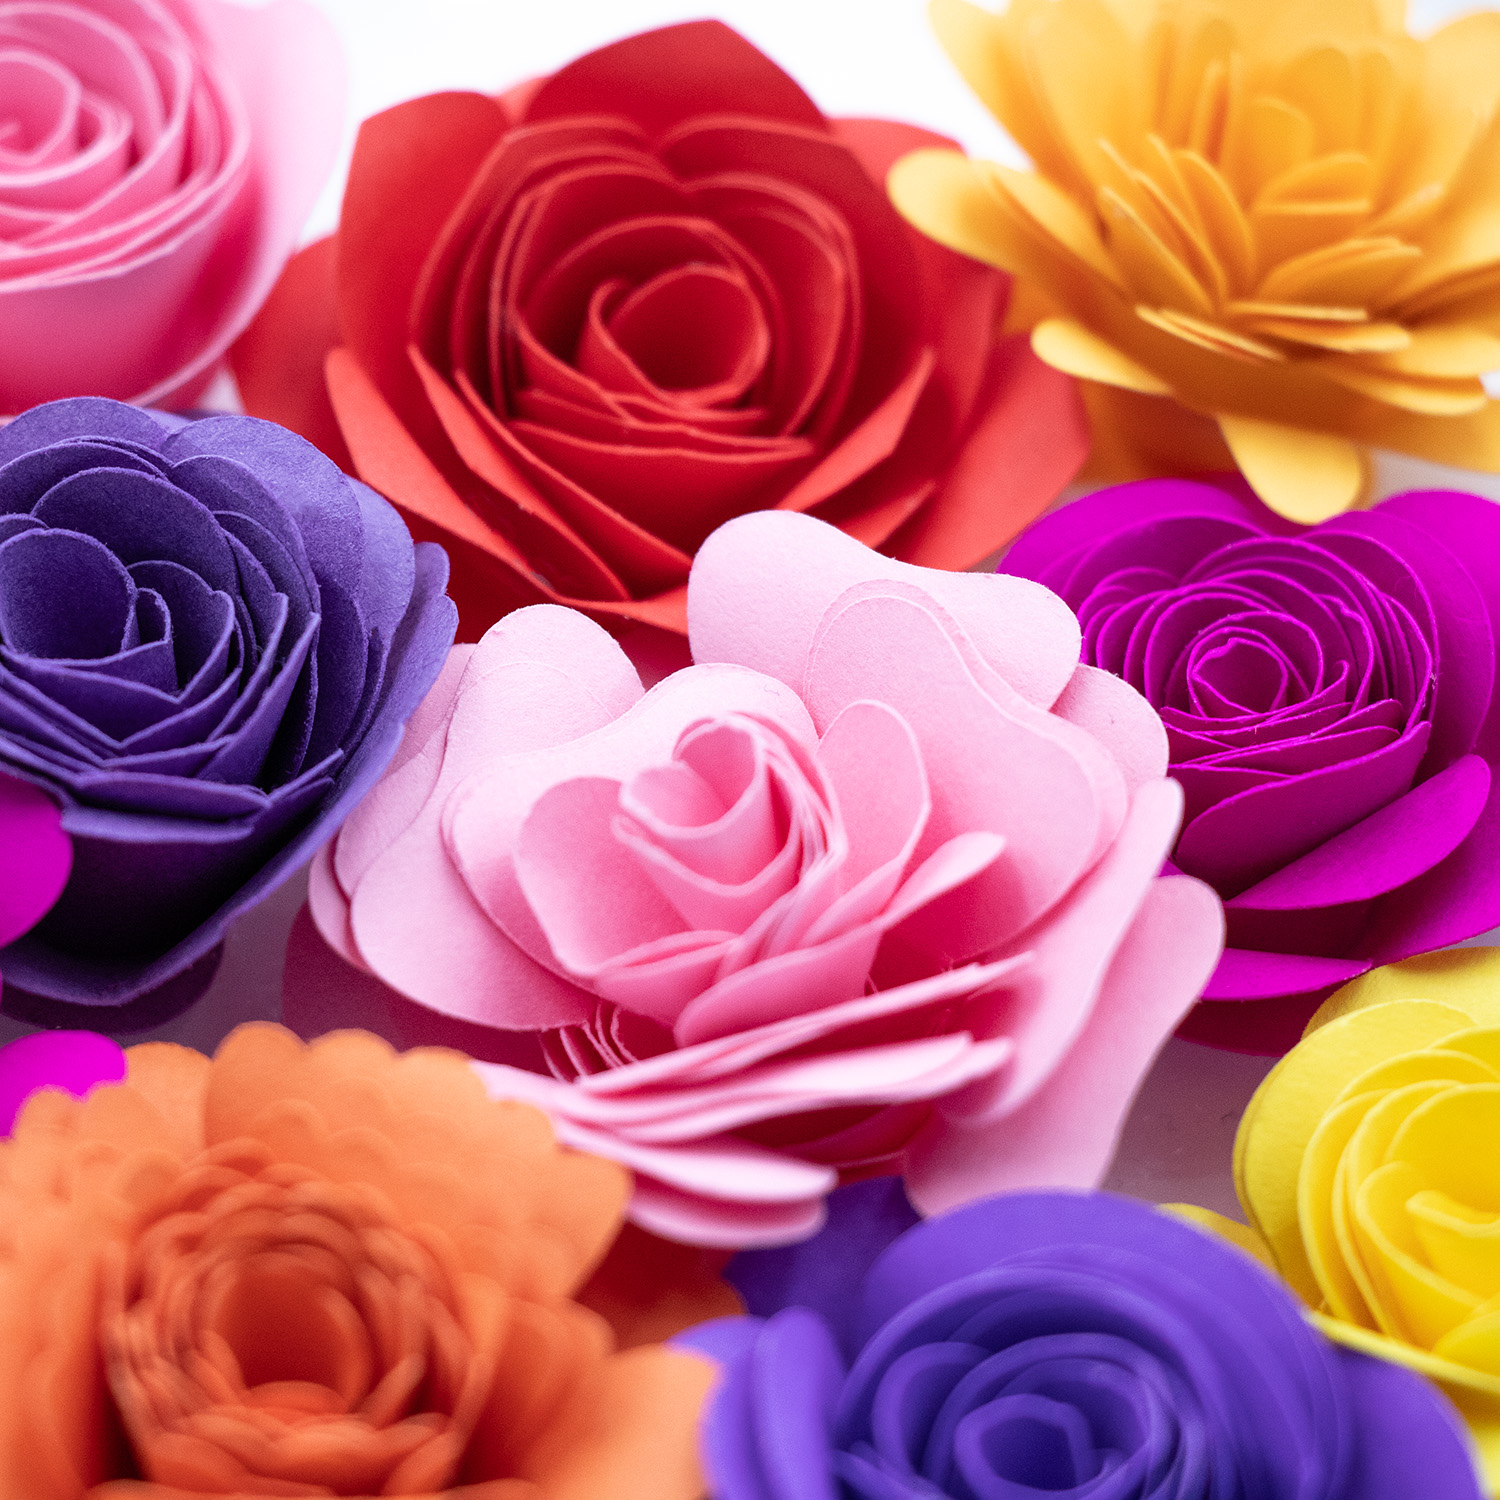
Rolled paper flowers can be layered, grouped, or used alone for endless DIY possibilities.
This tutorial contains affiliate links. If you purchase through them, I may earn a small commission at no extra cost to you.
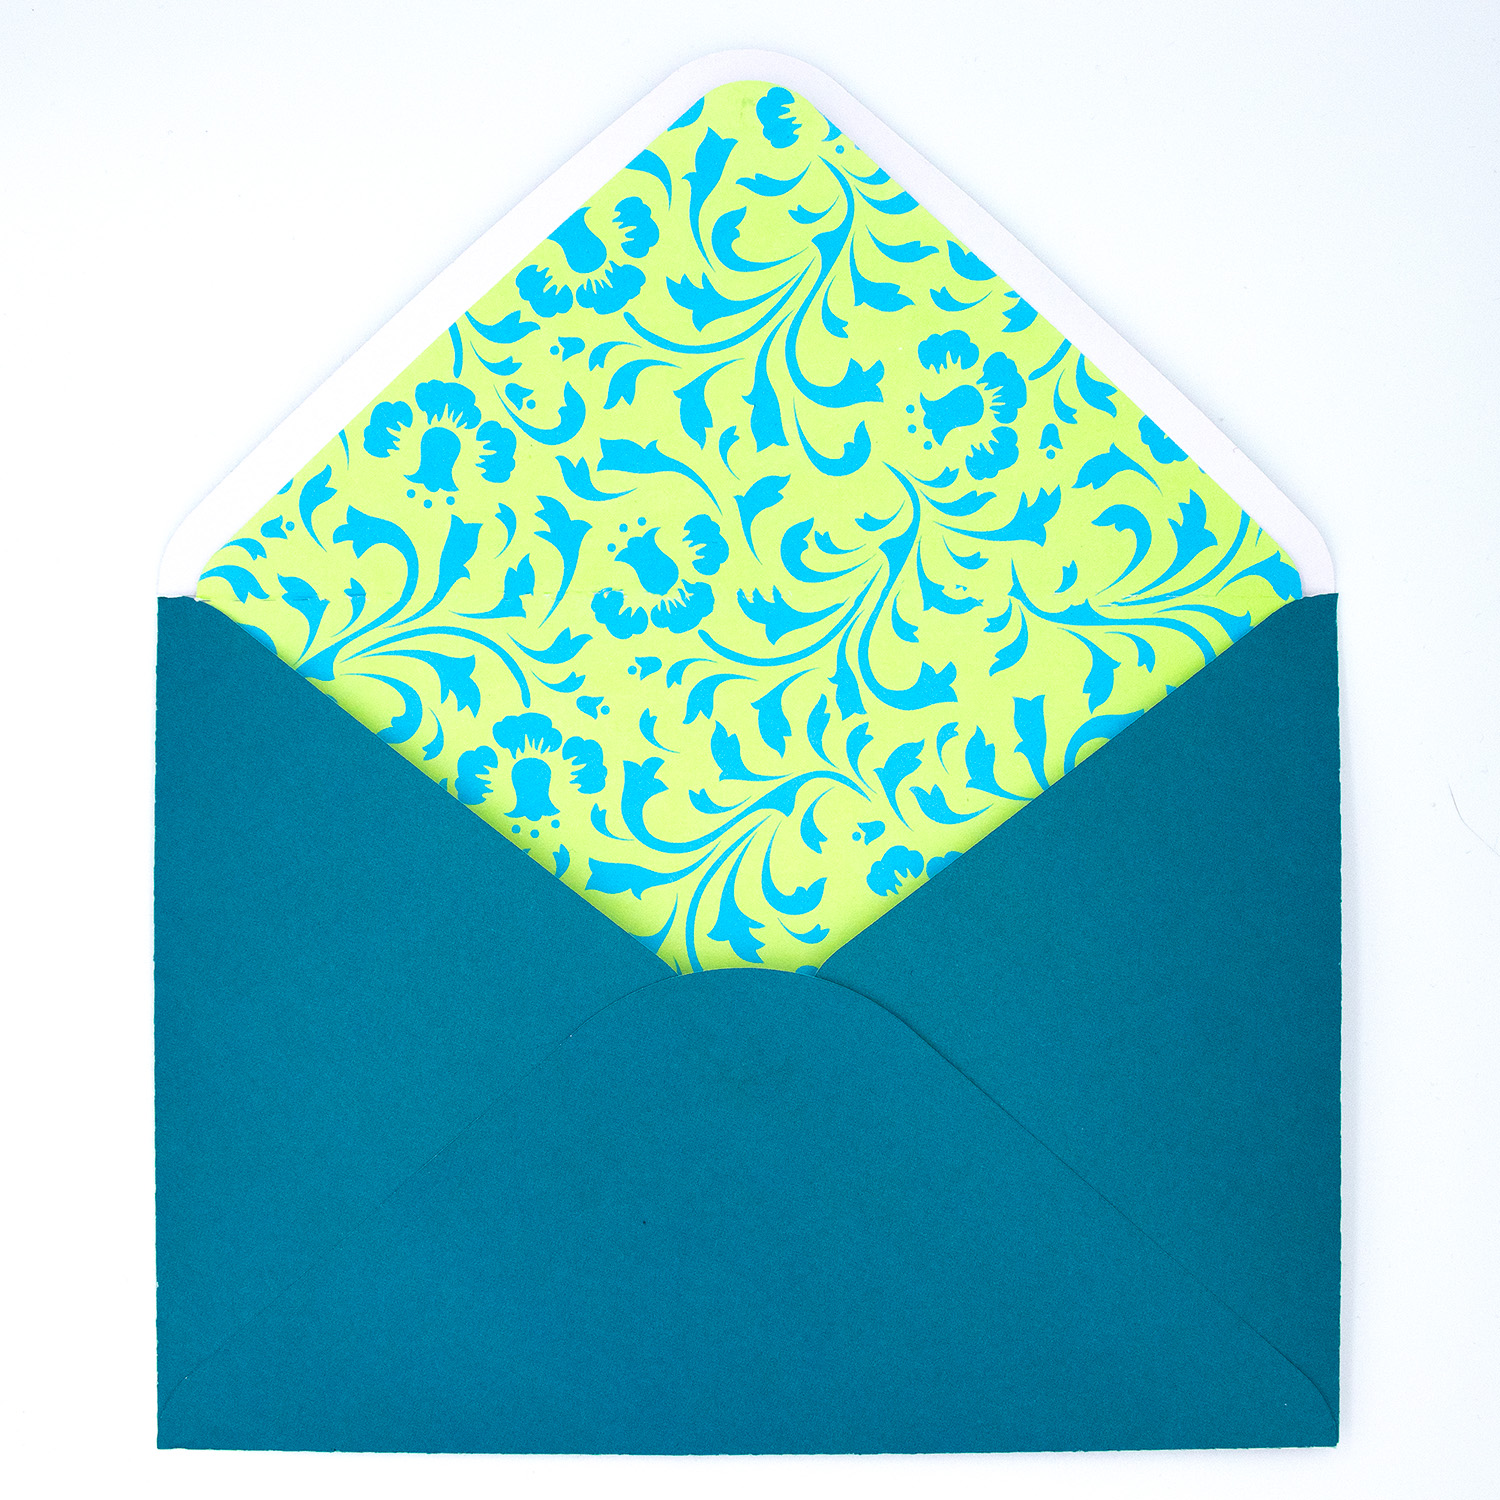
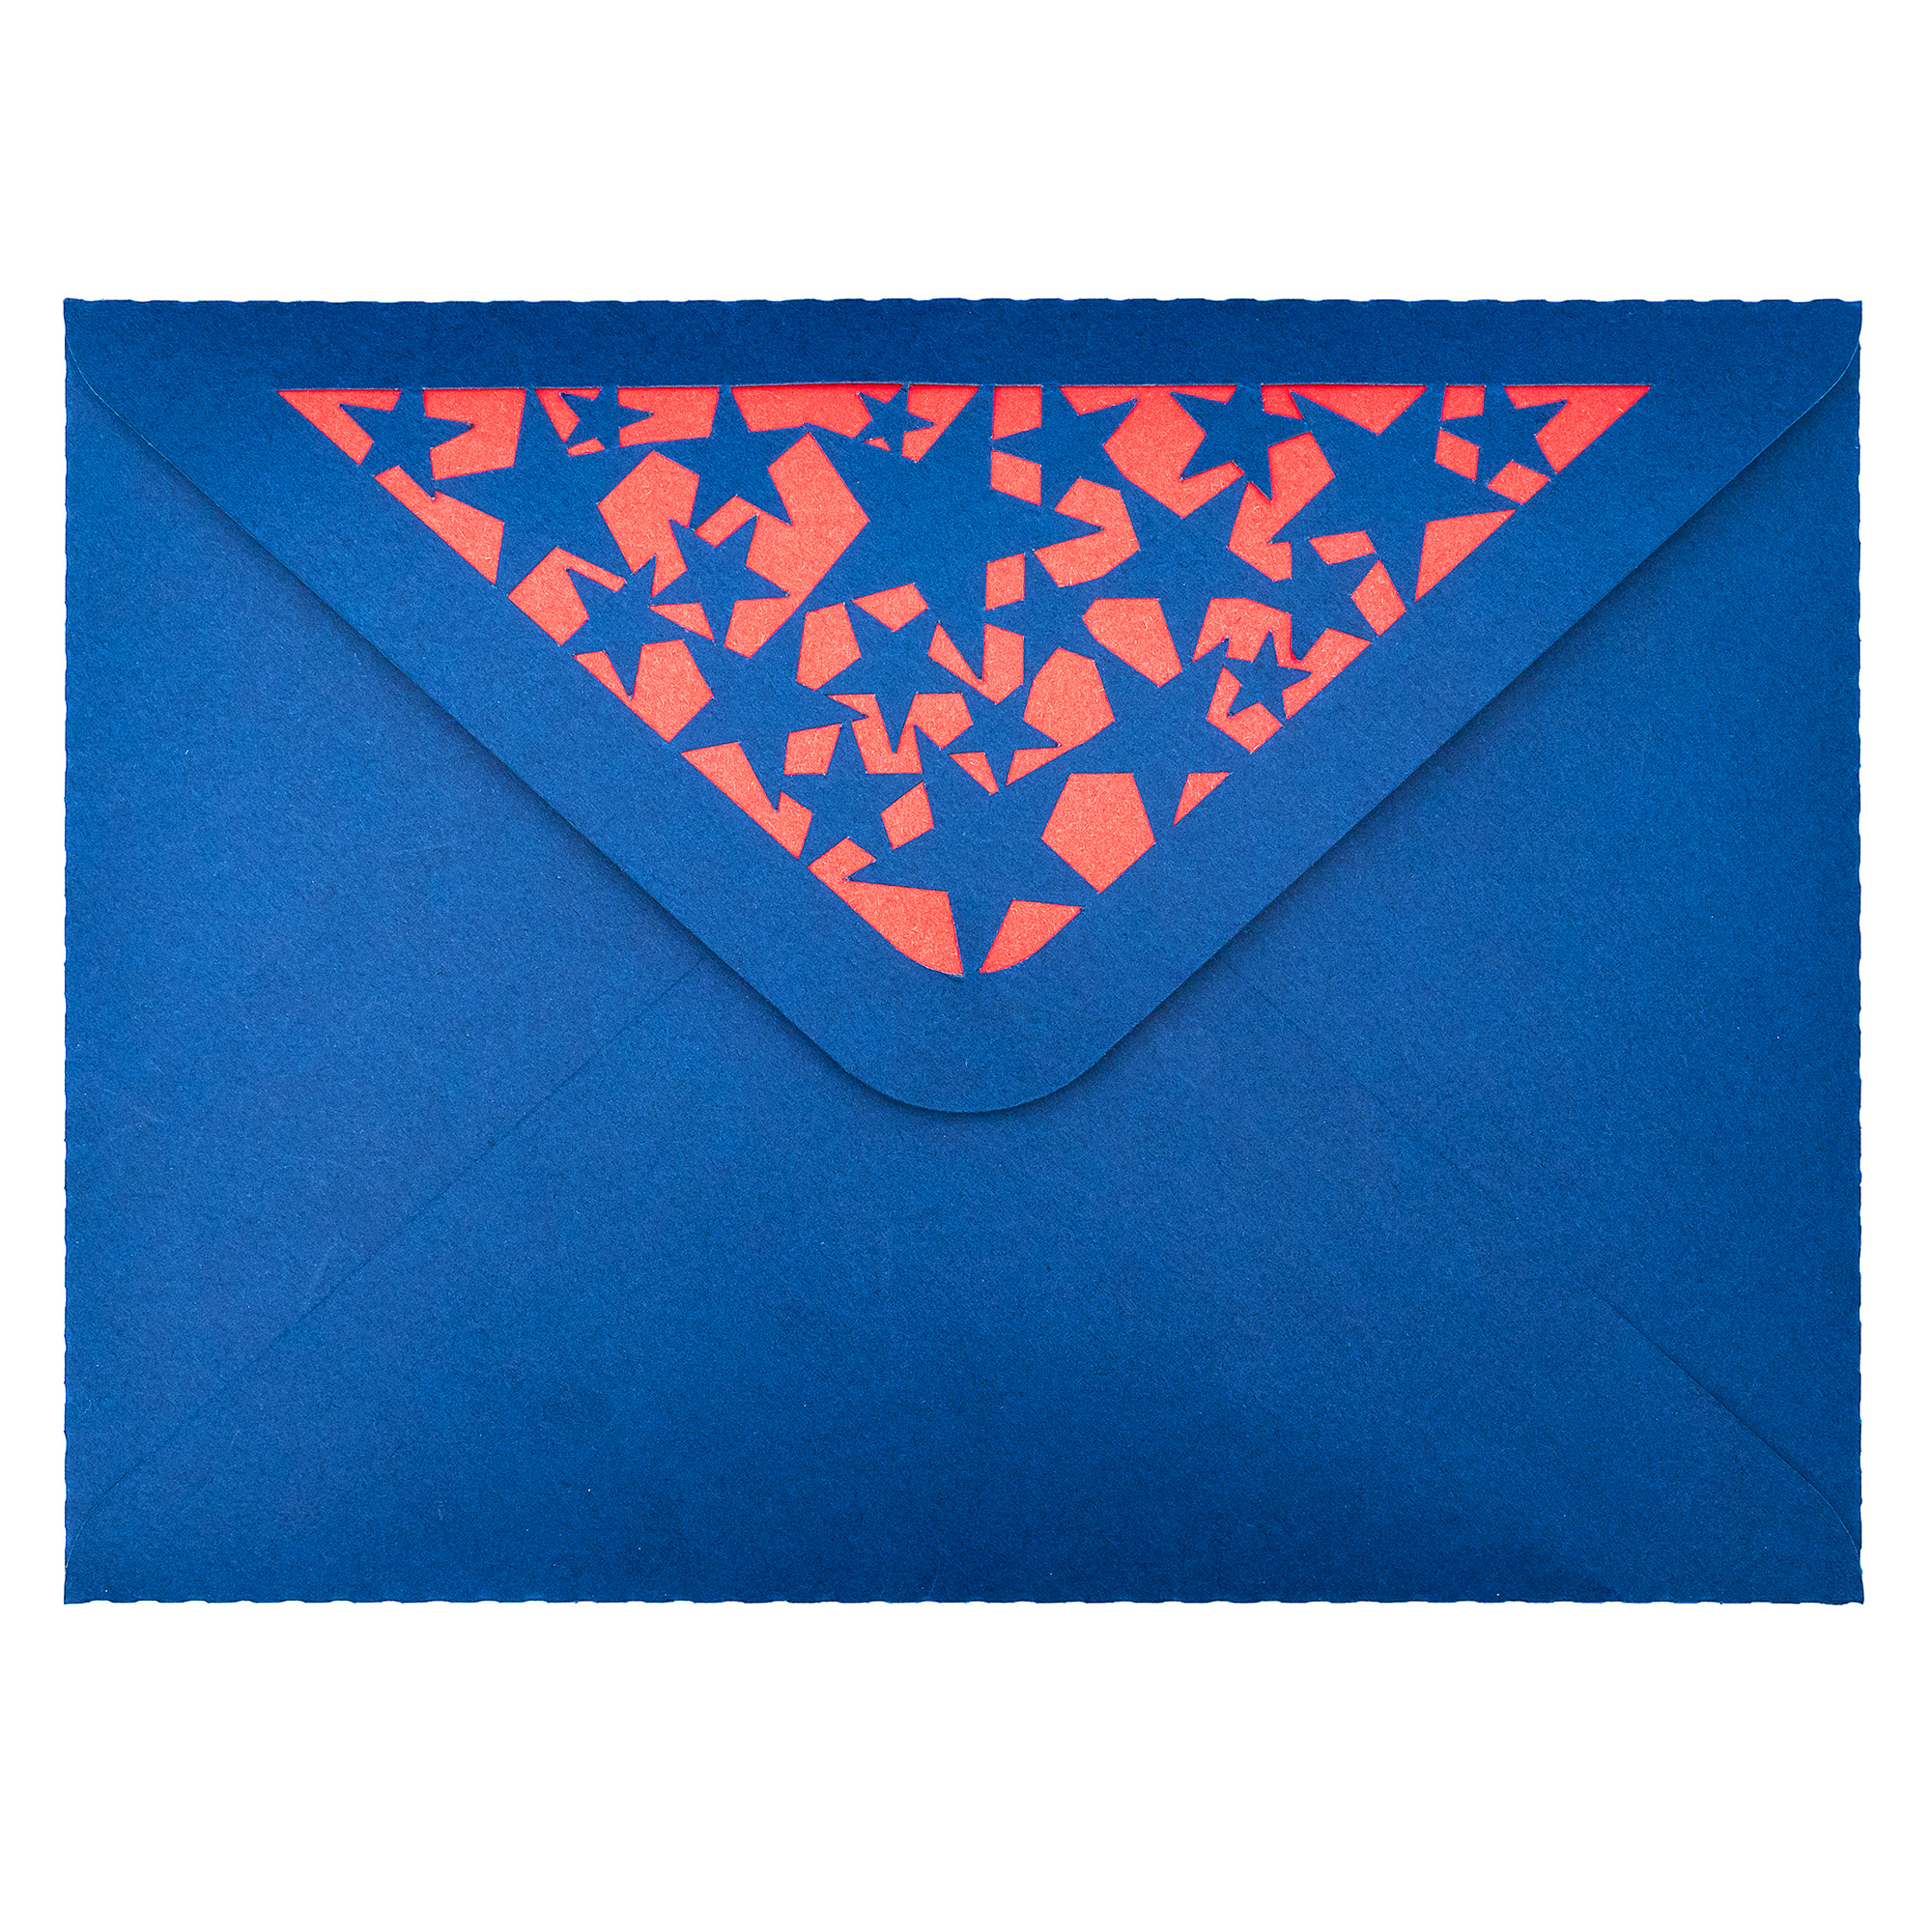
Looking to add the perfect finishing touch to your handmade cards? My 5×7 with liner envelope SVGs features a contrasting liner and some contain detailed cutouts on the opening flap—ideal for various themes including birthdays, celebrations, and more. Follow this easy step-by-step tutorial to assemble your envelope using your electronic cutting machine.
Contrasting cardstock or patterned paper for the liner
Double-sided tape and/or craft glue – glue may be needed for intricate cut areas
Step 1: Cut the SVG File
Start by uploading the SVG file into your cutting machine software.
Cut the envelope base using your cutting machine from sturdy cardstock.
Cut the liner using your cutting machine from lighter or contrasting paper for a dramatic visual effect.
Step 2: Fold the Envelope
Once your pieces are cut, fold the envelope along the score lines.
Fold the two side flaps inward.
Fold the bottom flap upward and the top flap downward to check the fit.
Step 3: Attach the Liner
With the envelope open and flap lifted:
Align the liner centered behind the top flap and/or cutout area keeping fold in correct position.
Apply glue or double-sided tape to the back of the top flap.
Press the liner in place carefully, ensuring it doesn’t extend beyond the edges. Note: attaching the bottom part of the liner to the inside of the envelope can cause issues with opening and closing so it may be best to leave it unattached.
Step 4: Assemble the Envelope
Apply adhesive to the bottom flap.
Fold in the side flaps and fold the bottom flap up and press firmly to secure. Let it dry flat for a few minutes before use.
The Finished Result
You now have a stunning handmade envelope that fits standard 5×7” cards. The inset cut patterns paired with a bold liner adds the perfect pop of personality and style—ideal for gifting, invitations, or patriotic occasions.
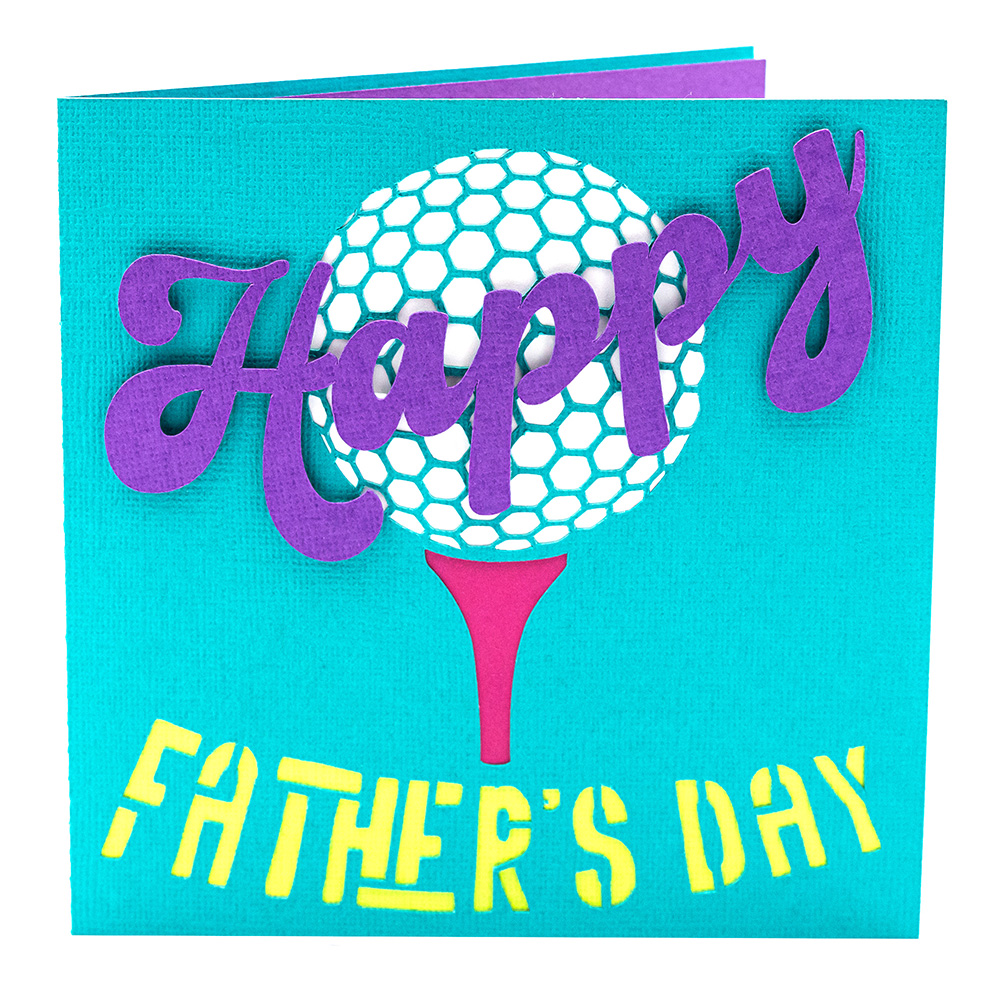
Looking for the perfect handmade card for a golf-loving dad? This layered Golf Ball Father’s Day Card SVG is the ideal craft project for your Silhouette Cameo. With its bold golf theme and dimensional layers, it’s easy to cut, assemble, and customise with your favourite cardstock colours. Follow this step-by-step tutorial to create a thoughtful and sporty card that’s sure to impress.
Materials Needed
Silhouette Cameo or Portrait cutting machine (or other compatible machine)
Optional: Matching 5×5” envelope SVG (Design ID D-181609 ) See store links for other available store options
Step 1: Set Up Your SVG in Silhouette Studio
Open the SVG file in Silhouette Studio and arrange the design elements by colour. The default size is for a 5×5 inch folded card, but you can scale it up to suit your preferences. Make sure to use separate cutting pieces for each colour of cardstock.
Step 2: Cut the Design Pieces
Load each piece of coloured cardstock onto your cutting mat and send the design to cut. The file includes:
Card base with Golf Ball, Tee & Happy Father’s Day cutouts
Golf Ball Cutout Background
Word art “Happy”
Tee Cutout Background
“Father’s Day” text cutout with optional backing layer
Card insert for your message and/or backing layer
Use a spatula to gently lift each element from the mat to keep edges clean.
Step 3: Assemble the Card
Begin with the card base laid open. Adhere the golf ball backing to the top half of the card behind the golf ball cutout, placing the tee beneath the tee cutout. Next, layer the “Happy” word art over the ball, then attach the (optional) coloured cutout backing behind the “Father’s Day” cutout text to make it pop. Finally, add the message insert inside the card which can also be used as the optional cutout backing for one of the elements.
Step 4: Optional Envelope
Complete your project by cutting a coordinating 5×5” envelope using Design ID D-181609 . It fits the card perfectly and adds a polished, professional touch.
This sporty, handmade Golf Ball Father’s Day card is a fantastic way to celebrate your dad’s favourite hobby. With a bit of cardstock and creativity, you’ll have a one-of-a-kind greeting he’ll treasure.
Don’t forget to follow Clikchic Designs for easy to find updates on latest designs.