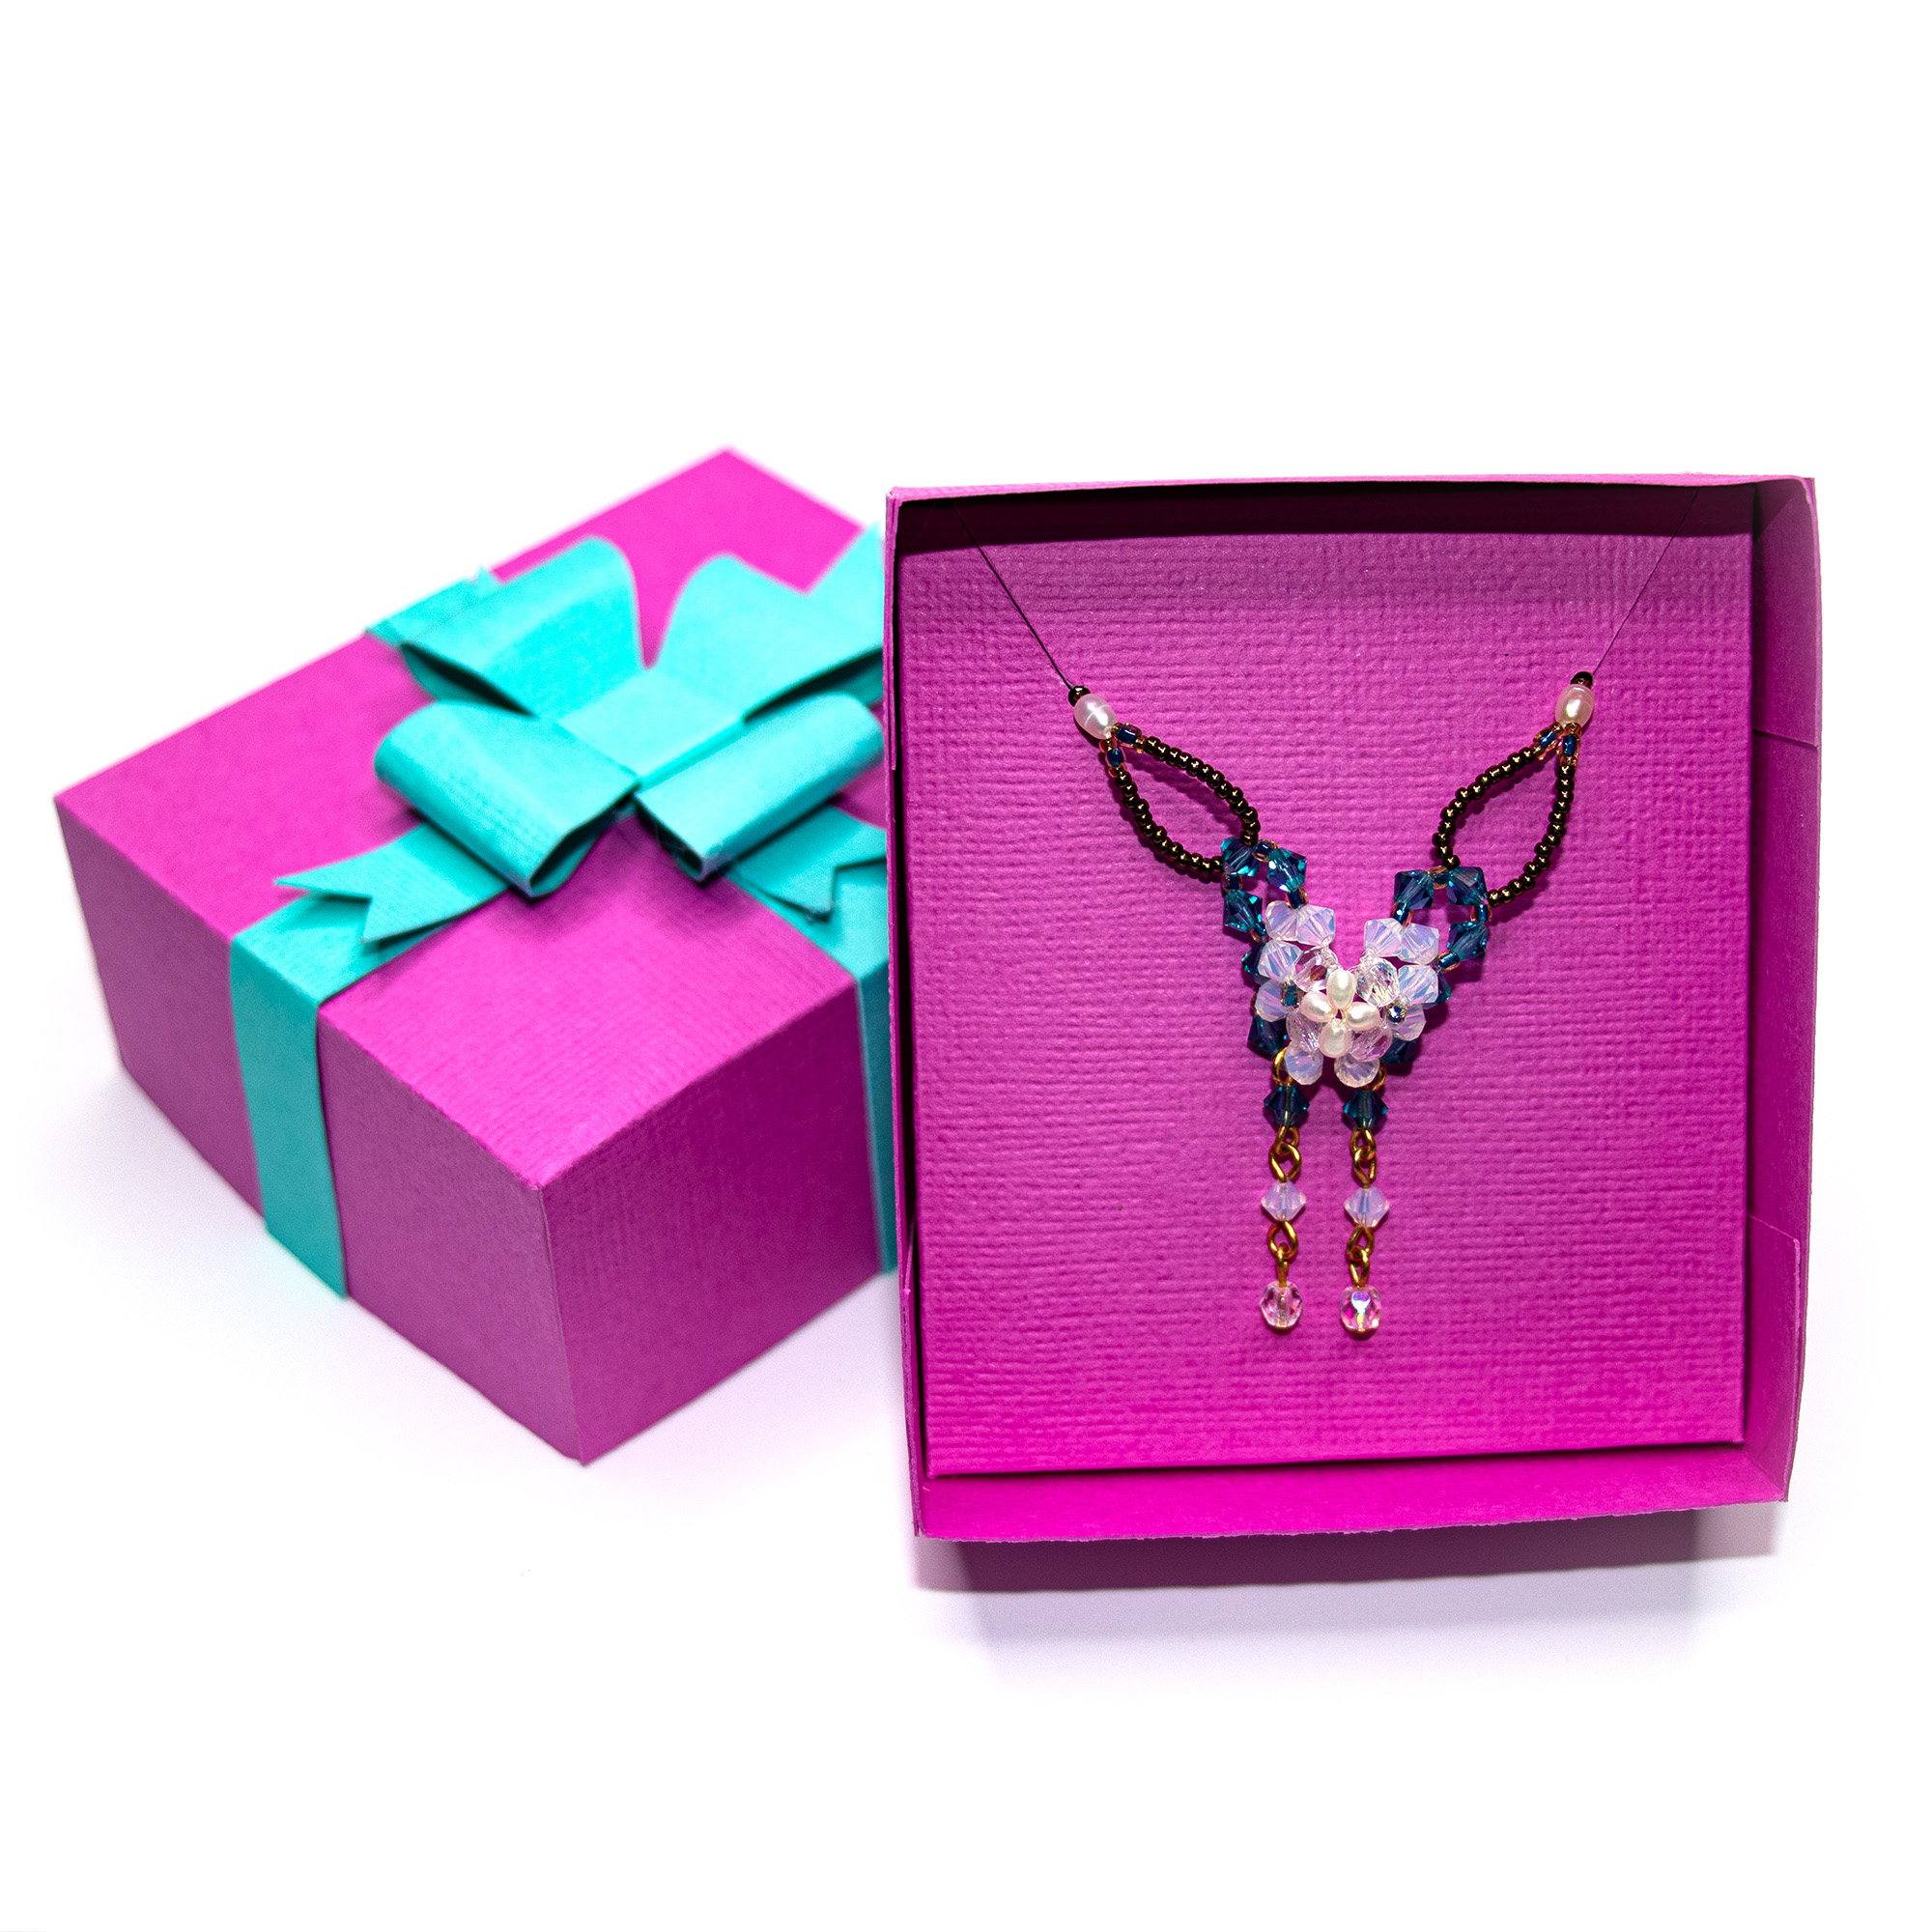
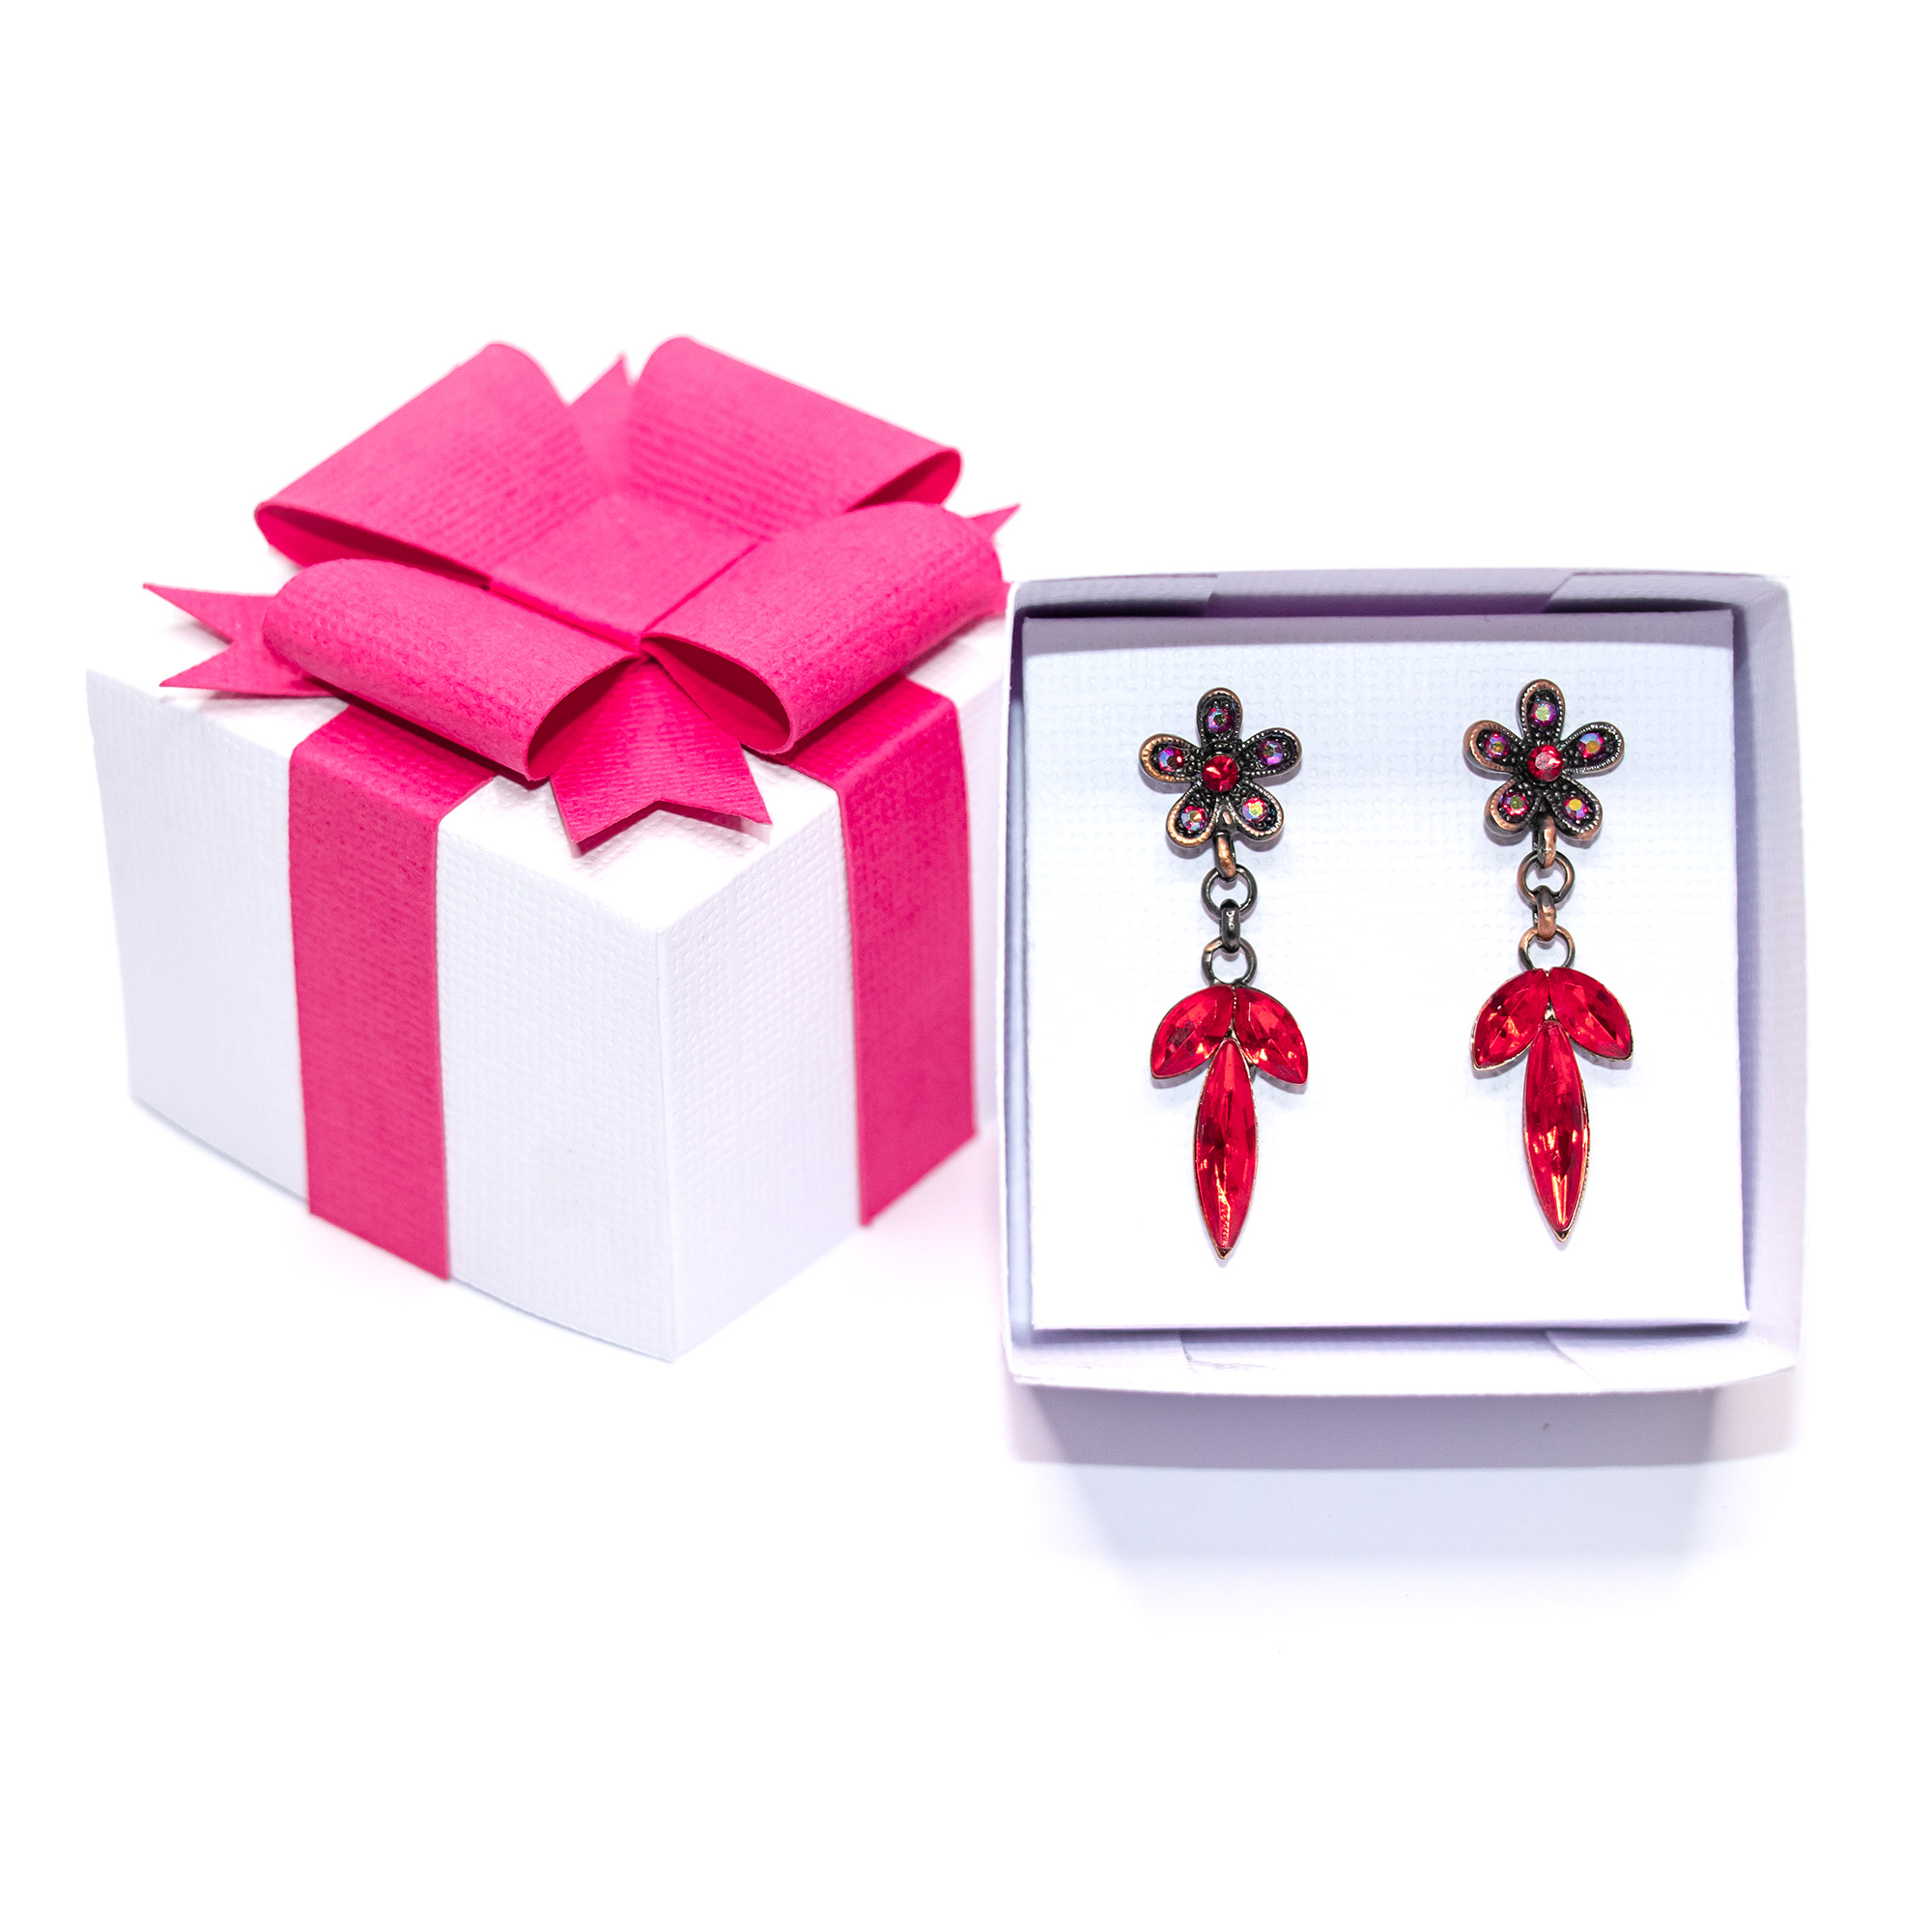
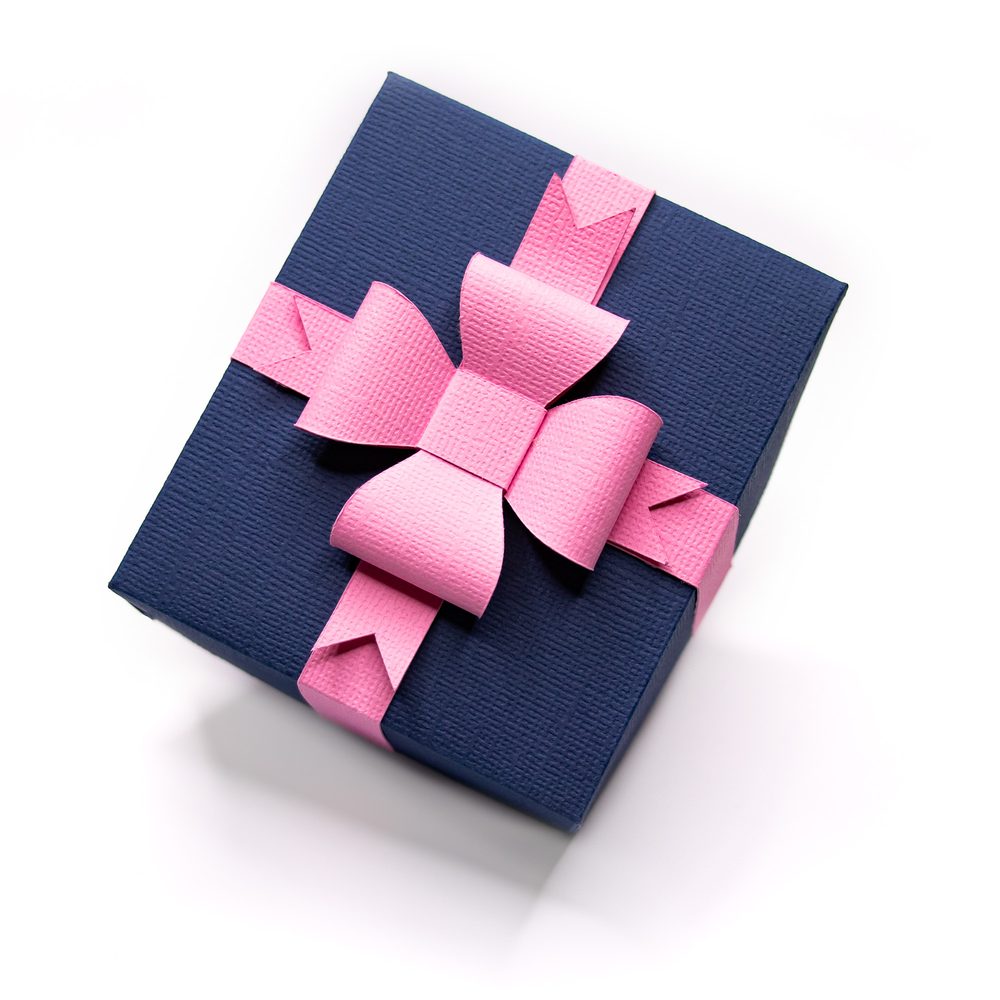
A beautiful piece of jewelry deserves more than a plastic bag or a flimsy box. These 3D gift boxes give it a beautiful presentation. Each one has a lid and base, a ribbon band and a handmade paper bow, plus a matching insert that shows the jewelry off the moment
the lid is lifted.There are two designs. One is made for necklaces. The other is for earrings or a ring, and it comes with three inserts so you can choose the right one for the gift. Cut them from any color or patterned cardstock to match the occasion, the outfit or your brand.
Why you will want to make these
- Made for the jewelry: the insert holds the piece in place and displays it neatly, so it looks memorable as soon as the box is opened.
- The earring and ring design comes with three inserts: on for stud earrings, hanging earrings or a ring, all from the same file.
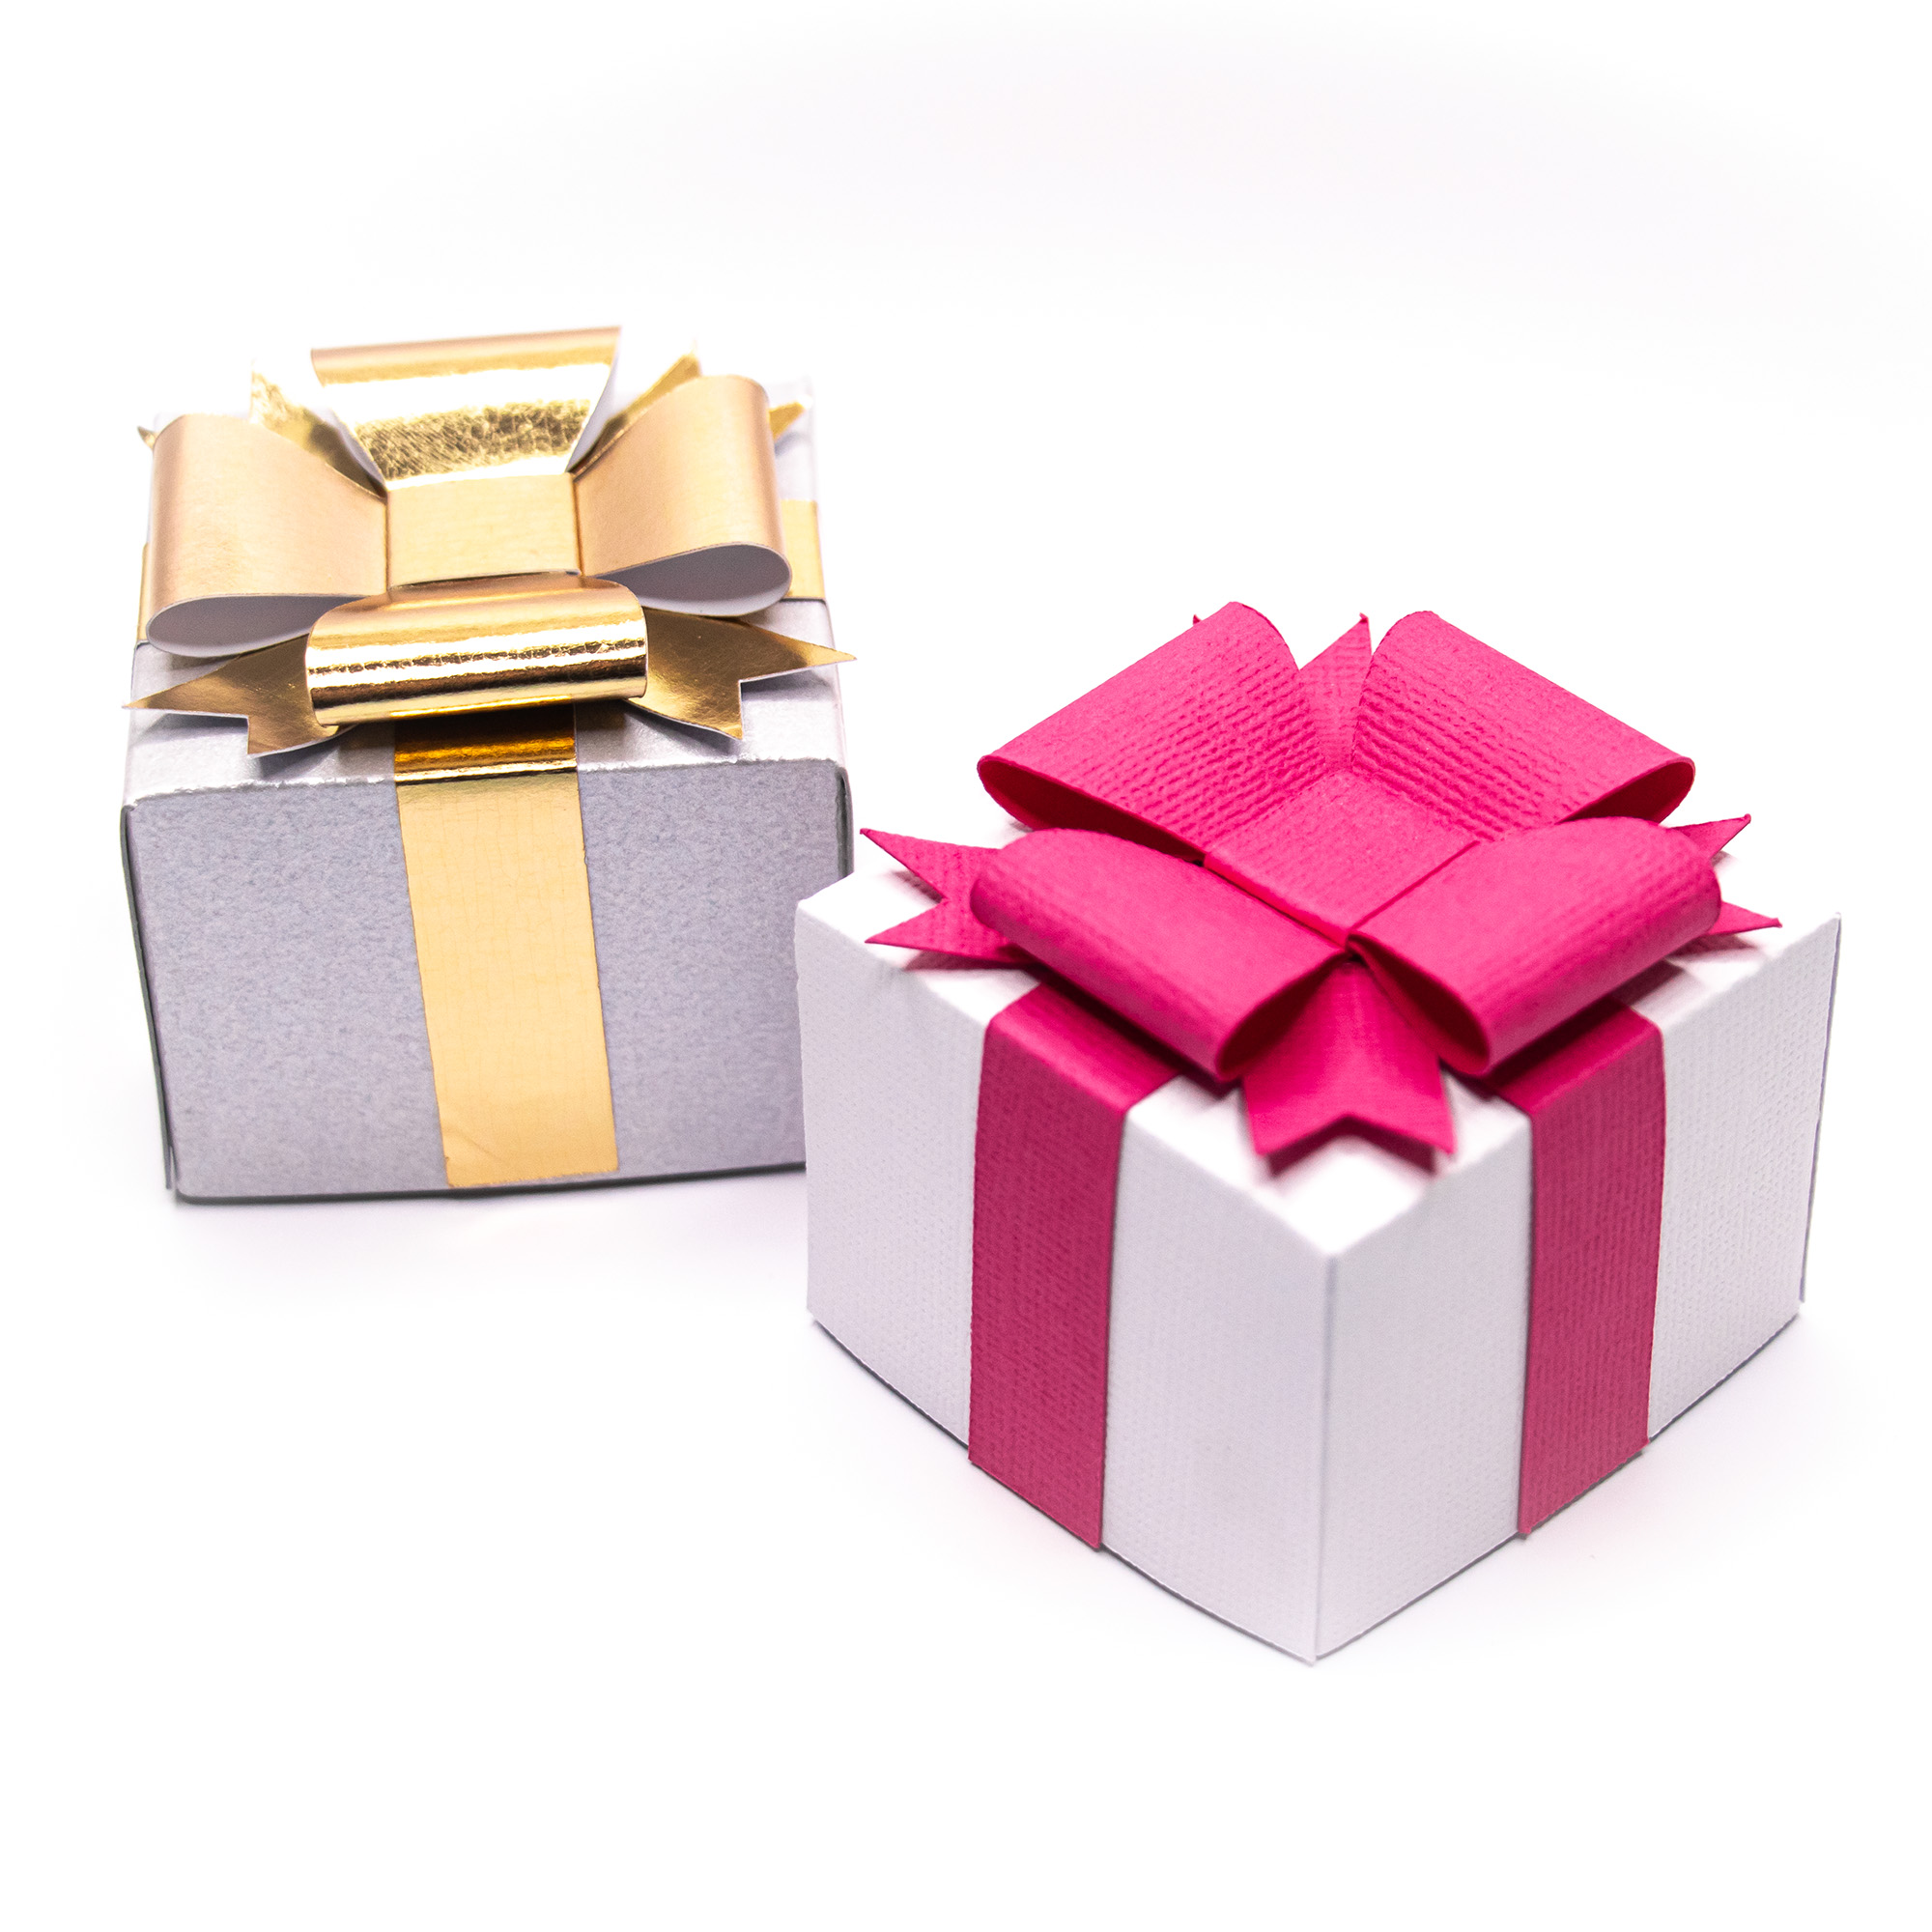
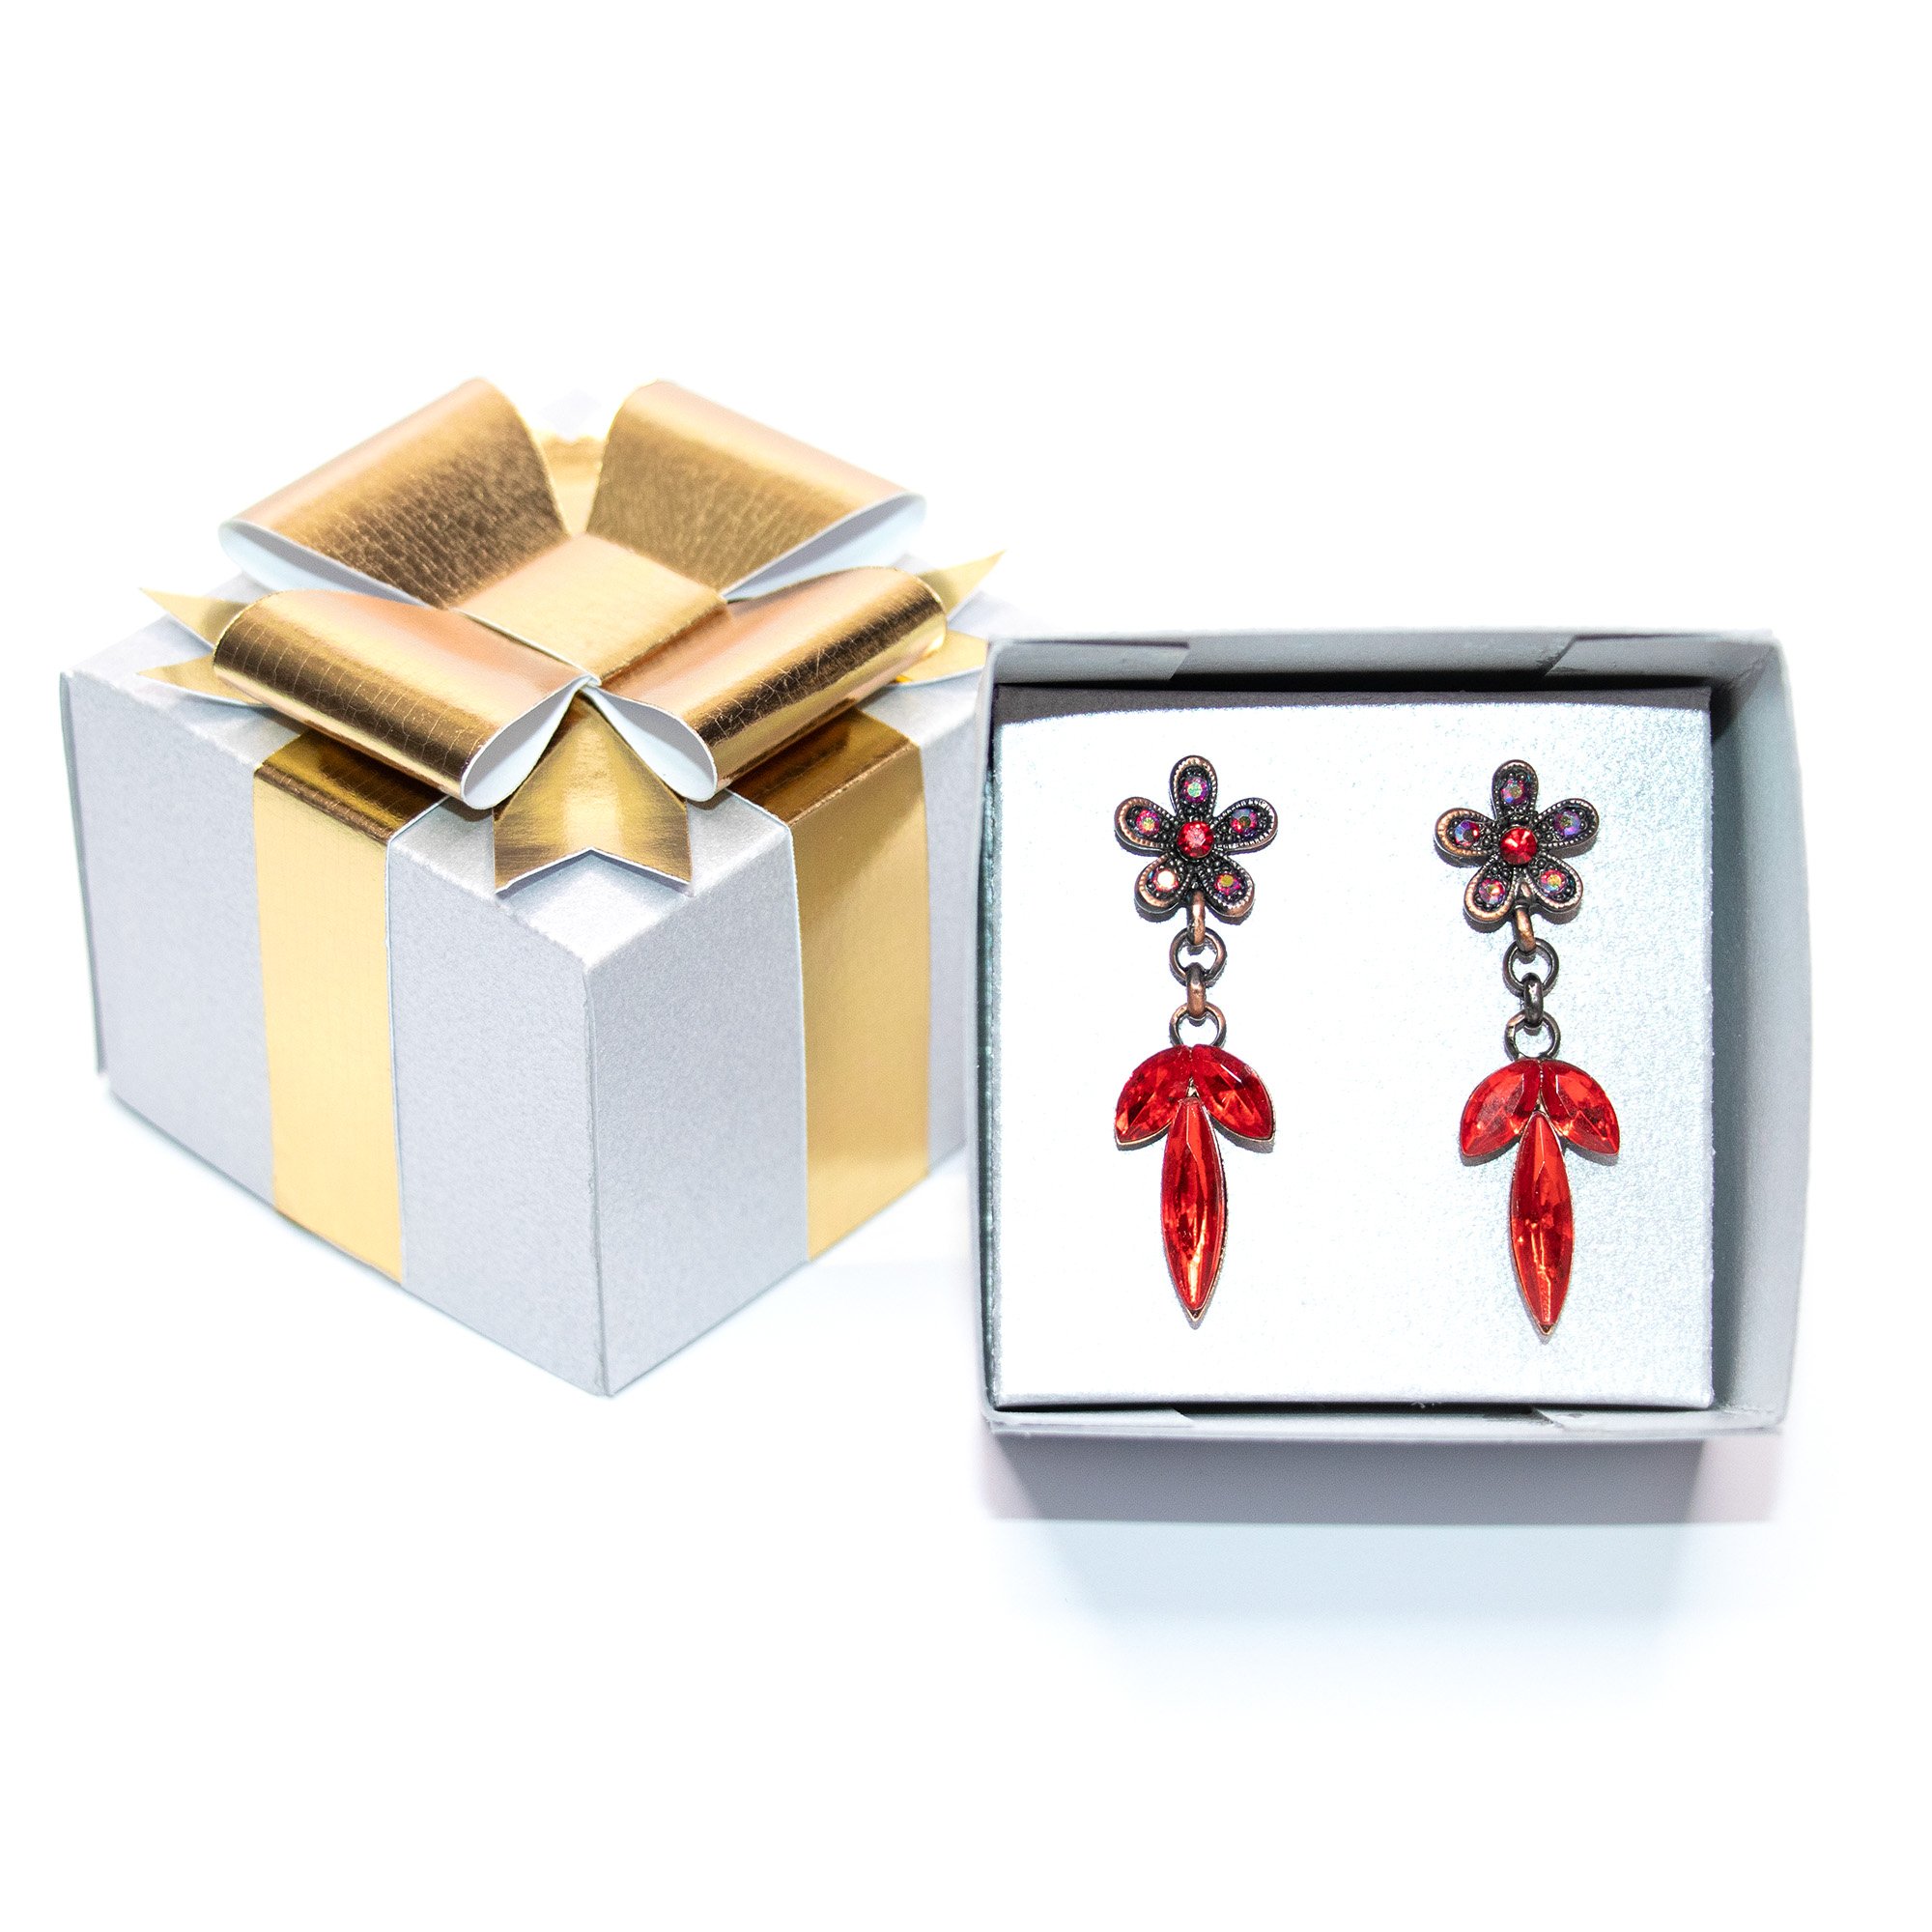
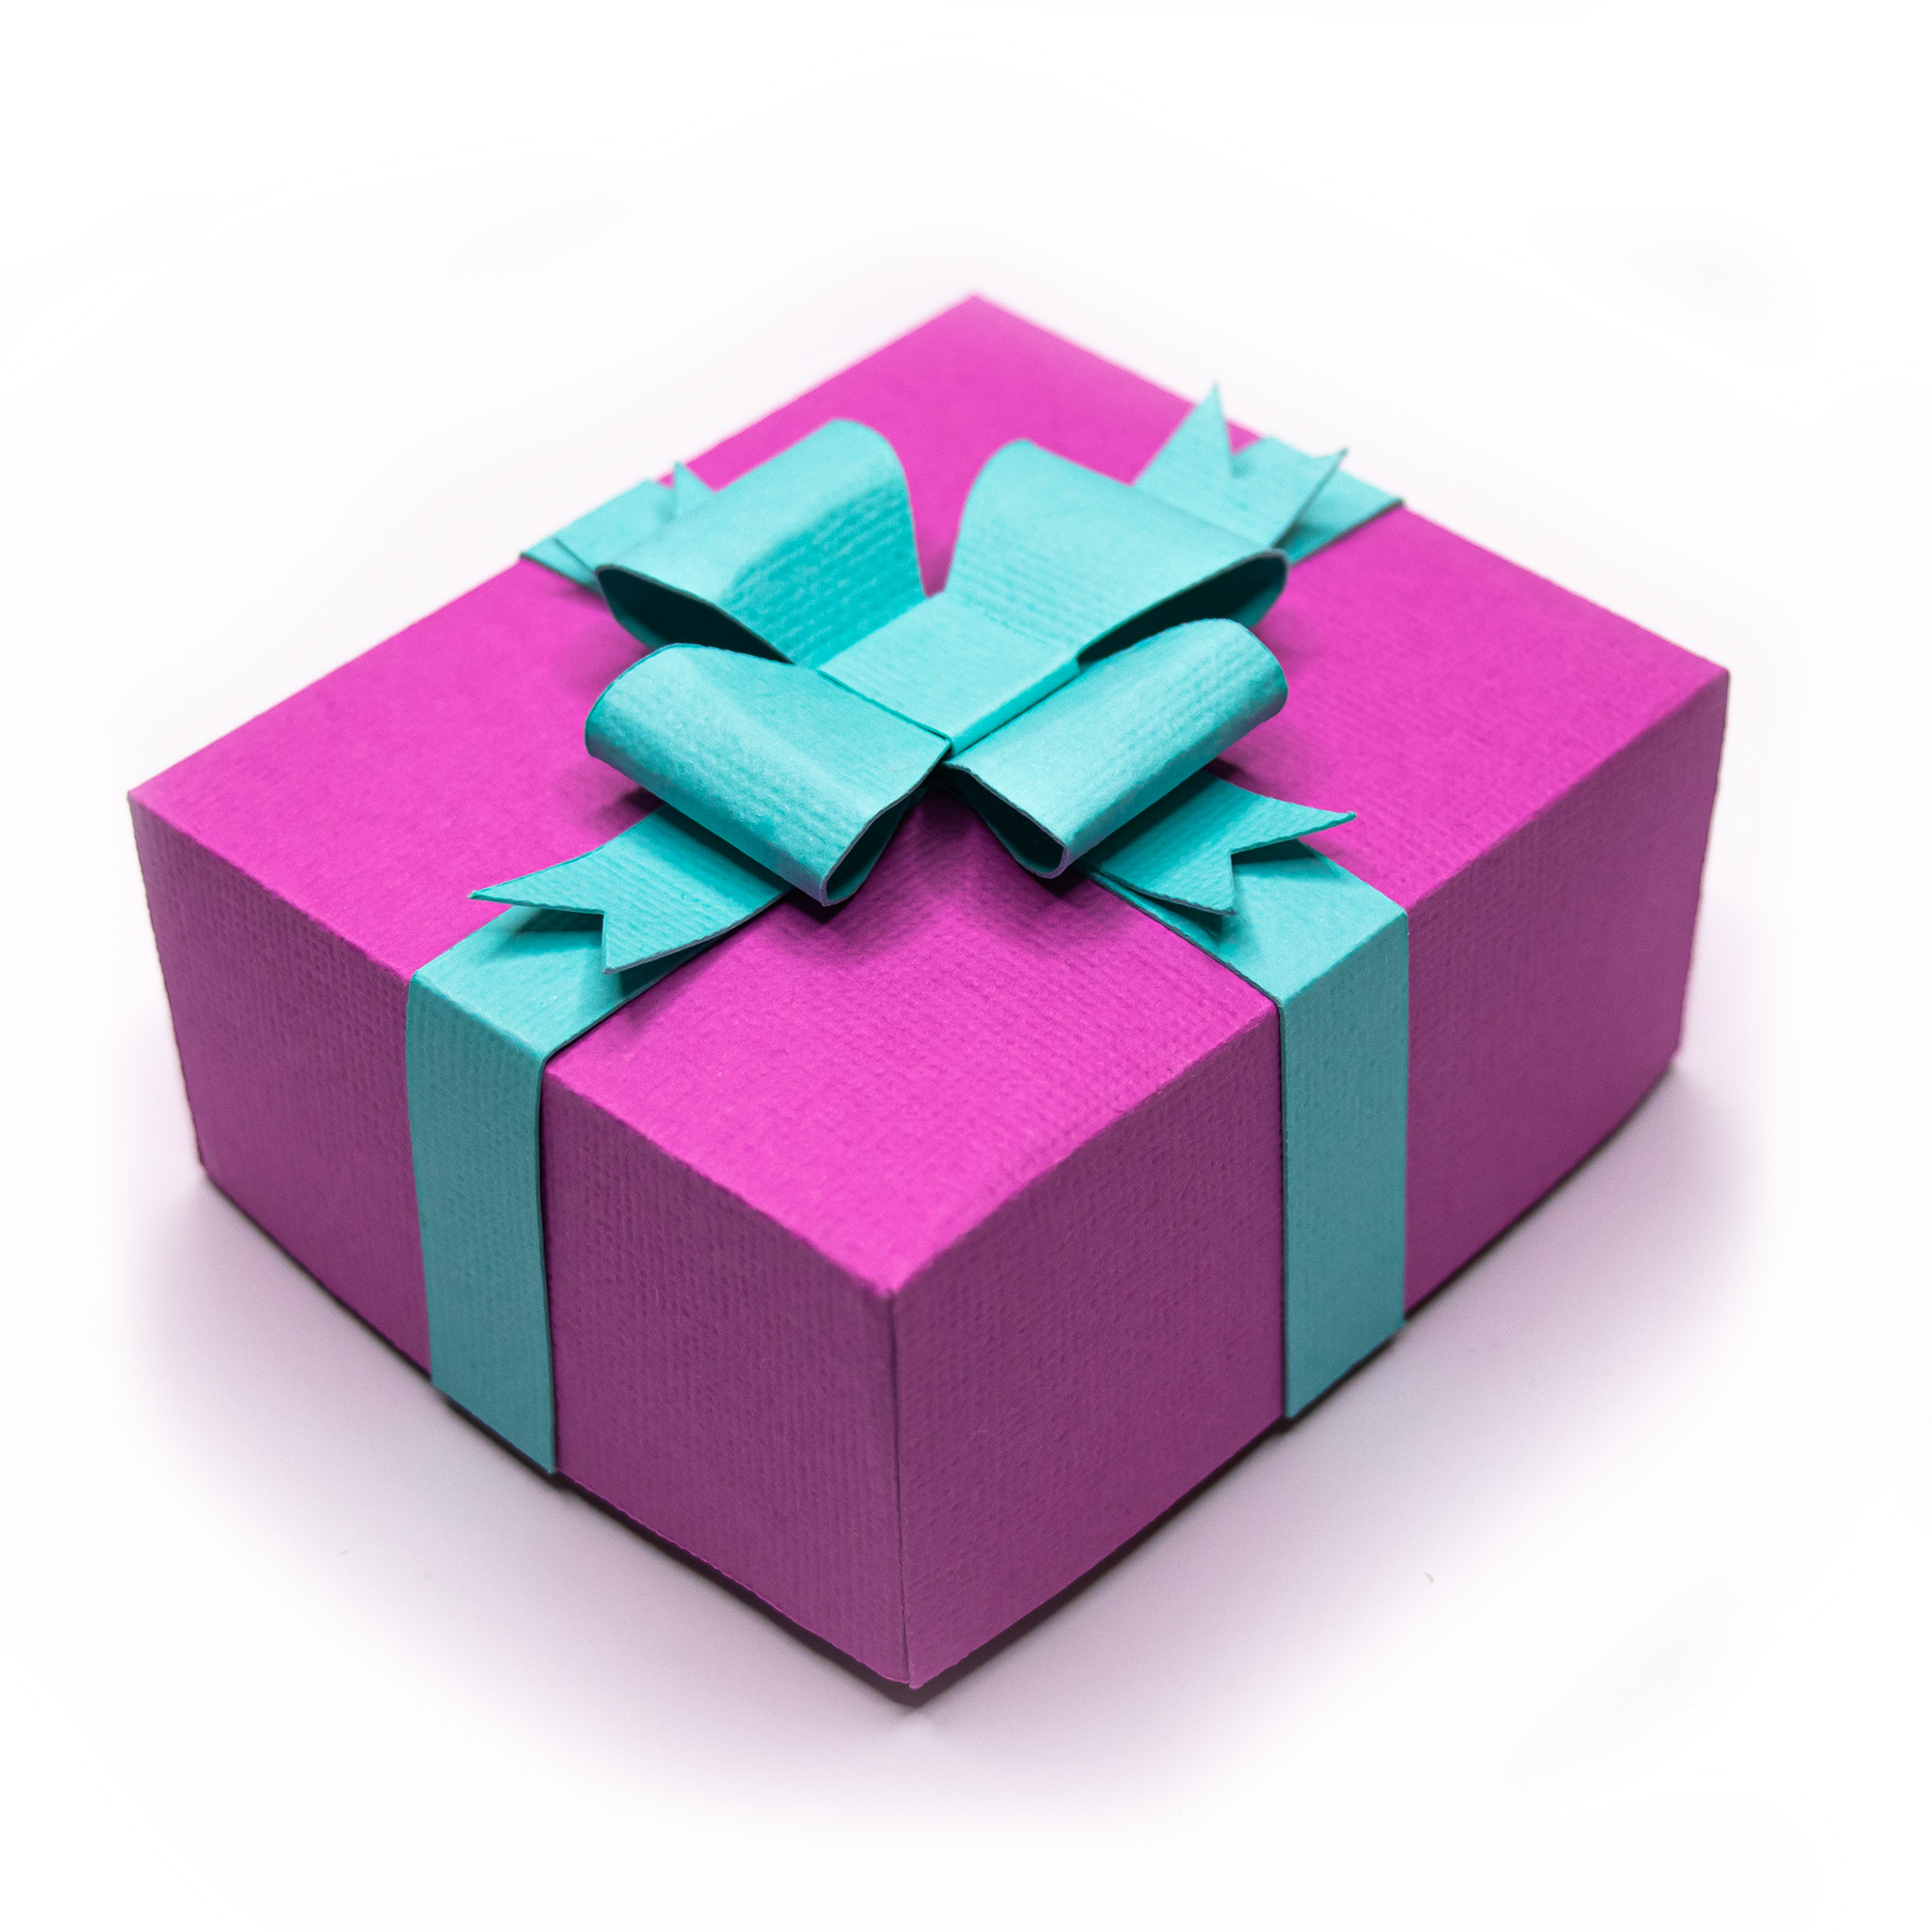
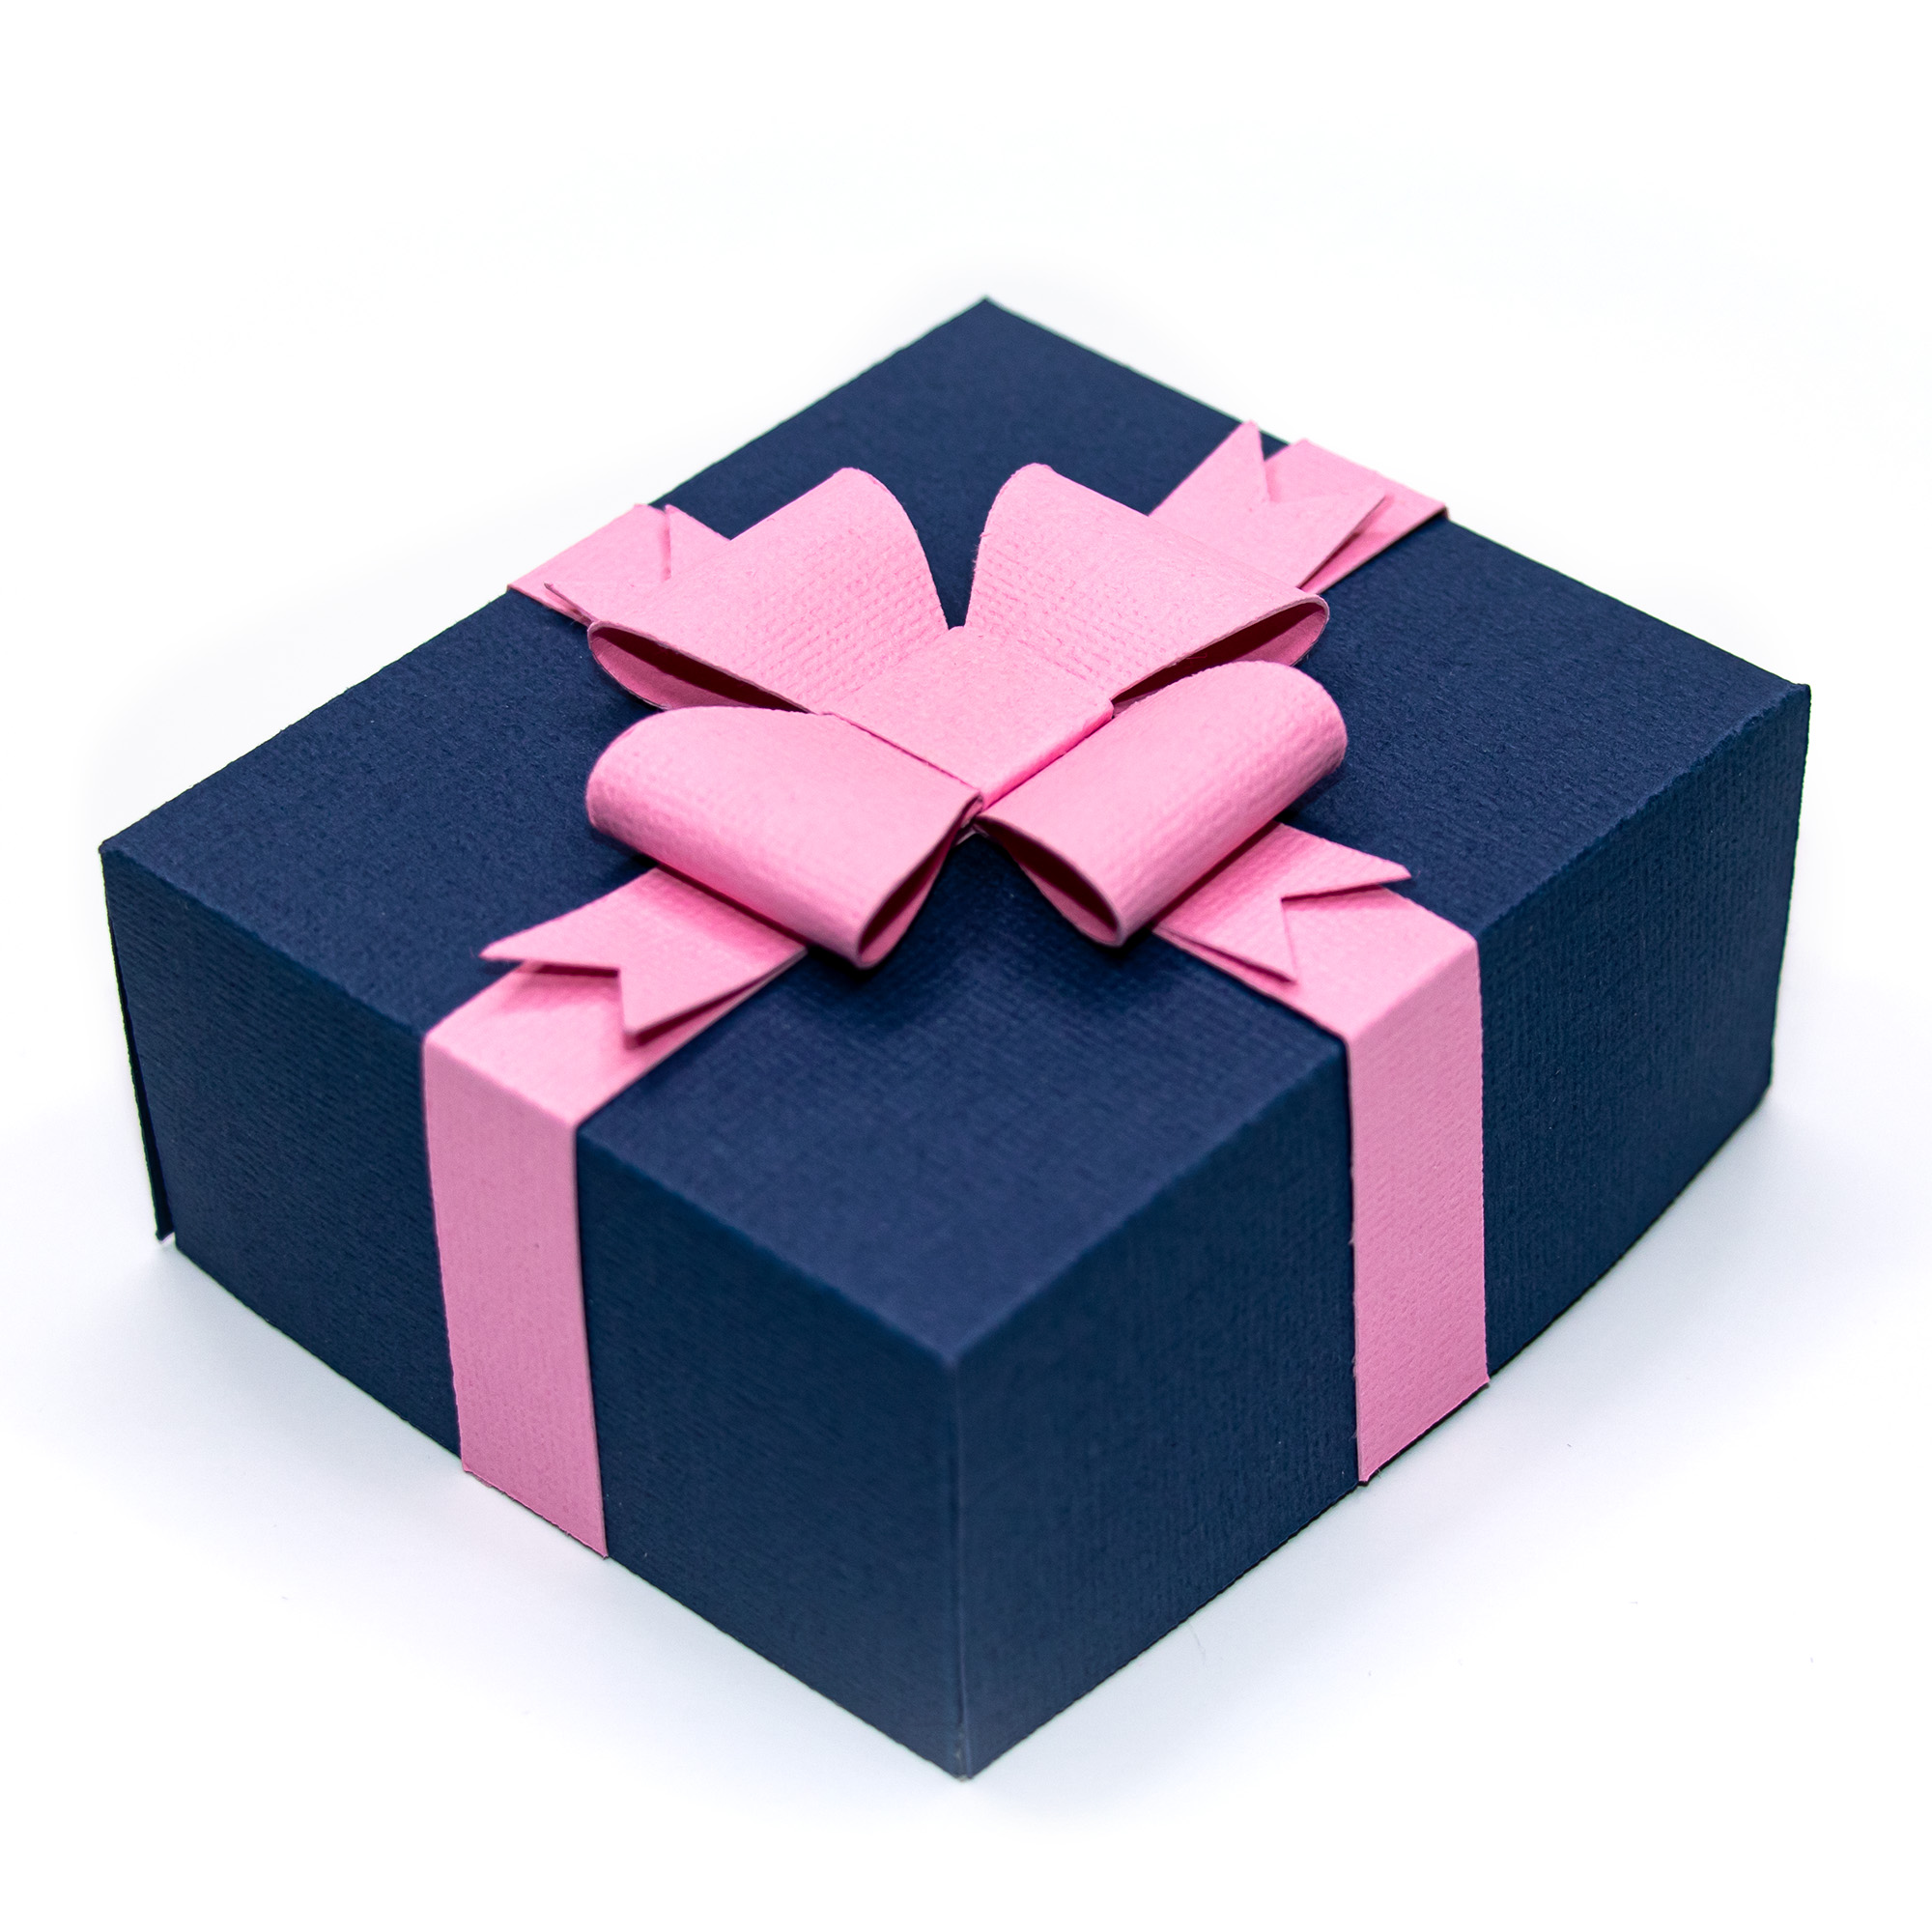
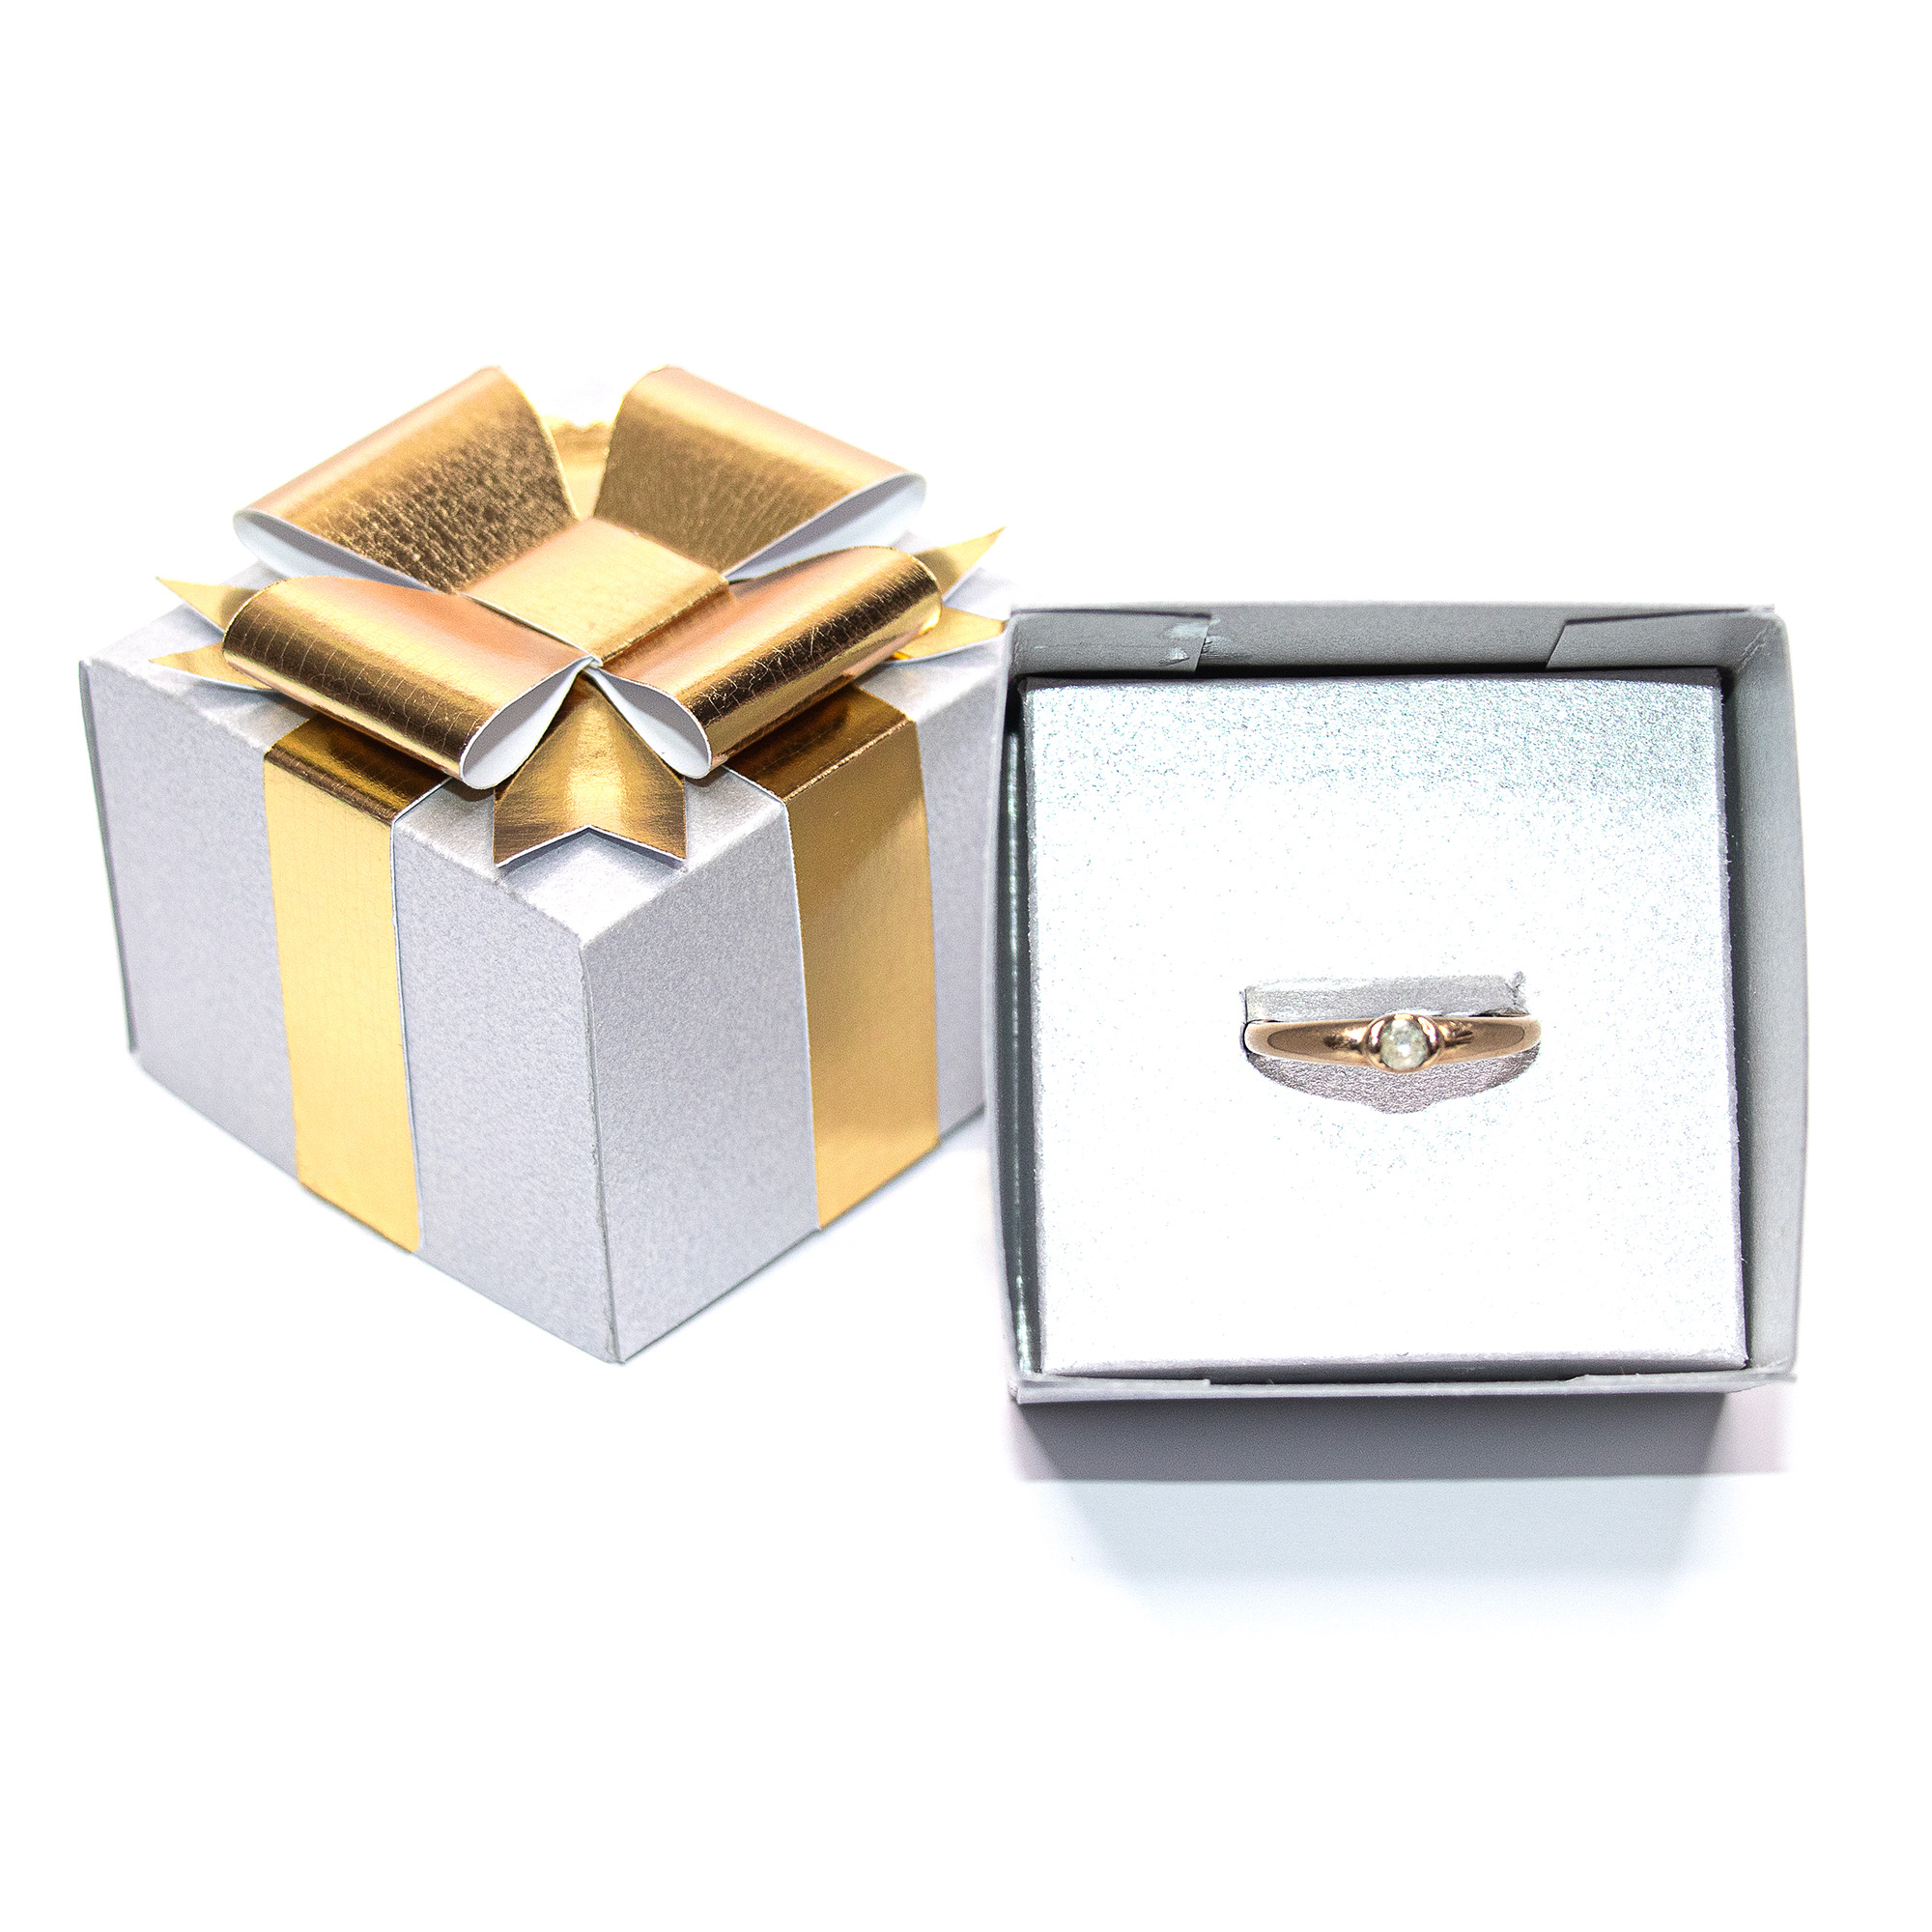
- Any color you like: pick your cardstock and make the box and bow to suit the gift and recipient. The photos show magenta and teal, navy and pink, white and hot pink, and silver and metallic gold. Use as inspiration or come up with your own color combinations.
- Great for gifts and for selling: birthdays, C hristmas, anniversaries and bridesmaid gifts are easy, and a batch in your brand colors makes handmade jewelry look professionally packaged.
- Simple to put together: all you need is cardstock, craft glue and your cutting machine.
Get the designs
- Necklace box: one insert with placement holes for the necklace. 3D Necklace Jewelry Gift Box with Ribbon and Bow
- Earring and ring box: three inserts, one for stud earrings, one for hanging earrings and one for a ring. 3D Earring and Ring Jewelry Gift Box with Ribbon
[IMAGE: open white box with the red crystal earrings, and open white box with the gold ring]
The two boxes go together almost the same way, so this tutorial covers both. The only real differences are the inserts, and each one has its own section below. Prefer to watch? The assembly videos are at the bottom of this post.
At a glance
- Finished size, necklace box:
7.9 x 9.2 x 3.9 cm (3.1 x 3.6 x 1.5 in), or 4.9 cm (1.9 in) high including the ribbon - Finished size, earring and ring box:
5.4 x 5.4 x 3.9 cm (2.1 x 2.1 x 1.5 in), or 4.5 cm (1.8 in) high including the ribbon - Cutting machine: Silhouette Portrait, Cameo or Curio. (Or buy the SVG for other cutting machines) Every piece is smaller than letter size, so all three machines can cut the designs. The Cameo and Curio make it easier, because you can cut from 12 x 12 inch sheets. If you only have a Portrait, it works well too
- Cardstock: medium to heavy weight gives the best result. The photos use heavy textured cardstock
- Also needed: craft glue. Tape is optional for the necklace insert
What is in the files
Both designs open in Silhouette Studio® with the pieces already laid out and the fold lines marked.
In both boxes:
- Box top (lid) and box bottom (tray)
- Ribbon cross: the long cross shape that wraps around the box
- Tail cross: the smaller cross with forked ends
- Two bow loops: the long strips with shaped ends
- Bow center: the small rectangle
Necklace box: one insert with cut lines and placement holes for the necklace.
Earring and ring box: a ring insert with a slot for the ring, an optional ring stabilizer, and two earring inserts with holes for the earring posts. The insert with the holes in the middle is for stud earrings, and the insert with the holes nearer the top is for hanging earrings. Placement can be altered if needed for your earring style.
Step 1: Cut the pieces
Cut the box top, box bottom, the insert you want and the ribbon pieces from your chosen cardstock. If you are using two colors, cut the box and insert in one, and the ribbon pieces in the other. For the earring and ring box, you only need to cut the insert that suits the gift.
Step 2: Assemble the box bottom
- Fold along all the scored lines.
- Add glue to the tabs.
- Fix the tabs to the inside of the box sides, keeping the corners at right angles and the edges flush. Hold each join for a few seconds until the glue grips.
Step 3: Assemble the box top
Repeat the same steps for the box top.
Step 4: Assemble the insert
All the inserts fold and glue the same way as the box, with two tabs glued on two sides. Follow the section for the insert you are using, then place it into the box bottom.
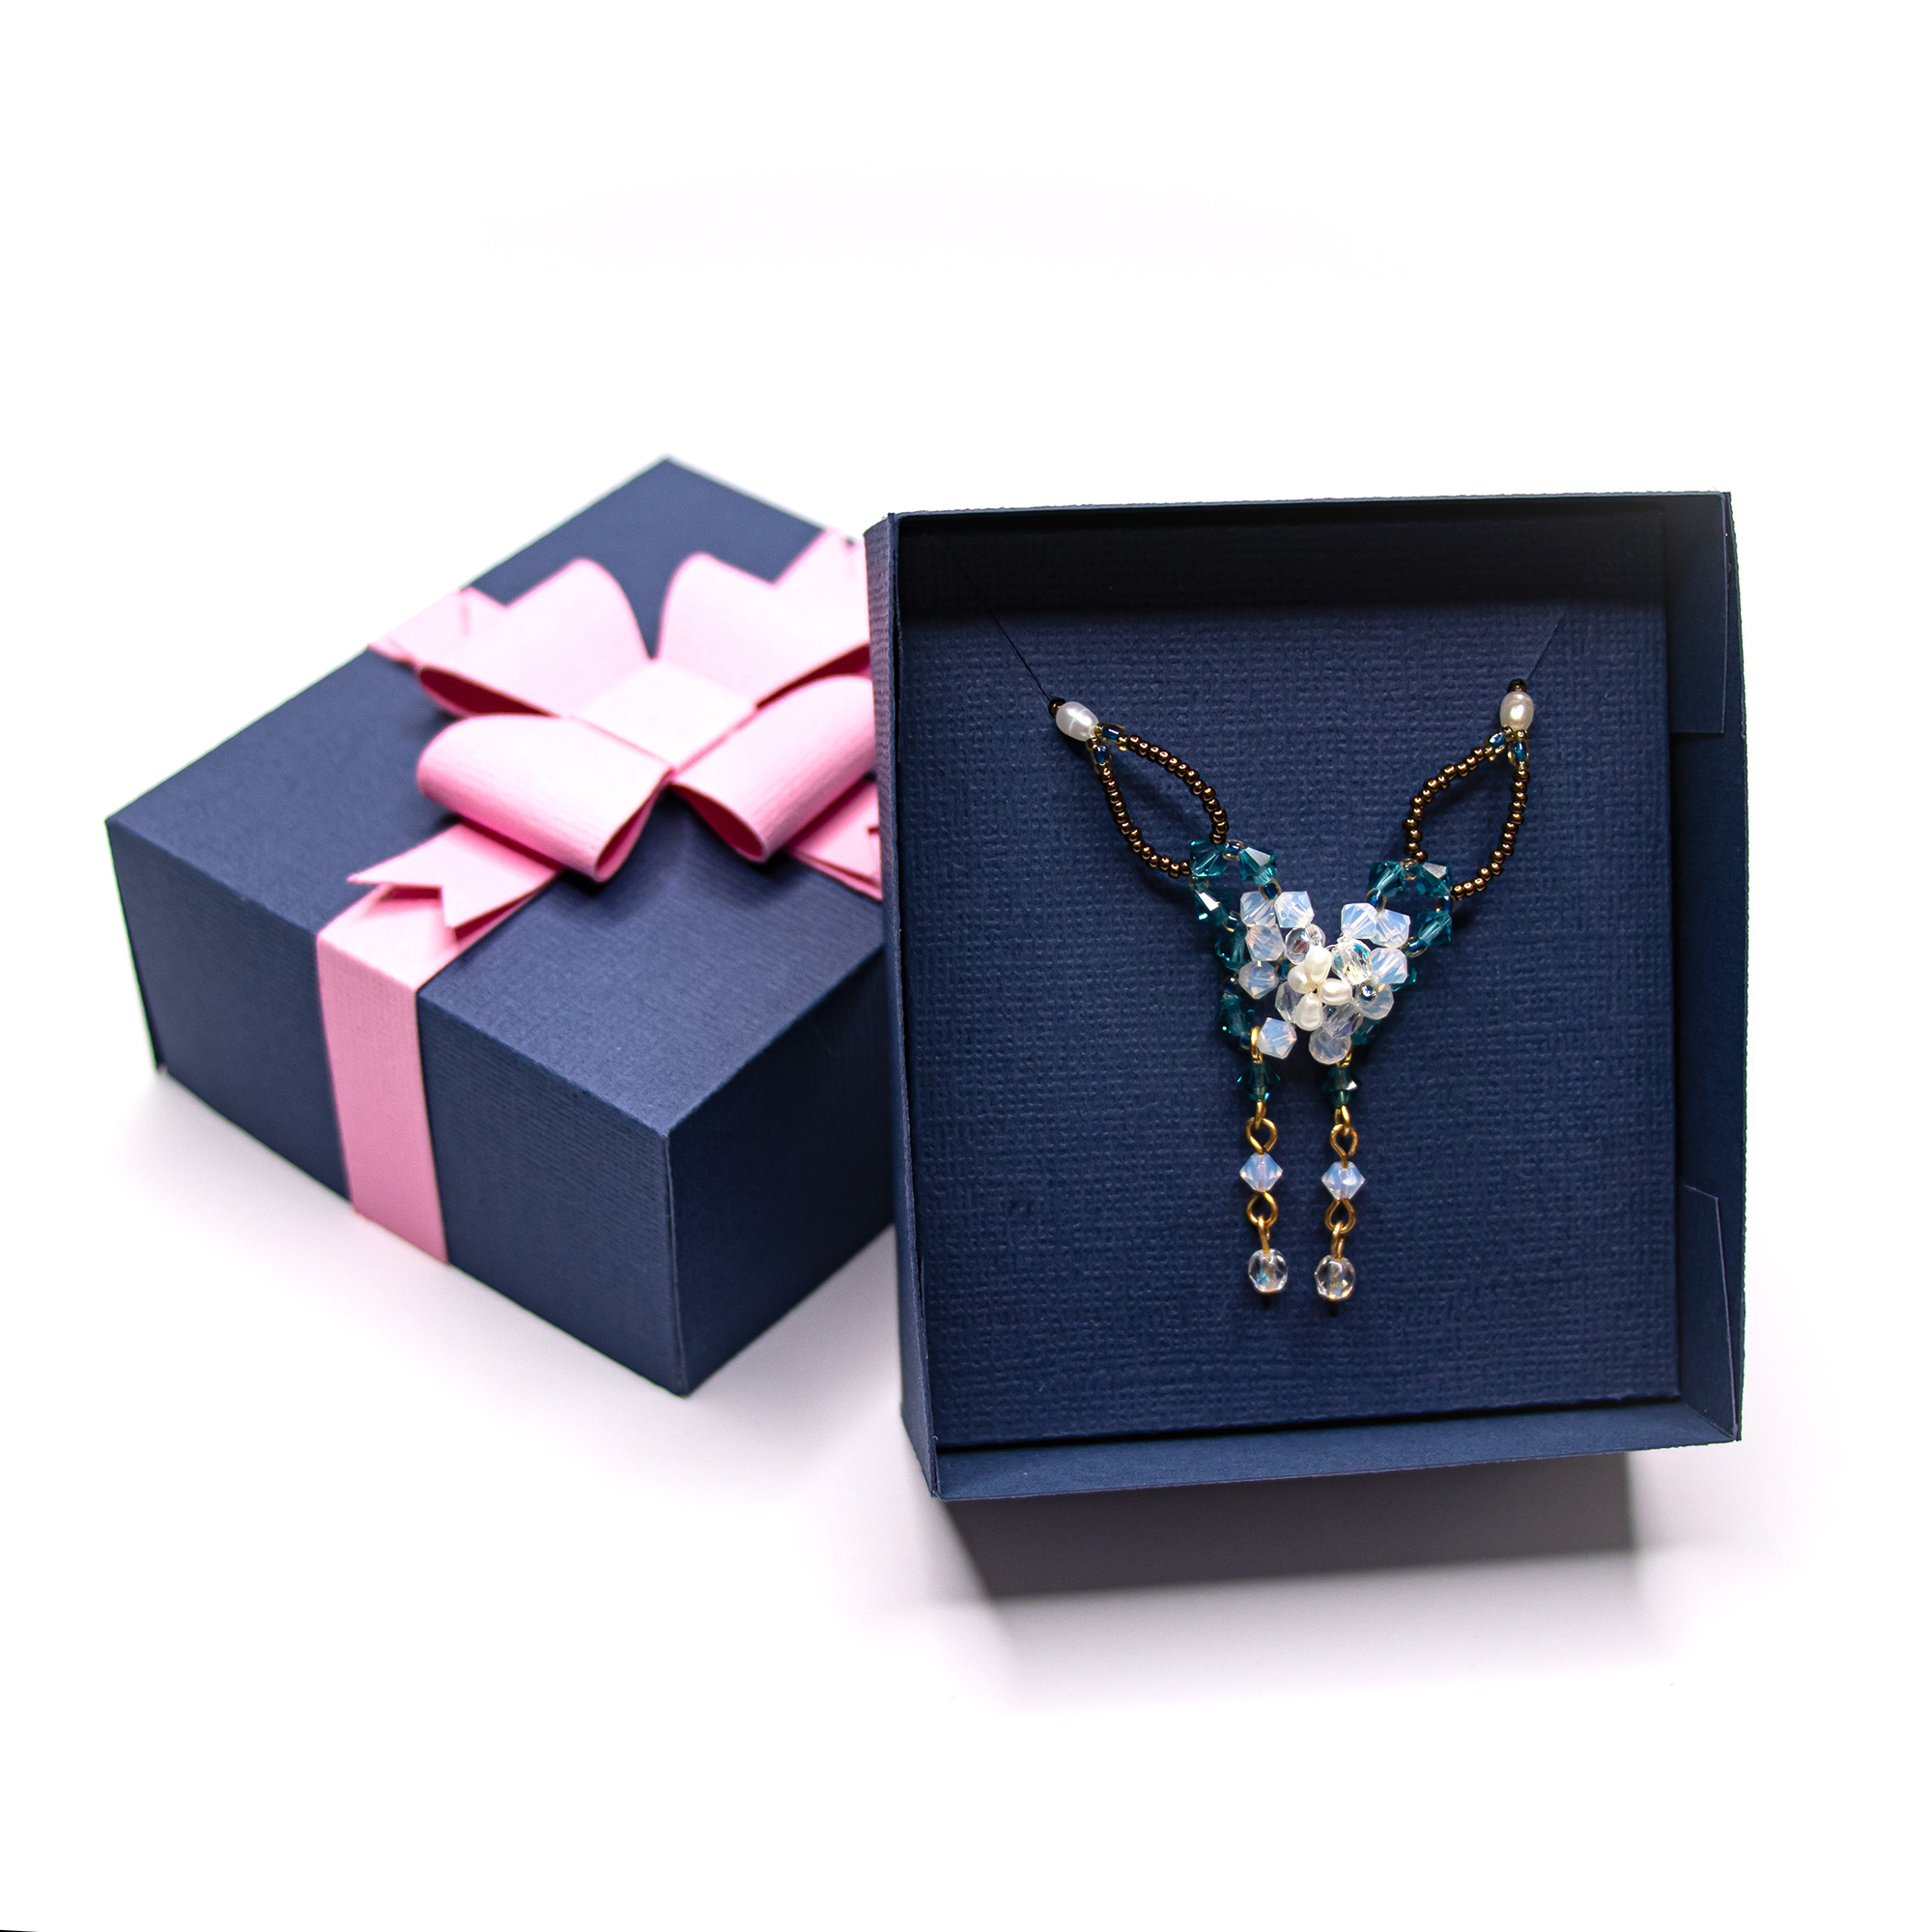
Necklace insert
The cut lines on the insert let you gently slide the necklace into the placement holes. Take your time and it will not tear.
Optional: tape the cut lines. Put a small piece of tape over the cut lines on the side/back of the insert. This protects the paper from tearing and keeps the necklace in place when you pull the insert out of the box. It is not essential. Once the insert is in the box base it sits securely, and the box protects the necklace insert.
Earring inserts
Use the insert with the holes in the middle for stud earrings, or the insert with the holes nearer the top for hanging earrings, so the earrings hang freely. Push the posts through the holes from the front.
Ring insert
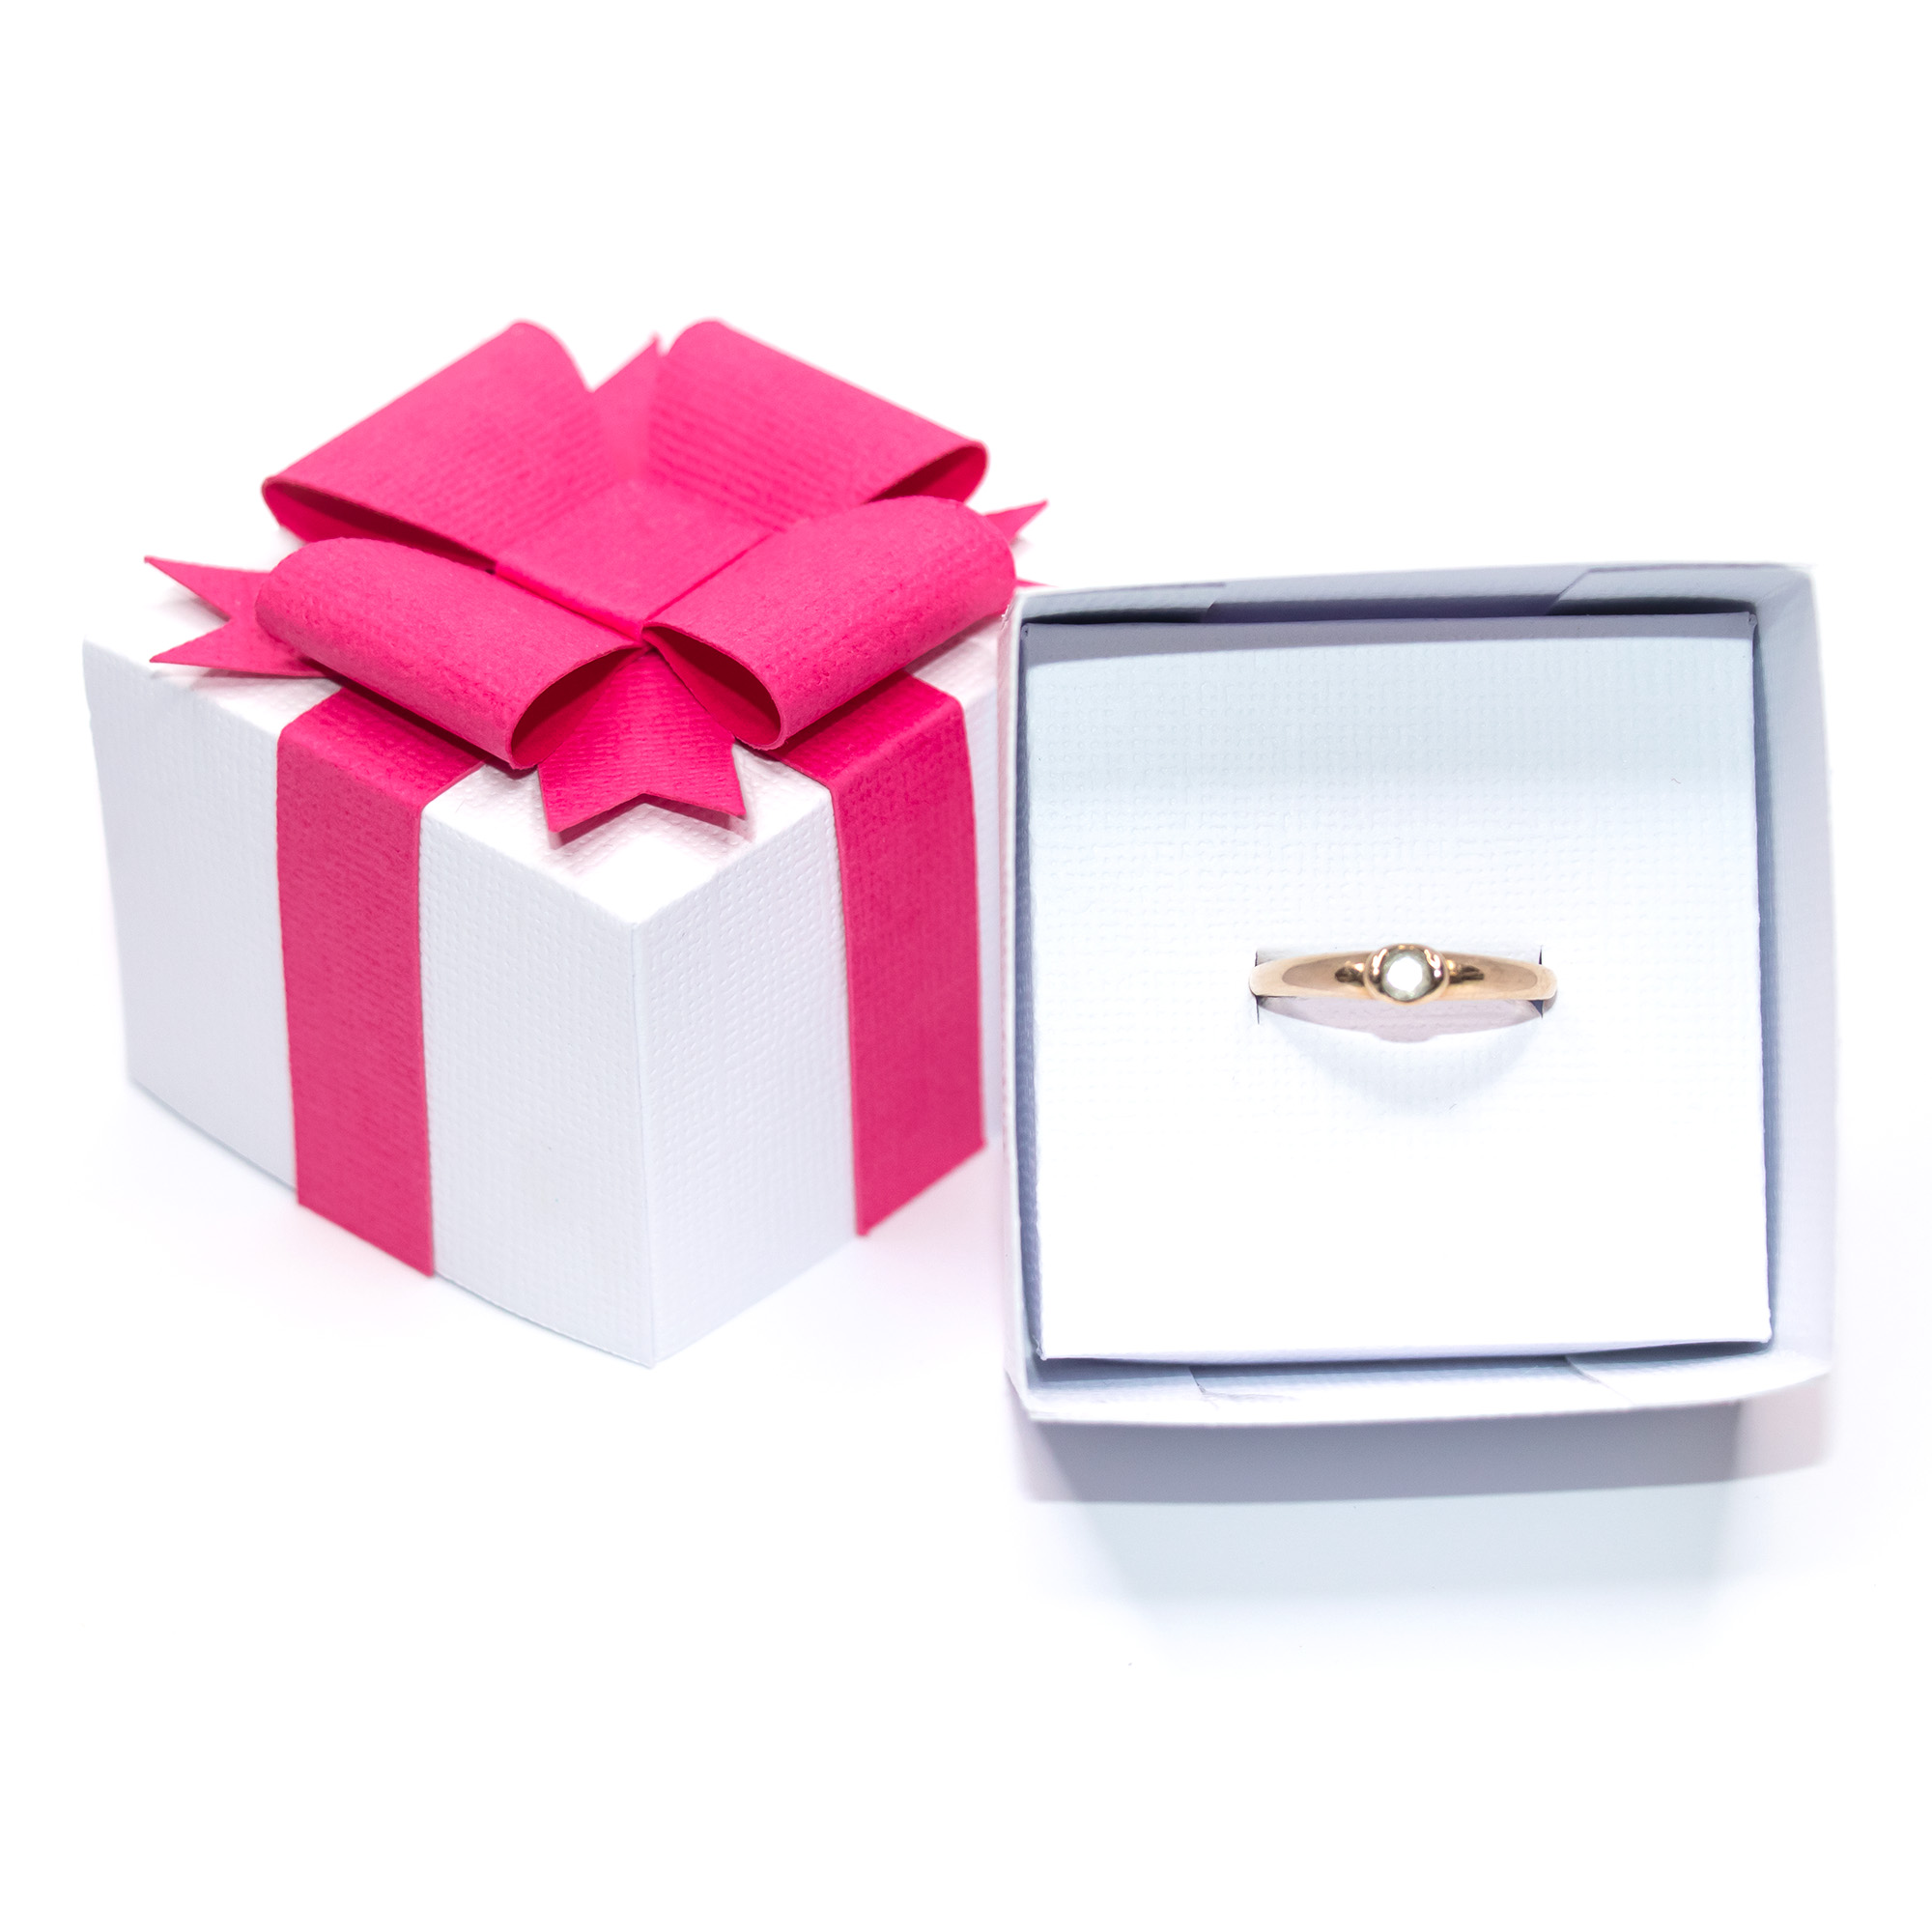
Slide the ring into the slot. For extra support, add the optional ring stabilizer.
Optional ring stabilizer: this small piece stops the ring from moving from side to side in the slot.
- Glue the stabilizer to the underside of the ring slot, with one tab on each side of the ring score lines.
- The stabilizer forms a V underneath the slot, which holds the ring in place.
Step 5: Join the ribbon pieces
Lay the ribbon cross flat. Glue the tail cross on top, centered and flush, so the forked ends sit over the ribbon.
Step 6: Make the first bow loop
- Take one of the shaped bow strips and bring its ends together.
- Glue the shaped ends to the underside of the ribbon center.
- Glue the center of the bow to the center of the ribbon cross.
See the video how to here for my Gift Card Box to see how to make the loops. It is really easy to do. Note that the glue tabs are placed slightly differently for this Gift Box. There will be more videos to come!
Step 7: Make the second bow loop
- Repeat with the second shaped strip.
- Glue the small bow center piece over the middle to hold both loops together.
- Fix the second loop facing the opposite direction to the first, so the bow sits evenly.
Step 8: Attach the ribbon to the lid
- Fold the sides of the ribbon cross along the score lines.
- Glue the finished ribbon and bow to the center of the box top, pressing it flush against the lid.
Step 9: Finish
Place the box top onto the box bottom. Your jewelry is ready to give.
Tips for a neat result
- Use medium to heavy cardstock for crisp folds and a firm fit.
- Use a small amount of craft glue and hold each join until it grips.
- Textured cardstock gives the box a fabric look.
- Choose an insert color that contrasts with the jewelry so it stands out.
- Metallic cardstock makes a striking bow, as in the silver and gold version.
- Selling jewelry? Cut a batch in your brand colors.
- Not sure which earring or ring insert you need? Cut all three and keep the spares for next time.
Watch the assembly videos
Necklace box
Video to come
Earring and ring box
Video to come
Ready to make your own?
Pick your box and start cutting:
Need a box for a gift card?
The same ribbon and bow design comes in a gift card size, with a holder that fits a standard credit card sized gift card. It is a great way to make a gift card feel more like a real present and less like a last minute gift. Many tweens and teens prefer gift cards, but why not make it extra special with a custom box? Get the 3D Gift Card Box with Ribbon and Bow, and follow the gift card box assembly tutorial.
Display your jewelry
Making jewelry to sell or give? Browse all of my jewelry display card designs to go with these boxes.
Don’t forget to follow Clikchic Designs in the Silhouette Design store for easy to find latest designs:
Subscribe to the Clikchic Designs Newsletter and get a FREEBIE! There are ongoing freebies as well. Don't worry, we won't inundate you with emails.