Father’s day is just around the corner in many countries around the world and while here in Australia we celebrate Father’s Day in September that doesn’t mean I have forgotten all the wonderful Dad’s out there in other parts of the world. I have designed a stylish Father’s Day Card SVG Cutting File for those of you who wish to create something special for the special Dad’s in your lives. This SVG card cutting file is perfect as is with some colourful cardstock and included file to create a coordinated insert but is also wonderful as a base to add your own embellishments.
You can pick up this wonderful card in my Silhouette Design Store, Design Bundles Store, Creative Market Store and on Etsy! Please see the images at the end of this post for full size previews. Unfortunately one of the bugs has meant the full size previews in the Silhouette Design Store are not yet available.
Many Silhouette crafters will be aware of some of the issues being experienced due to some major website updates not going as planned but the store is working albeit with the odd bug. Silhouette Studio syncing is not advised until the issues with the website communicating with the Silhouette software is resolved but any purchases made can be downloaded from the store directly until these issues are resolved. It is expected that these issues will be resoved soon at which point you should once again be able to sync your Silhouette library and have easy access to your files through the Silhouette Studio Software. If you are unsure of how to download your products direct from the store website rather than through the software I would recommend this video by Silhouette Secrets to aid you in this.
I have had a few customers mention they had trouble logging into the updated website. I also had similar issues but was able to resolve them from Chrome by clearing my cookies and cache. I have also had success accessing the store using both Edge and Opera Web Browser. Anyone I have spoken to who has had issues has been able to resolve them using these methods.
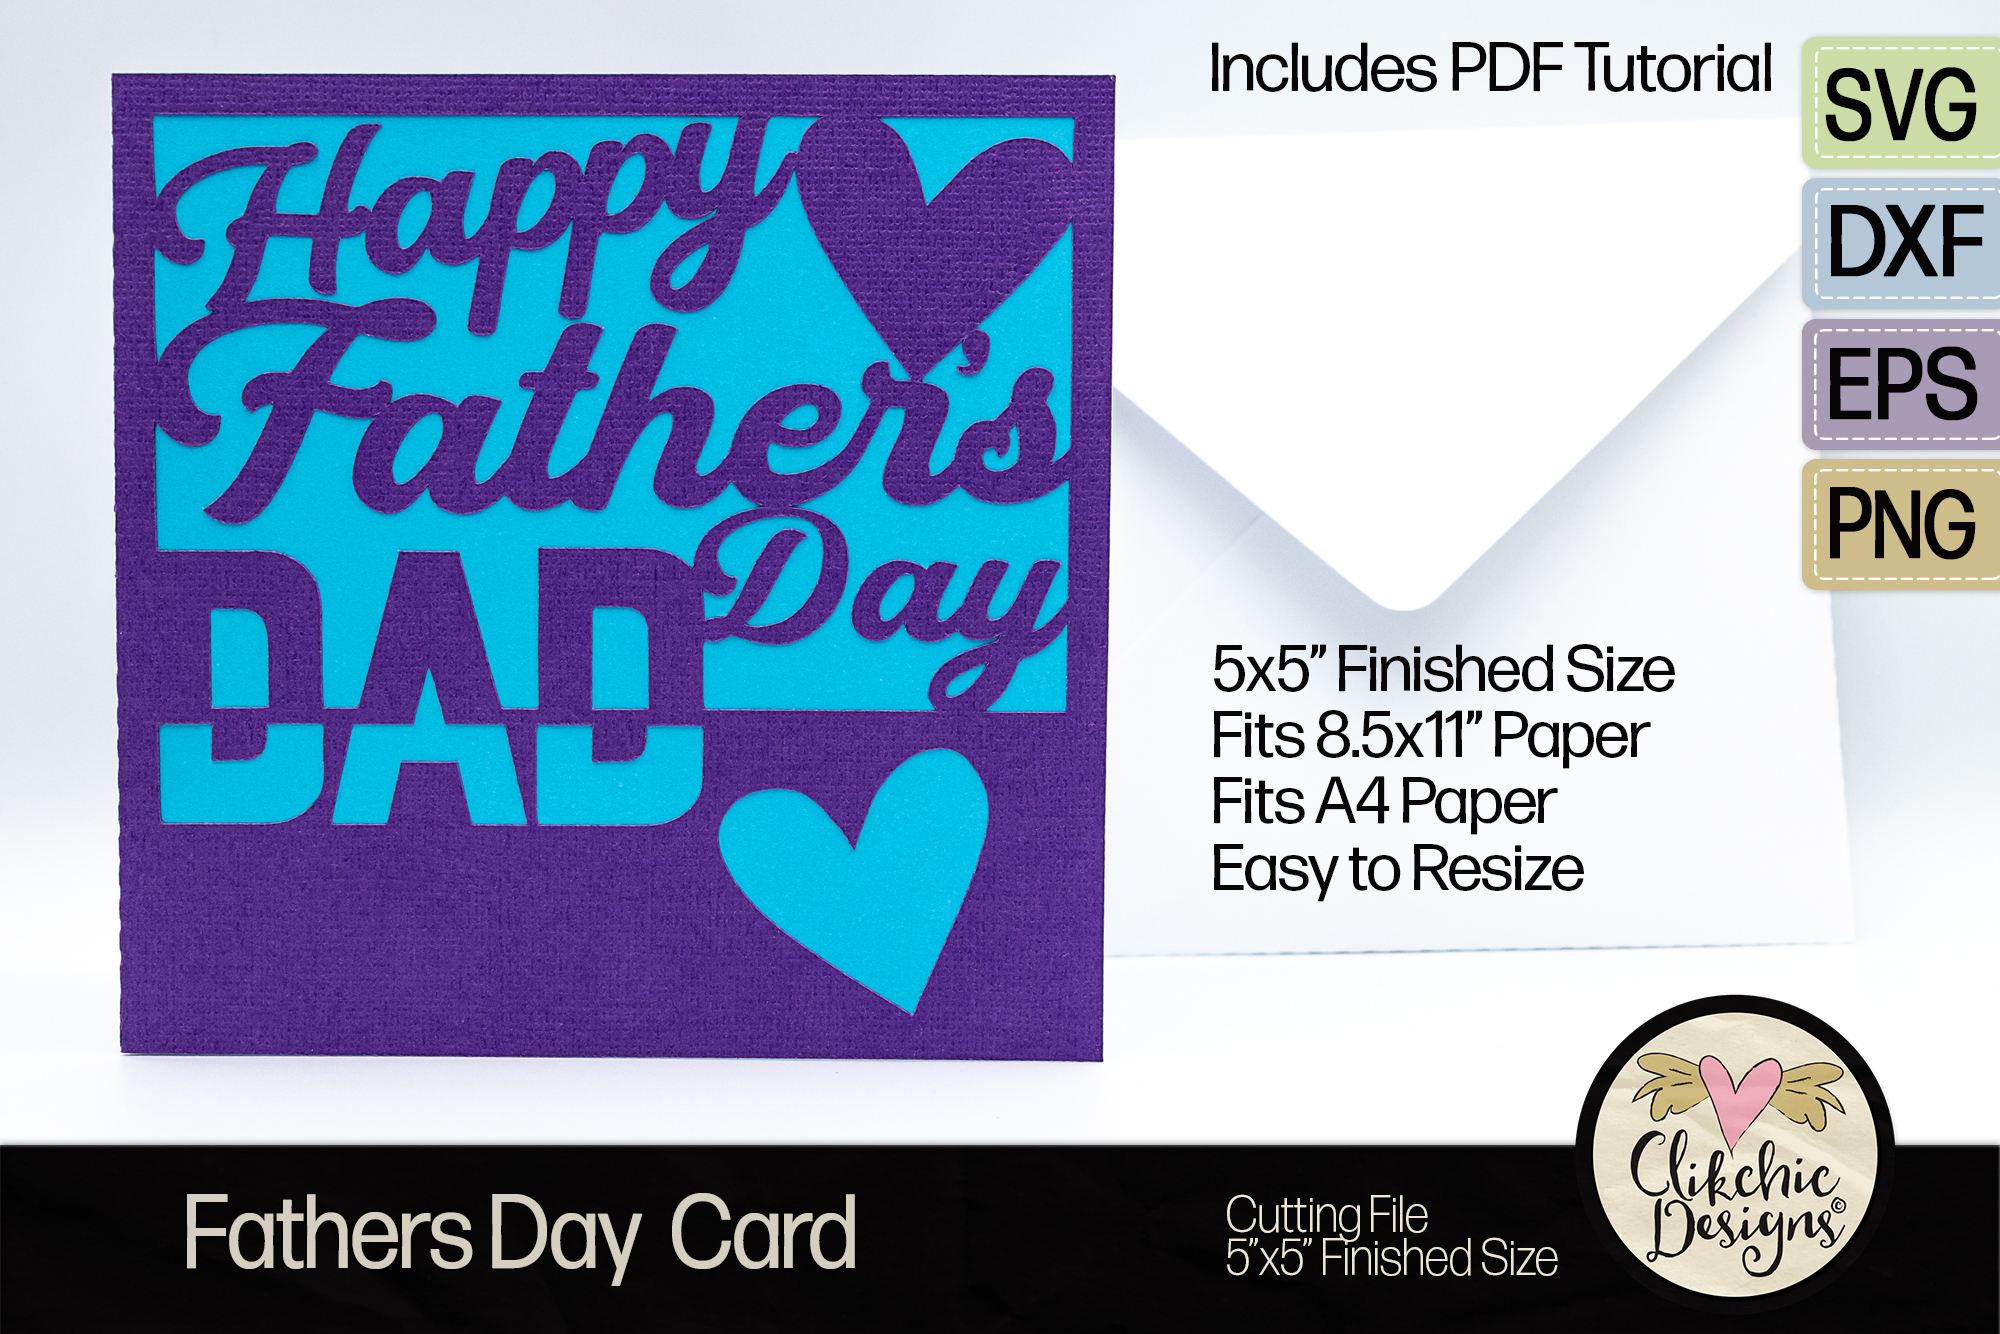
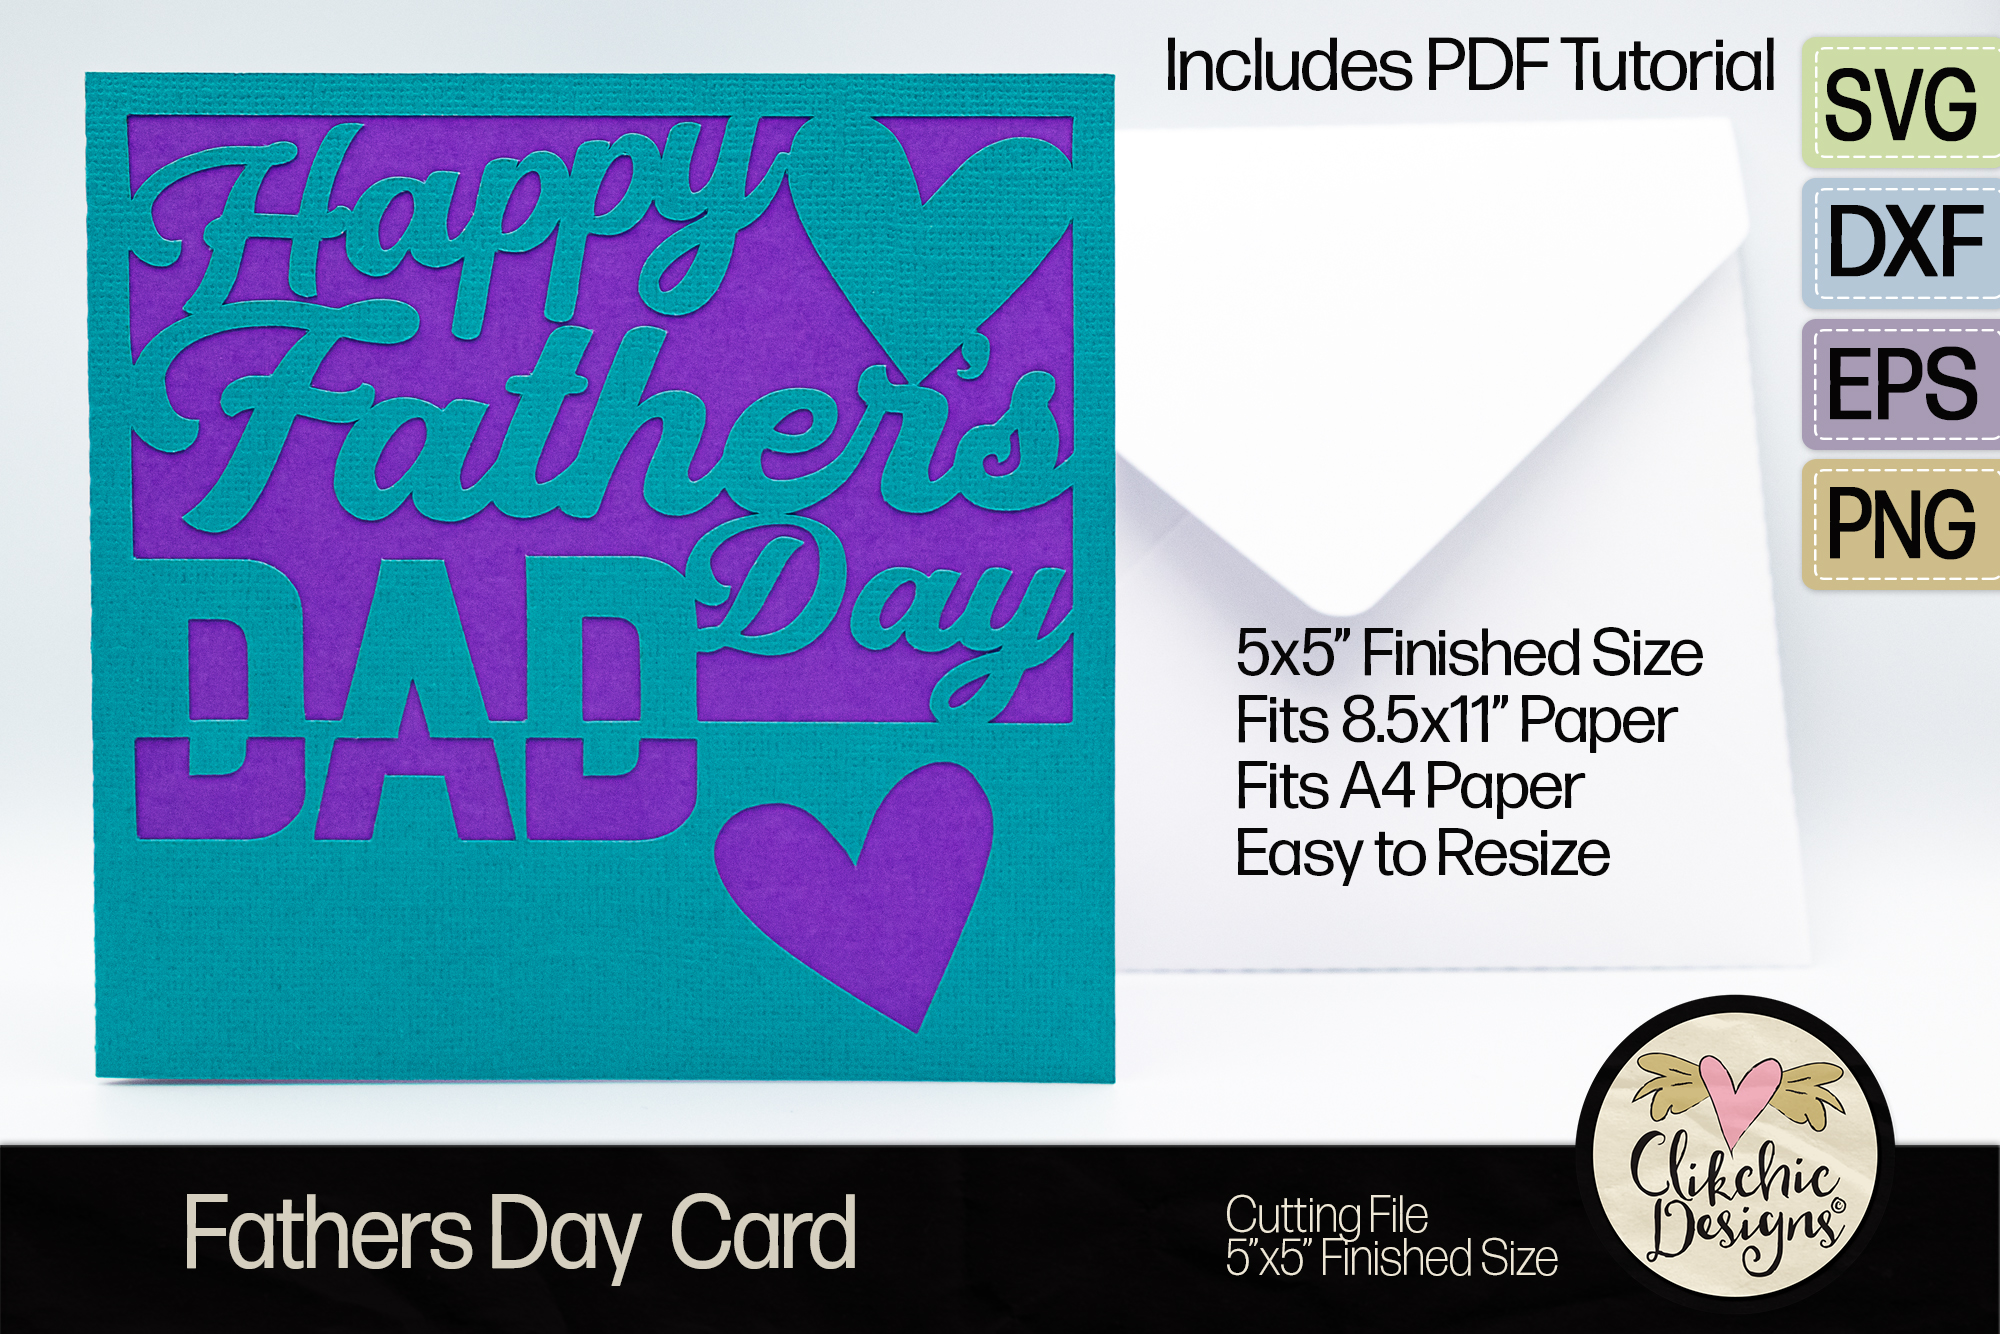
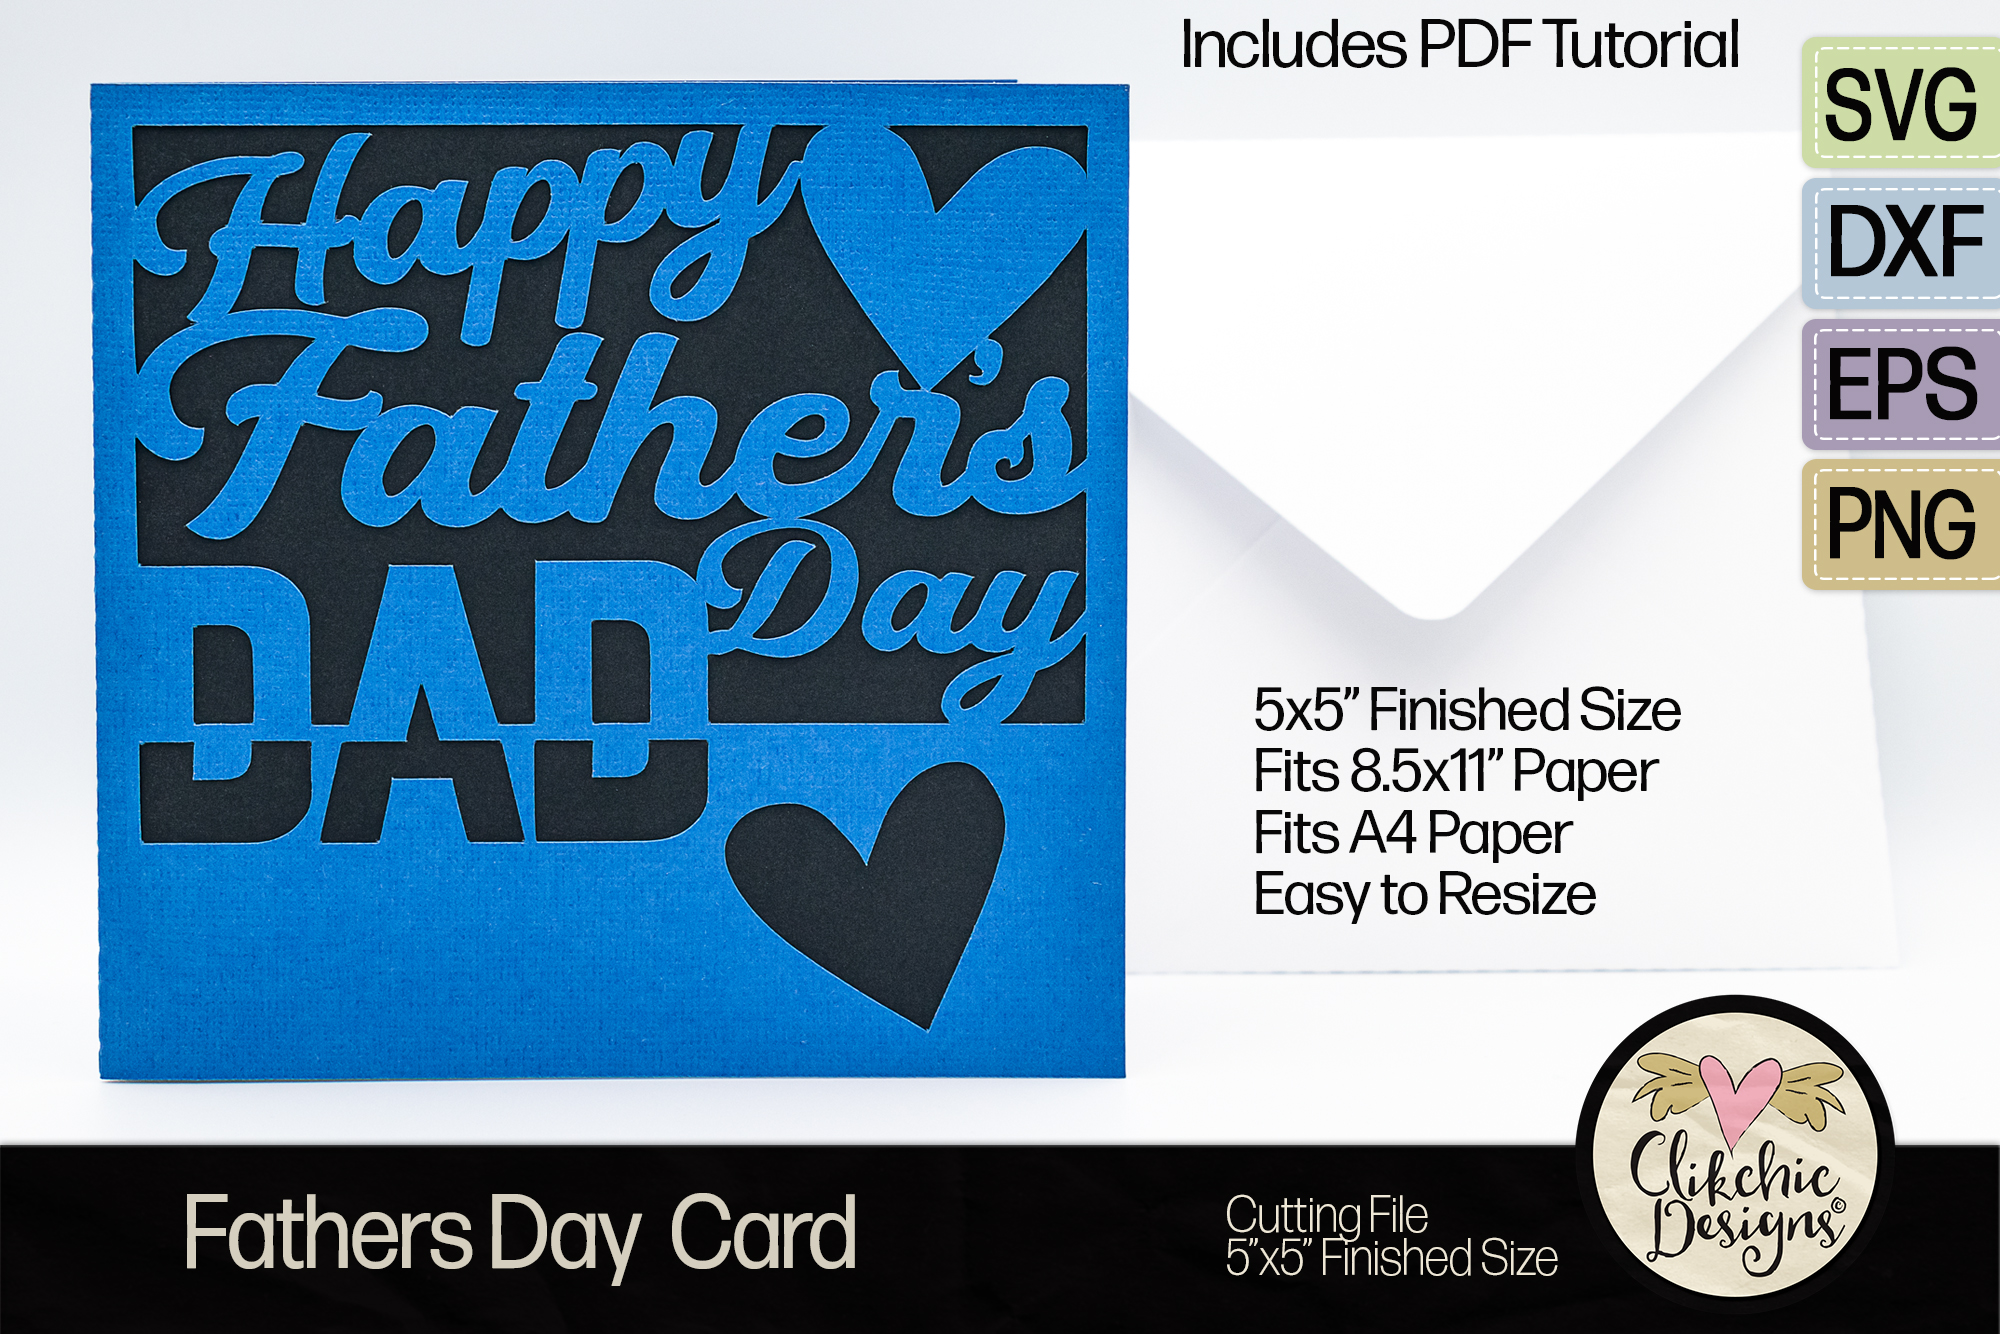
Now on to the previews of a wonderful SVG Cutting File Fathers Day Card for your special Dad!
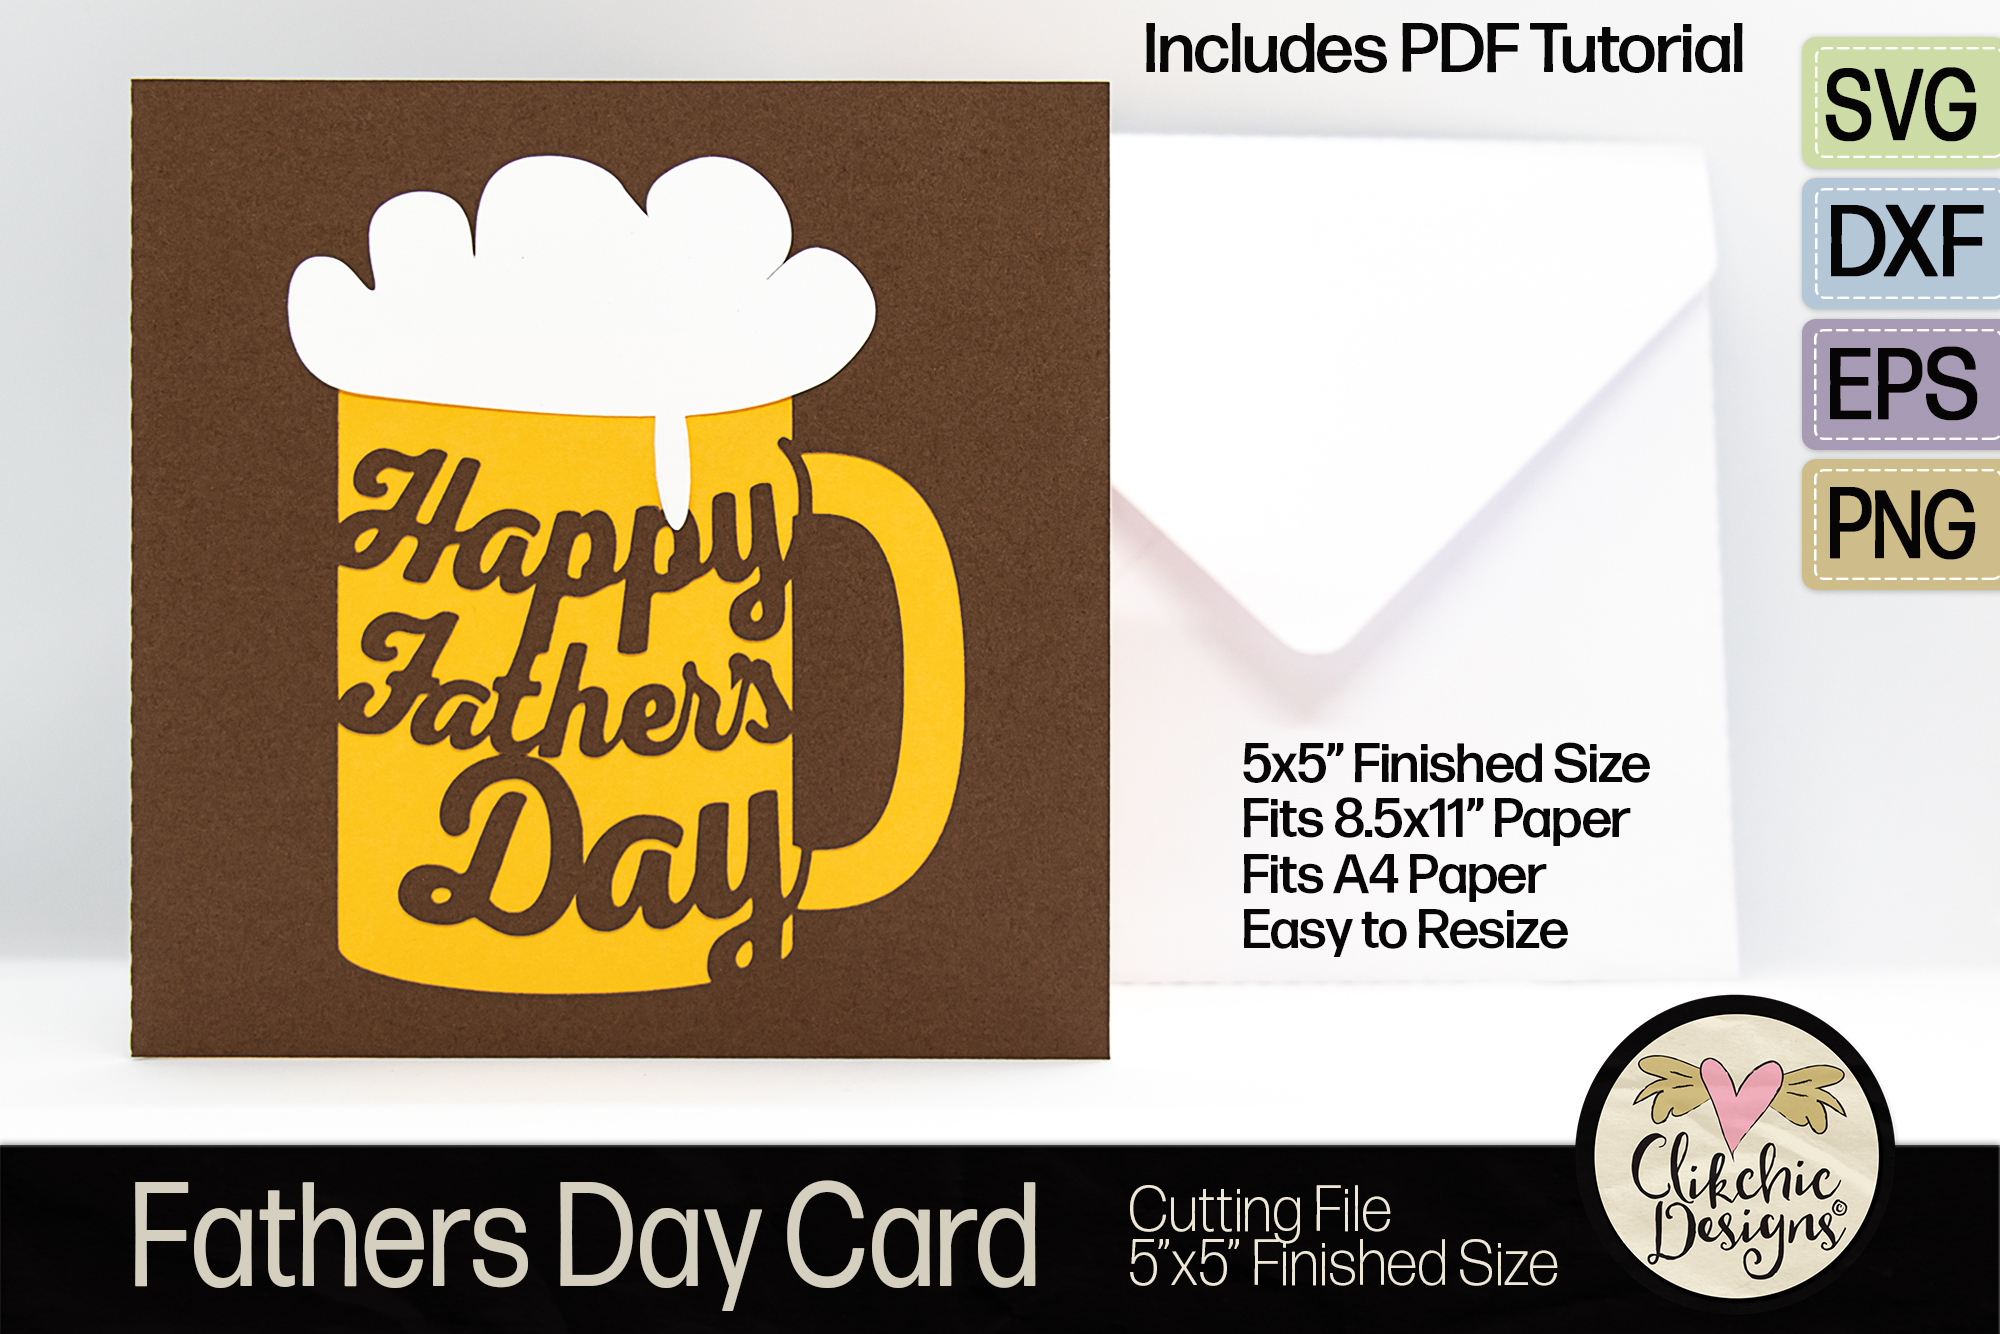
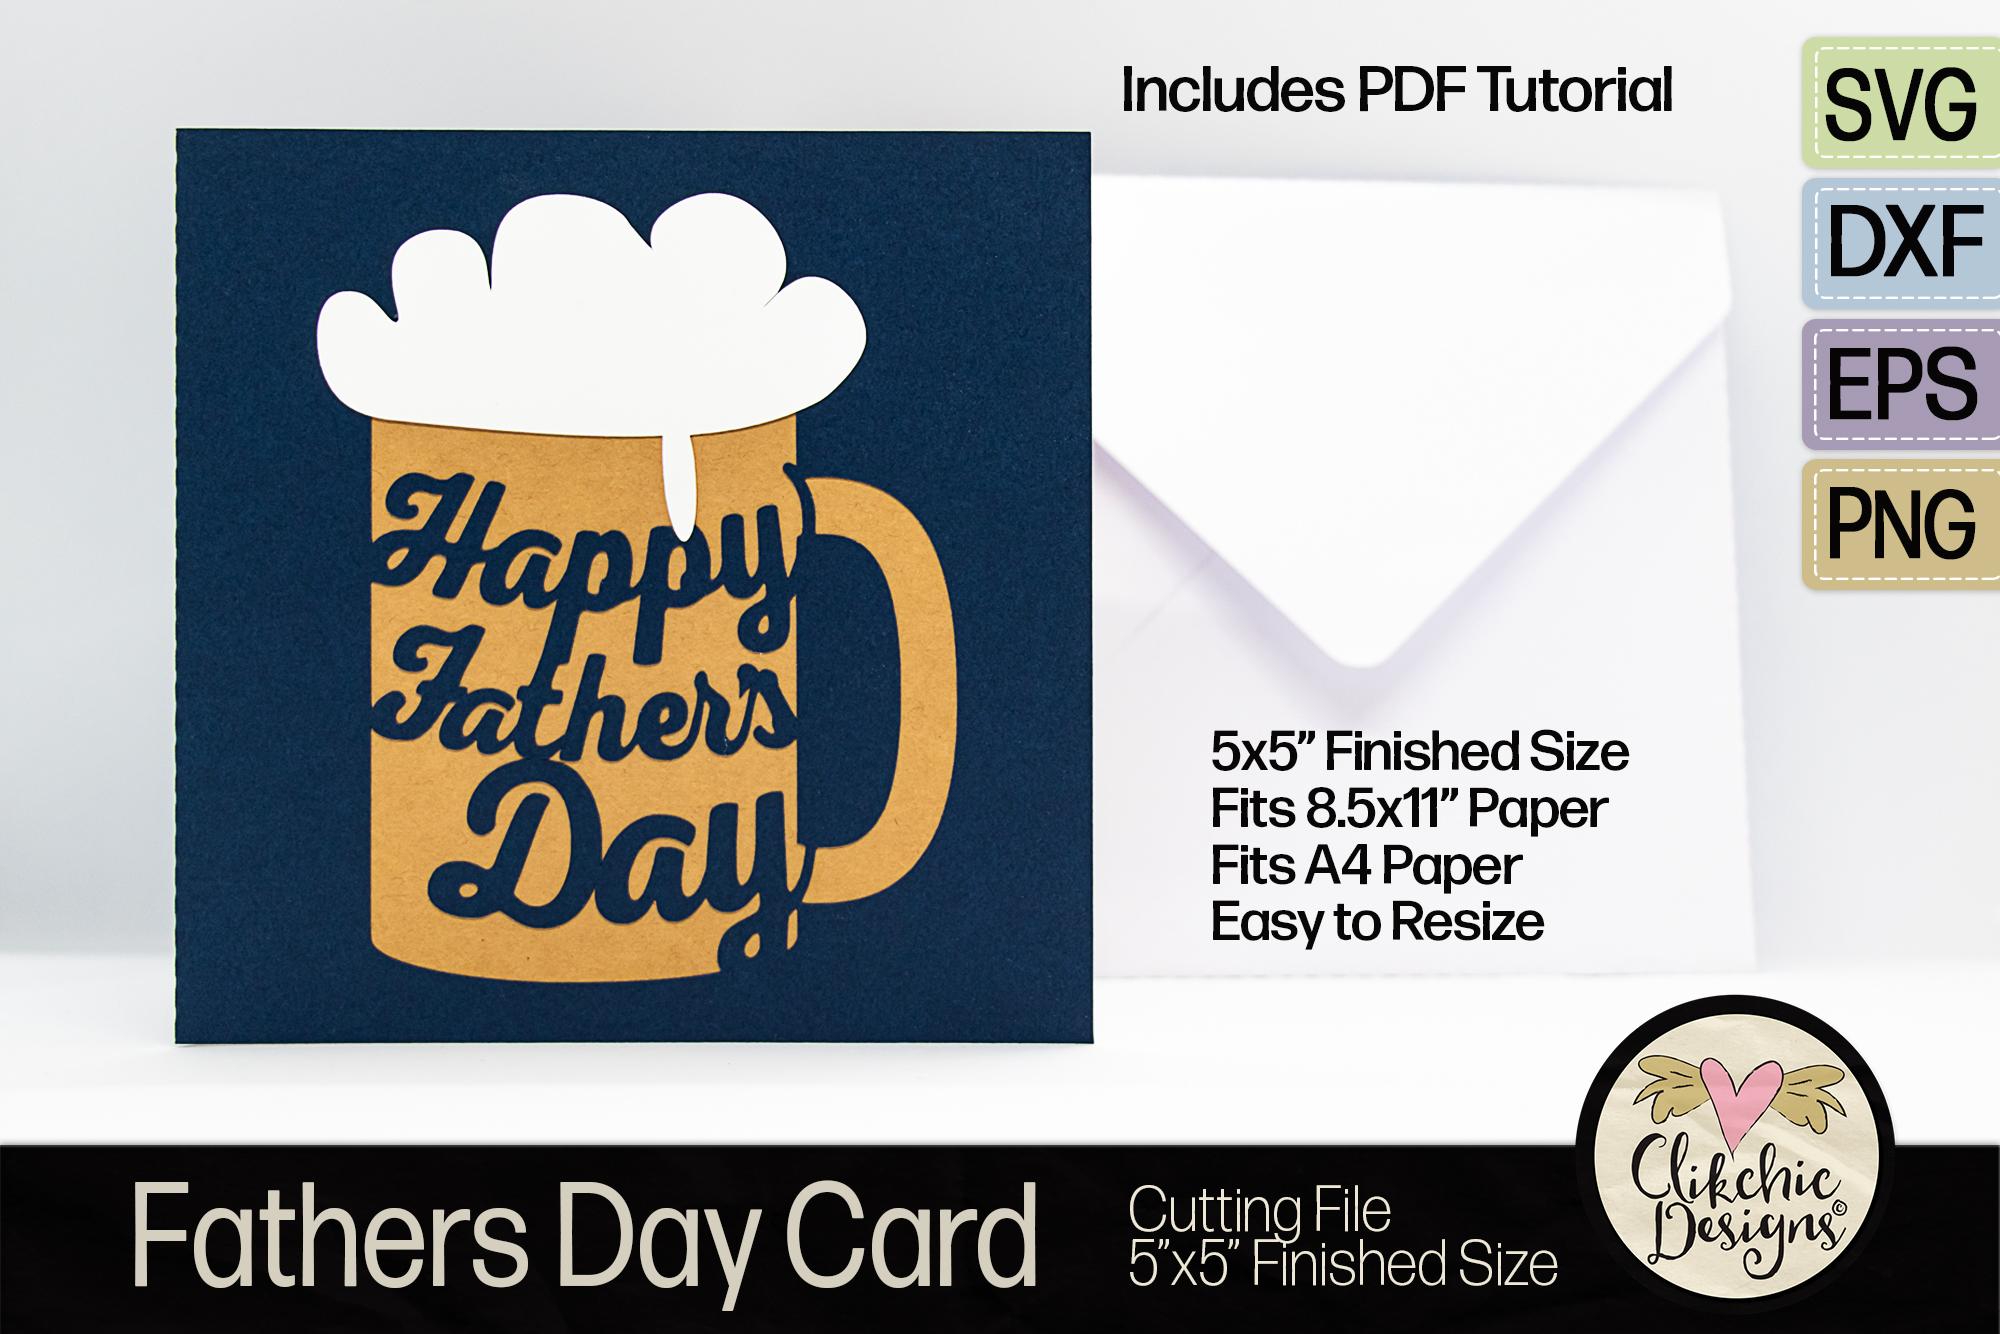
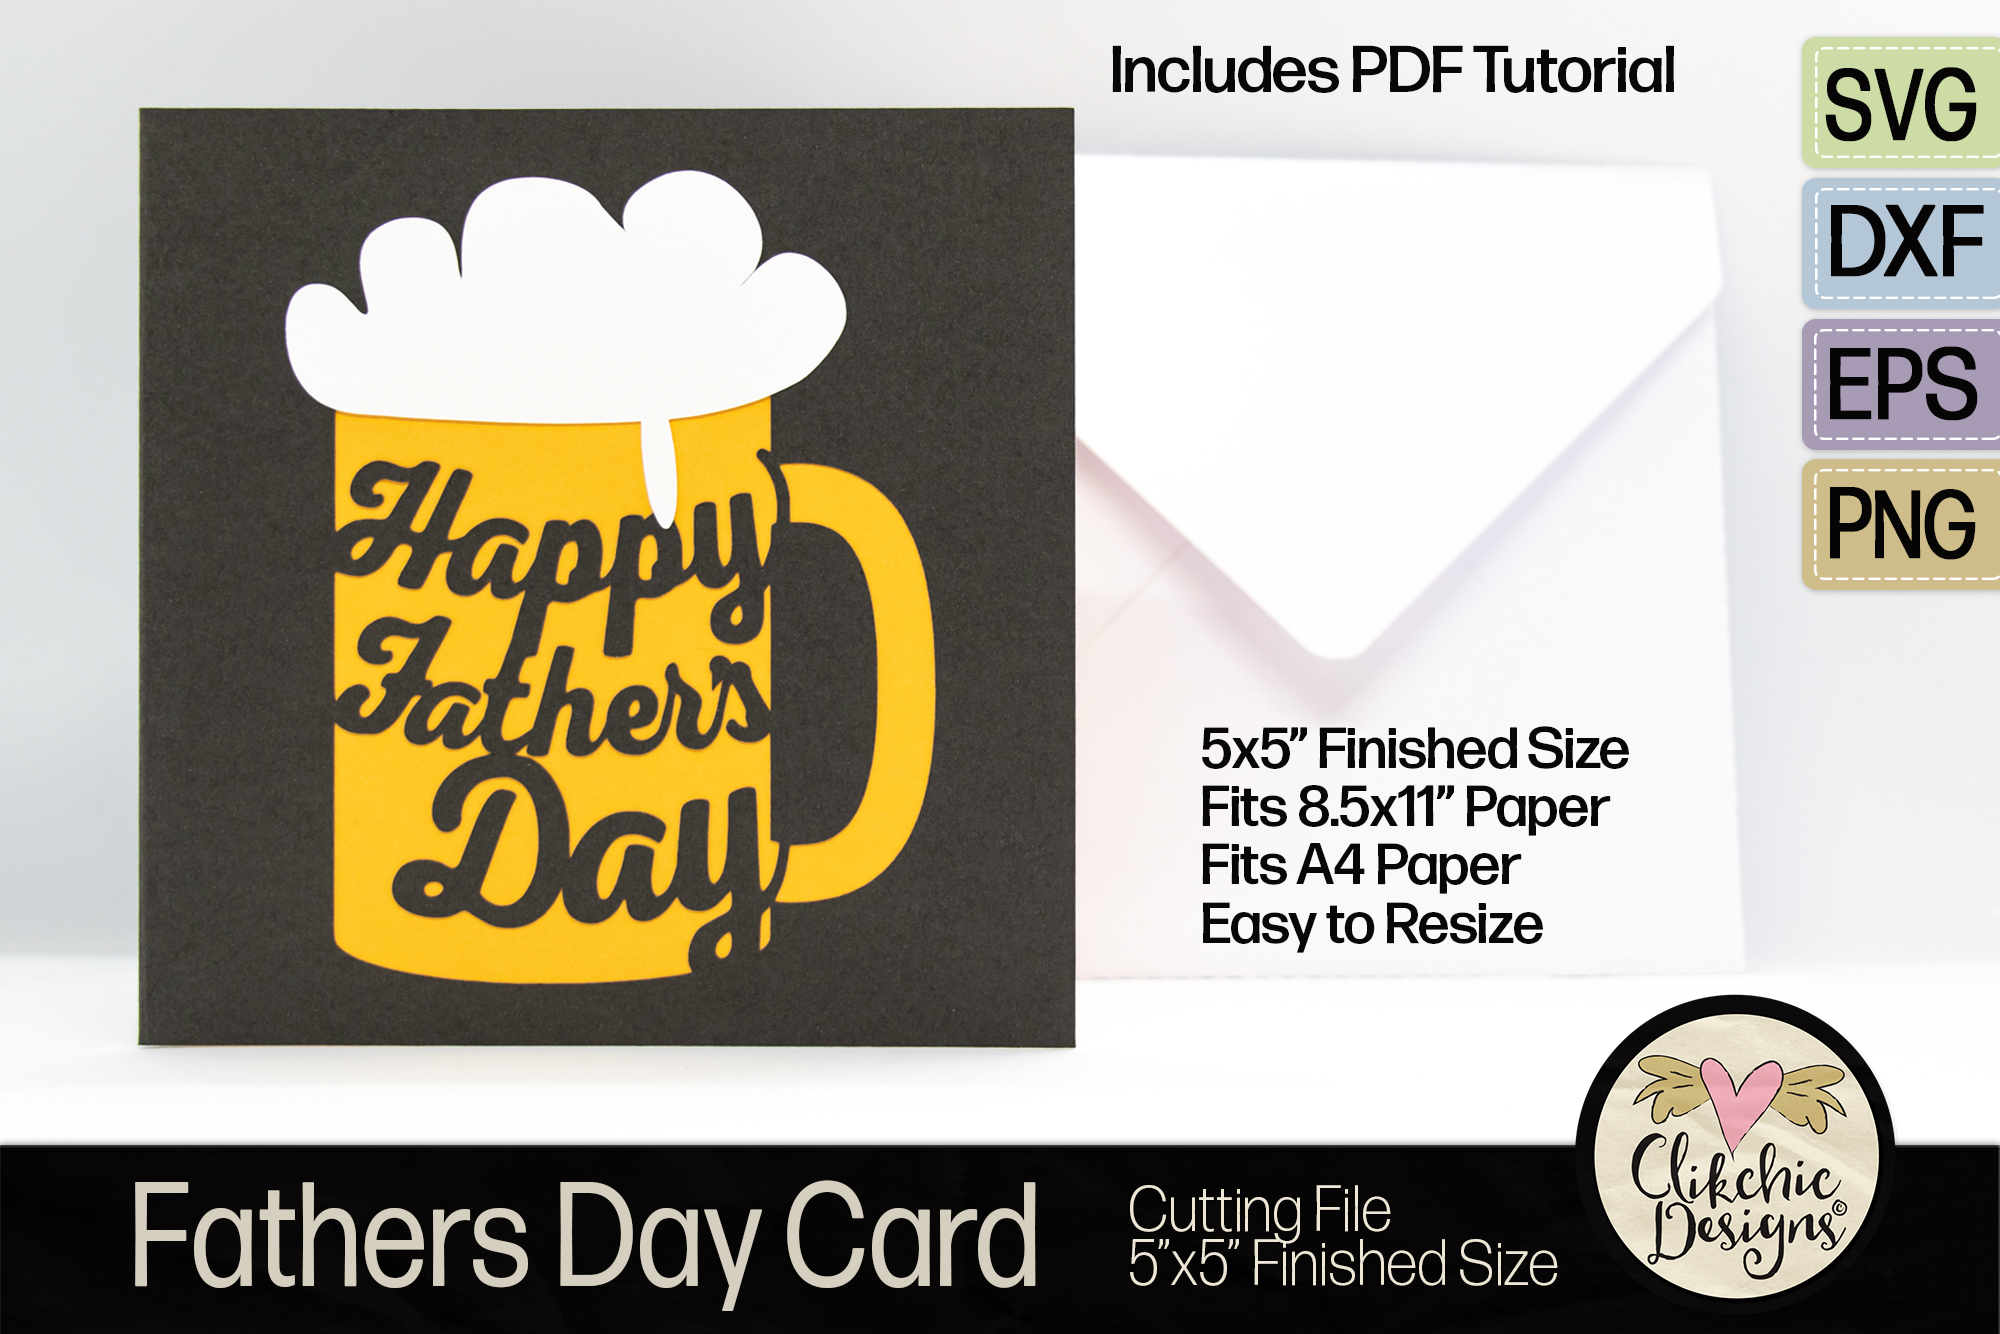
There aren’t too many Dad’s who don’t love the occasional beer and this Happy Father’s Day Beer Card SVG Cutting File is bound to hit the spot! Easy to make but striking and bound to please this card is perfect for telling your favourite Dad what a special person they are to you. The Card is square format and finishes at 5×5″ although can be resized to any size to suit your needs. It includes an insert for writing the perfect personal sentiment. Craft the perfect card for your Dad with this gorgeous cutting file available at:
For those of you using the Basic Edition of Silhouette Studio you may have come across the issue that DXF files do not open at intended size. For those of you who have purchased my Envelopes and Card cutting files this may be a issue that needs resolving. Following I have included a list of the file sizes for my Envelope and Square Cards as well as a tutorial for resizing DXF files in Silhouette Studio and then how to save as a .studio file for future use.
DXF files unfortunately do not retain file size information and as a result when opening them in Silhouette Studio they may not open as the intended size. When sizing information needed to be specific this can be problematic. In the case of the envelopes I sell on Etsy, Design Bundles and Creative Market, I have available on Etsy, this creates a problem for the people who use DXF files. This problem can be overcome by upgrading to the Designer Edition of Silhouette Studio. The Silhouette Studio Comparison Chart is available here. Often online stores will offer discounted versions of the software, so it is worth doing a quick search for the software upgrades to be sure you have the best price.
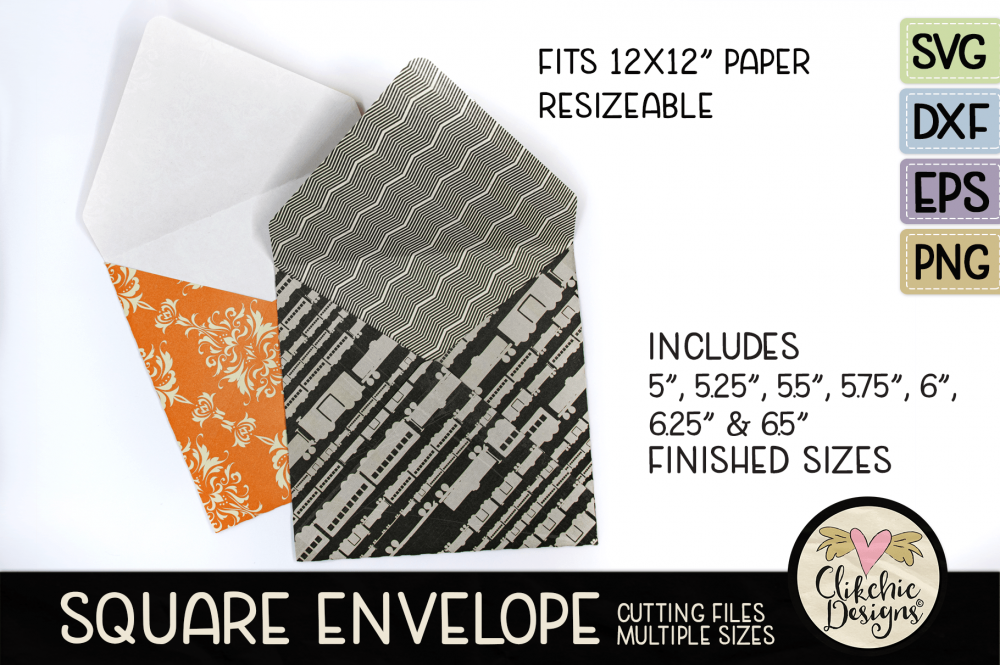
Following are the sizes the envelopes I have available for easy reference. From there I have a quick tutorial on how to resize your files if you do not wish to upgrade.
Square Envelopes
5 Inch Envelope – 8.721 Inches 5.5 Inch Envelope – 9.529 Inches 5.25 Inch Envelope – 9.128 Inches 5.75 Inch Envelope – 9.976 Inches 6 Inch Envelope – 10.406 Inches 6.25 Inch Envelope – 10.793 Inches 6.5 Inch Envelope – 11.190 Inches
Other Envelopes
Slimline Size 10 Envelope – 11.535 x 8.930 Inches DL Envelope – 10.5 x 9.359 Inches 5 x 7 Envelope – 8.780 x 11.365 Inches C6 Envelope – 7.764 x 9.709 Inches A6 Envelope – 7.896 x 10.326 Inches
The finished size of my square cards should be 5×10″
Resizing your file
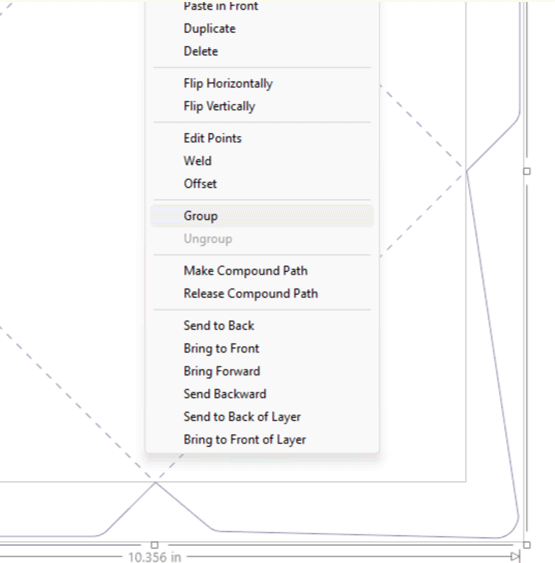
Click and Drag To resize your file, it is a good idea to first make sure all the paths (lines) are grouped together so they move together. You can hold down the shift key and click on each one to select them, or more simply you can click and drag the cursor from the top left of the image to the bottom right and then release. Once you have done this right click on one of the paths of the selected image where a menu will appear. Select group from the menu to group the selected paths.
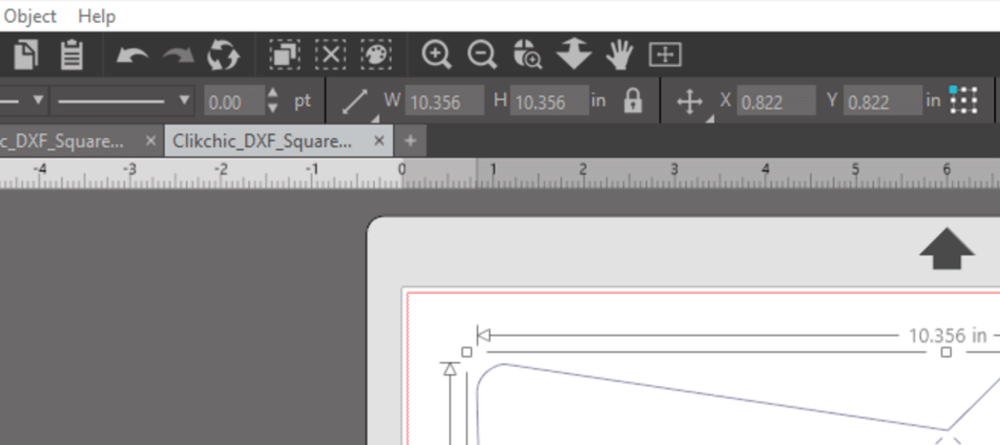
Once your image is grouped you can resize as needed and all the paths will resize together. Resizing can be done by eye but to resize to precise measurements you can adjust the sizing manually by using the measurements in the toolbar.
In the screenshot above you can see there are W & H measurements. You can adjust these by clicking in each measurement box and entering the size you require while the image is selected. By default, the sizes are in inches in Silhouette Studio. Use the measurements at the start of this tutorial to resize your envelope to the desired size. In this case you will likely require the aspect ratio to be locked but if you wish to resize your image without retaining the aspect ratio you can do so by clicking on the lock next to the measurements to unlock the aspect ratio. This allows you to adjust the sizing which will change the proportion of the width to the height.
Save Your File
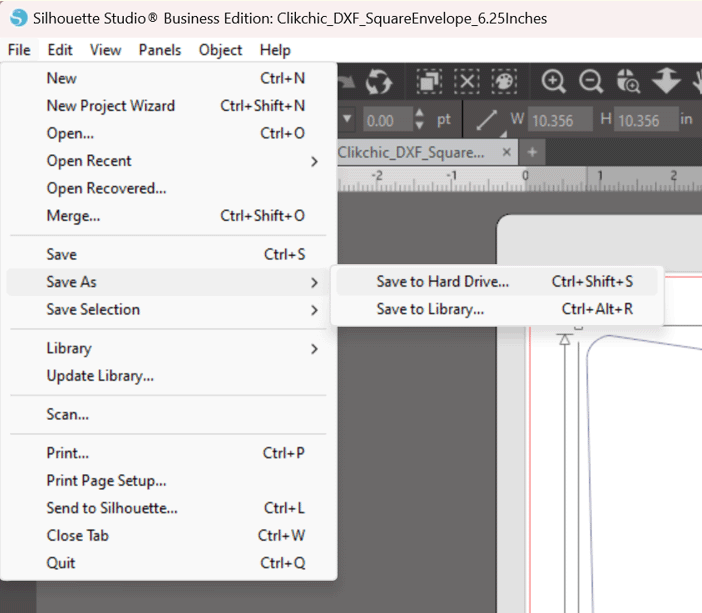
Once you have resized your file to the preferred size you can save your file by going to the file menu and selecting Save As where you can choose to save to your Hard Drive or to your Library. The file formats you have available to you will depend on what version of Silhouette Studio you use however all versions allow you to save as a .Studio or .Studio3 file and that file format will allow you to retain the size changes you made to your file so that you can open the correct size in future without having to adjust the size first.
I hope this tutorial helps for future resizing needs!
Video tutorial below, written tutorial to follow soon.
Cardstock pieces must be cut in preferred colours on a cutting machine such as a Silhouette Cameo, Silhouette Portrait or other brand cutting machine before continuing.
Below is a simple YouTube Video on the process of assembling the card. Scroll down further to view the written tutorial.
A basic assembly tutorial will be included with the files as all my cards to date have both the outer card and an insert and assemble the same way.
With his card I wanted to include the option of having different colours for the golf ball, tee and sentiments.
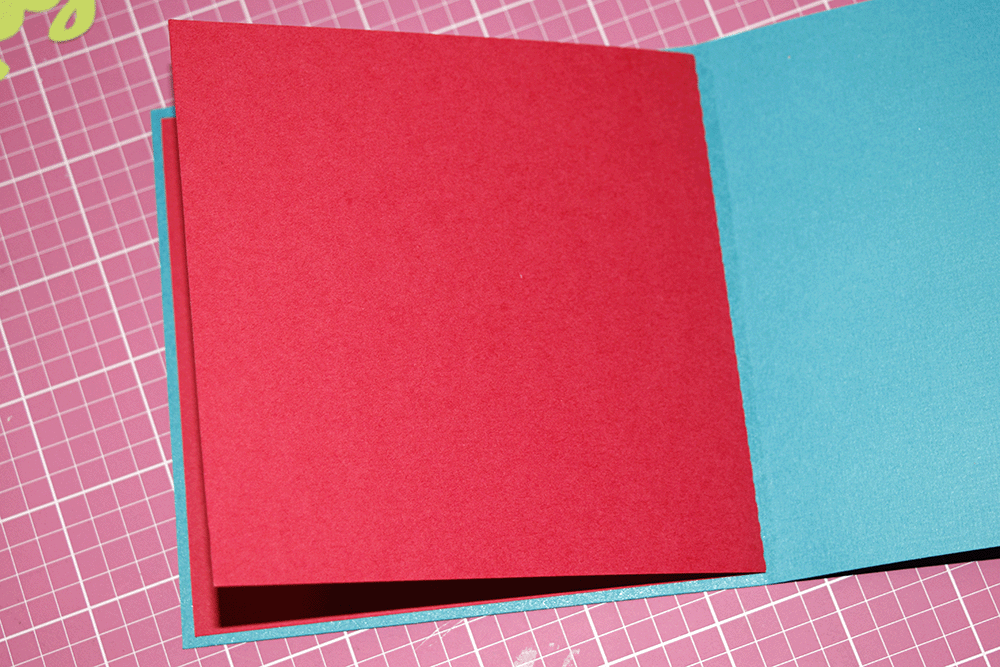
The included file for background pieces is optional to use to add extra colour to your card. If you wish to make a card more quickly you might choose to just use a patterned or brightly coloured paper insert. Making different colours when you have the time however gives the card a bit of pop, so I have included the cutting files to do so. The insert pieces should be cut in the colours required. In my case I kept the word Birthday the colour of the insert I used so did not use the optional piece for the word Birthday. I chose to use red carstock to make a colourful insert as well as make the word birthday the colour red.
I then cut the tee insert in purple and the golf ball insert in white. Once all the pieces were cut I placed the golf ball and tee pieces in place on the left inside of the card and traced around the edges of each piece so that when it comes time to glueing it is easy to know exactly were to place the pieces.
Once you have marked the pieces spray the left side of the card with adhesive or use other adhesive of choice. I used a glue stick for a while till I got the spray adhesive, but I find the spray adhesive gives better hold on the delicate pieces. I usually cover the other side of the card with scrap paper before spraying to ensure the other side does not get sprayed.
Attach the golf ball, tee and Birthday piece (optional) in the correct positions. Then once pieces are attached add more adhesive on back of each piece.
Attach the insert to the adhesive side of the card to complete your card. Additional instructions on card assembly are included in the other tutorial.
Once insert is adhered to the inside left of the card you can then adhere the Happy portion of the Birthday sentiment to the front of the card. I chose to use adhesive foam pieces to give a 3D effect.
Obviously, you can choose any colour cardstock you wish to suit your recipient.
I also have envelopes available which allow you to cut envelopes with custom cardstock to suit a large range of sizes.