Discover the charm of fall with this exquisite collection of Watercolor SVG Print and Cut Sunflowers and Leaves. Designed for all your autumn-themed crafting needs, these beautiful designs bring warmth and cheer to any project. Whether you’re into cardmaking, scrapbooking, or art journaling, these sunflowers and leaves add a touch of elegance and seasonal flair. Each piece is meticulously painted to capture the vibrant colors and intricate details of fall foliage, making them a delightful addition to your crafting supplies.
Enhance your creative projects with these stunning watercolor designs and let your imagination run wild. Visit the Silhouette Design Store today to explore these lovely additions and bring the beauty of fall into your crafting. Don’t miss out on these perfect elements to elevate your autumn crafts. Check them out via the links listed below and start creating your fall masterpieces.
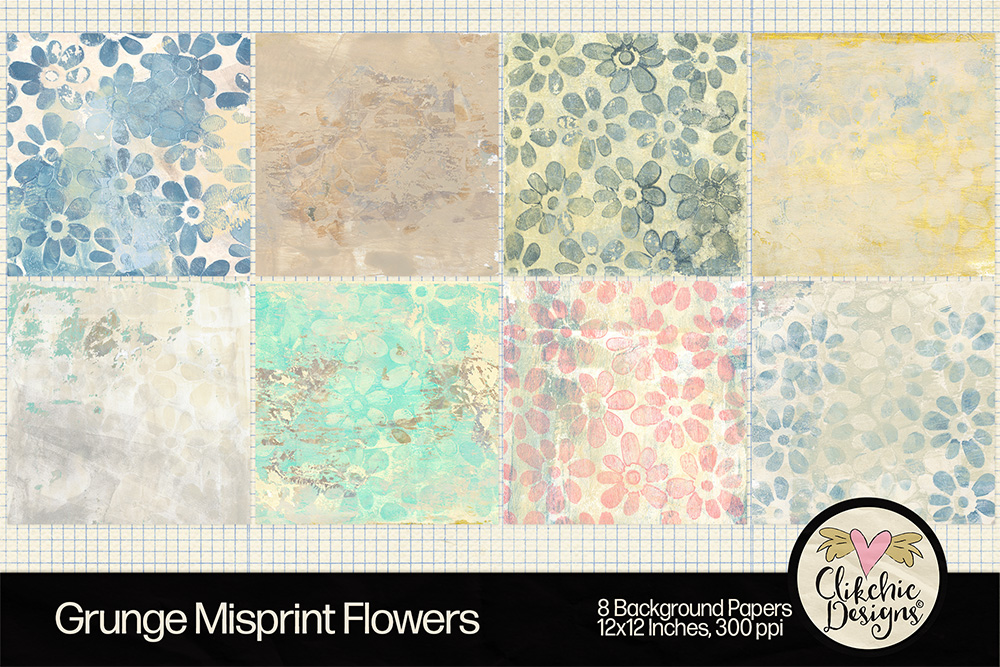
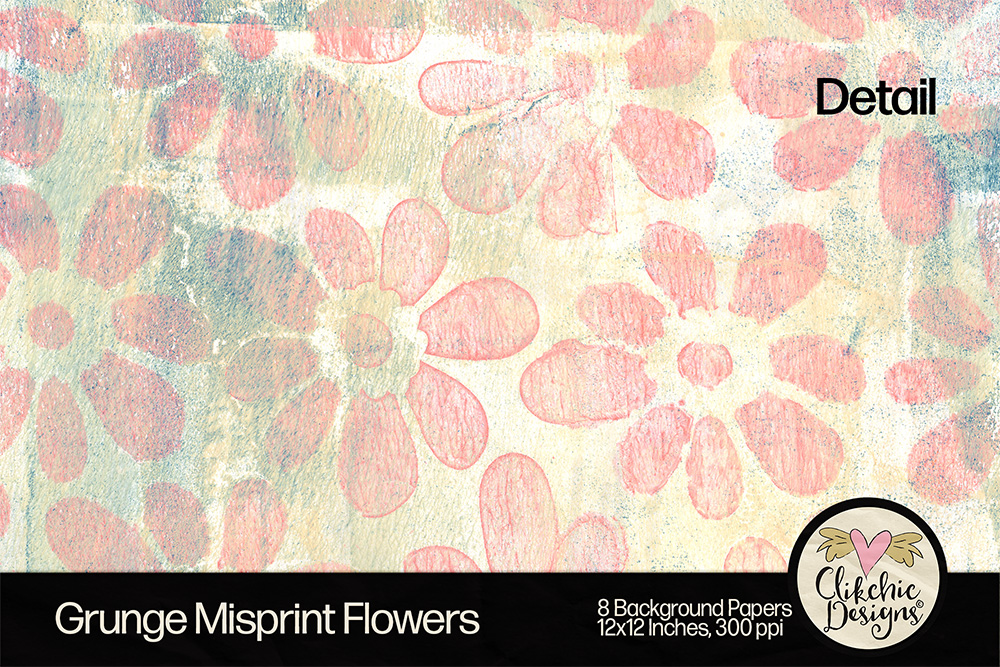
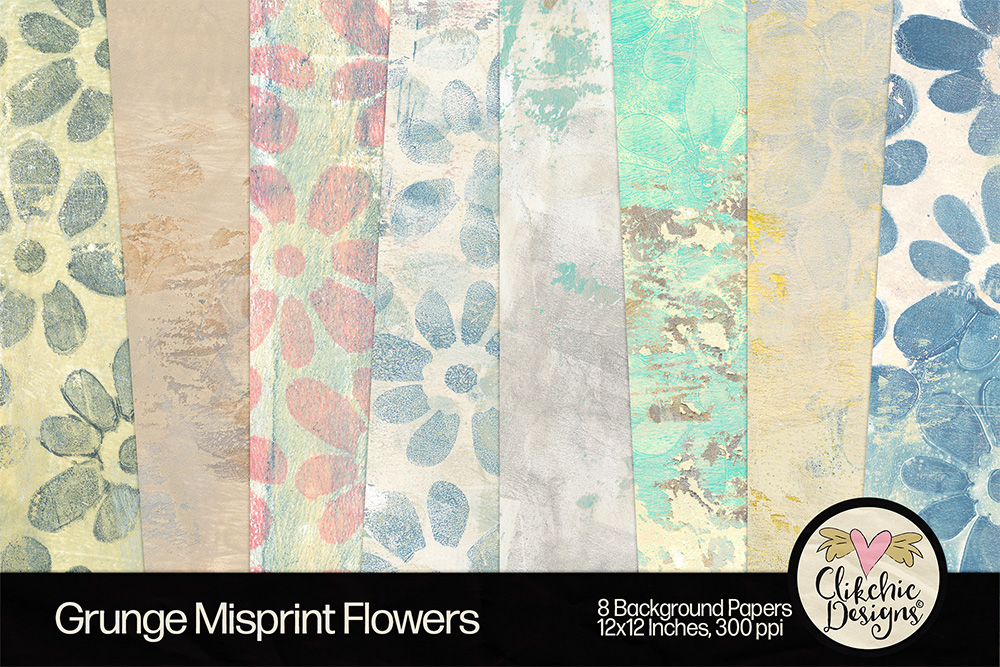
Discover the printable Floral Grunge Misprint Monoprint Digital Paper Pack, a stunning collection of grungy prints and patterns, enhanced with exquisite monoprint textures. These beautiful backgrounds were hand printed on a gelli plate using a monoprint process and some hand made stamps. This gloriously grungy set of printable backgrounds make the most gorgeous subtle backgrounds for scrapbooking, mixed media collage, card-making, invitations, art journaling, and a myriad of creative projects. Experience the charm of grunge, digitally reimagined!
These gorgeous backgrounds are available in the stores listed below.
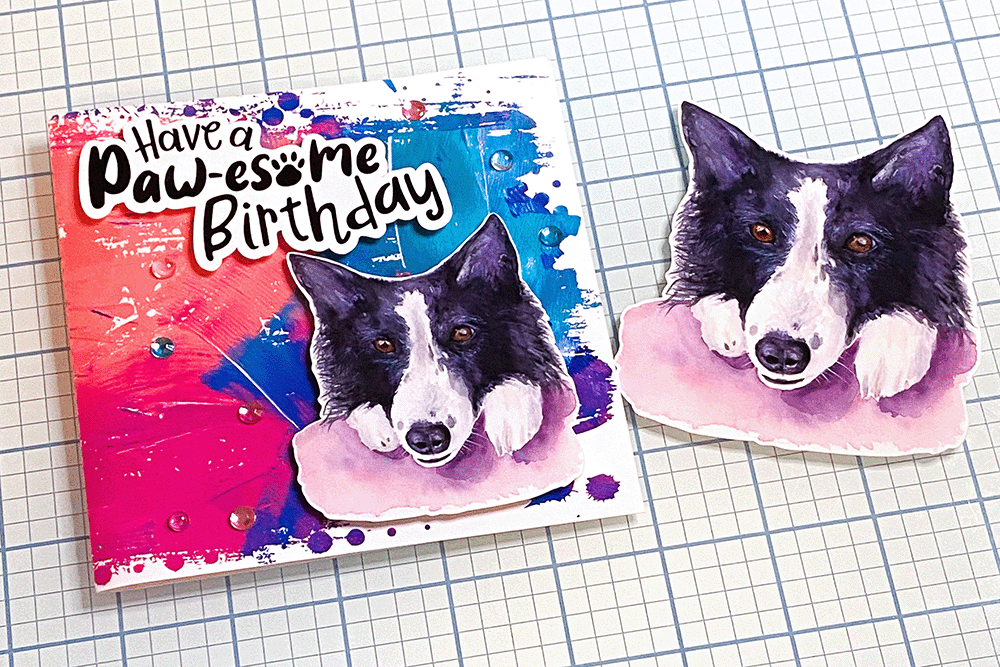
Do you know a dog lover who would love a Border Collie themed Birthday card? I have created a beautiful watercolor painting of our Border Collie and turned it into a print and cut design for your crafting pleasure. It is so darn cute it needed a cute pun to go with it, so I created a furry friend pun for a themed Birthday sentiment “Have a Paw-esome Birthday“.
Click here to download the card base FREEBIE! You will need to unzip the file before use. It is a simple but super useful file to have on hand to have a head start on your square card bases. It is also super easy to resize to suit your needs.
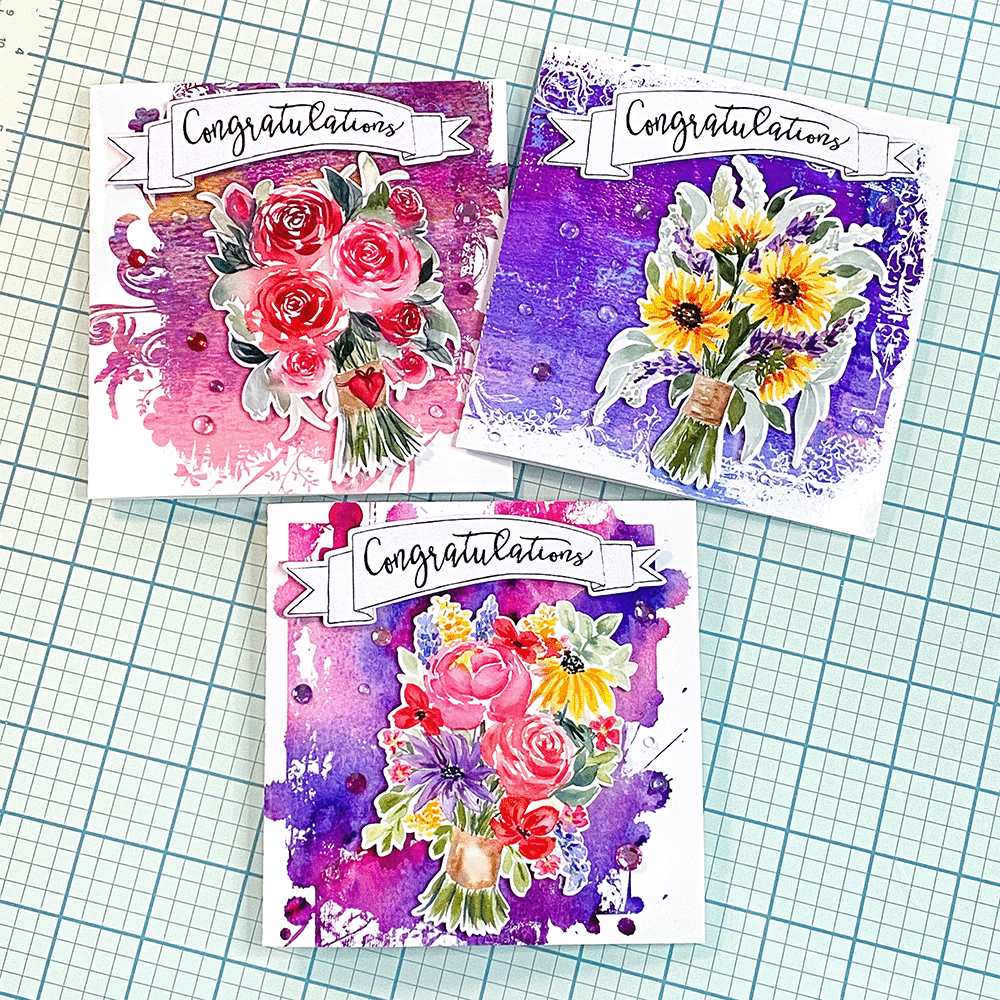
I have had three family members recently participate in varying roles in the Musical Production of the Sound of Music at a local High School. Two nieces had major roles and my sister in law who teaches at the school was the director. To say we were blown away by the stellar efforts of all three was an understatement. So of course I wanted to create some cards for them to tell them so and congratulate them on their hard work and achievements with the production.
I just love the vibrant colours coupled with the grungy goodness and gorgeous watercolor bouquets on these cards. I’d like to think they would brighten the day of any recipient who received them.
For the backgrounds I have been using a technique in Silhouette Studio of using SVG files as a clipping mask. I have a quick tutorial here on how to do it. Elly Mae of Silhouette Secrets has a more in depth tutorial, and has done a live YouTube video on the technique which you can watch on replay. I use a card base template, for which I have created a freebie to make creating these cards easy! Check out this article for the FREEBIE!
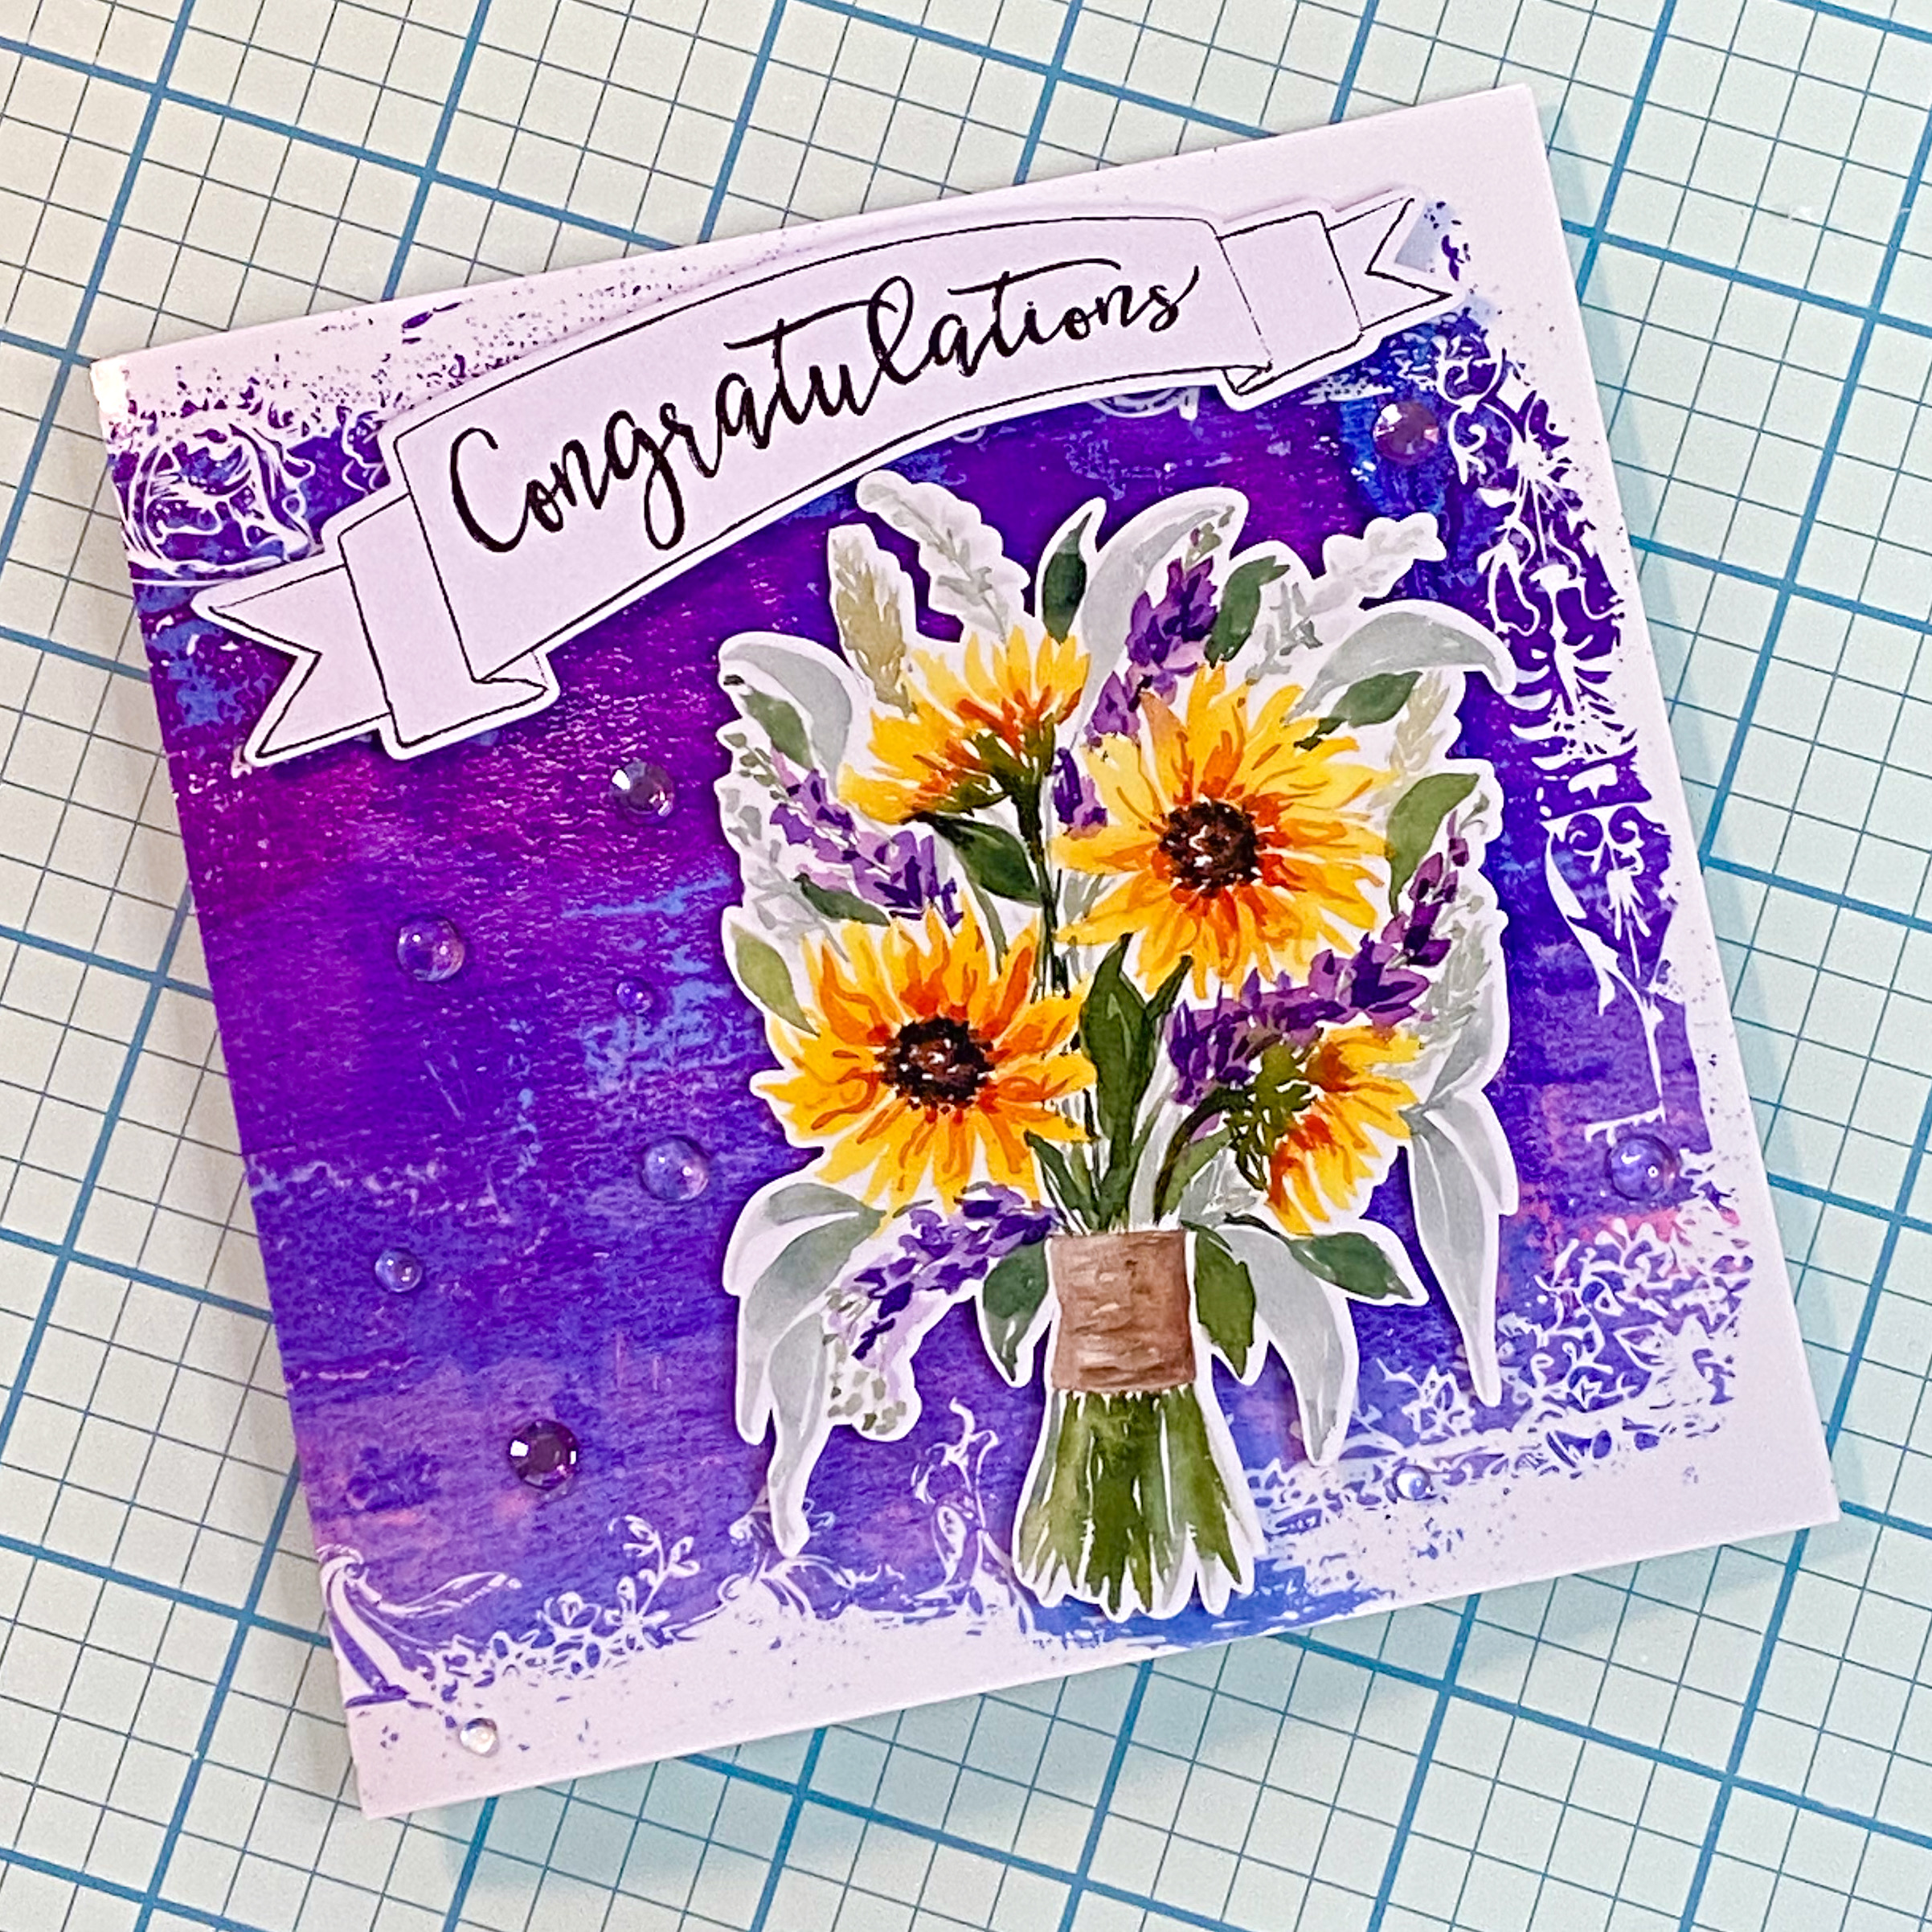
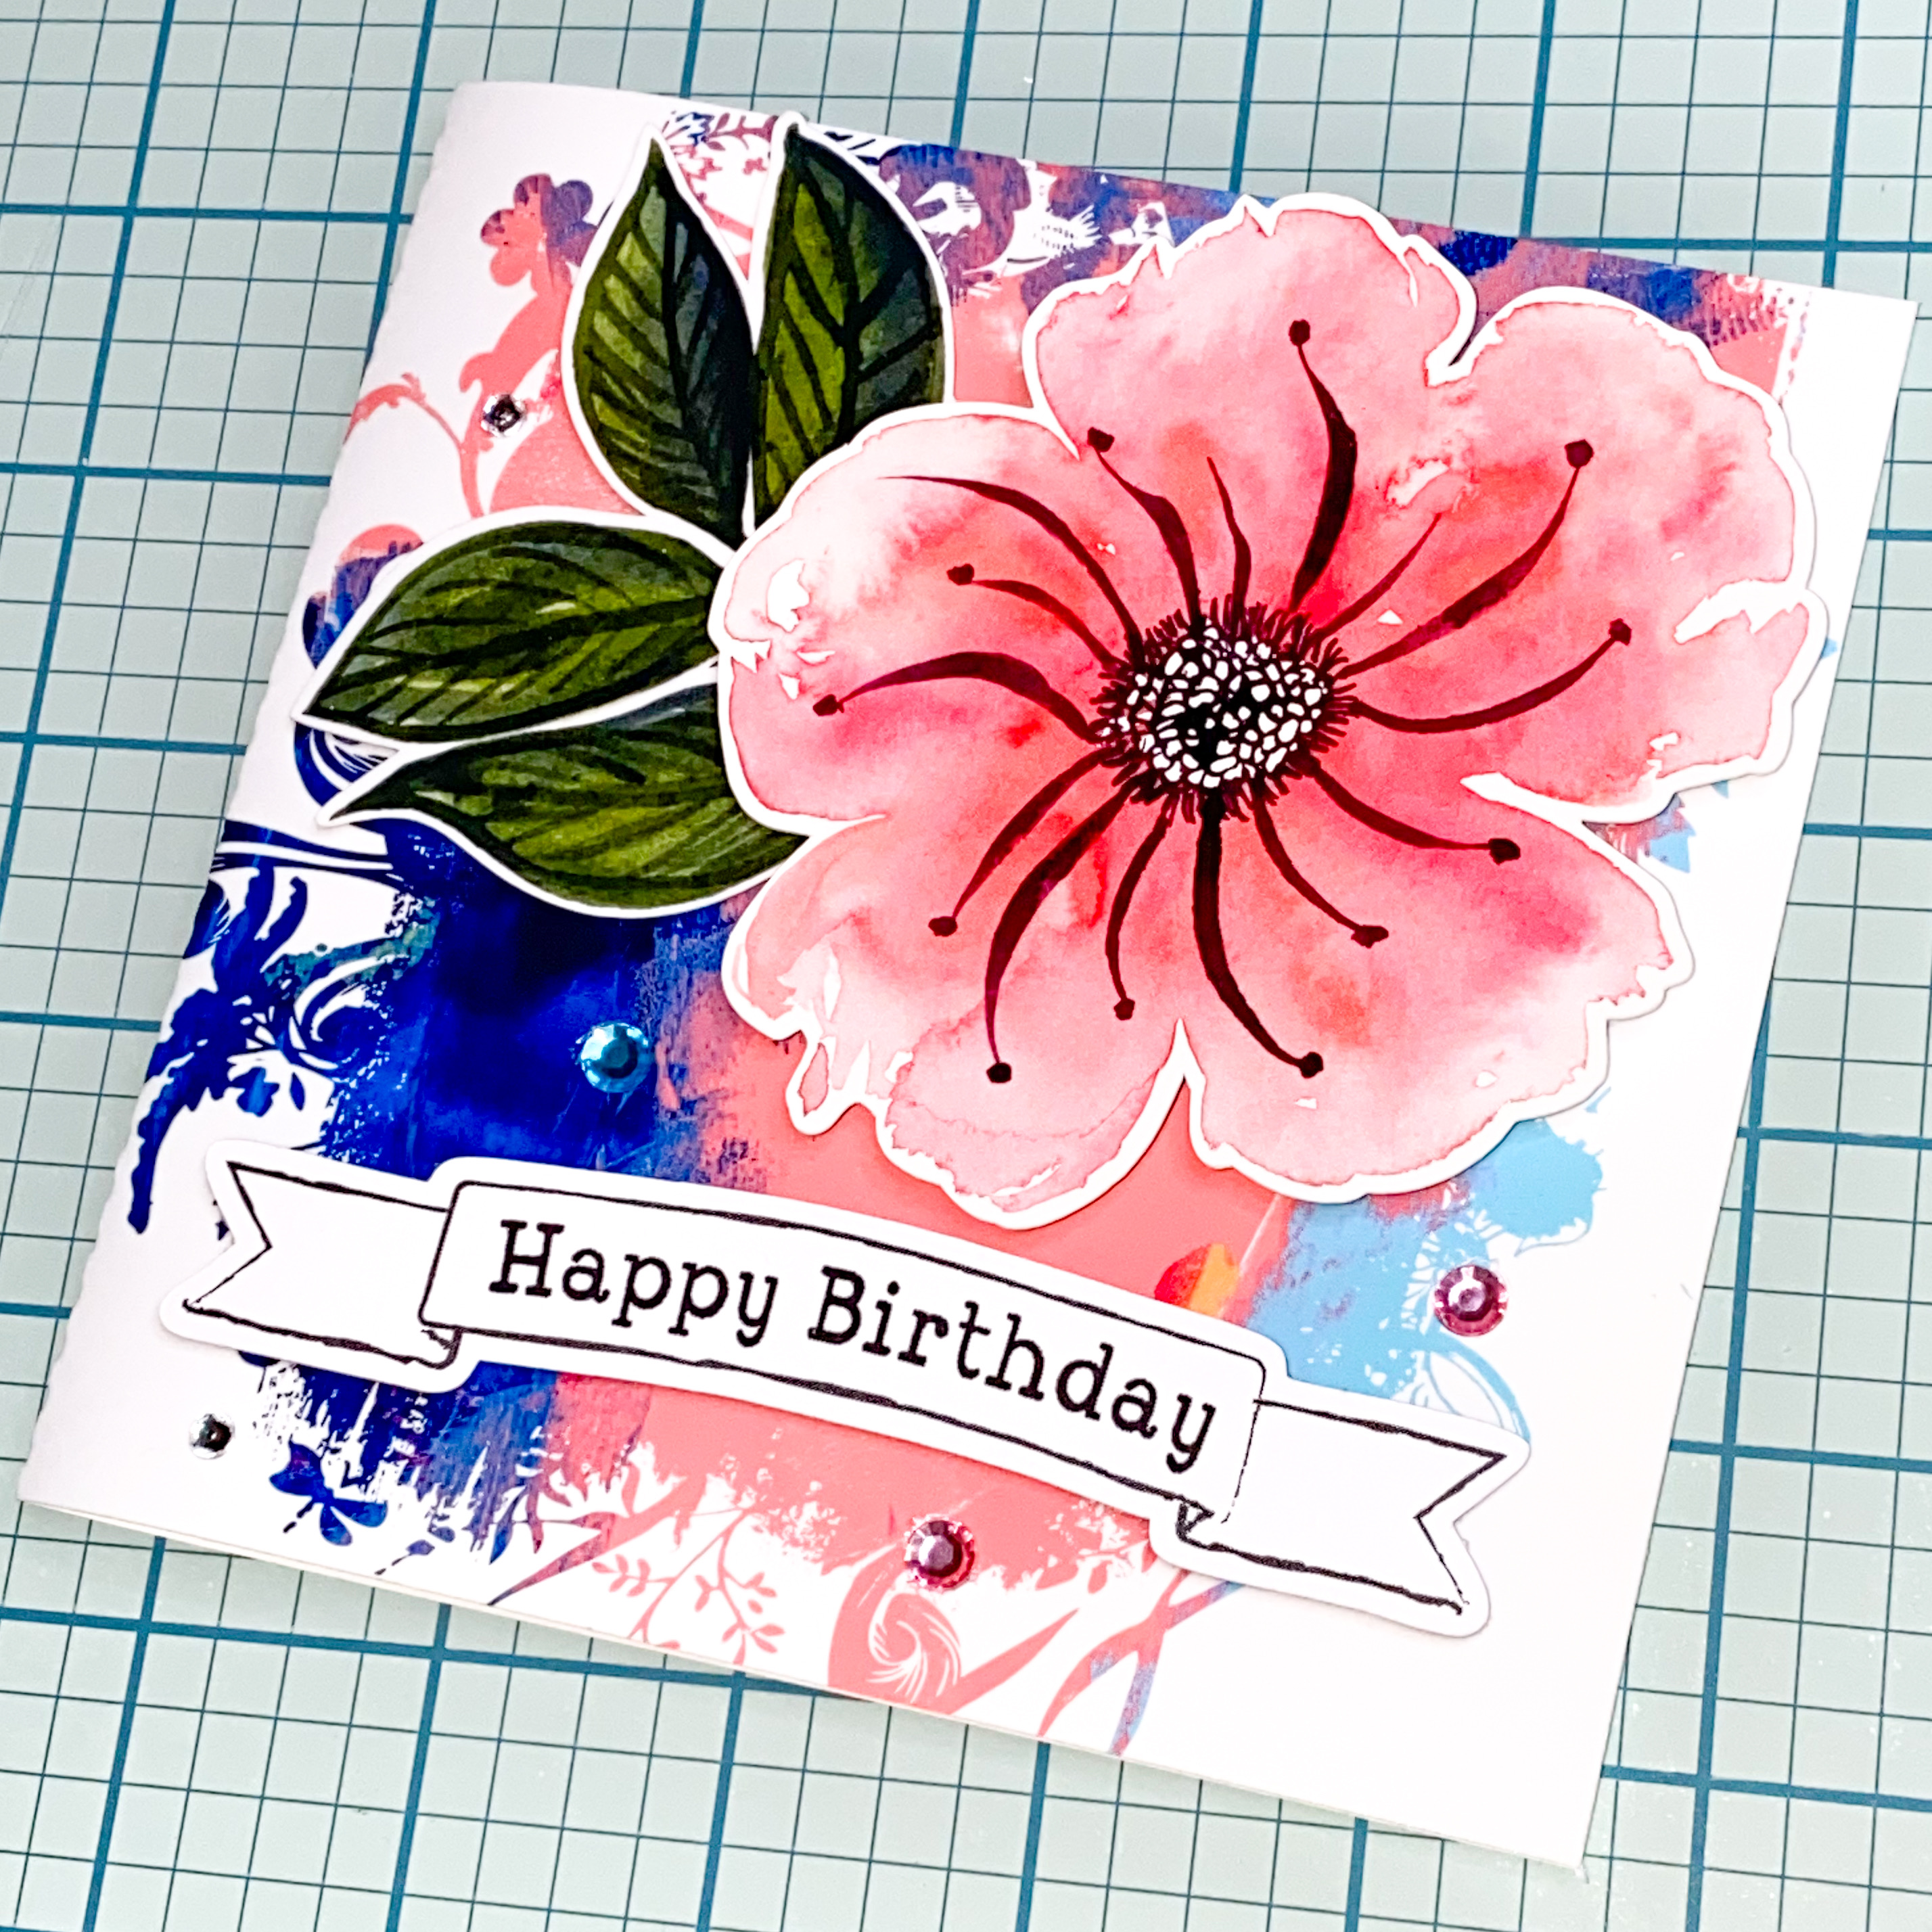
Aren’t sunflowers such a warm and friendly flower? I love them and I chose a gorgeous Sunflower Watercolour Bouquet Print and Cut design as the feature for this card. I adhered the sentiment banner and bouquet with adhesive foam squares and added some adhesive rhinestones and dew drop beads to finish off the card.
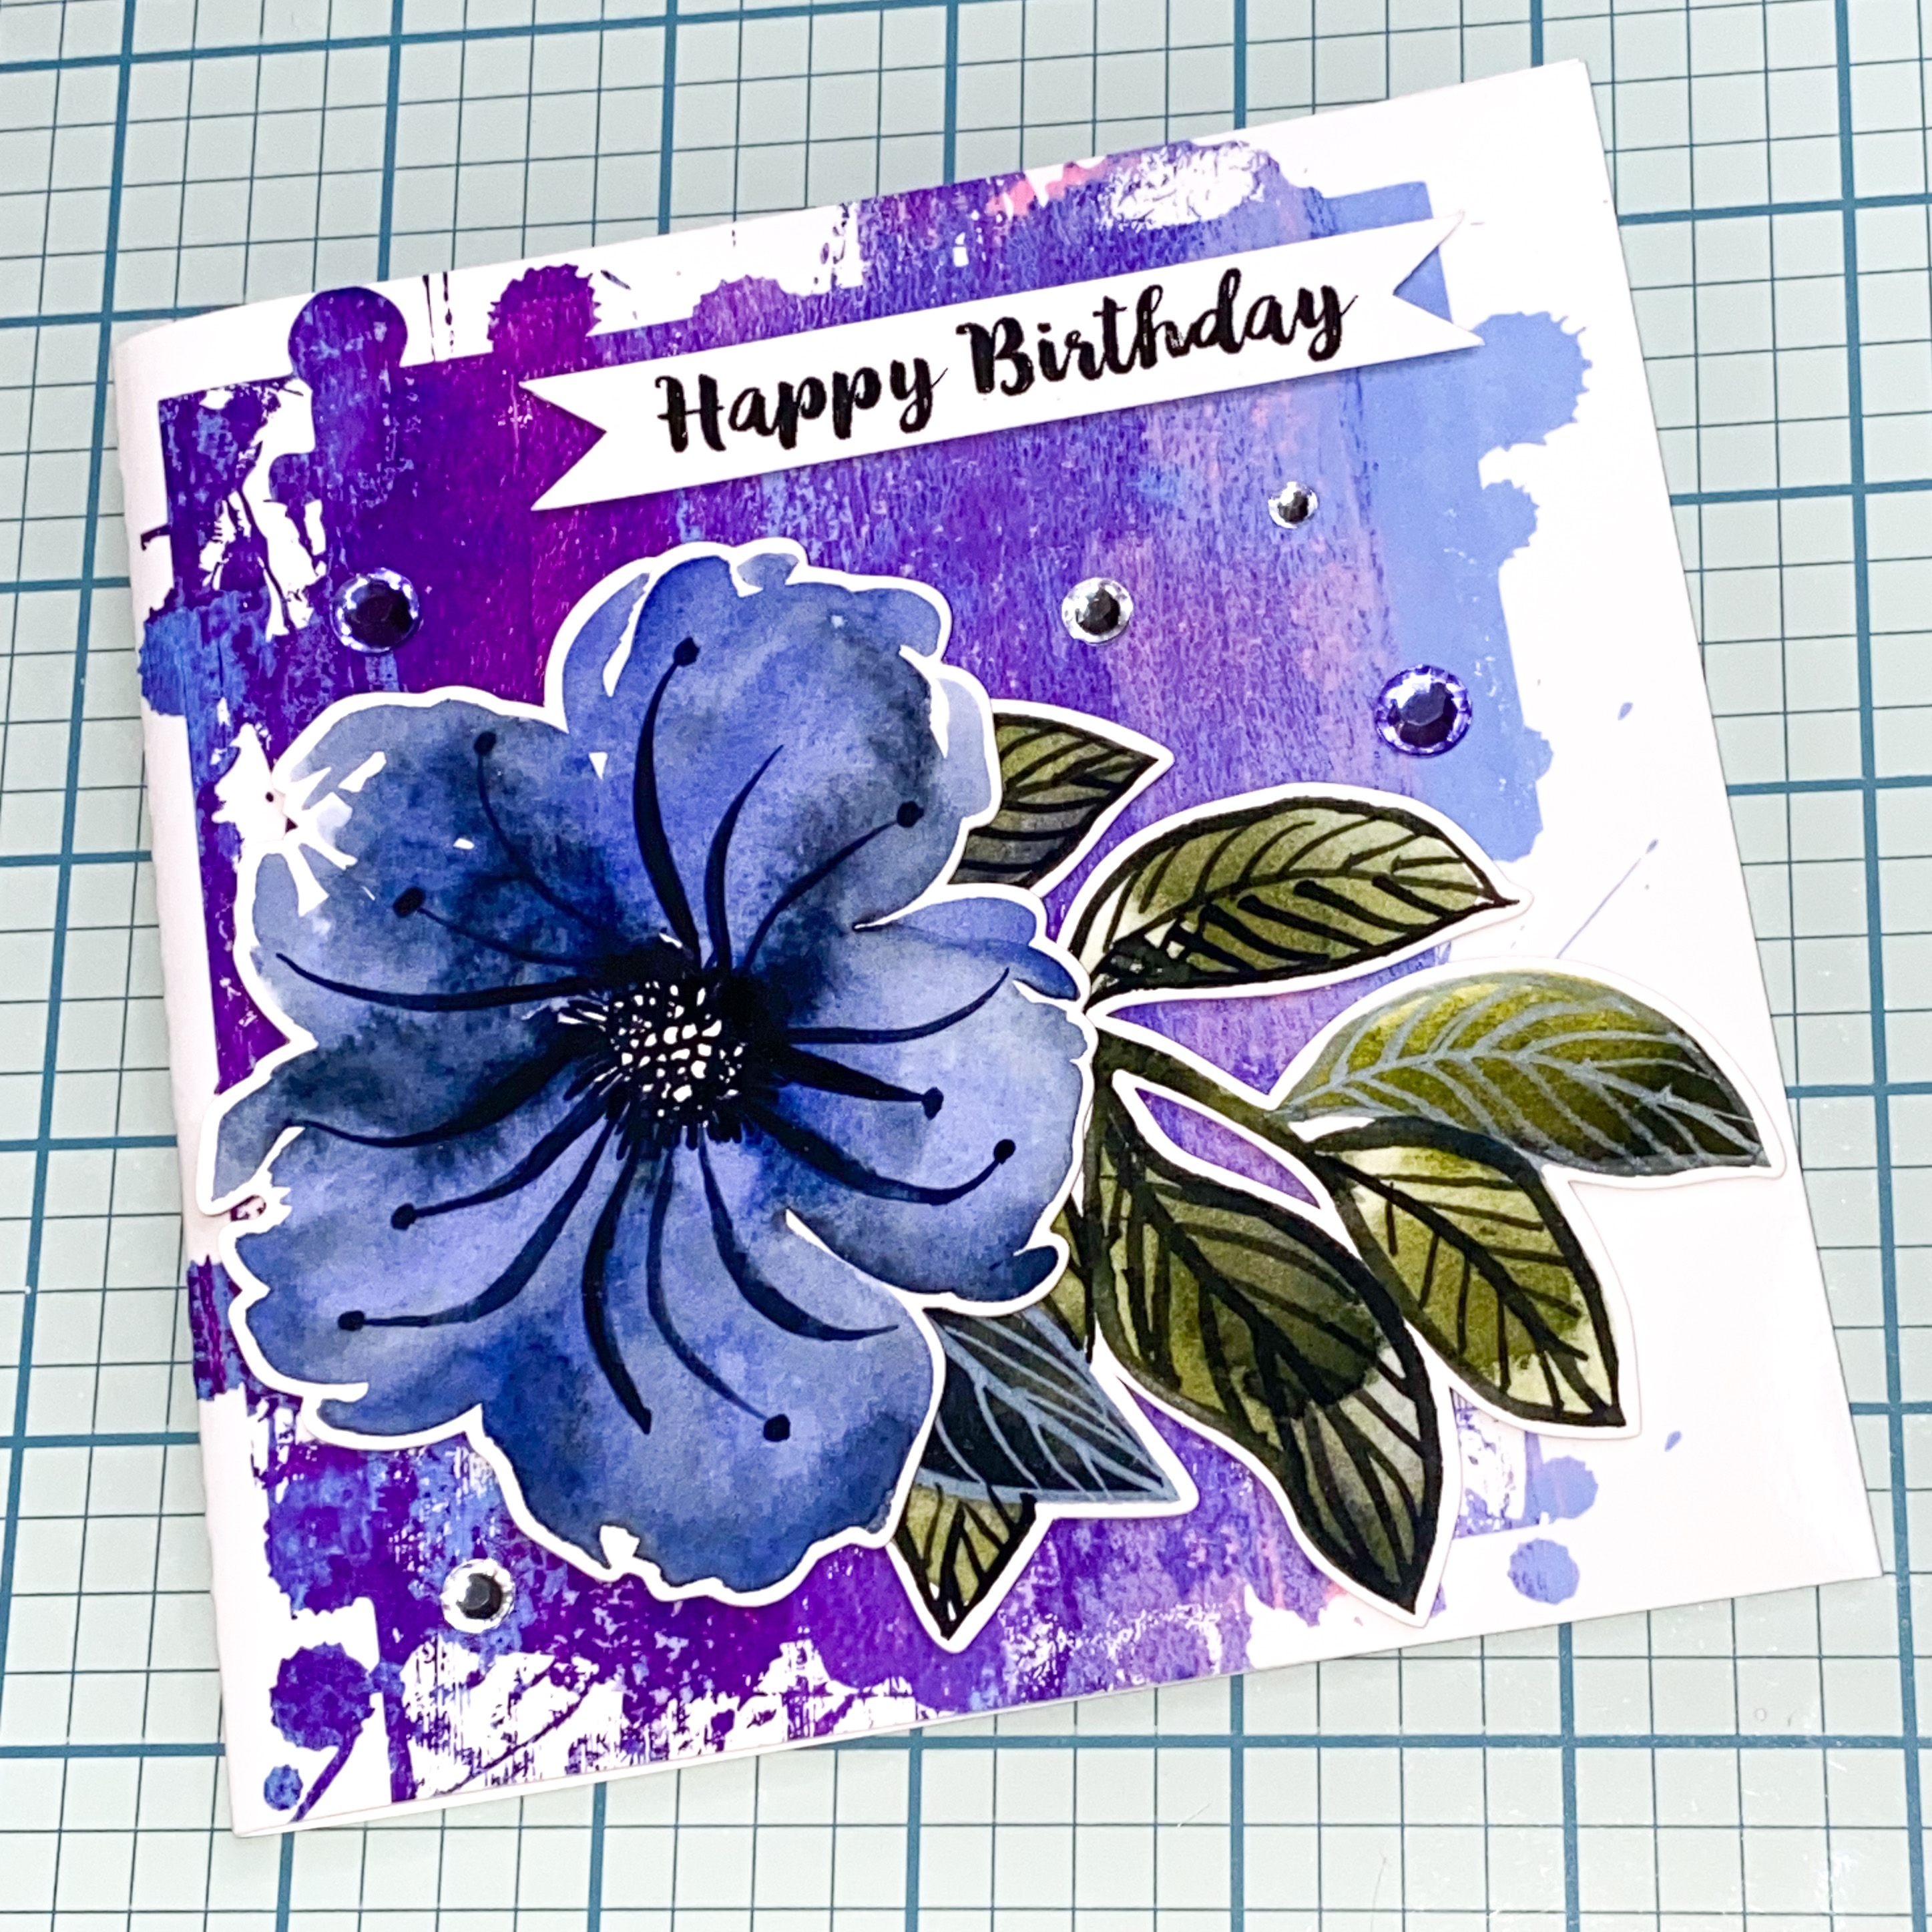
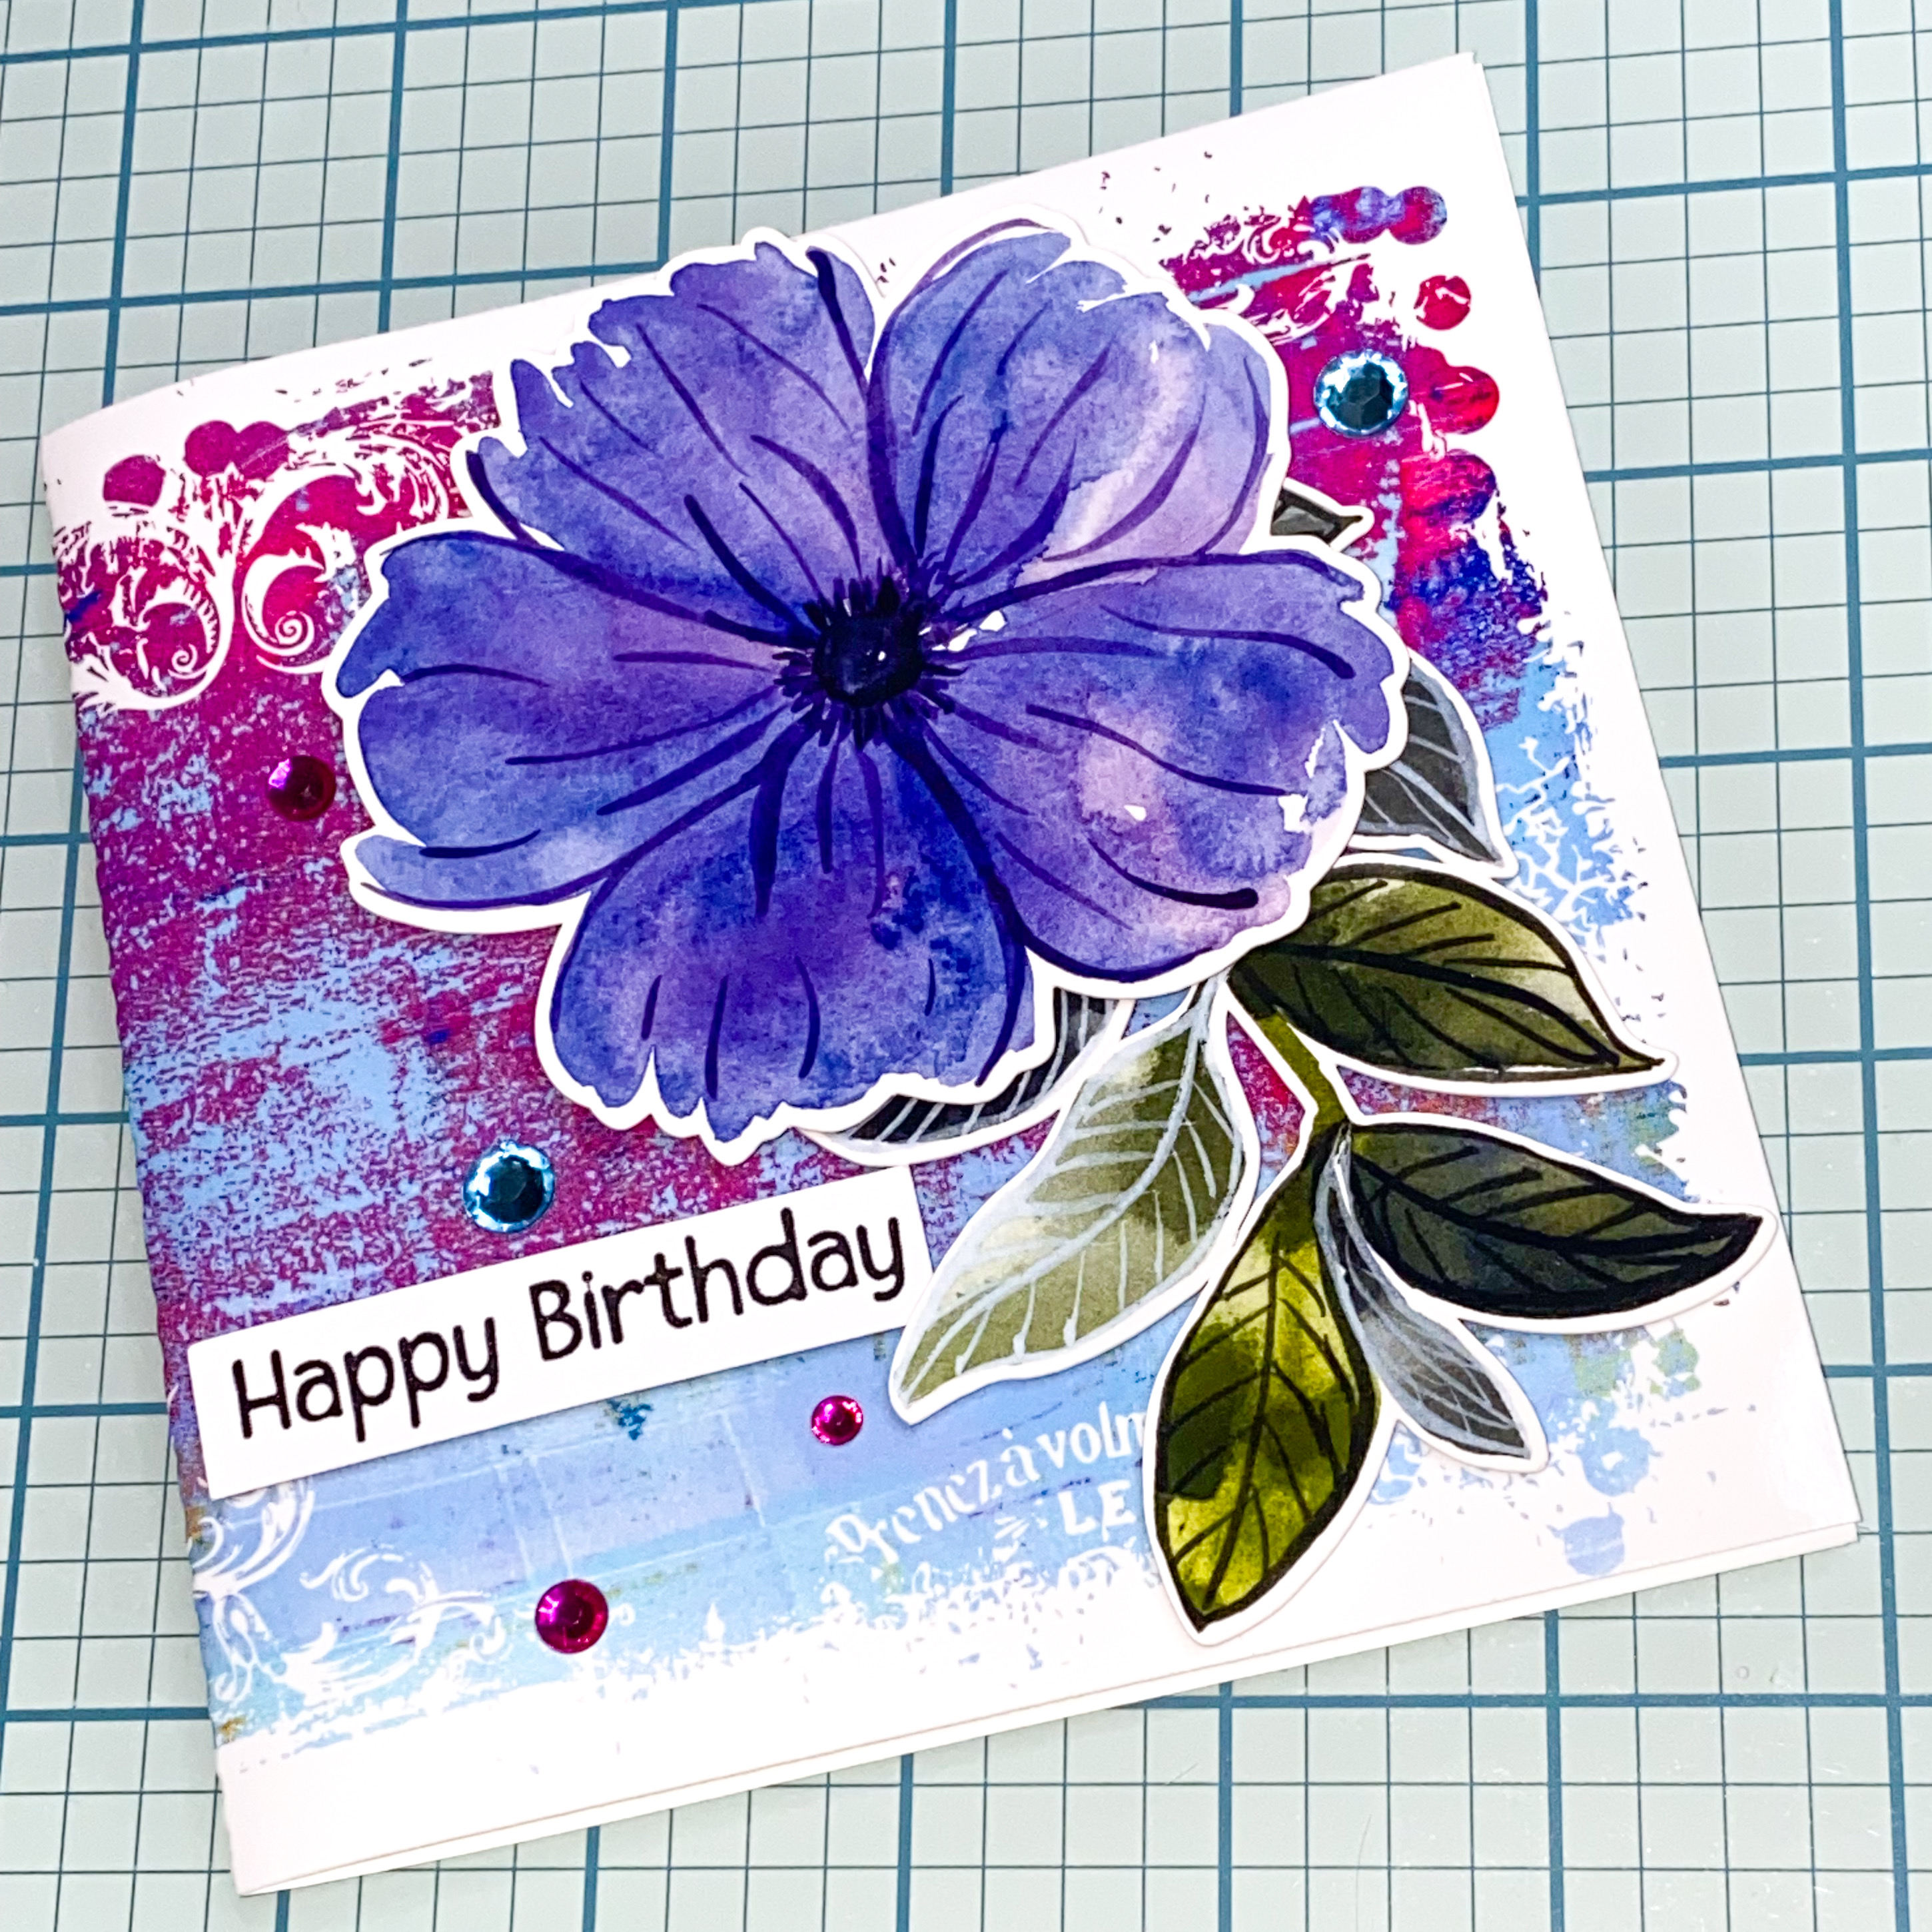
For the recipient of this card I knew her favourite colour was purple, and that she also likes pink so I thought it would be a lovely background which would also coordinate well with the bouquet feature.
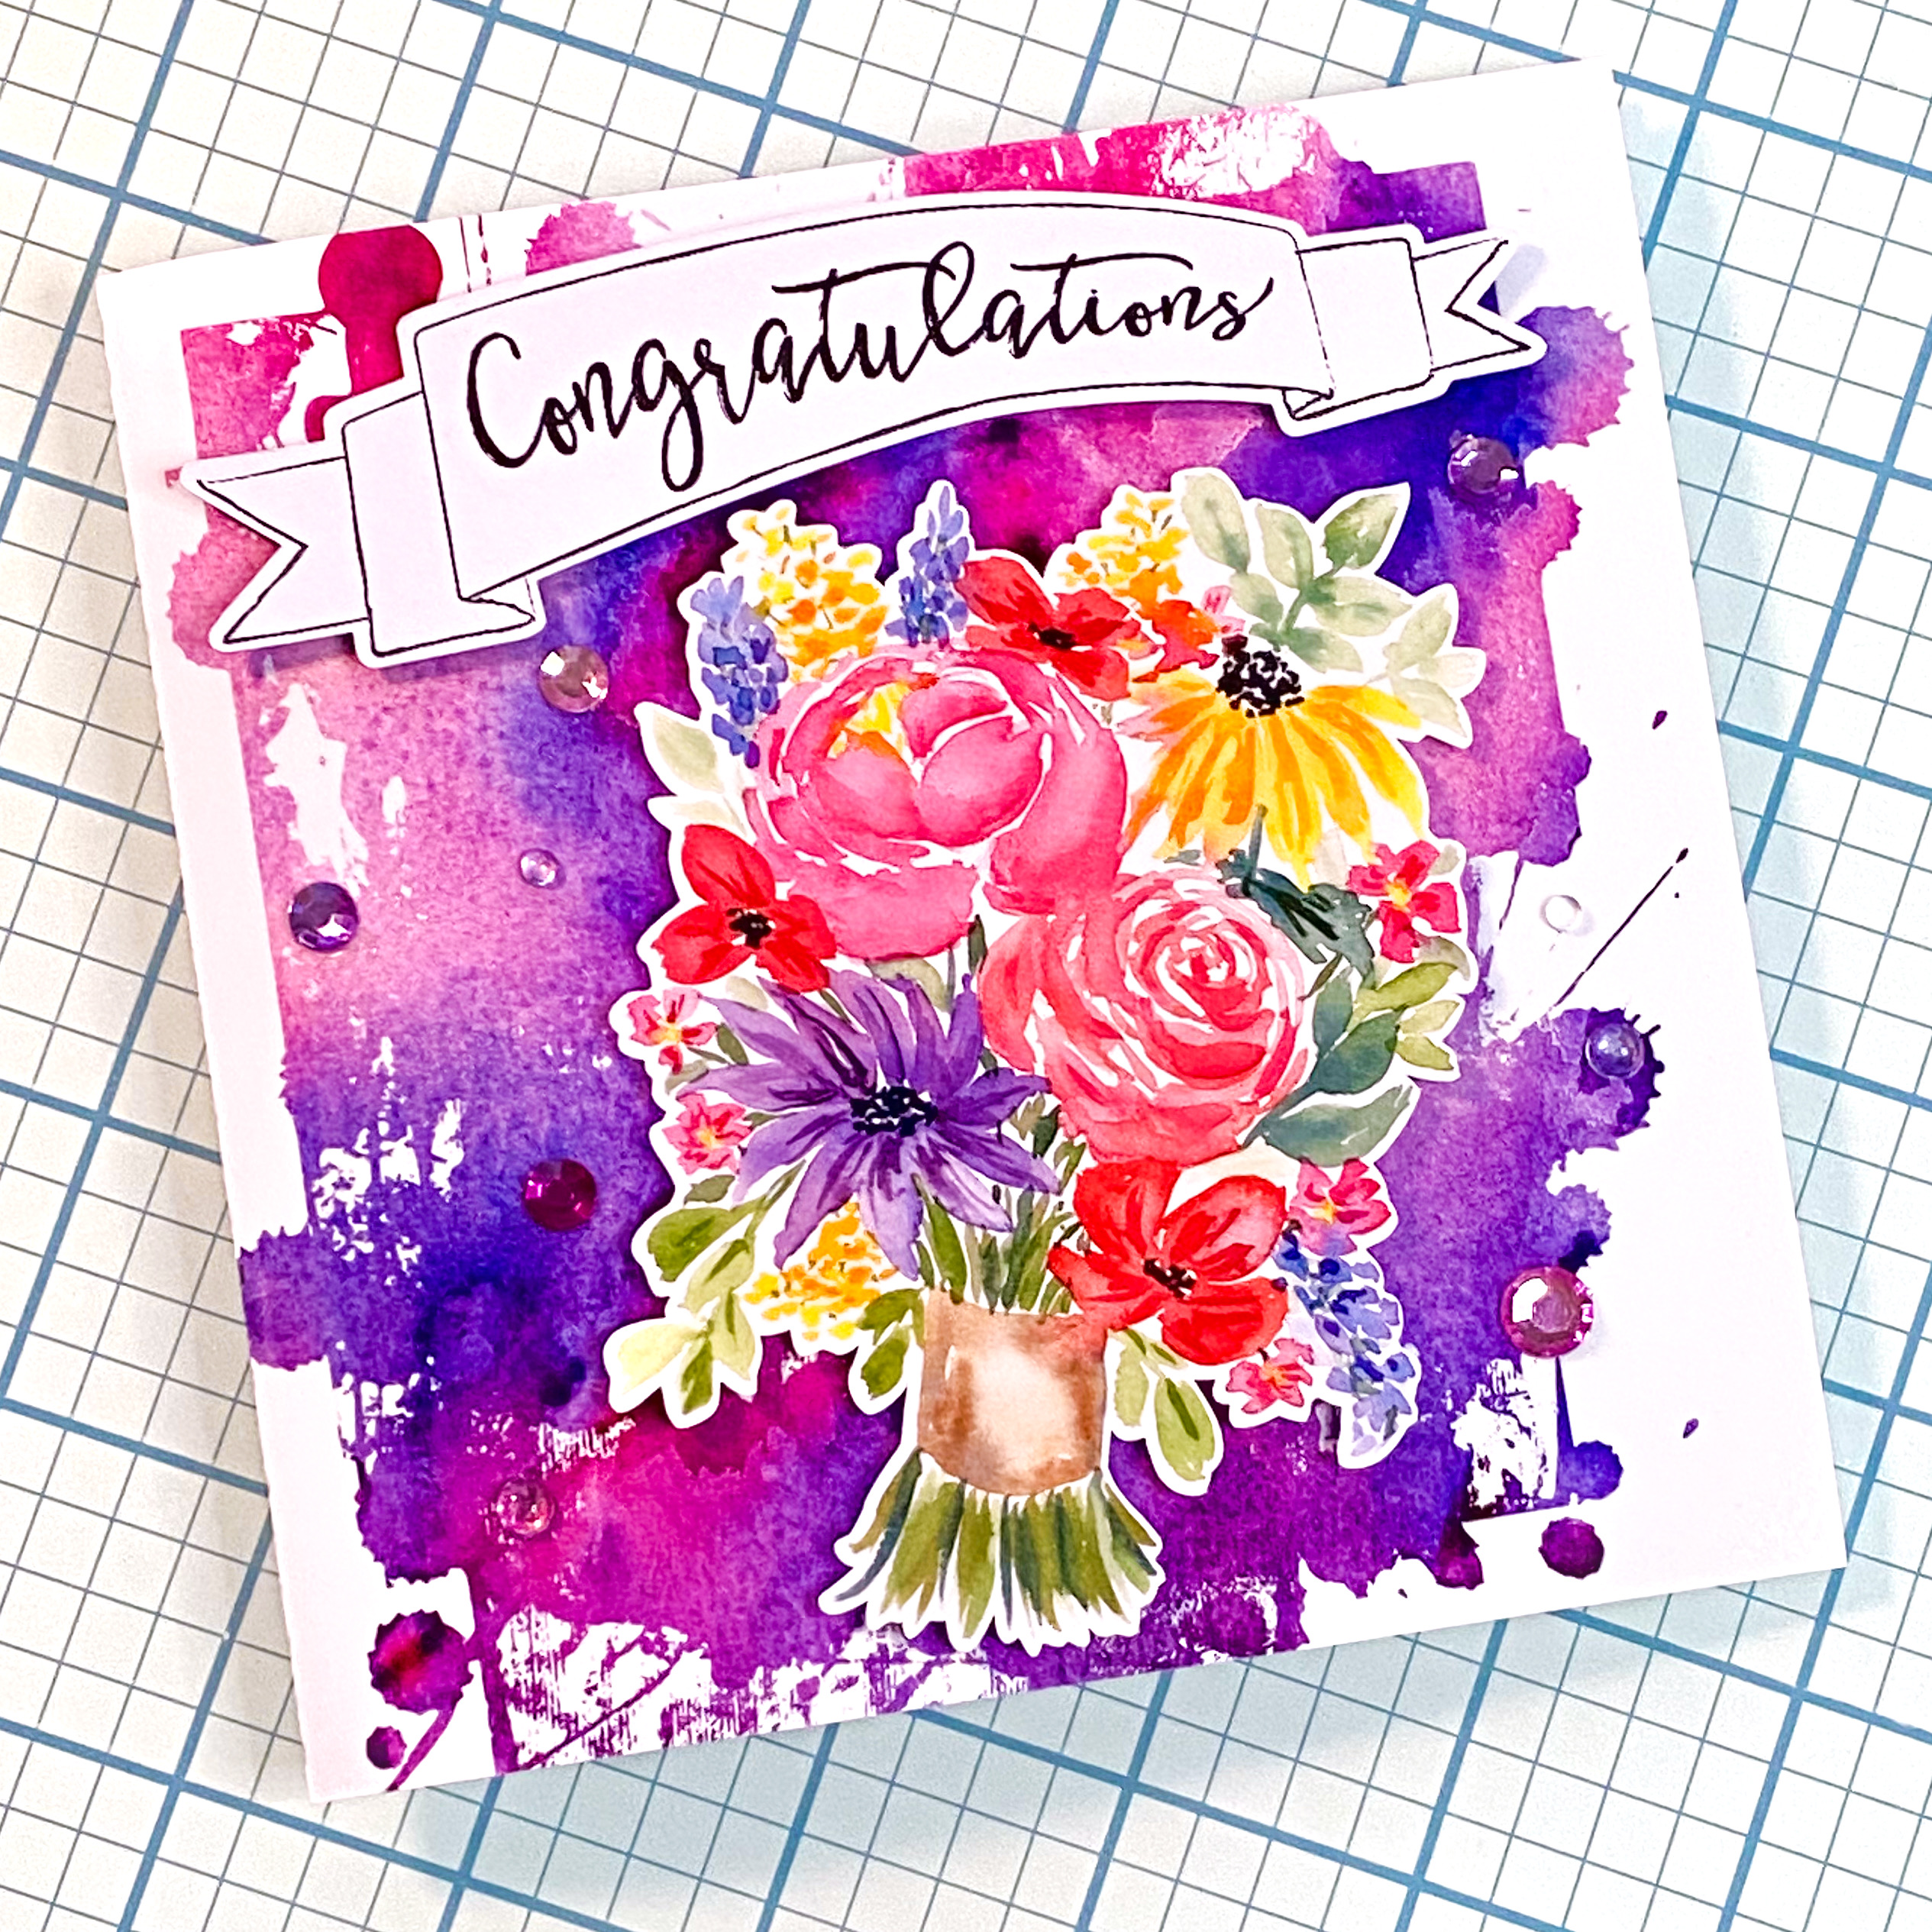
I used the Spring Mothers Day Watercolor Flower Bouquet Print and Cut for this card, and as you can see it works for much more than just Mothers Day. I just happened to paint this bouquet around Mothers Day and thought it would work beautifully for Mothers Day Cards!
Once I printed and cut the card base I adhered the sentiment banner and bouquet with adhesive foam squares and added some rhinestone bling and dew drop beads to finish it off!
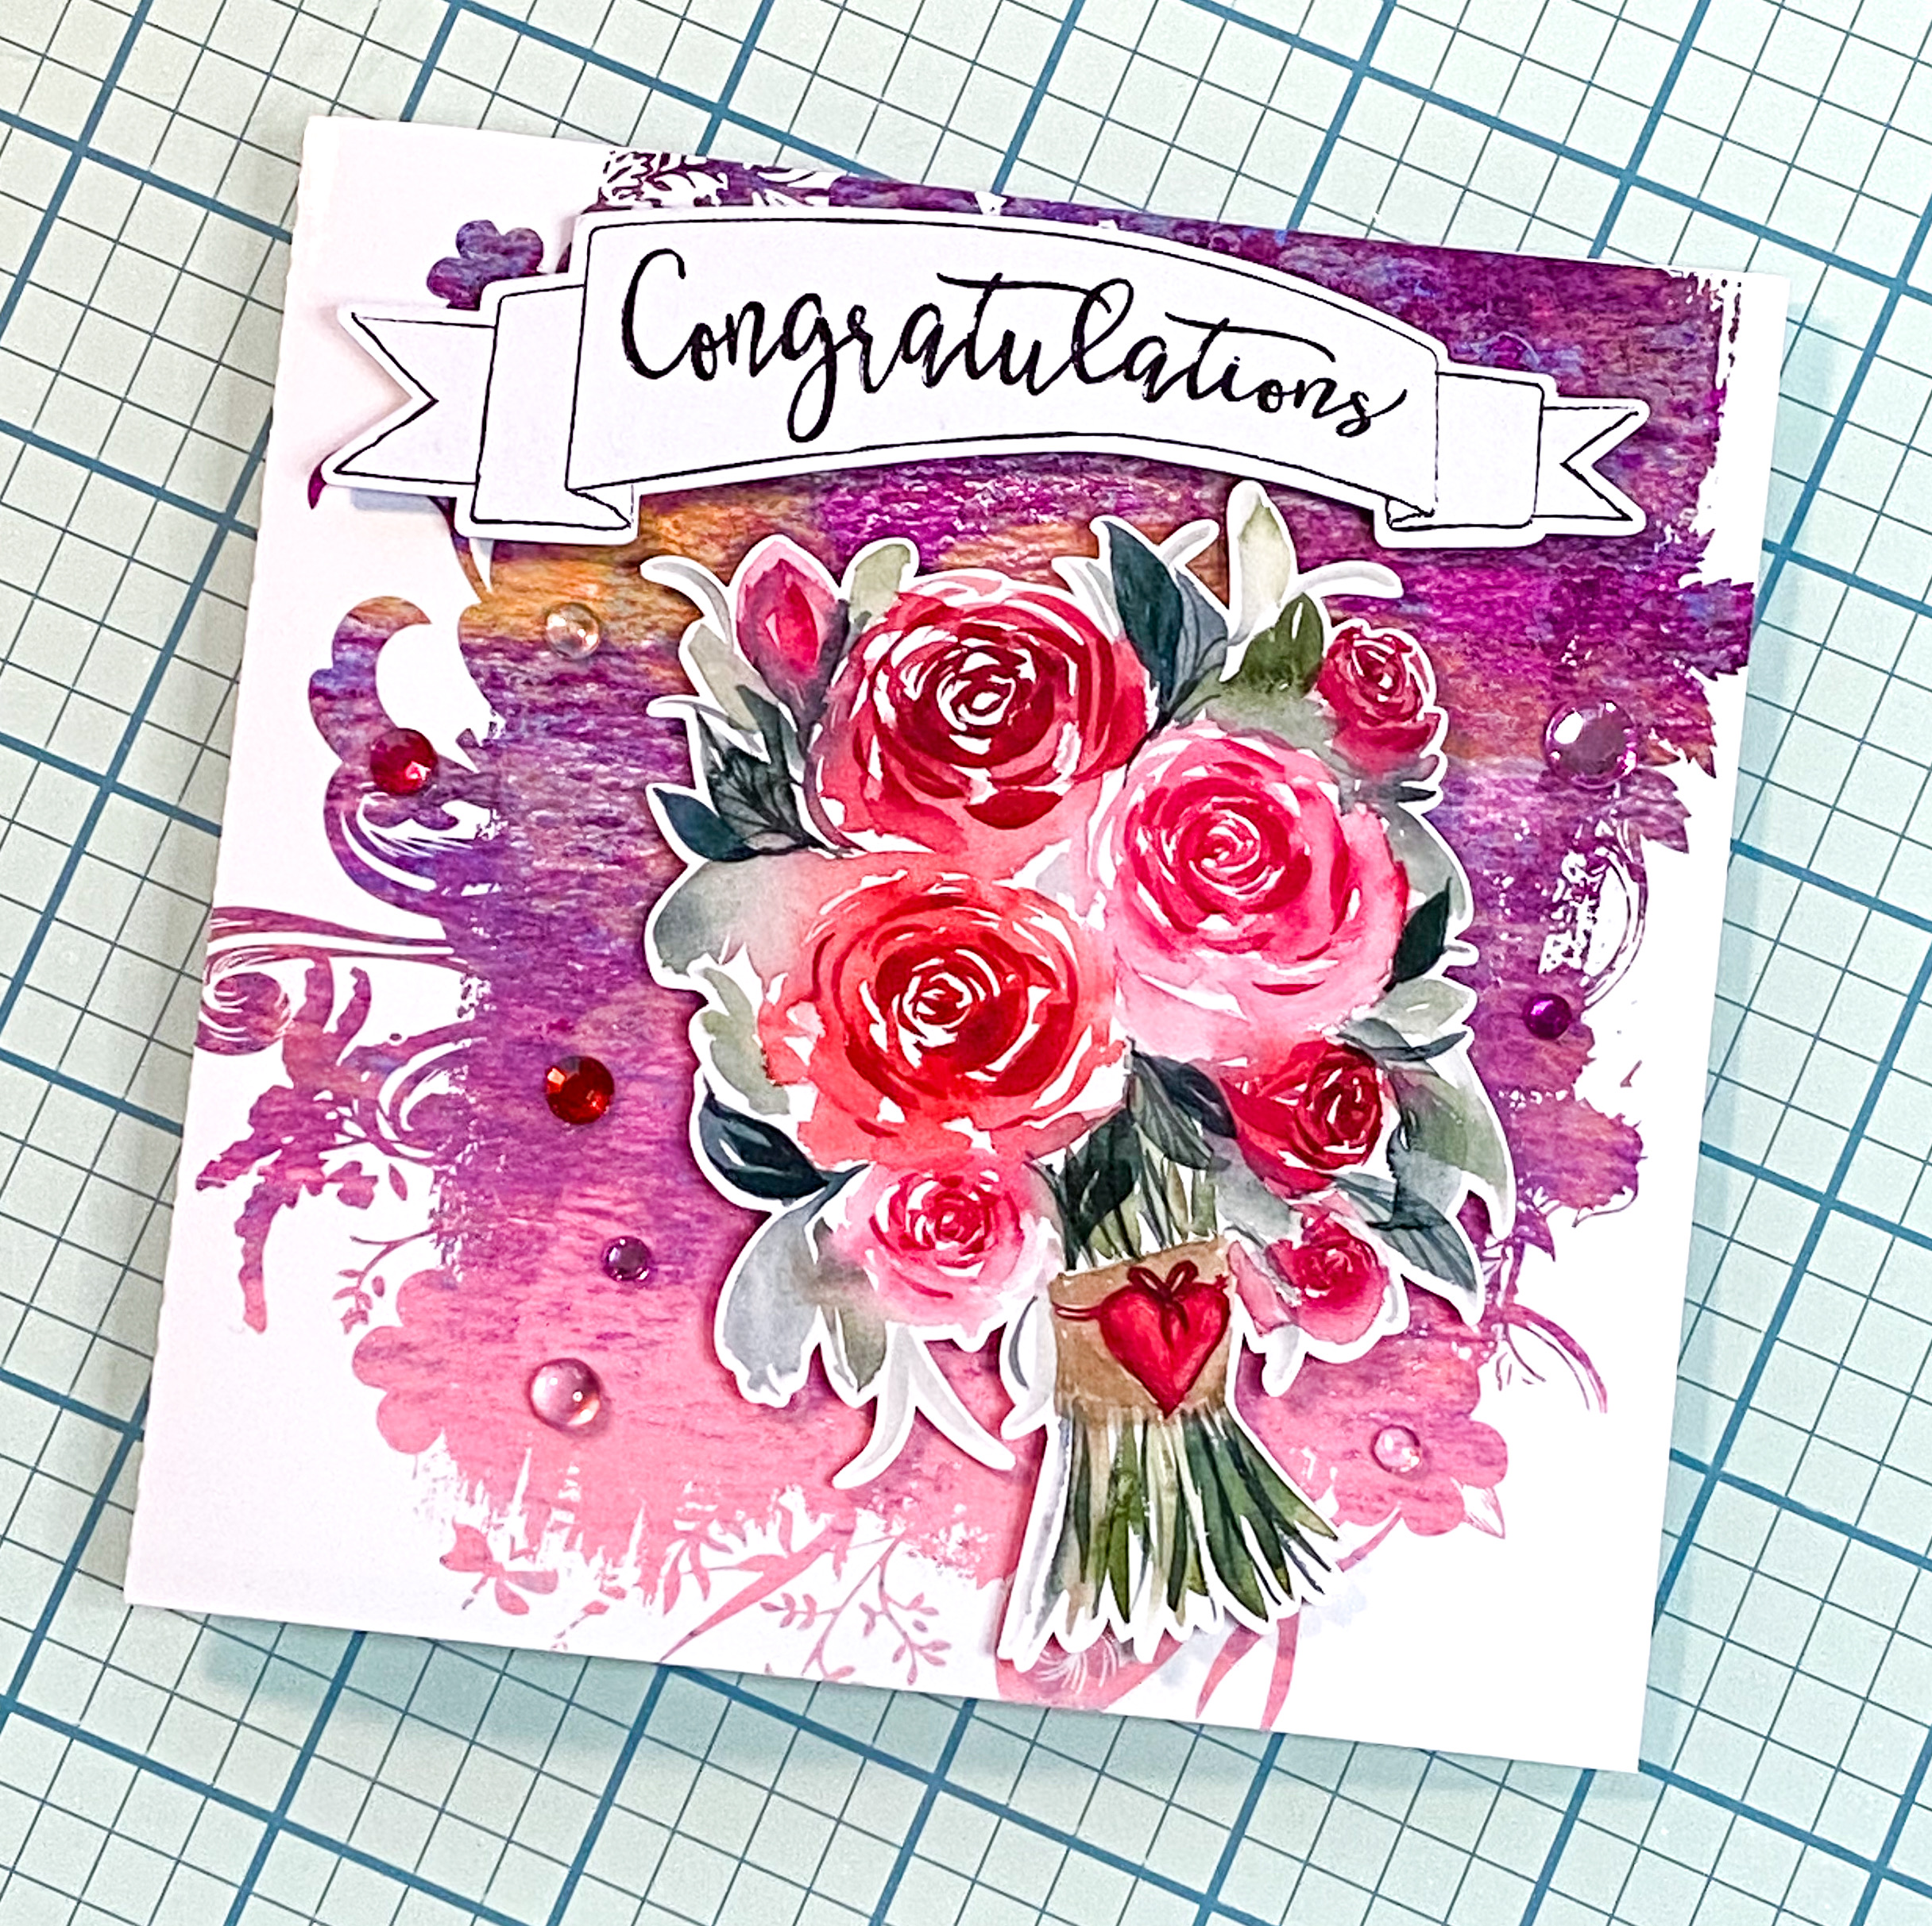
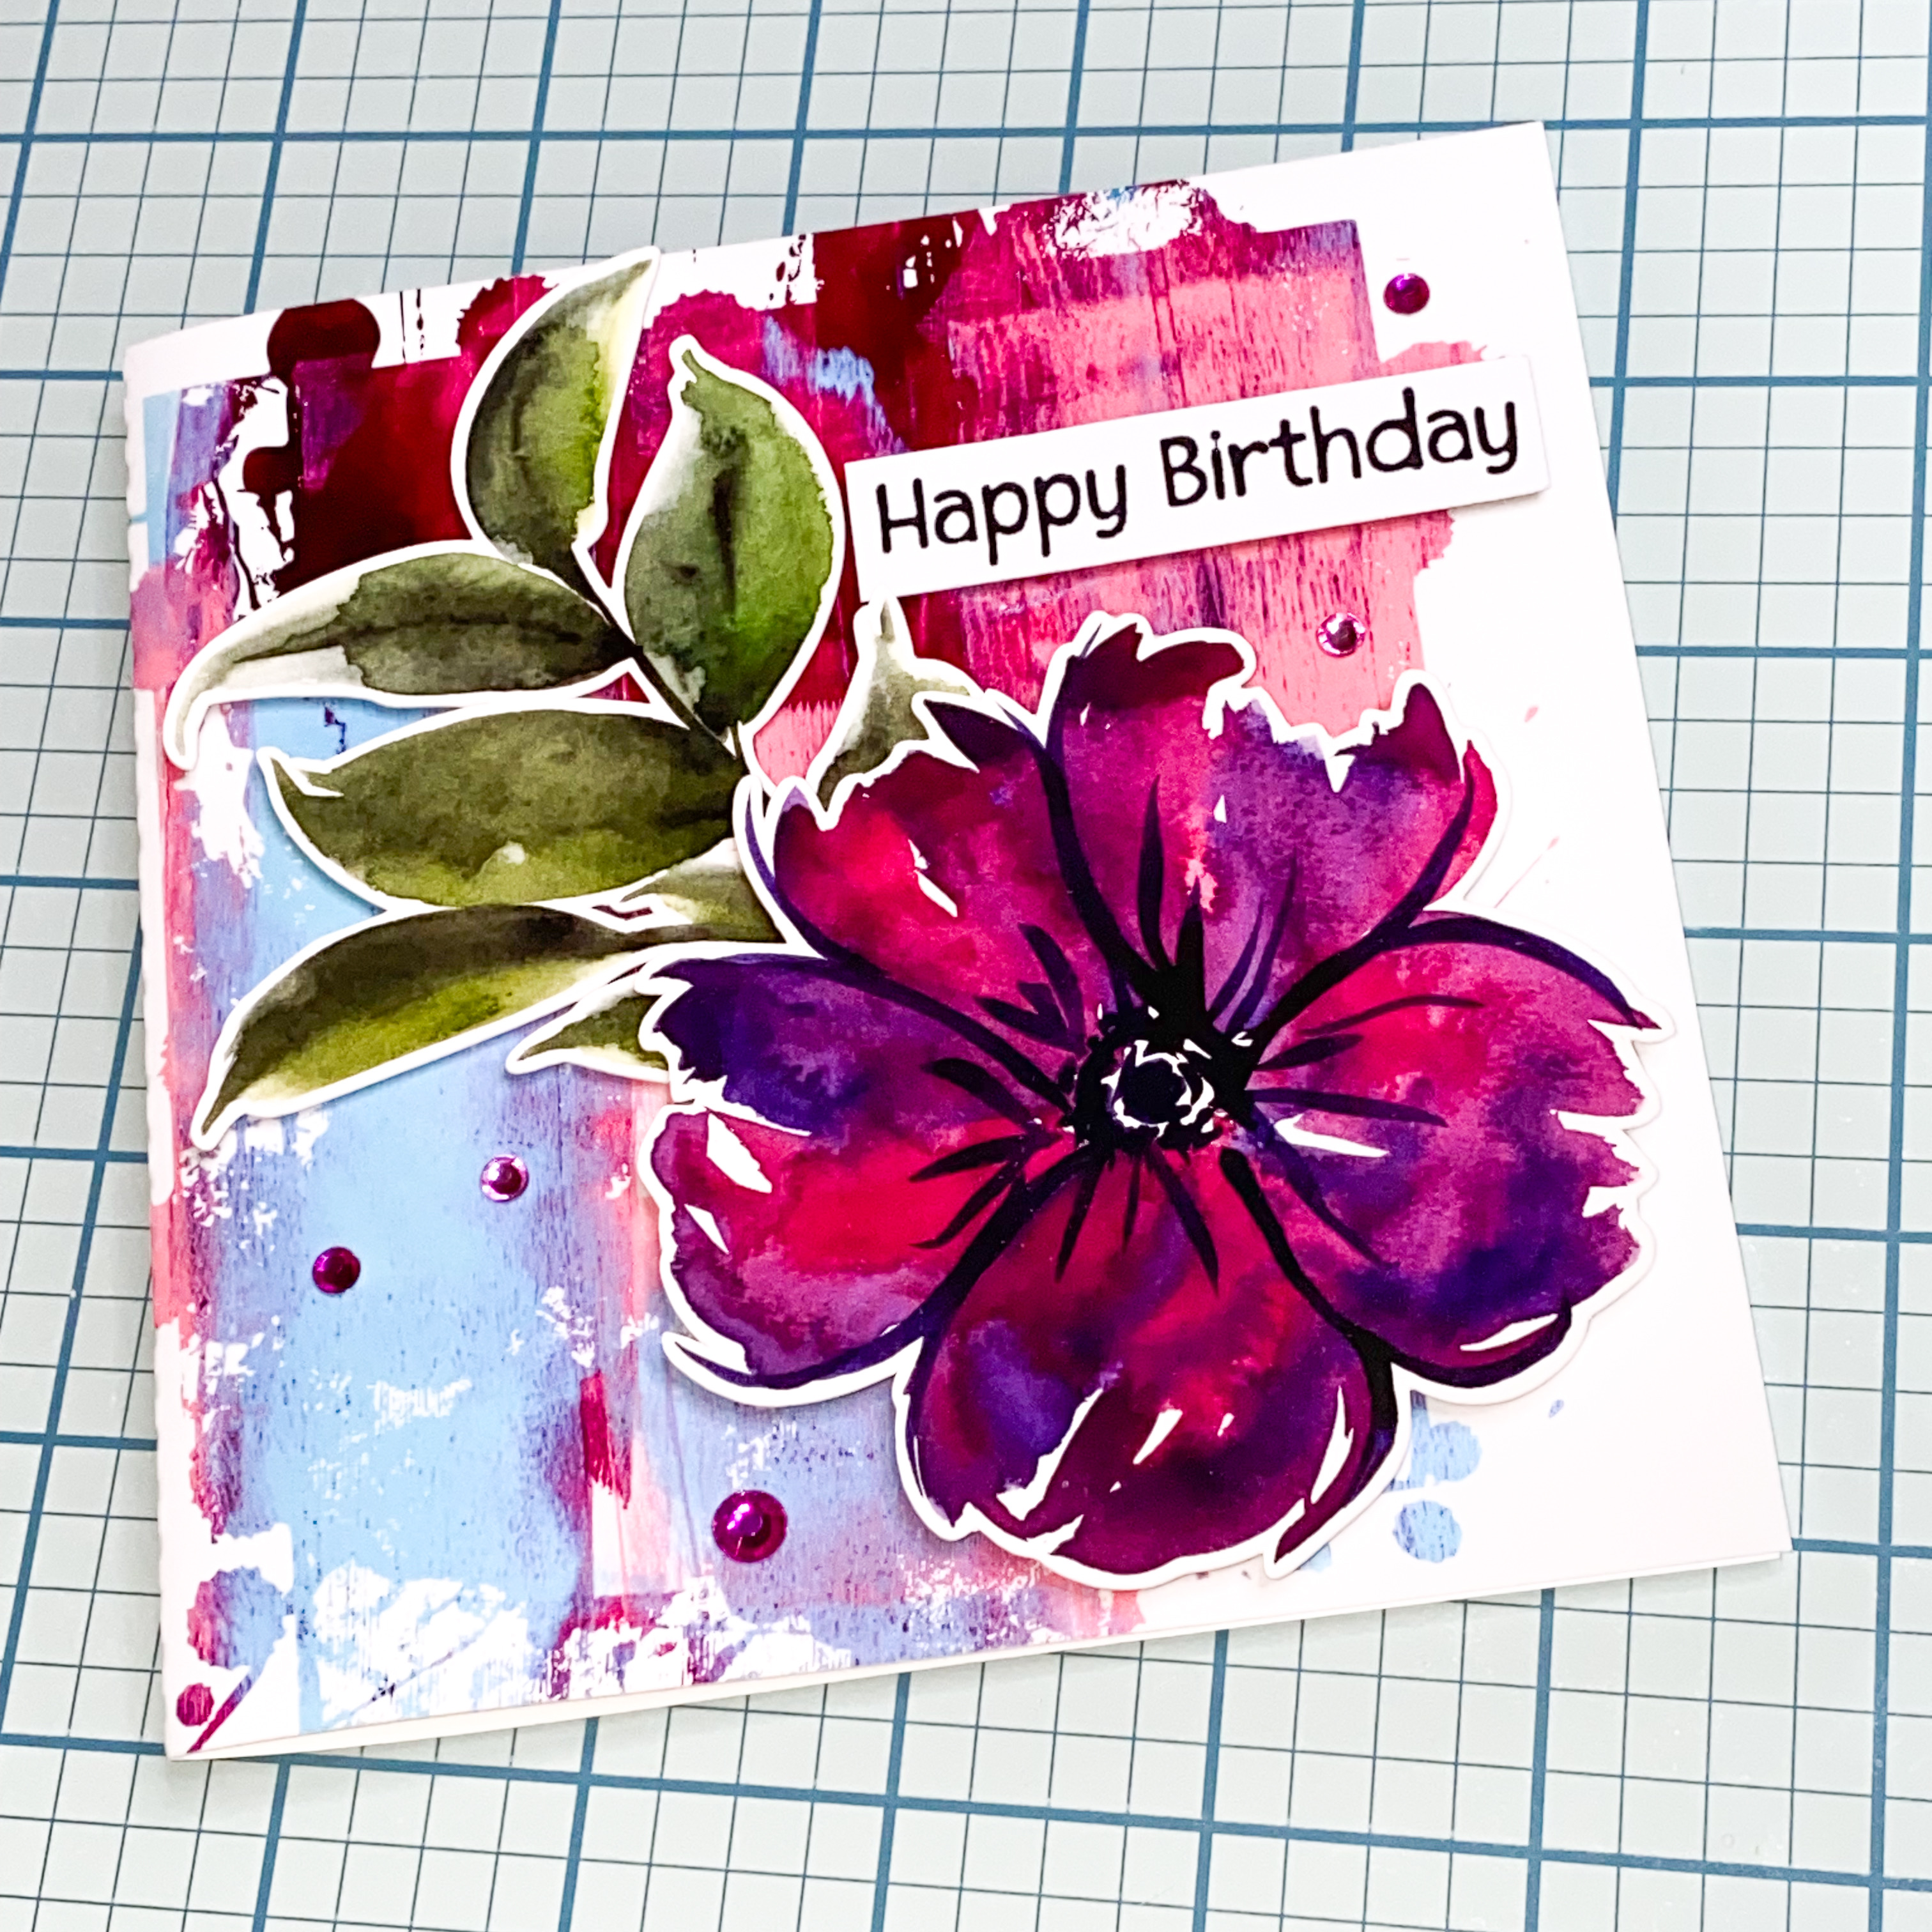
I just love the combination of the Red and Pink Roses with the Violet and Pink grungy background on this card. I find the combination beautifully striking and vibrant.
Once I adhered the sentiment banner and bouquet with adhesive foam squares and added some adhesive rhinestones and dew drop beads to finish this beautiful card.
If you haven’t already done so don’t forget the grab the card base template freebie from this article! It isn’t a complex design but it is ready to go!
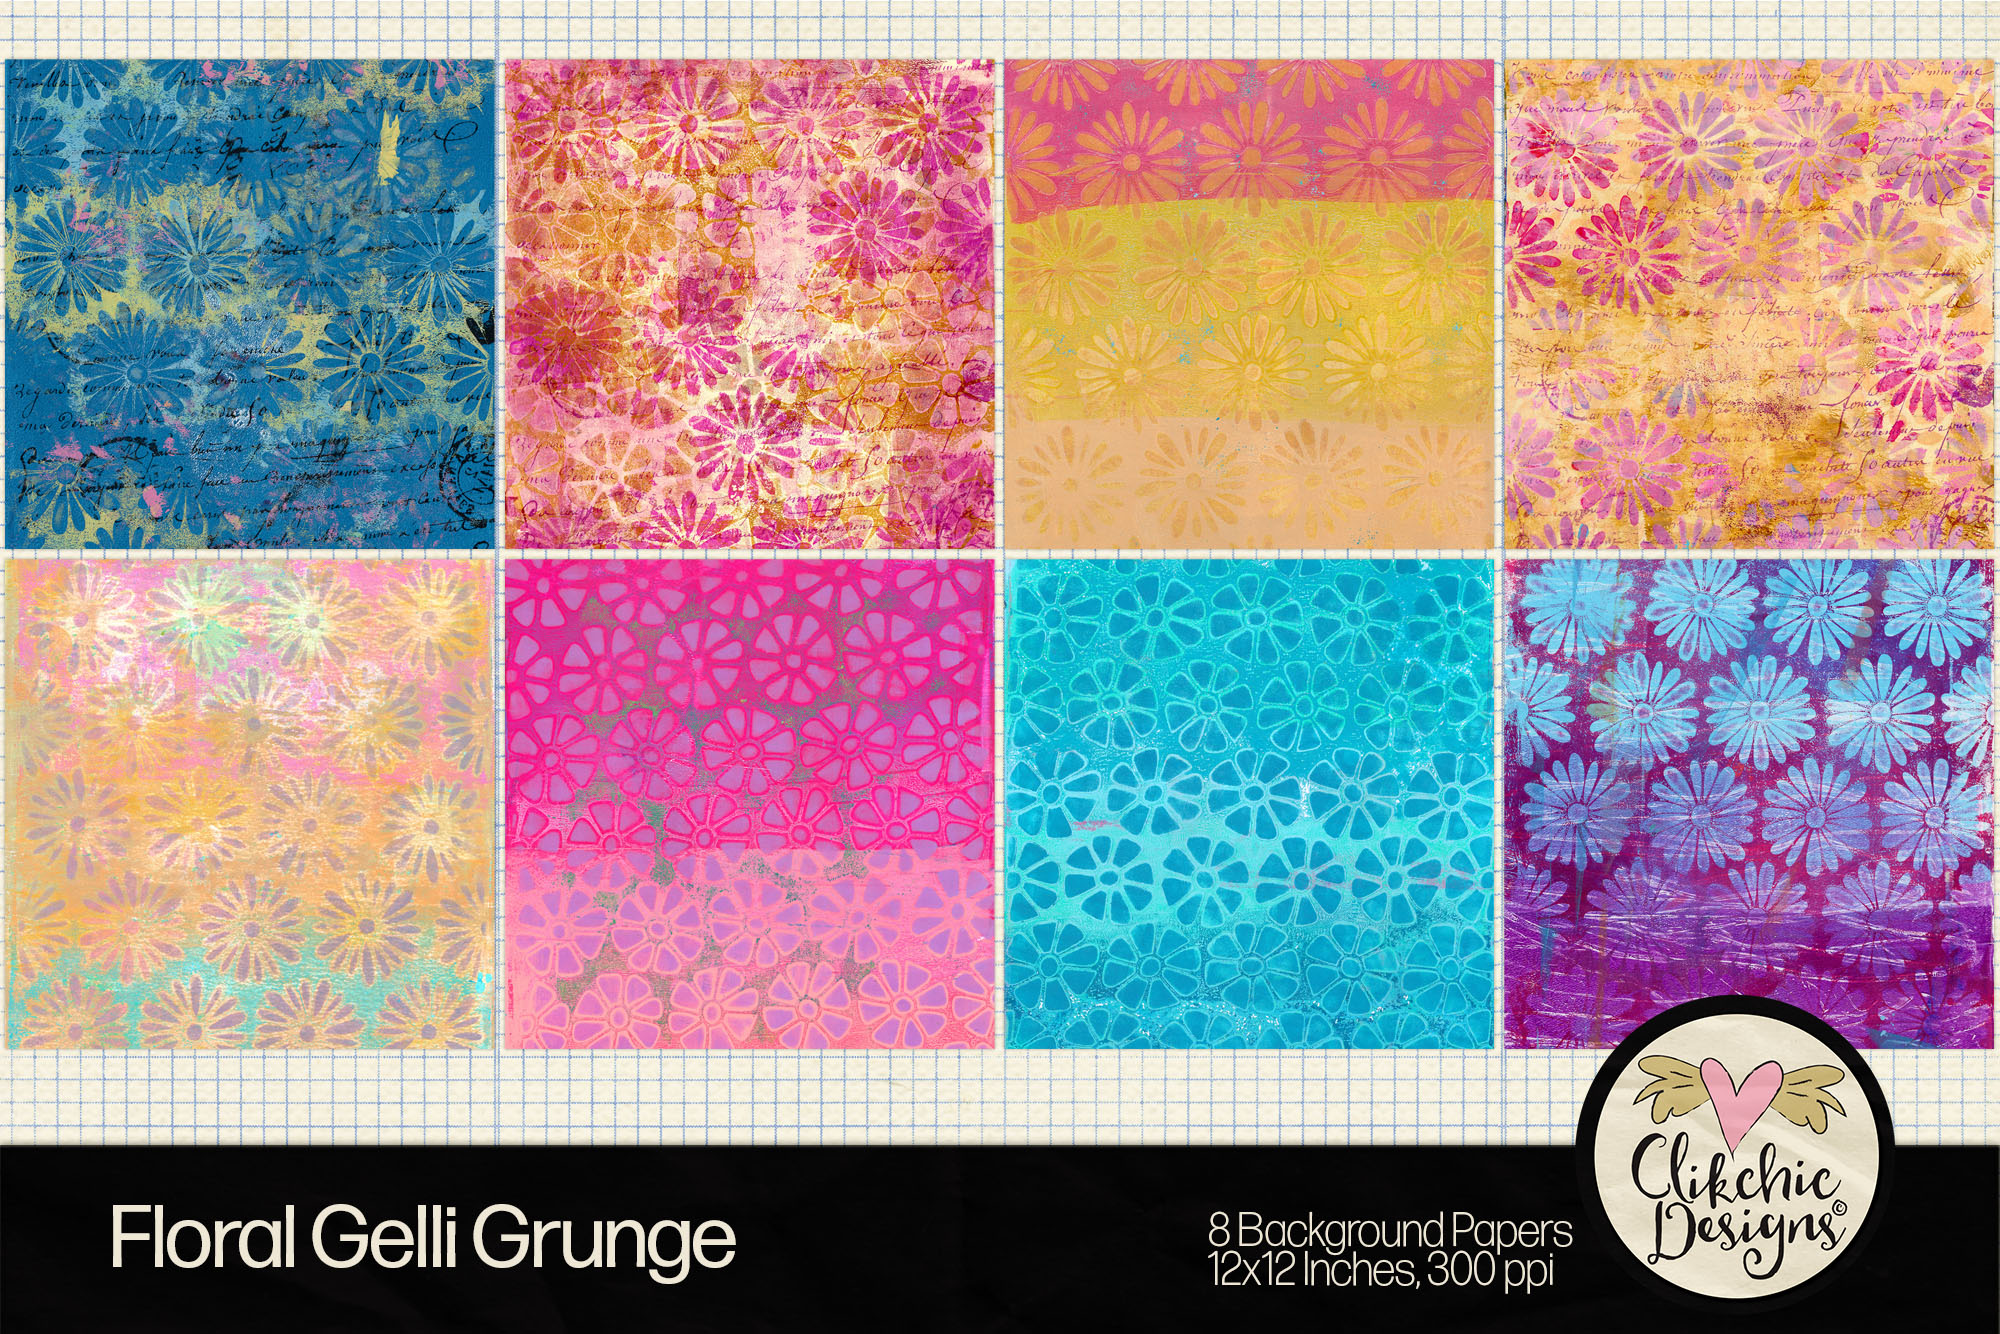
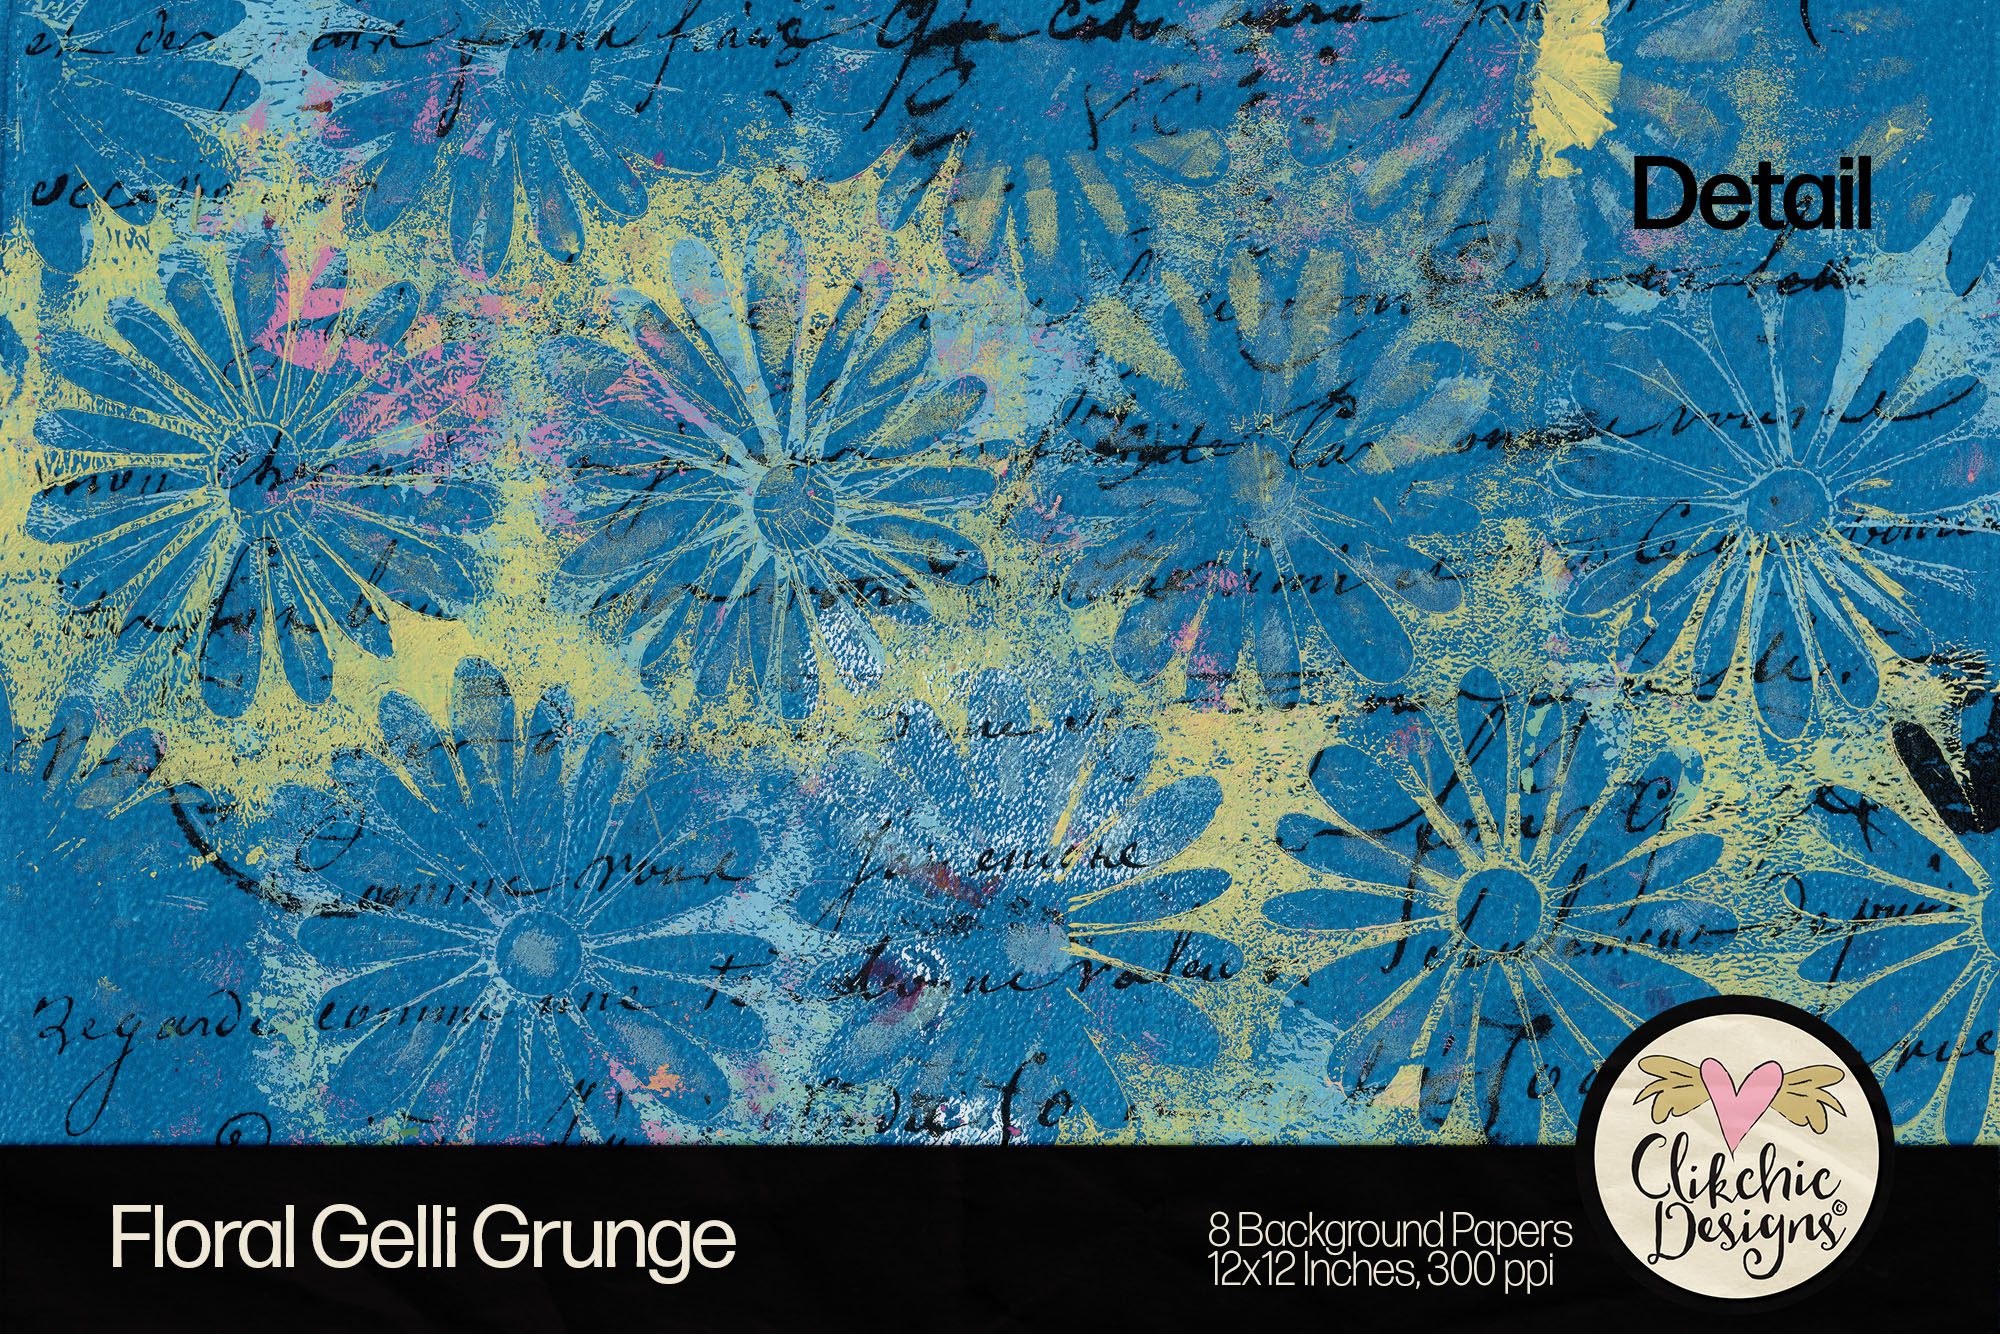
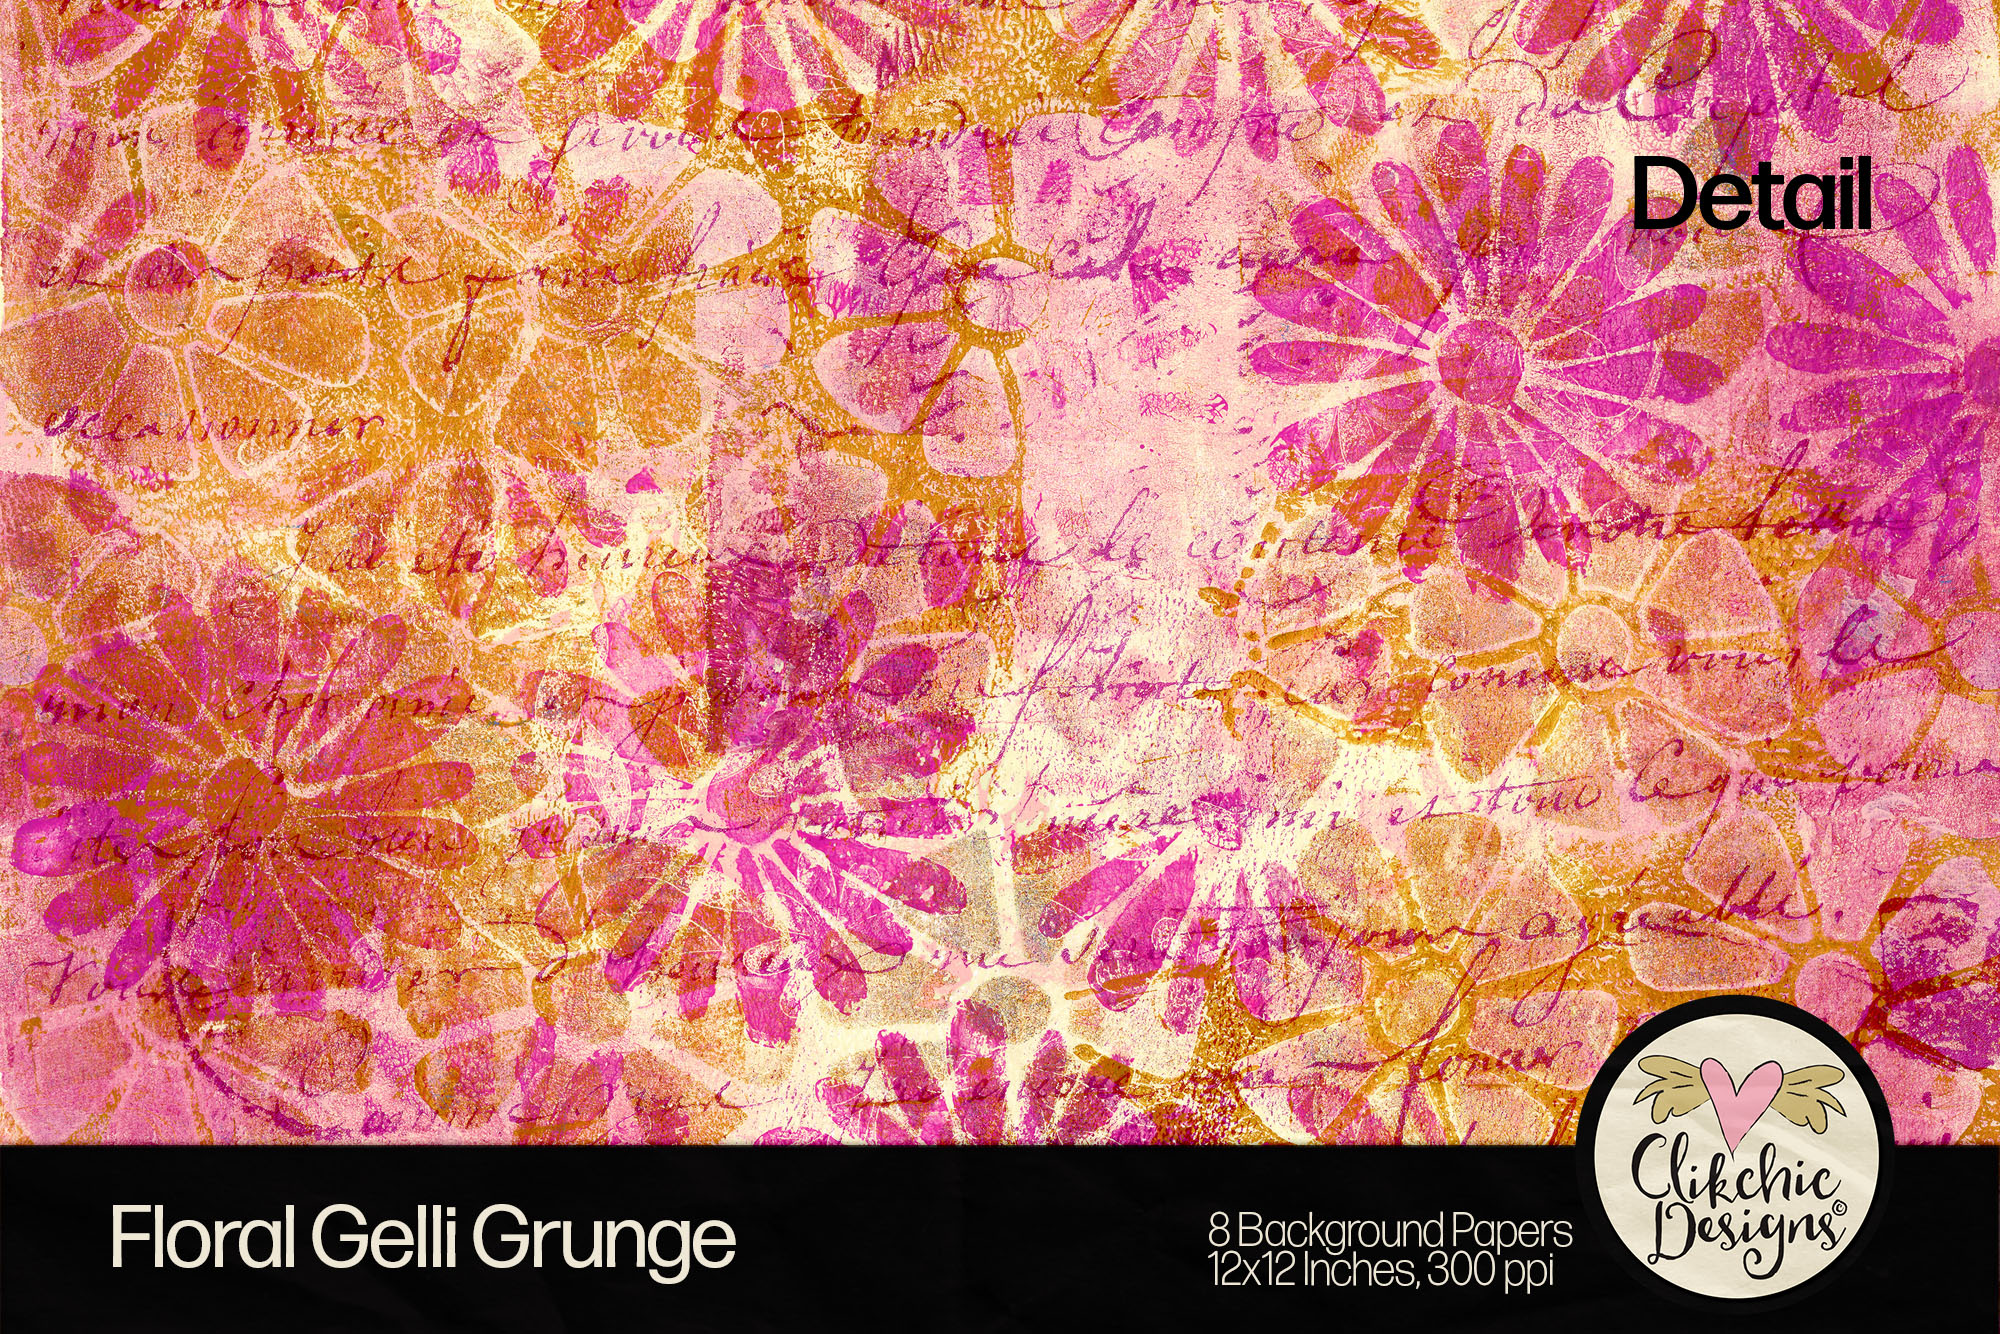
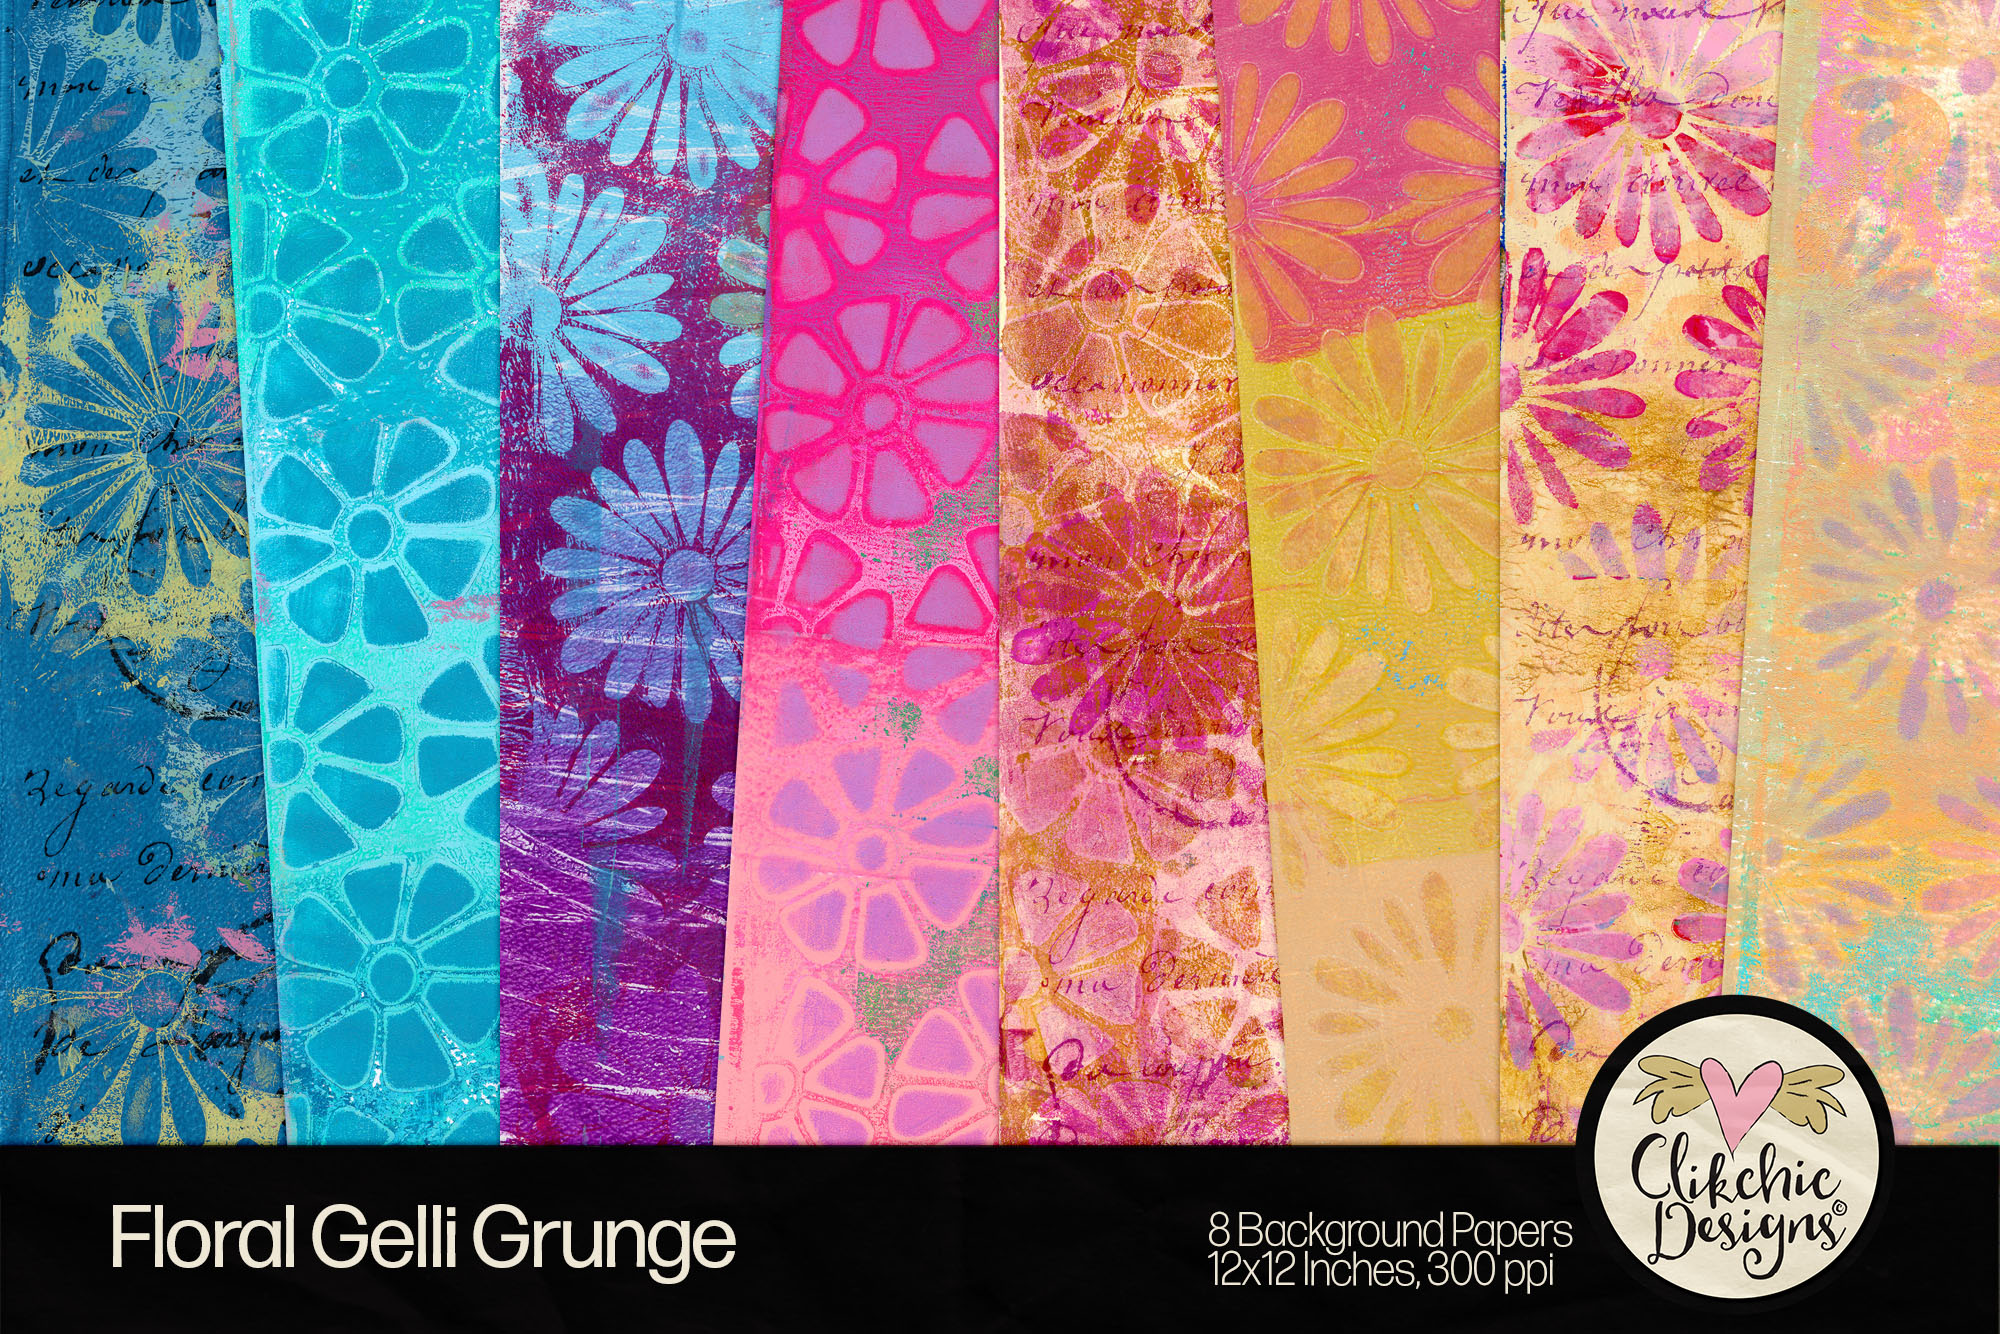
I don’t know about you but I can’t get enough of grunge in vibrant colour. Add in some beautiful monoprint floral textures and I am a goner. What about you? Do you love the beautiful textures of grunge monoprint florals as much as I do? These printable Floral Gelli Grunge Monoprint Background textures were hand printed using my gelli plate and some of my own stencil designs and there is something about the interplay of stencil creations and acrylic paint that products pure magic. Each print is then scanned and meticulously edited to remove any blemishes or unwanted marks so that you have a beautiful printable design for your crafting and graphic design pleasure!
These gorgeous Floral Gelli Grunge Monoprint backgrounds are now available in the following stores.
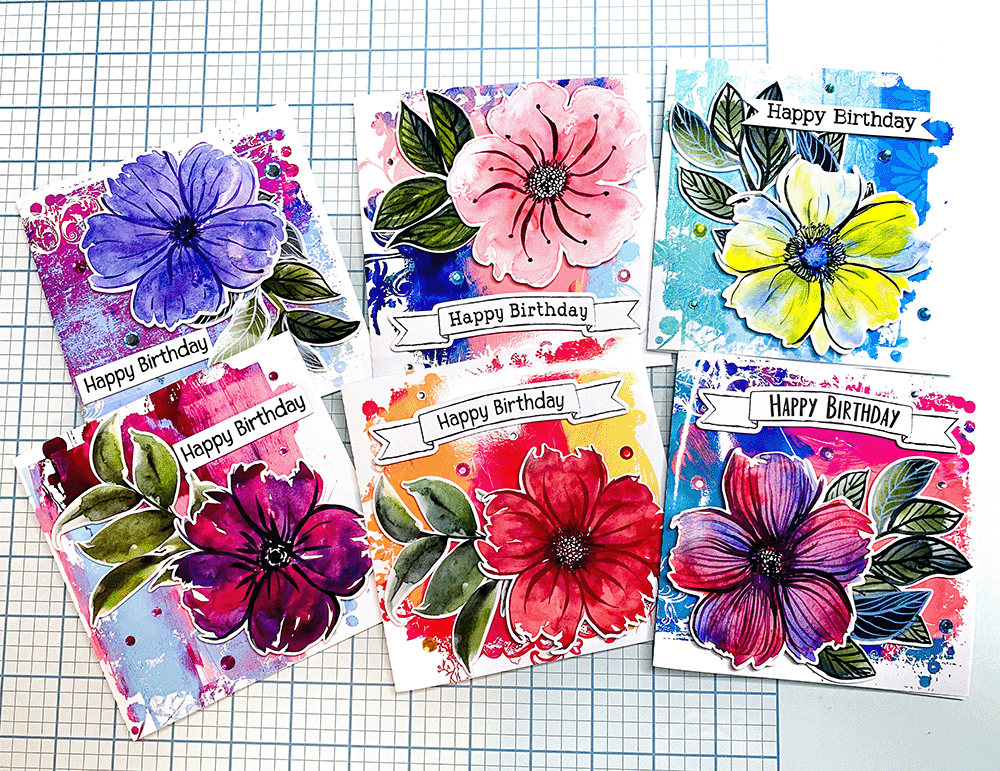
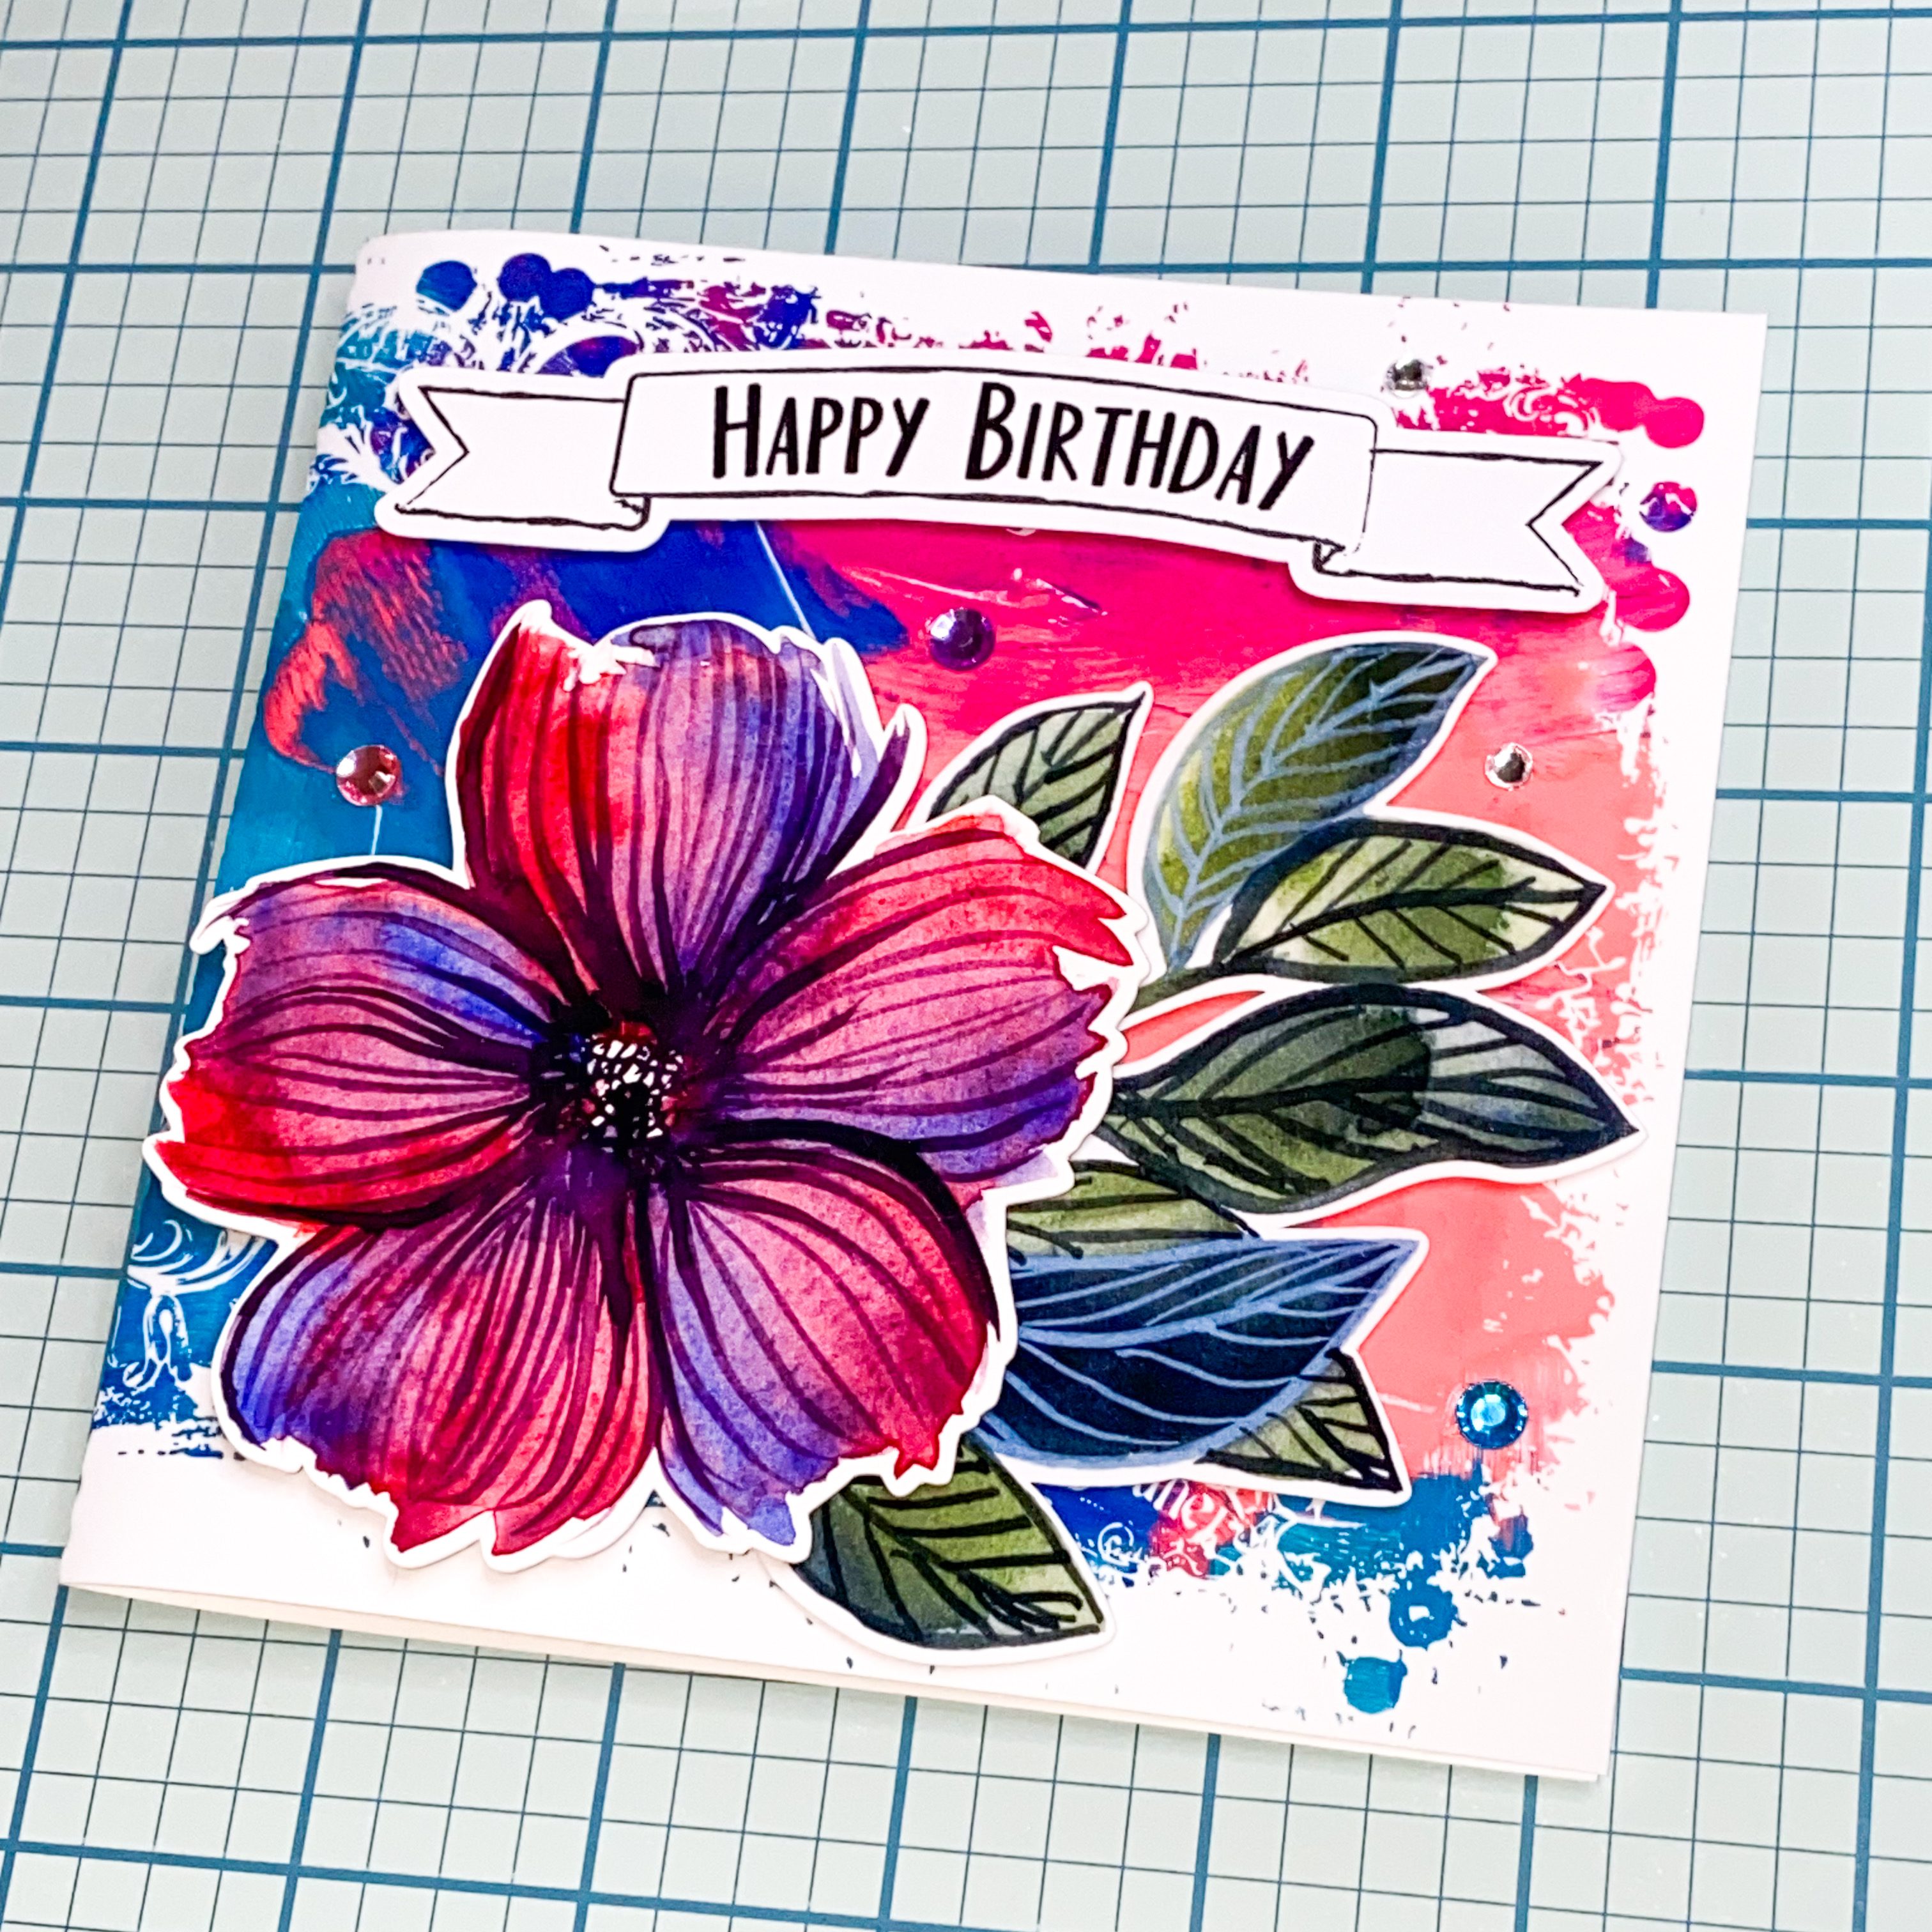
If you’ve been following along on my blog, Instagram, or Facebook, you’ve probably noticed I’ve been obsessed with creating cards using my print-and-cut watercolor designs. I’ve been pairing them with printable backgrounds, SVG clipping masks, and my newest addition—birthday banners!
A quick note: some of the sentiment banners in these photos are from my earlier, simpler designs before I created the versions now available in the Silhouette Store. But I had to share these cards anyway because they’re absolutely gorgeous. There’s something so satisfying about cutting these beautiful floral designs and adding them to my crafting stash for quick card-making sessions.
The vibrant colors really pop when printed on glossy photo paper—it’s such a simple way to elevate the finished look. Keep reading to discover which products I used for these designs, and don’t miss the FREE card base template I use to create these square cards!
For the backgrounds I have been using a technique in Silhouette Studio of using SVG files as a clipping mask. I have a quick tutorial here on how to do it. Elly Mae of Silhouette Secrets has a more in depth tutorial, and has done a live youtube video on the technique which you can watch on replay. It is a super fun technique which really creates some gorgeous grungy textured shapes on the card bases. I like to make mine just fit the edges of the card and sometimes have it continue over the fold depending on the shape of the clipping mask.
I have created a selection of SVG Clipping Masks which are available in the Silhouette Design store. Or you can use the PNG versions of the clipping masks which I have on Etsy, Design Bundles and Creative Market in other software like Adobe Photoshop. I will be continuing to add more SVG clipping masks to the Silhouette Design Store so make sure you keep checking for new ones! If you do a search for clipping masks they should all come up quick and easy to find.
I have a print and cut file ready for my card shape ready to go then add the filled clipping mask and print and cut the card base using the clipping technique in the tutorial. You may find it easier to do the filled clipping mask first, size to approximately the right size and then add the card base over the top as the clipping mask files can be slow files to use in Silhouette Studio due to all that grungy goodness. Then you won’t need to do as much resizing to tweak.
Unfortunately some photo papers have logo’s on the back and I am currently searching for a good quality gloss photo paper brand that doesn’t. If you know of some nice thick gloss photo paper brands available in Australia that don’t have a logo, please do let me know! The last set I bought has logos so I have been creating some simple card inserts so you can’t see them. When I find a brand I like I will keep buying it and use up the logo paper on the watercolor print and cut designs I adhere to the front with foam squares to give the 3D effect.
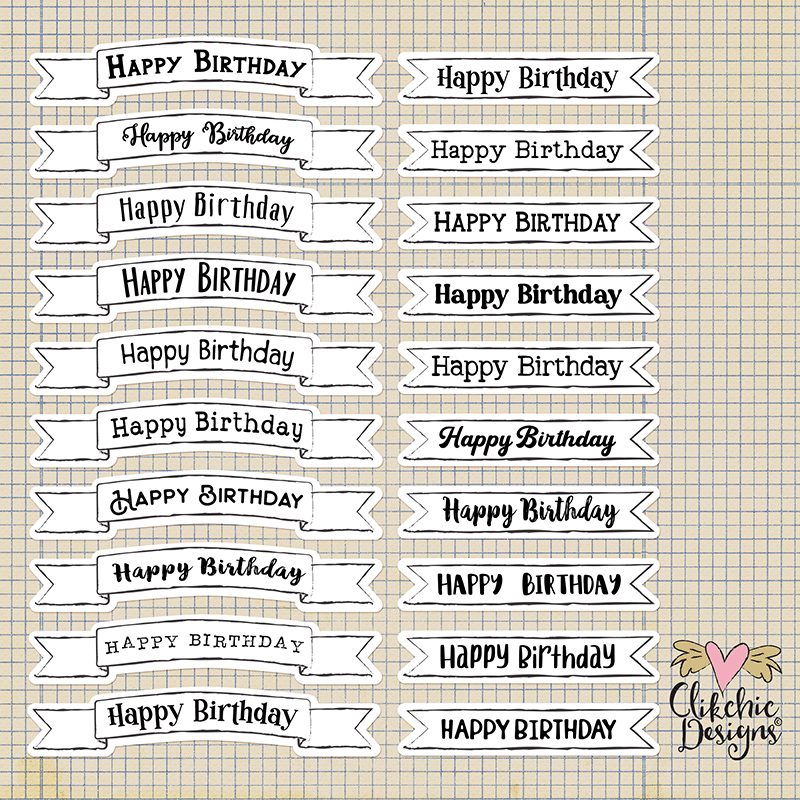
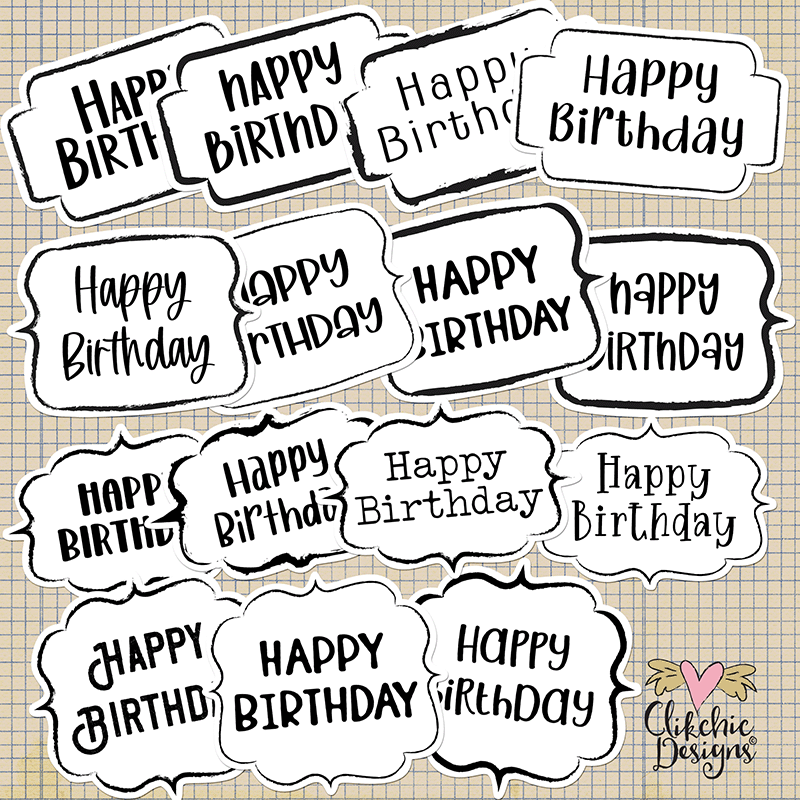
The Doodled Happy Birthday Banner Sentiment Print and Cuts are featured on several of these cards. This set comes as fully configured print and cut sheet so that all you have to do is print and cut the design on your cutting machine which gives you a very handy selection of Happy Birthday Sentiments to use for your Cards and Scrapbook Layouts. I have been LOVING having these on hand to make quick cards together with a selection of embellishments ready for creating gorgeous cards for friends and family. If you would like the banners without the sentiments so you can create bespoke titles or sentiments for cardmaking, scrapbooking or other paper crafting you might like the Blank Doodled Banner Sentiment Print and Cut designs.
If you’d like to try these beautiful card designs keep reading to find out which designs I have used on each card and don’t miss the FREEBIE at the end of the article!
I love the bright and cheerful colours in this card and I am loving using these single flowers as a focus on cards so the cards in this article will have a single flower with a seperate leaves sprig. I will be doing another article soon with a slightly different look so stay tuned.
I then copied over the card base freebie included at the end of this article and print and cut the combined images as a print and cut design cut and scored by line as per the card base line colours.
Once these items were cut I attached them to the card base with adhesive foam squares and some pretty rhinestone adhesive bling as well!
This card isn’t in the first image but I thought it was worth including since it is the same style.
I used the exact same process as listed above to create this card and the following cards just with different supplies as follows.
I created a quick bespoke Happy Birthday Banner for this one to keep it nice and simple. I did a few extras to use for other cards with varying fonts as well.
Once again I assembled by adhering the flower leaves and sentiment with adhesive foam squares and added some coordinating rhinestone bling.
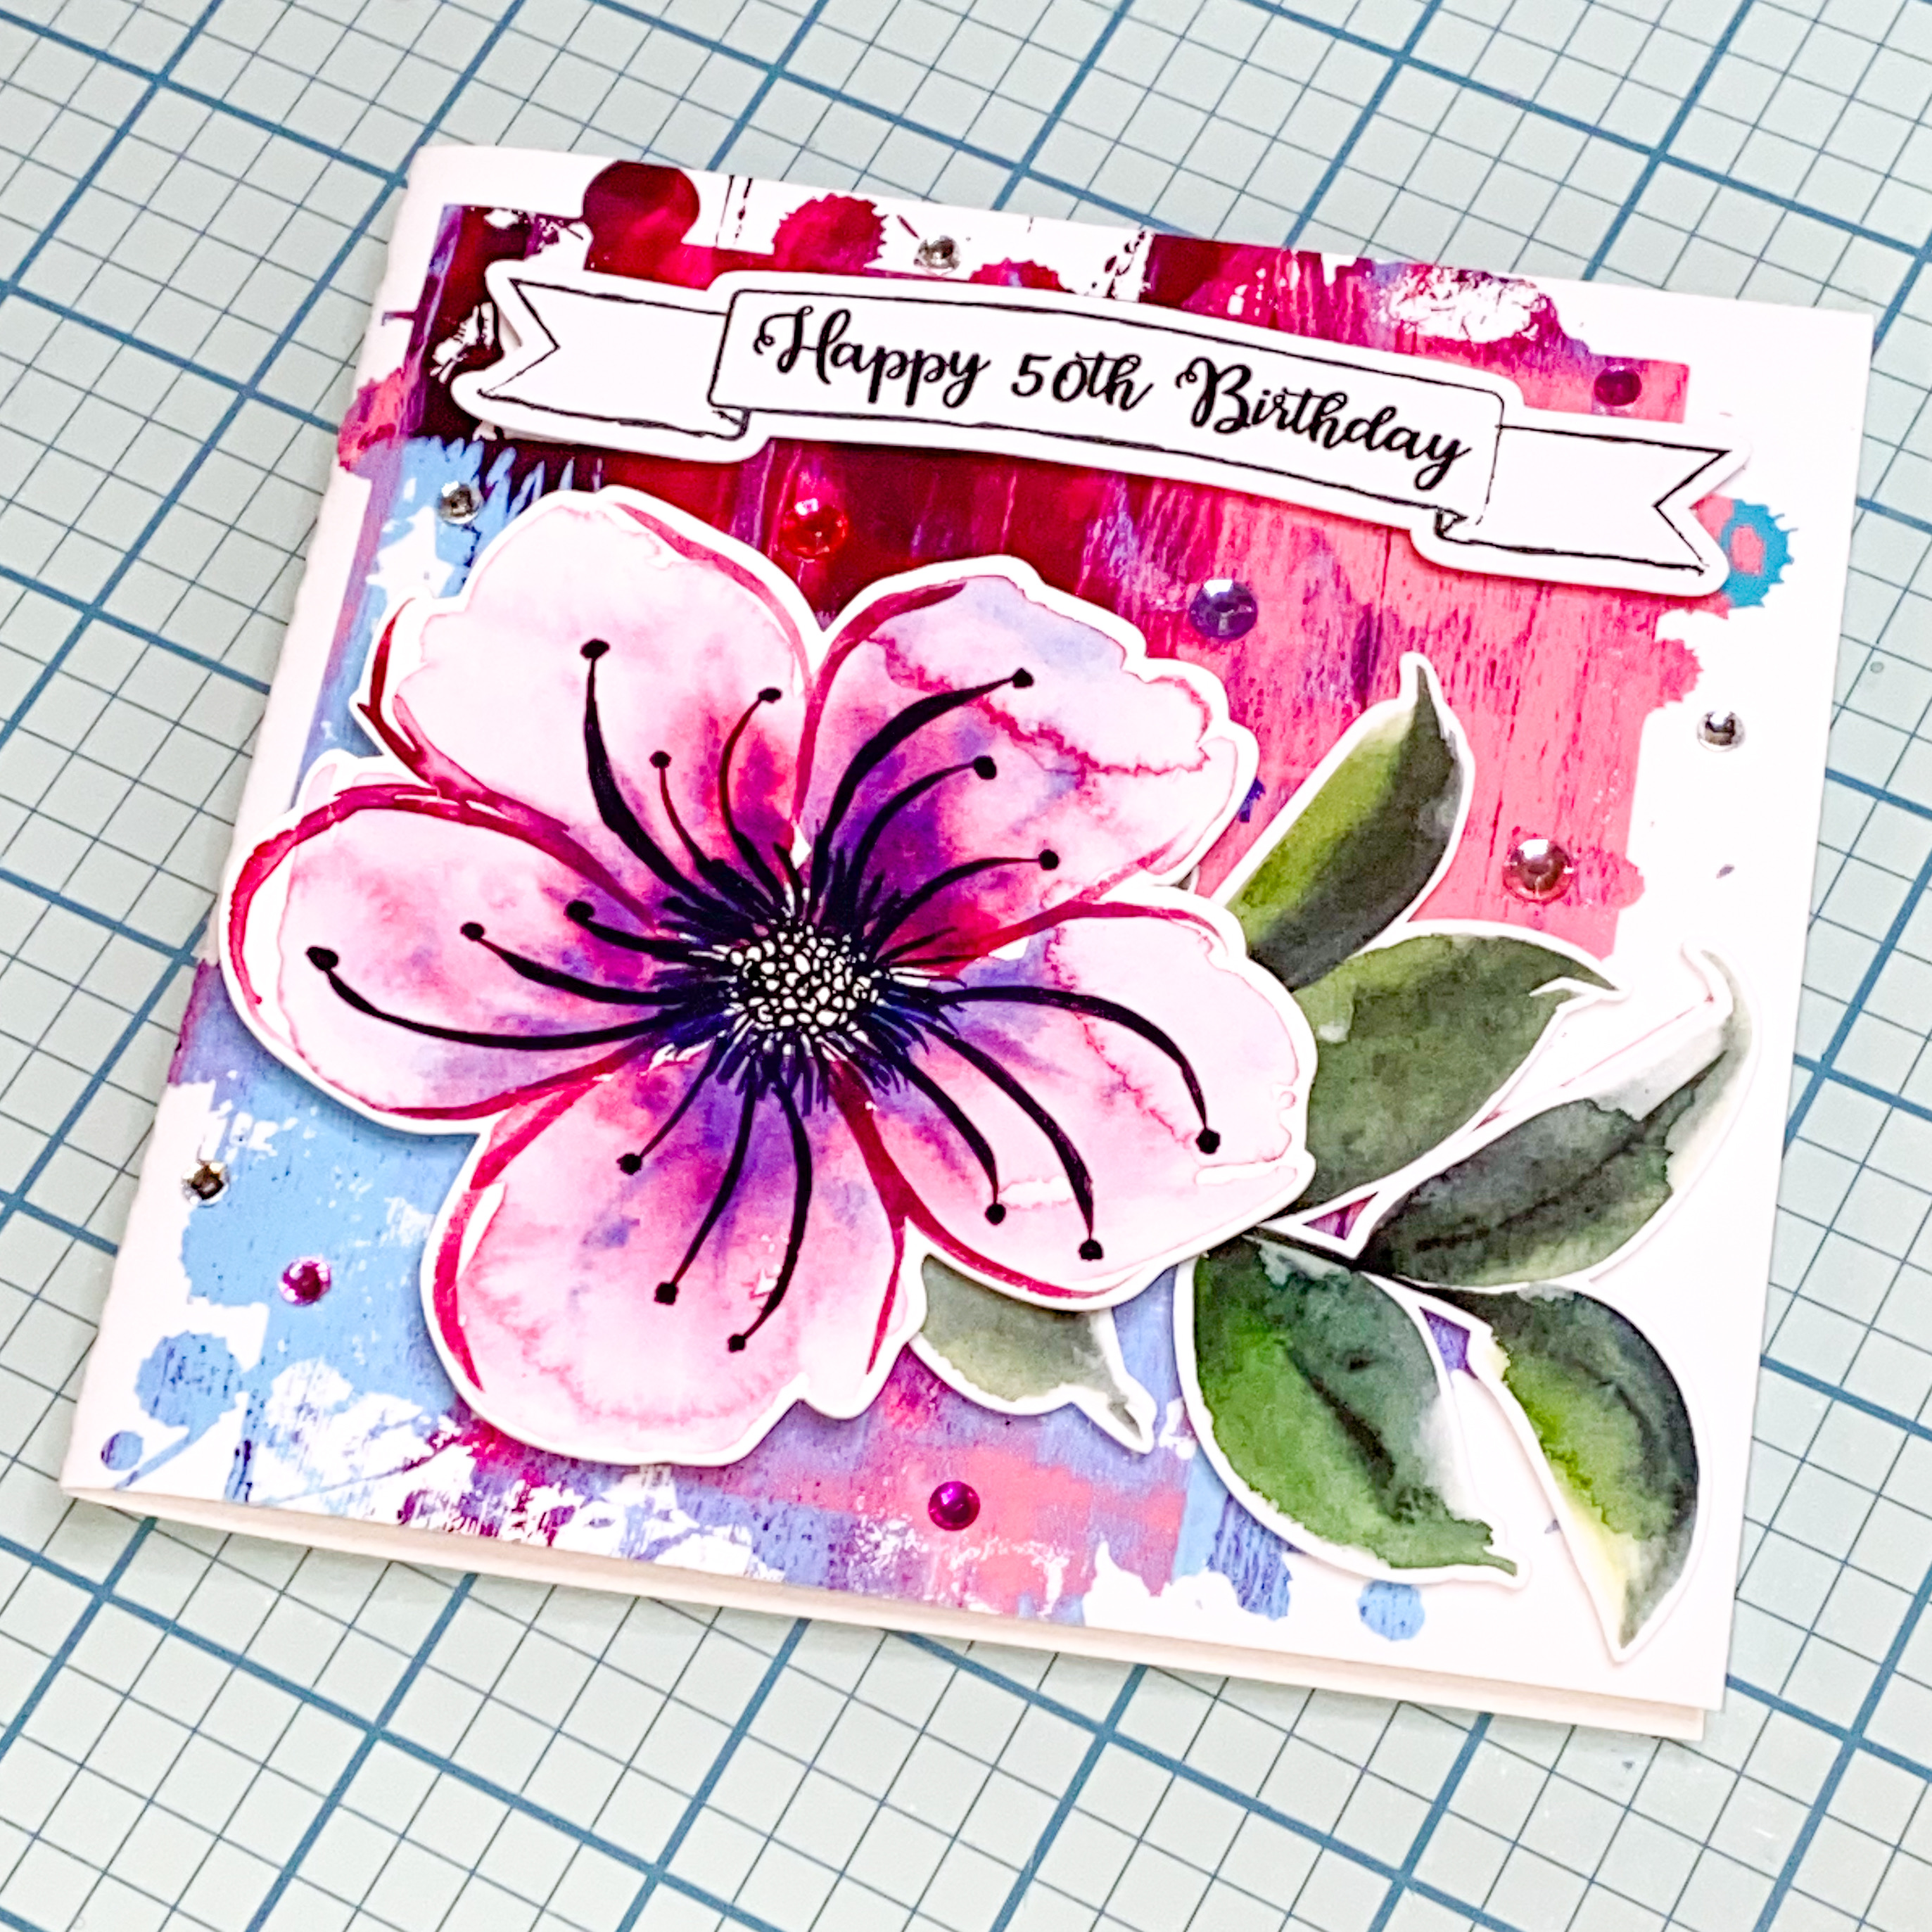
With this card I used one of the Blank Doodled Banners Print and Cut designs and added the Happy 50th Birthday sentiment to it before cutting as this card was for a family member who was turning 50! I love that I can use these banners to create bespoke sentiments on the gorgeous doodled banner.
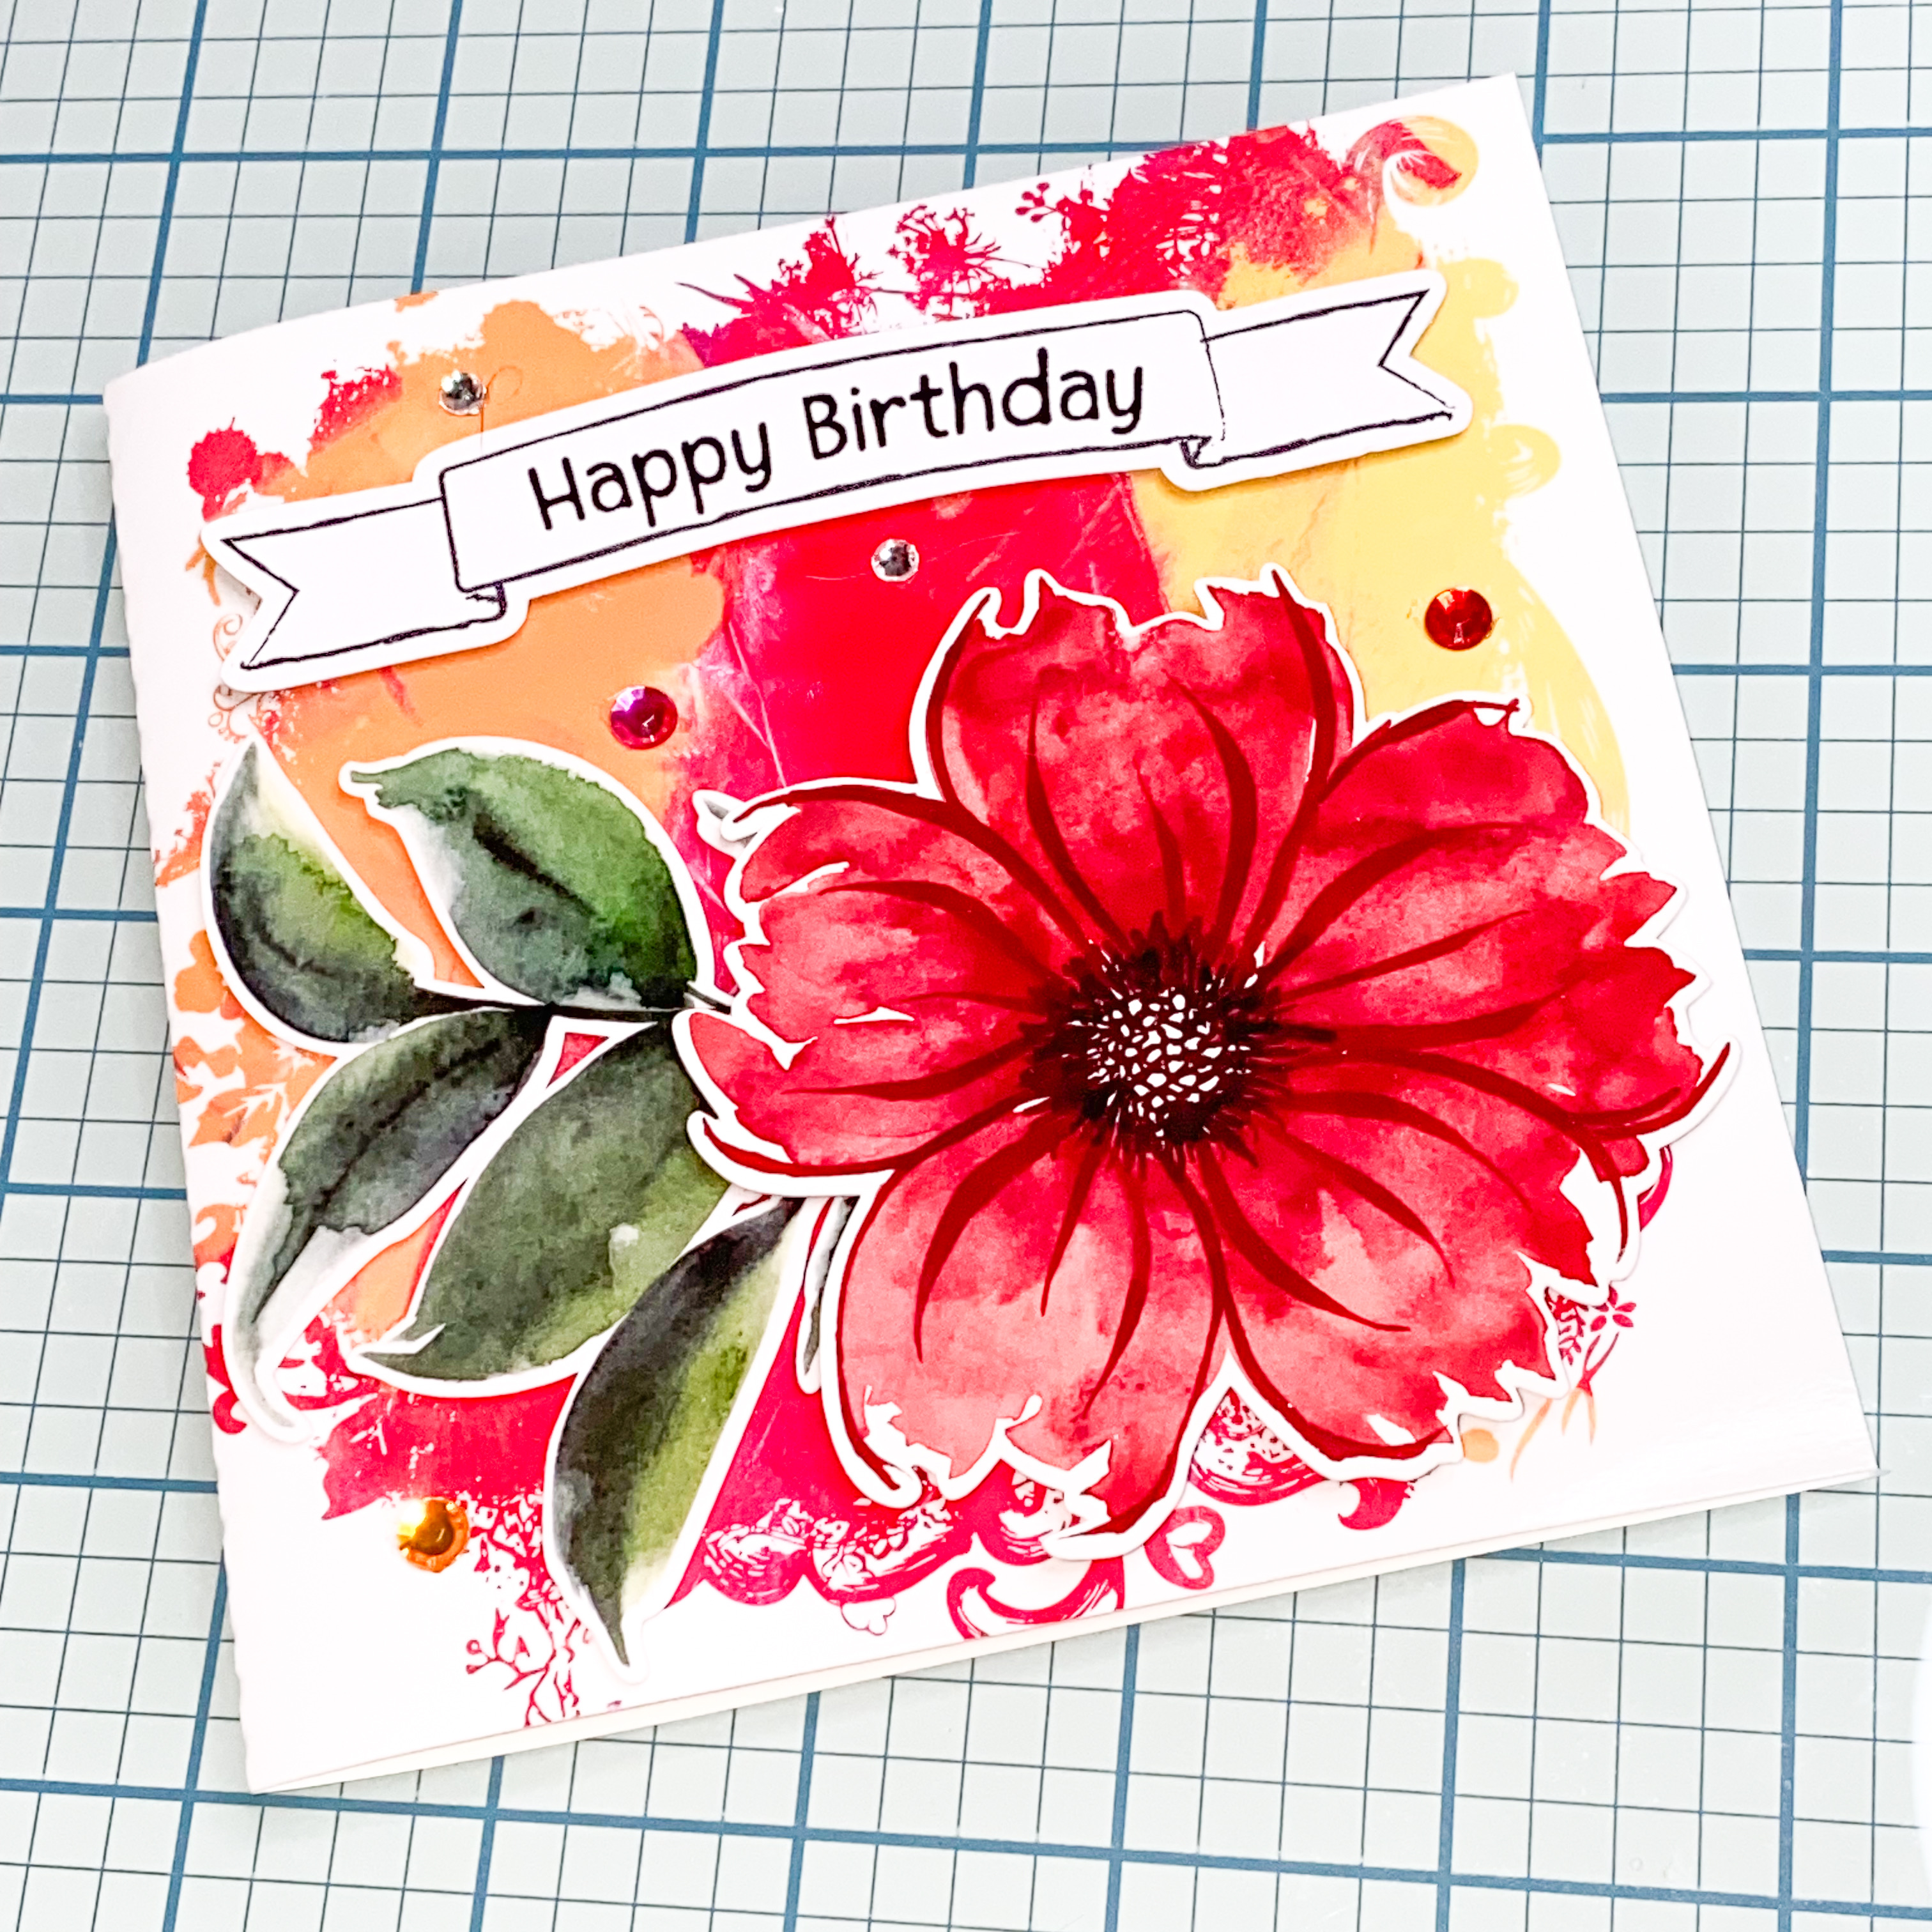
And we are now getting down to my favourite cards. There is something about the colours in this one and the next one that absolutely love. They are just so striking. I intend to experiment more with vibrant colour combinations to provide striking results!
Now we come to my favourite. I just LOVE the vibrant colours in this one. They are bound to please anyone who receives this card because they are so darn pretty.
Each element was once again attached to the card base with adhesive foam squares to give the 3D effect and then I added some gorgeous coordinating rhinestone bling!
Now don’t miss the card base freebie. I have set it to fit on a 8.5×11″ print and cut page but if you are wish to work bigger it resizes easily to a 5×5″ card (or larger!) by making the dimensions 5×10″. I have set the score line to purple so it is easy to select it to cut and score by line. The cut line is in red. I have left it as transparent fill so that it doesn’t matter if your clipping mask is in front of or behind the cut lines. This SVG will work in any software although as it was created in Silhouette Studio you may need to adjust color fills and cut/stroke paths to suit your own software needs. Click here to download the FREEBIE! You will need to unzip the file before use.
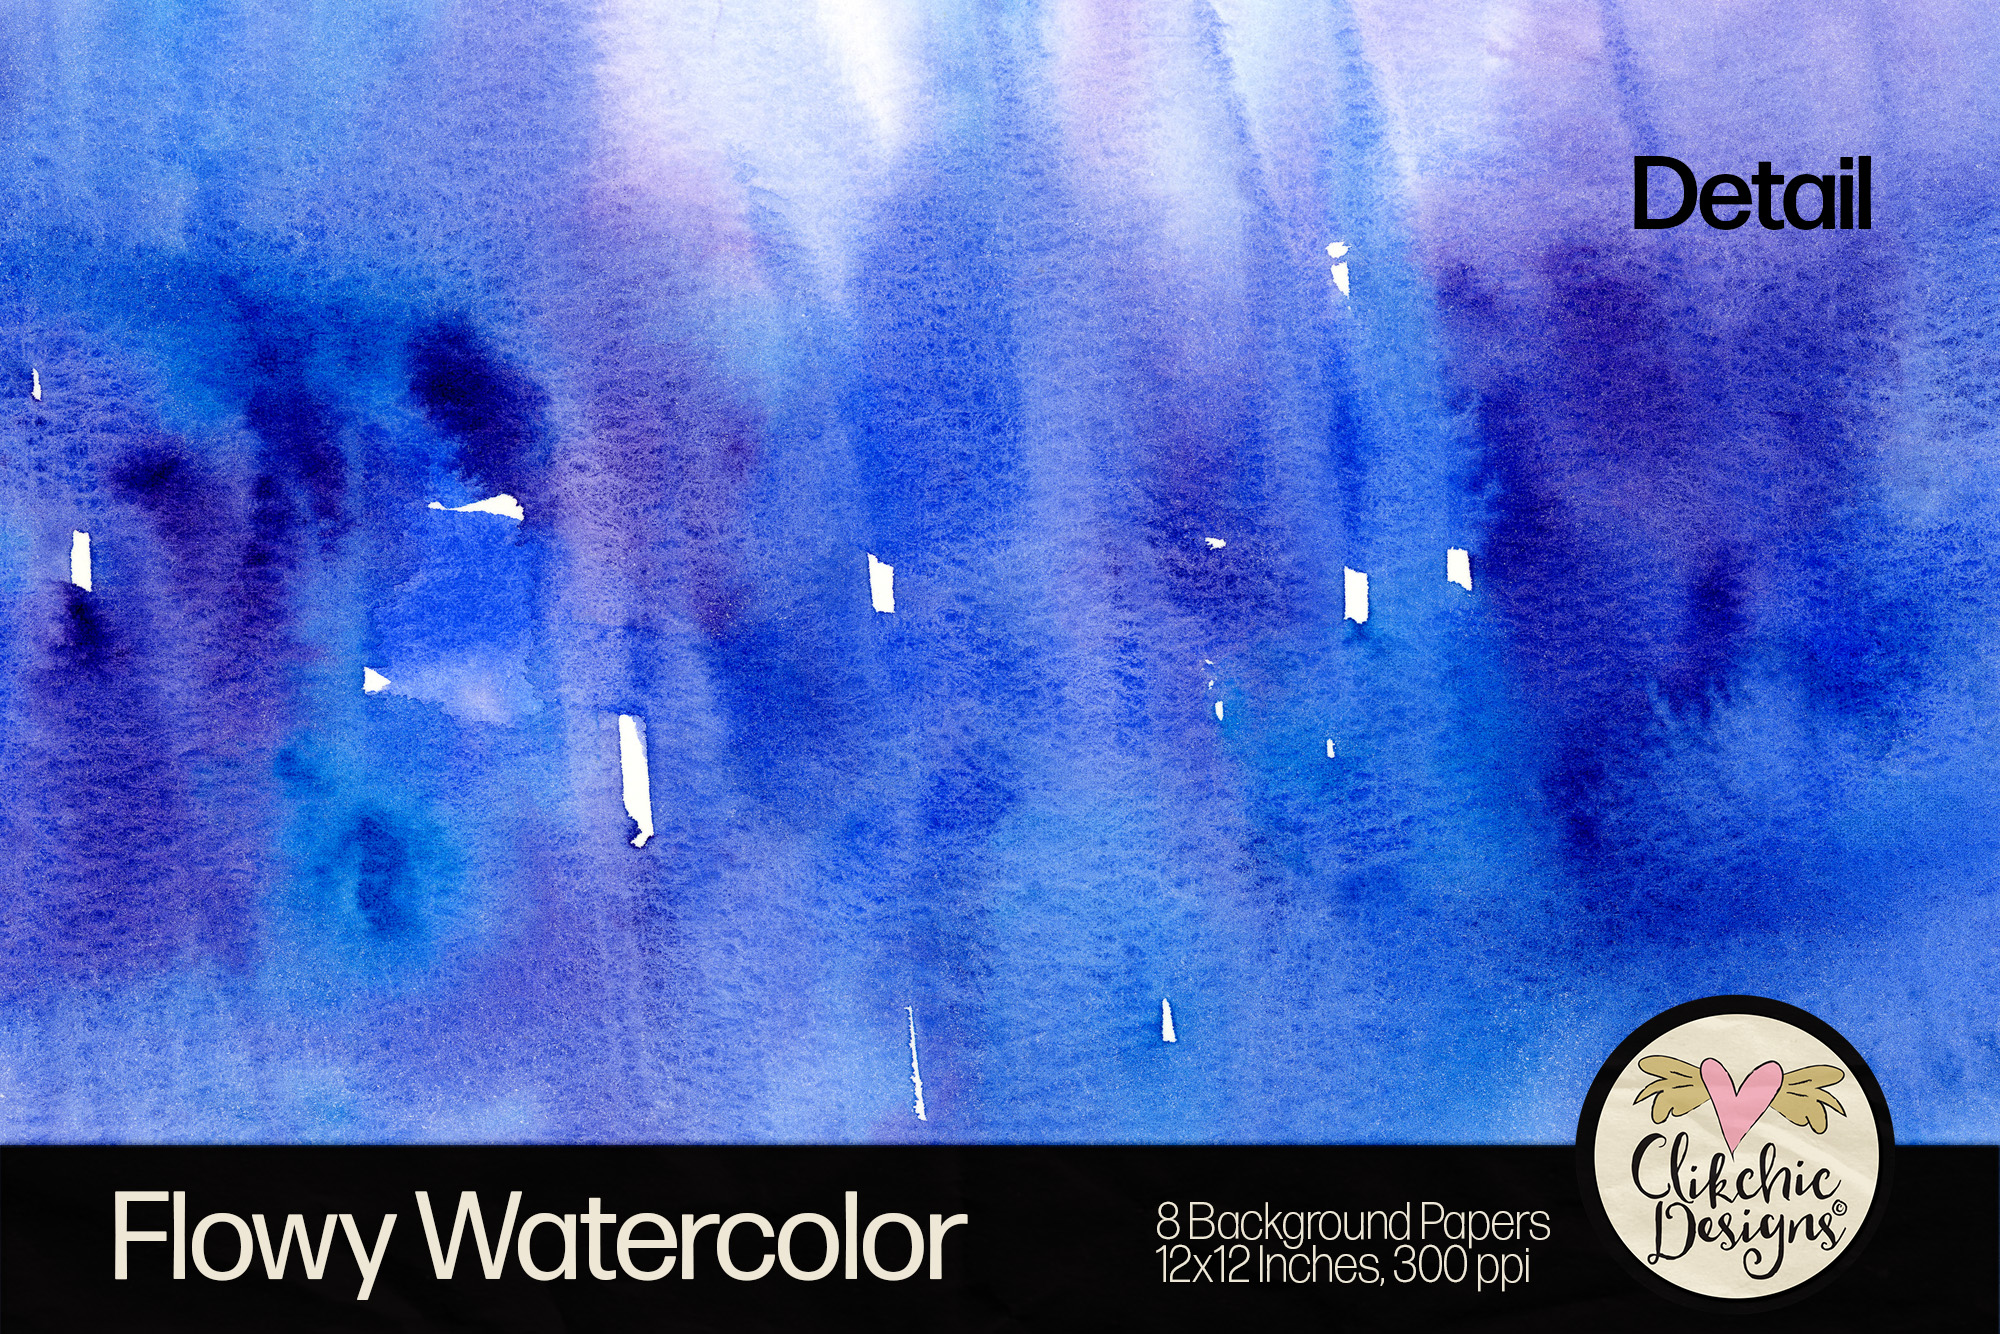
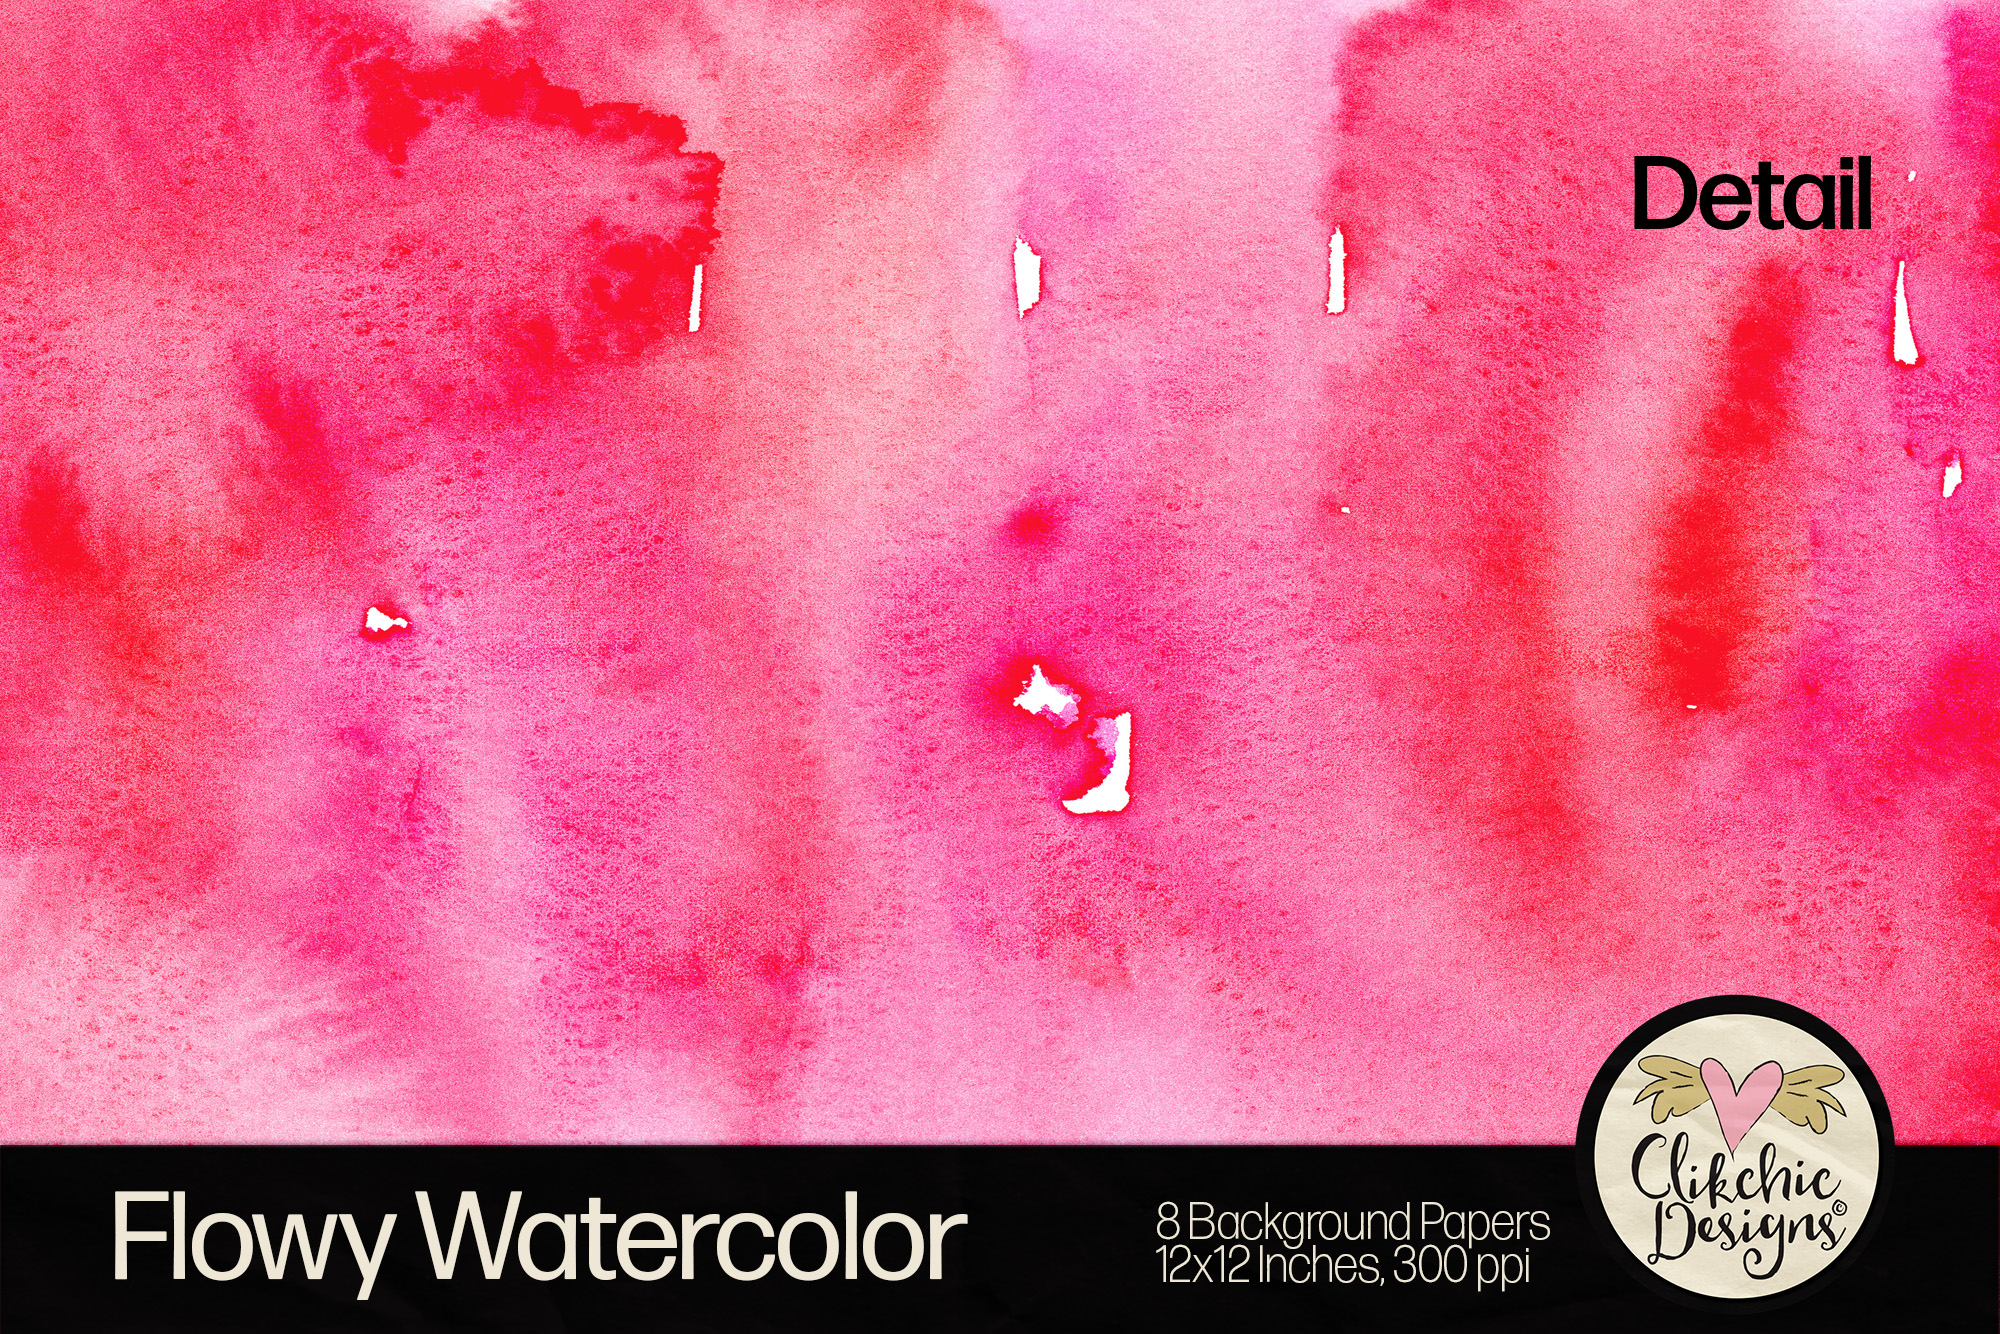
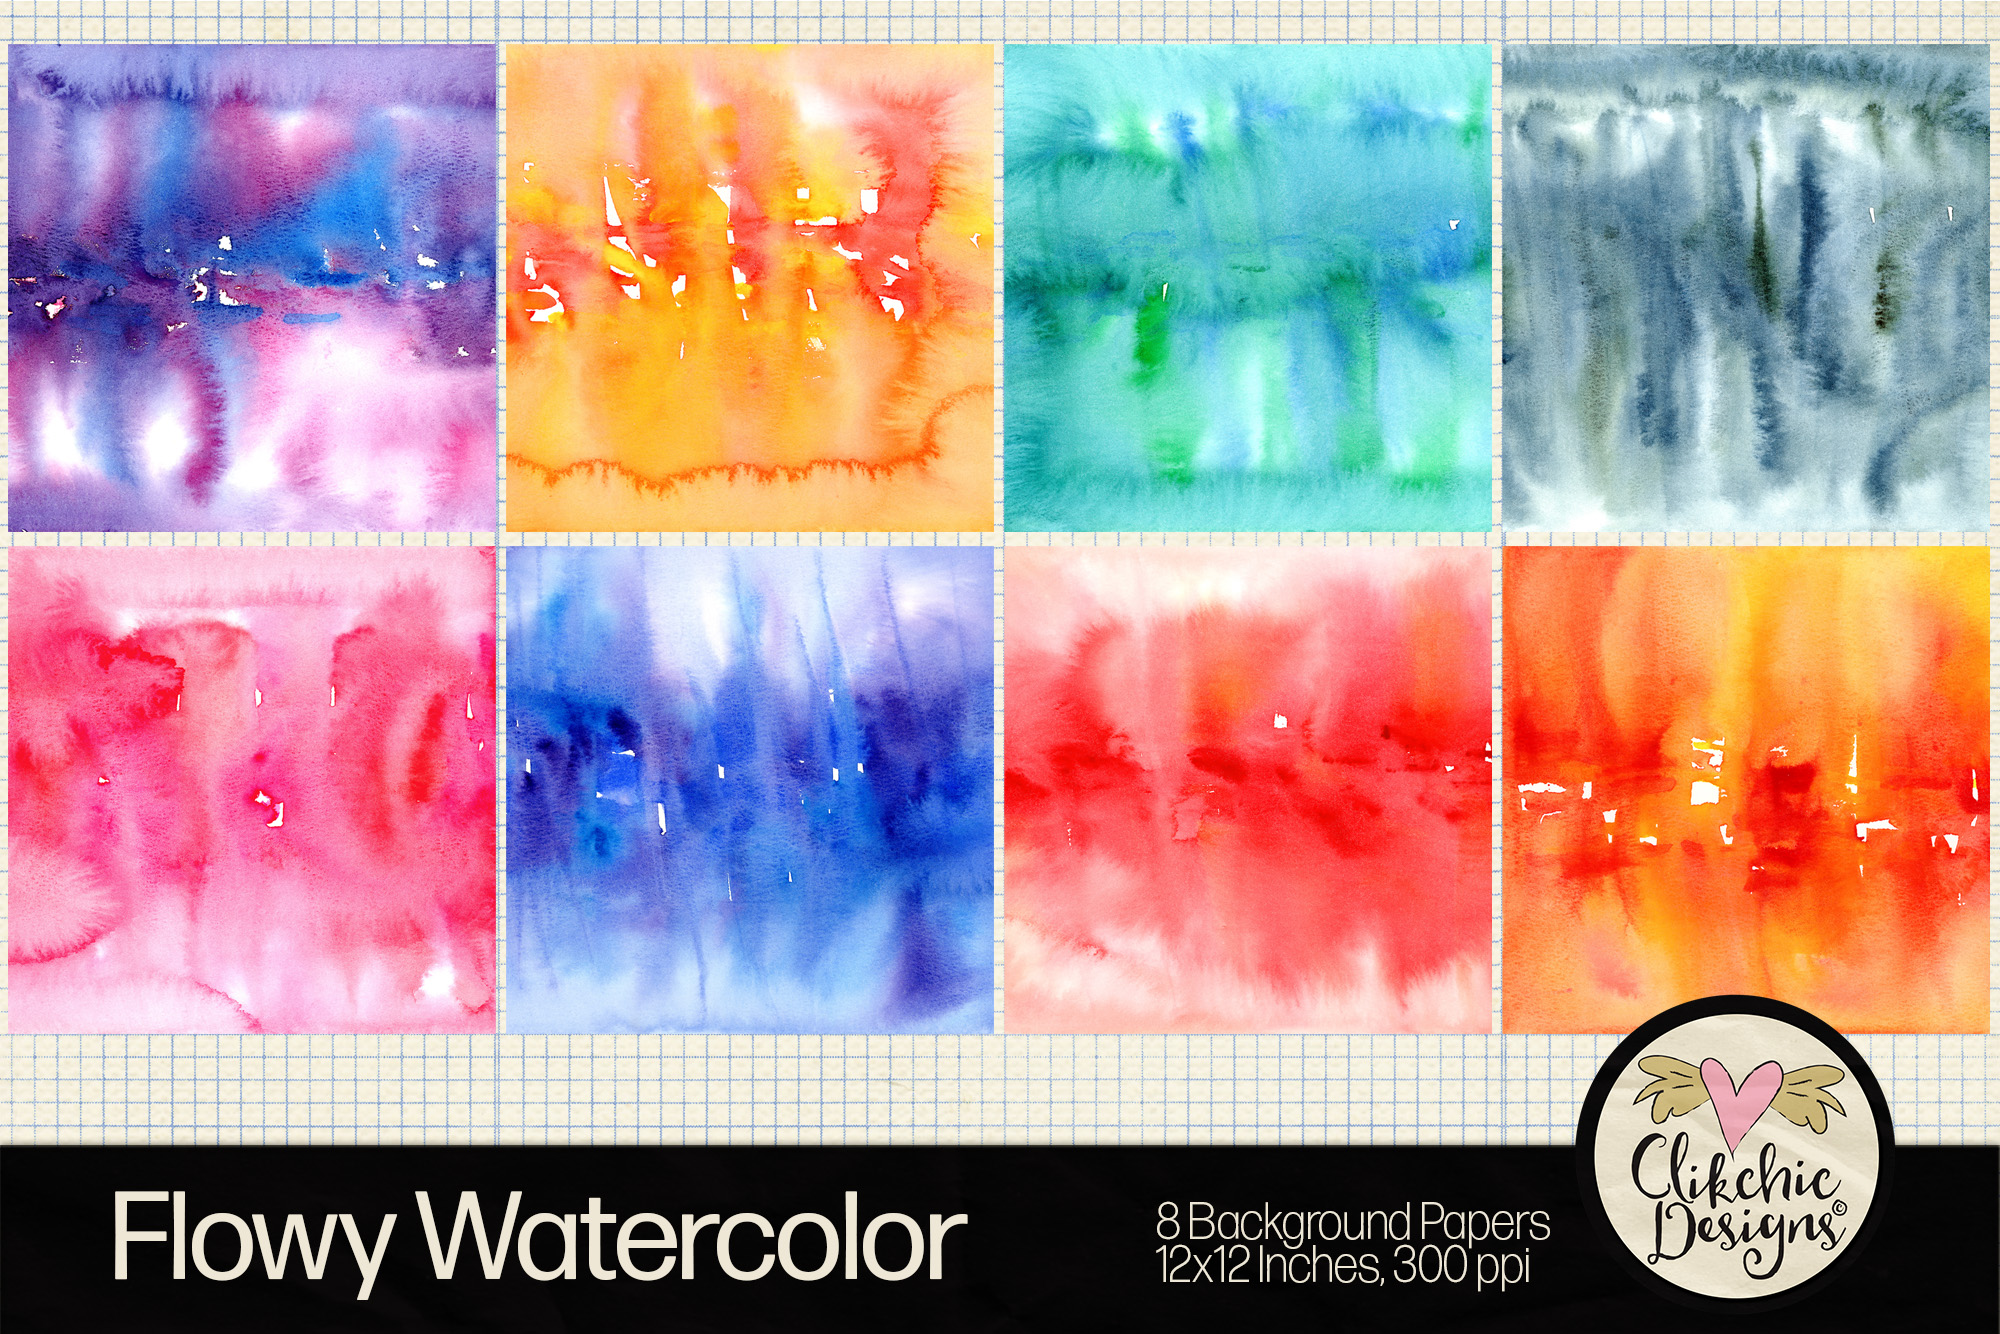
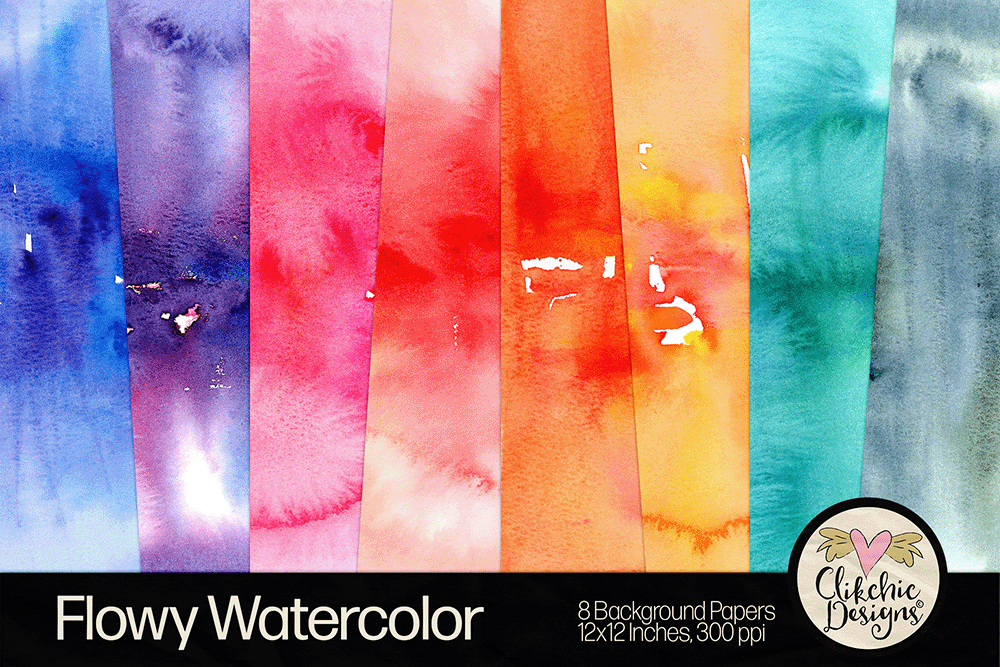
Introducing the Flowy Watercolor Backgrounds Paper Pack, a vibrant collection of hand-painted watercolor bloom textures. Perfect for both printing and digital use, this versatile pack is ideal for a wide range of creative projects. Whether you’re crafting beautiful cards, creating unique art journals, or working on graphic design, these high-quality printable papers are designed to enhance your creative designs and elevate your digital scrapbook layouts.
Enhance your artistic potential with our Flowy Watercolor Digital Paper Pack, optimized for printing, graphic design, and digital scrapbooking. Each background is meticulously crafted to showcase the vibrant beauty of watercolor blooms, adding a touch of elegance and charm to your creations. With these versatile designs at your fingertips, you can embark on endless creative endeavors and bring your imaginative visions to life.
This pack includes 8 stunning Flowy Watercolor Digital Paper Background Textures, perfect for adding a touch of sophistication to any project. Check out these gorgeous backgrounds available in the stores listed below.
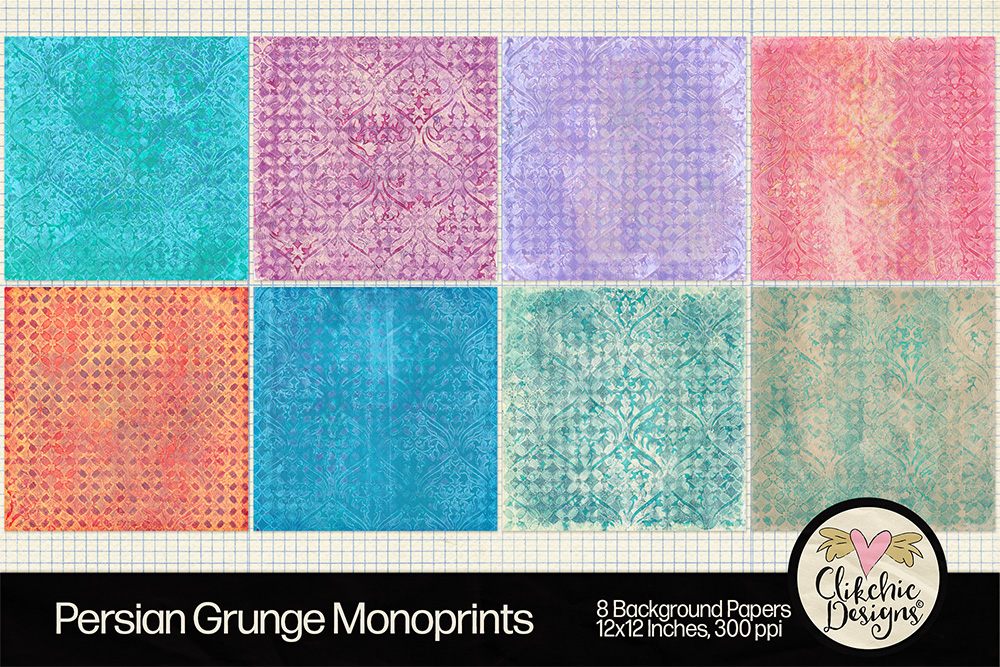
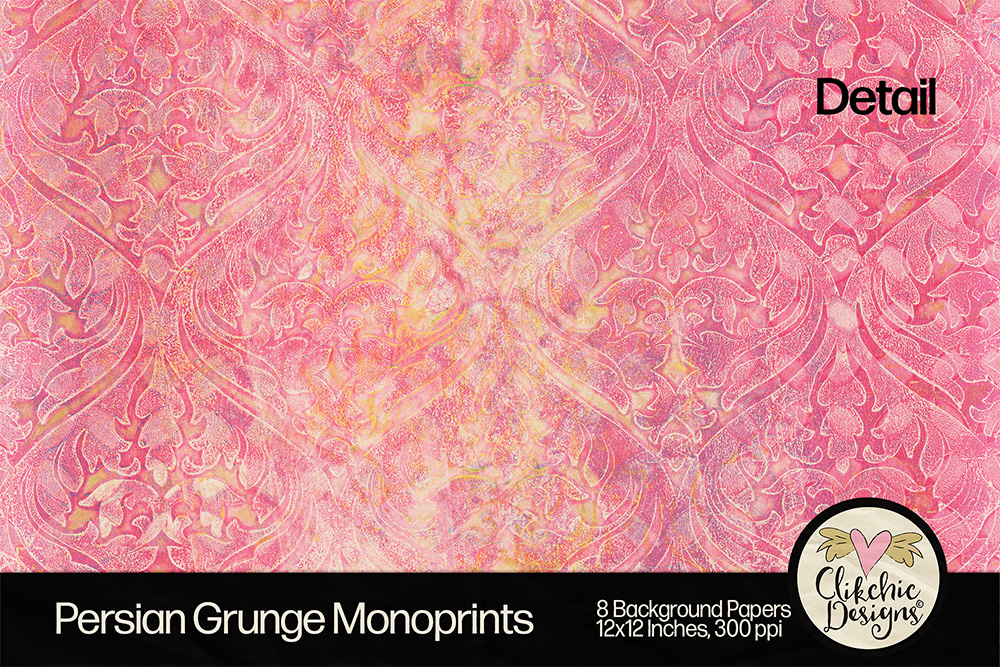
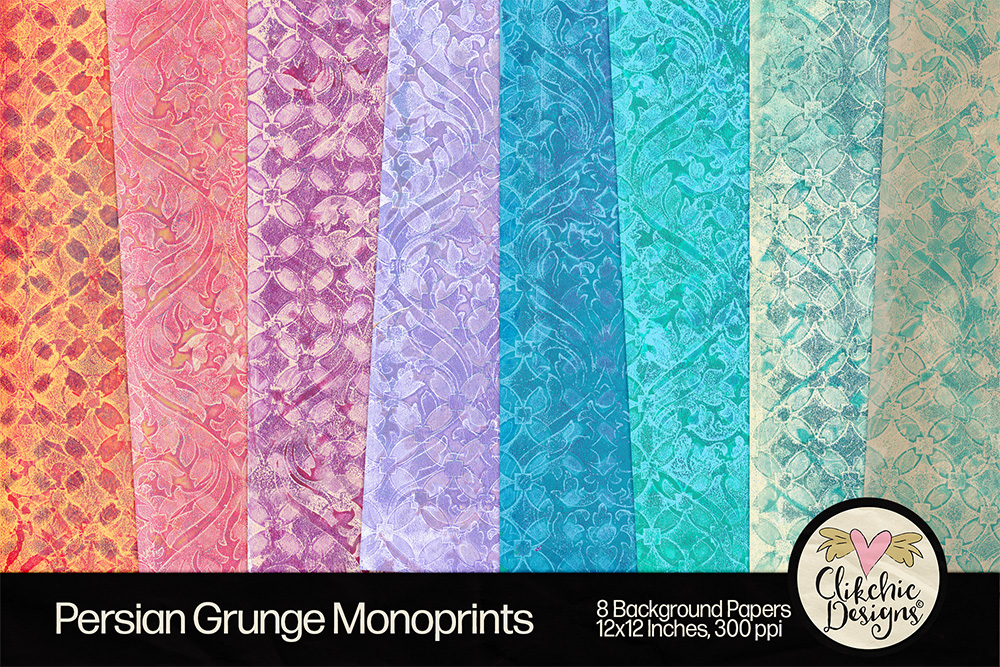
Ignite your imagination with our Persian Grunge Monoprint Digital Background Paper Pack and scroll on to see the same featured geometric pattern Shabby Grunge Misprint Backgrounds. Persian Monoprint Backgrounds are a unique collection features eight stunning backgrounds, each meticulously designed with grungy prints and exquisite monoprint textures. Perfect for scrapbooking, mixed media collage, card-making, and invitations, these printable backgrounds offer endless possibilities for your creative projects.
Each background measures 12″ x 12″ and is rendered in high-quality 300 dpi jpg format, ensuring crisp and vibrant prints every time. The Persian Grunge Monoprint Digital Paper Pack combines the charm of grunge with the elegance of Persian-inspired designs, making it a must-have for any crafting enthusiast.
Whether you’re creating a vintage-grunge inspired scrapbook, a shabby chic card, or a grunge-themed collage, these digital papers will add a touch of sophistication and uniqueness to your work. Experience the charm of grunge, digitally reimagined, and elevate your crafting projects to new heights with our Persian Grunge Monoprint Digital Paper Pack. These gorgeous backgrounds are available in the stores listed below! And don’t forget to keep scrolling to see the Shabby Grunge Misprint Backgrounds.
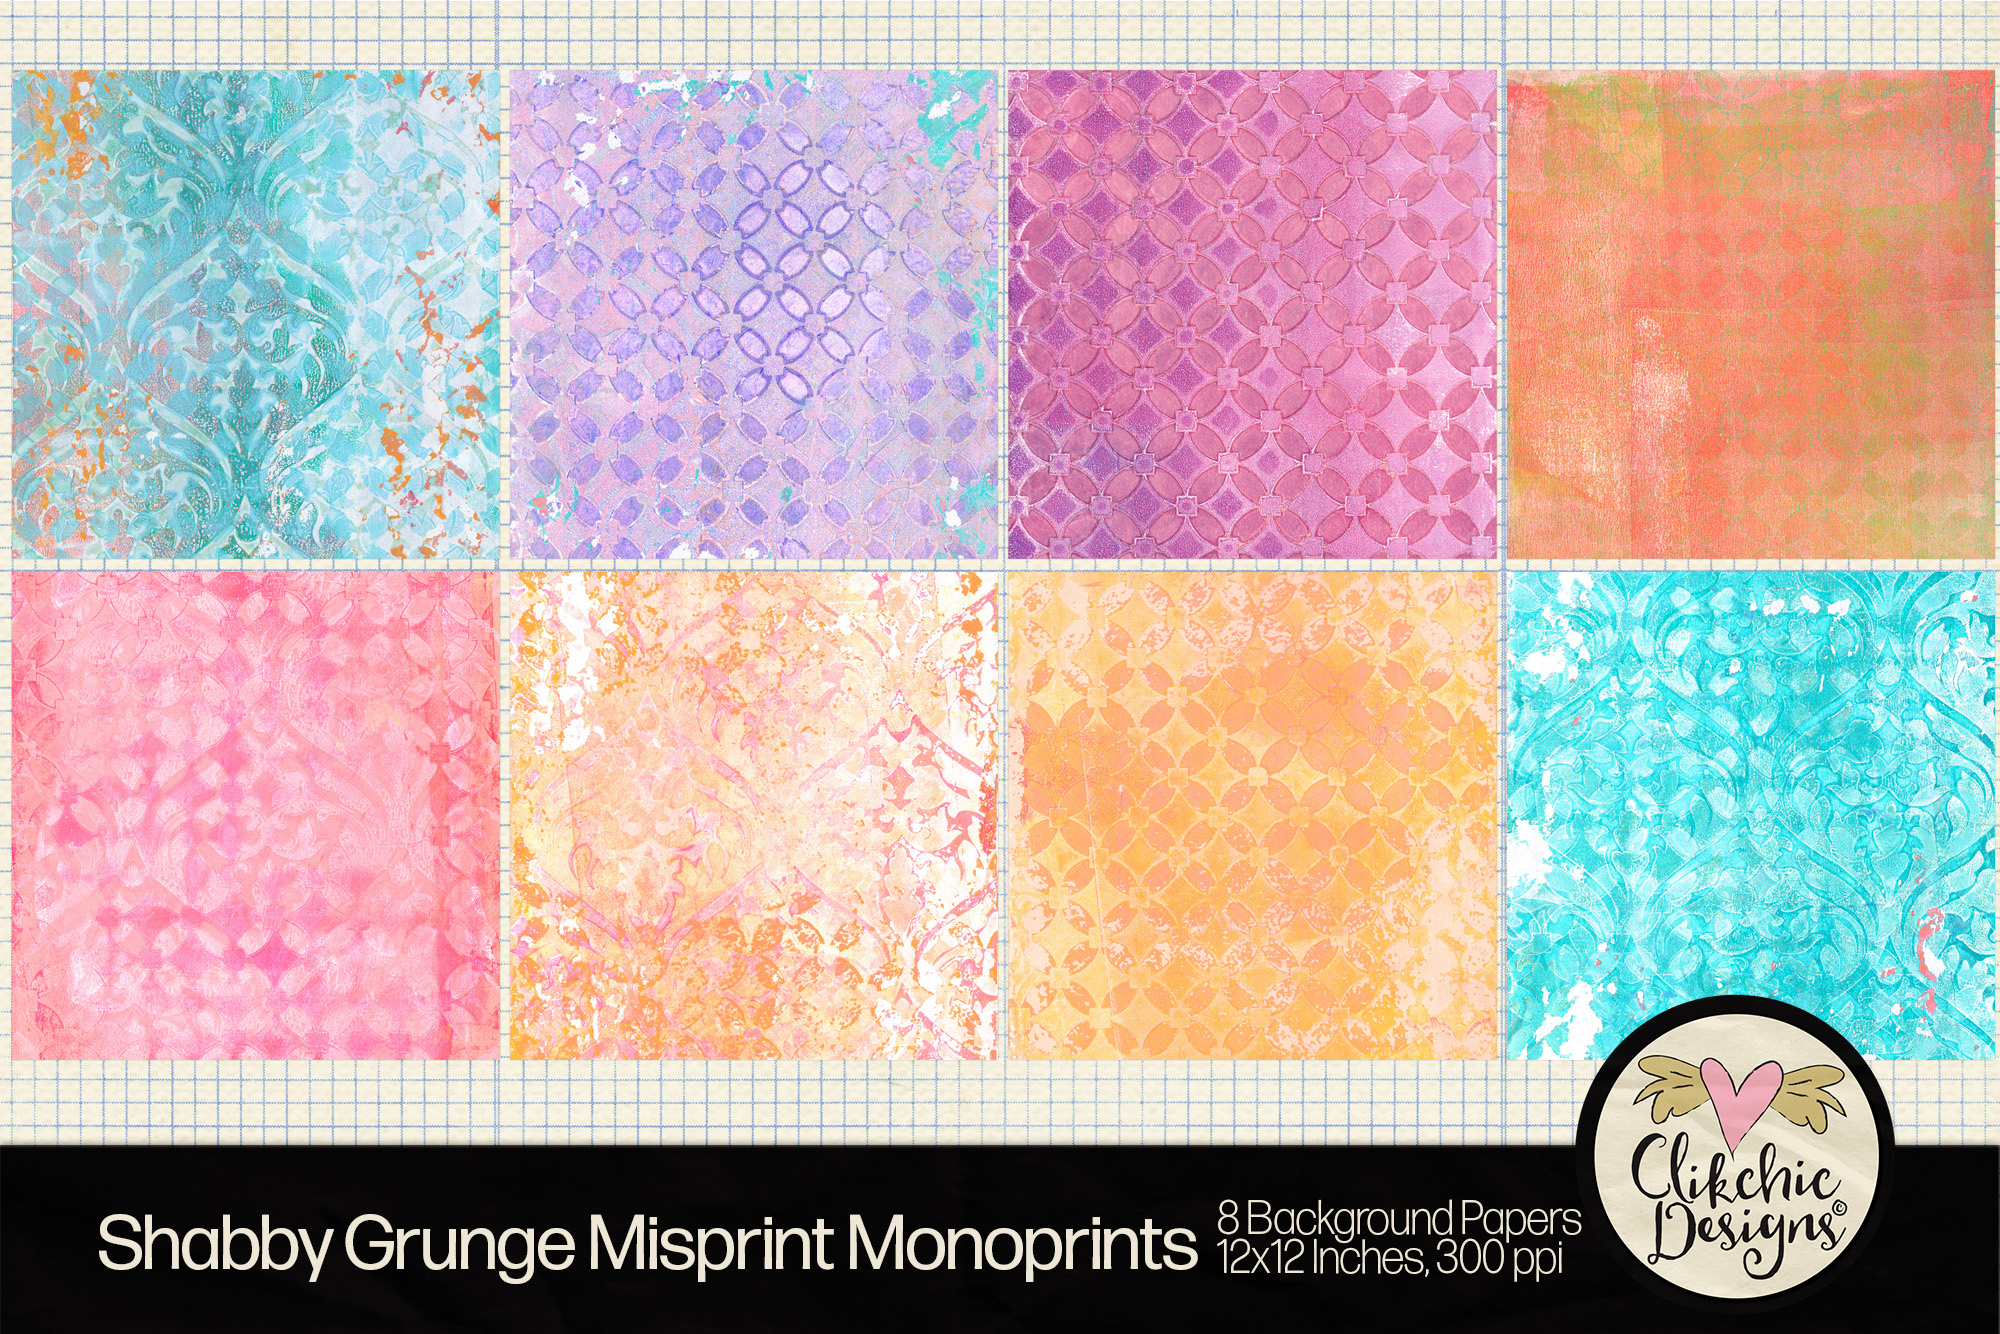
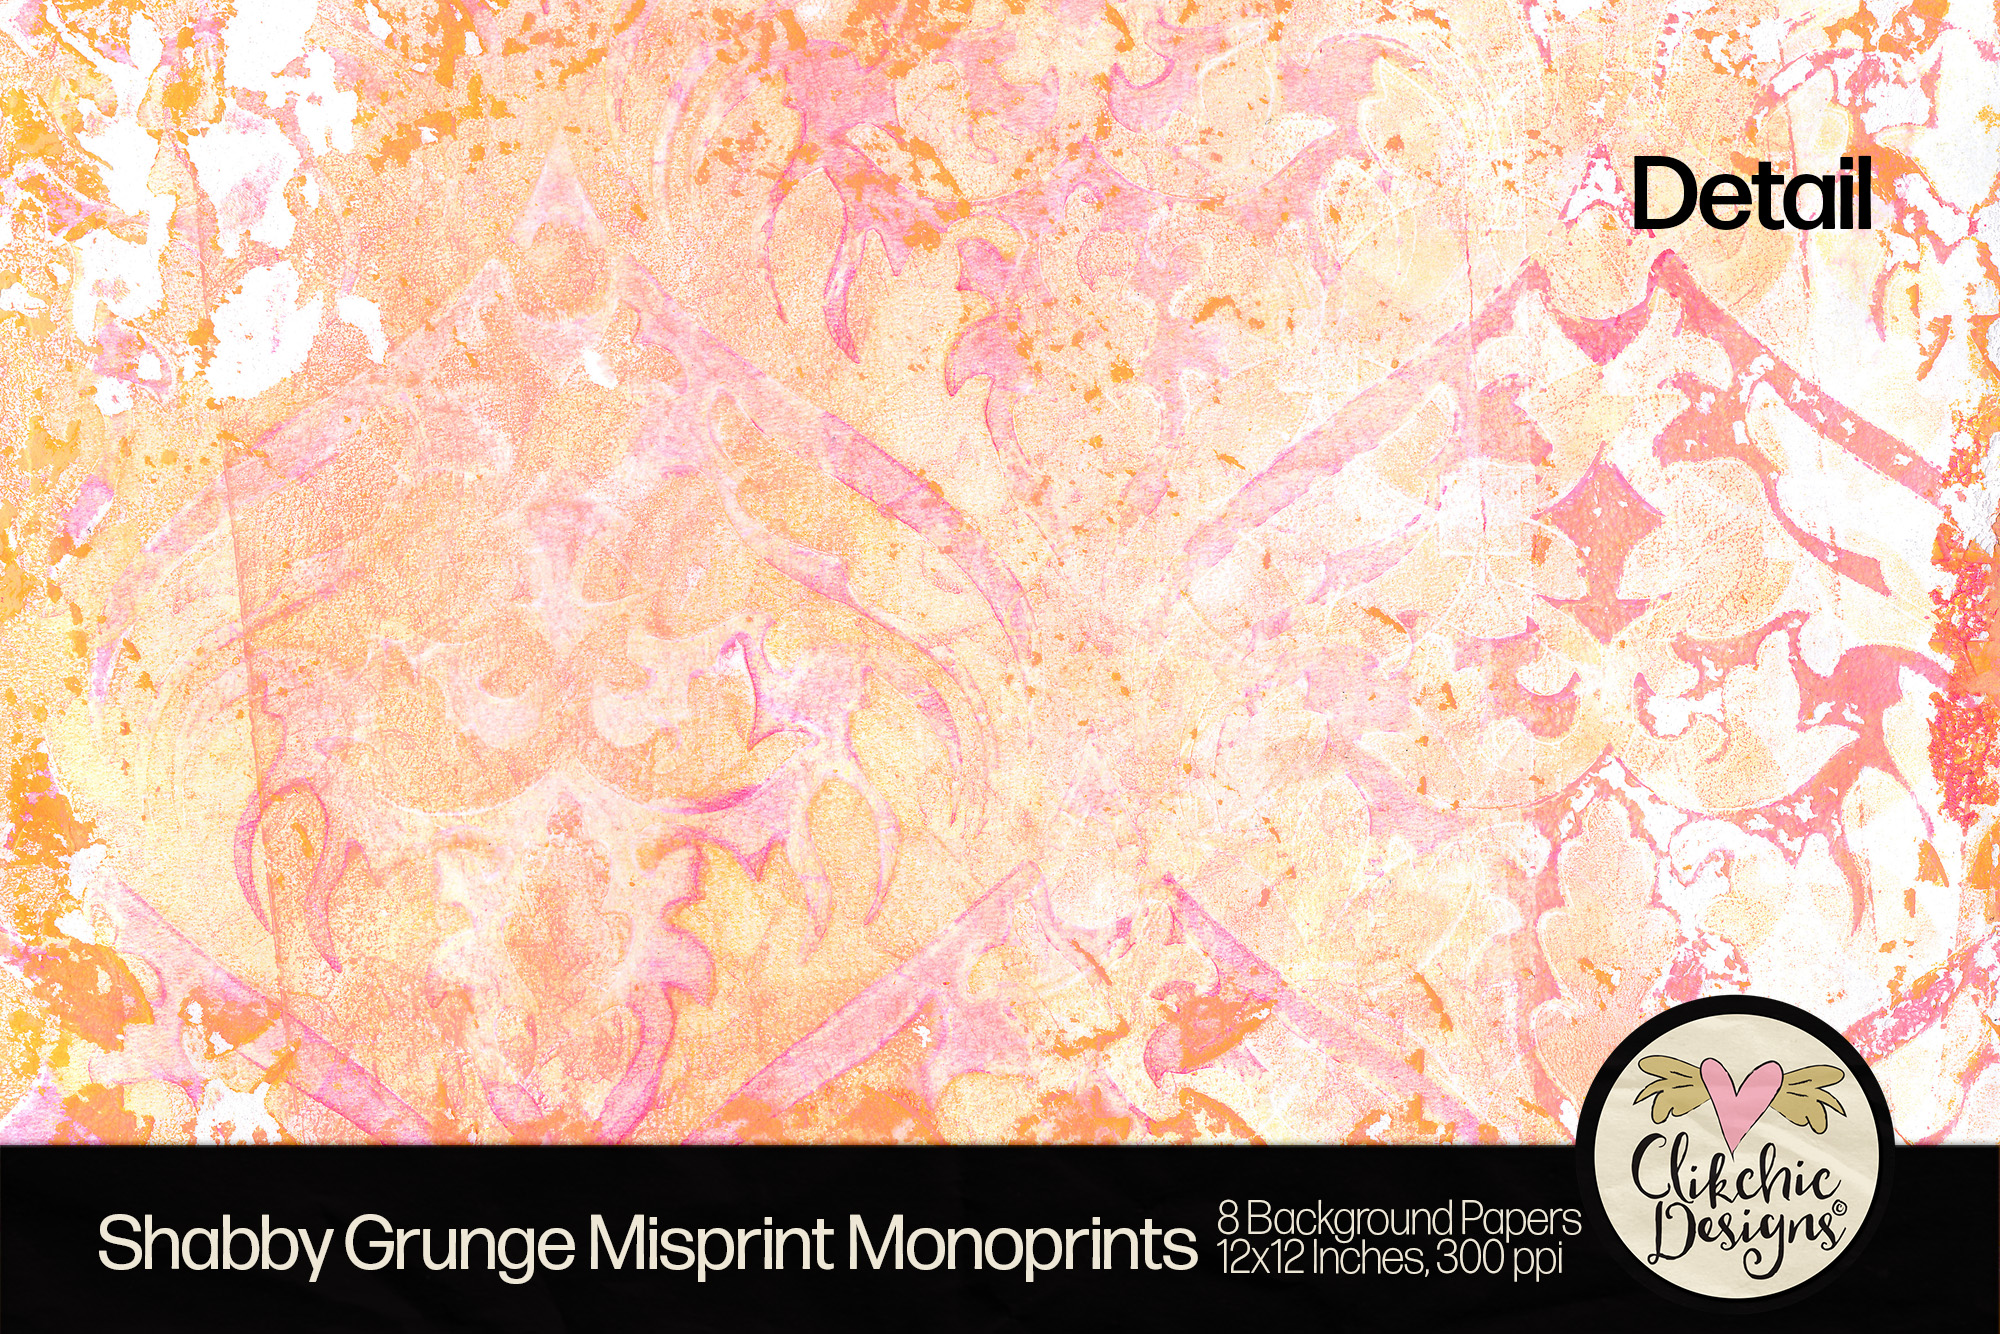
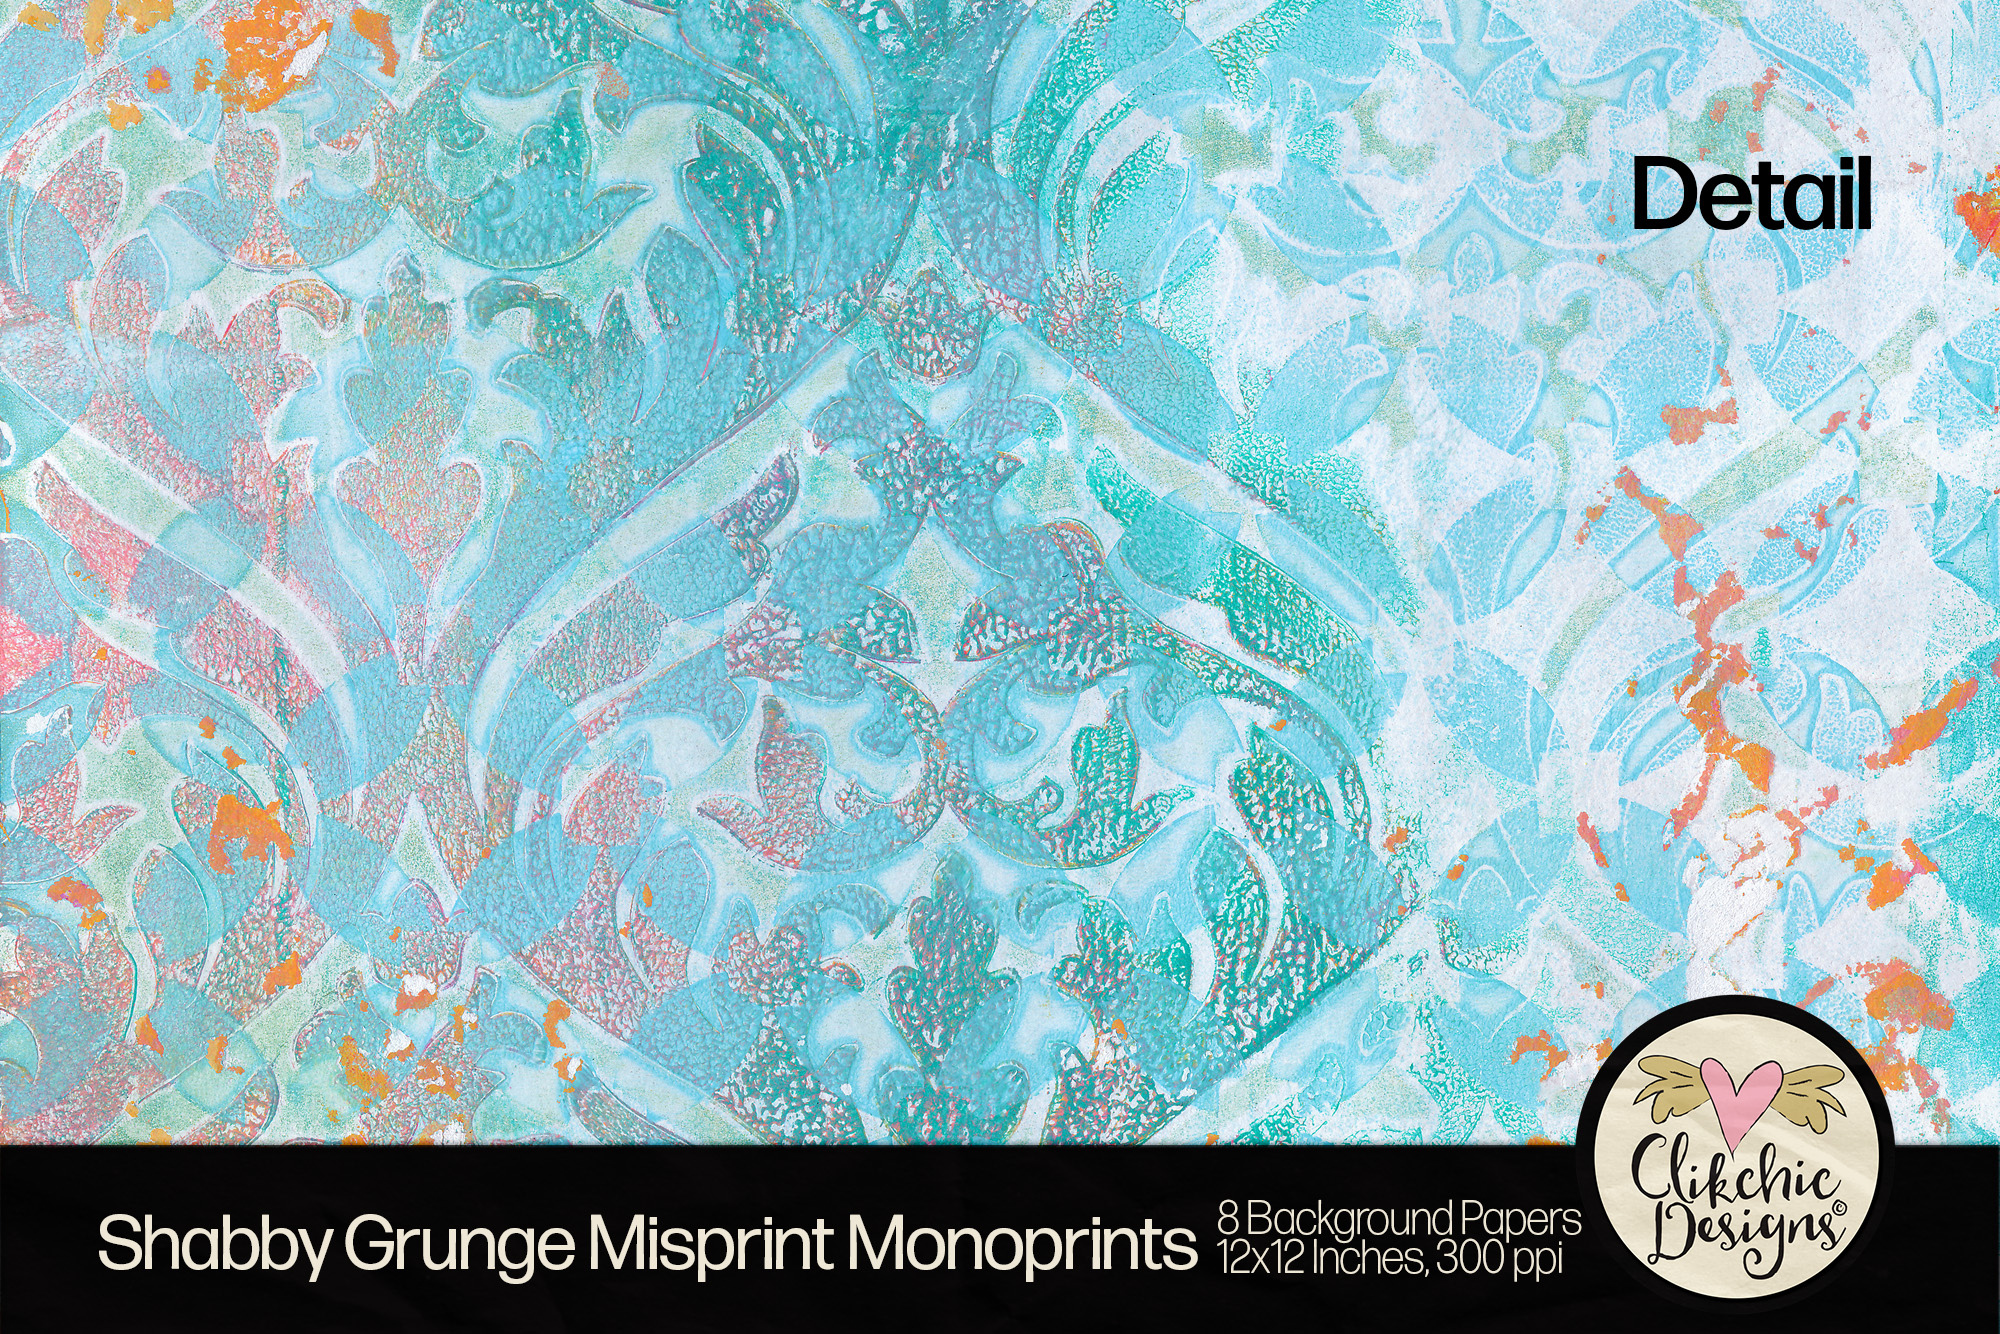
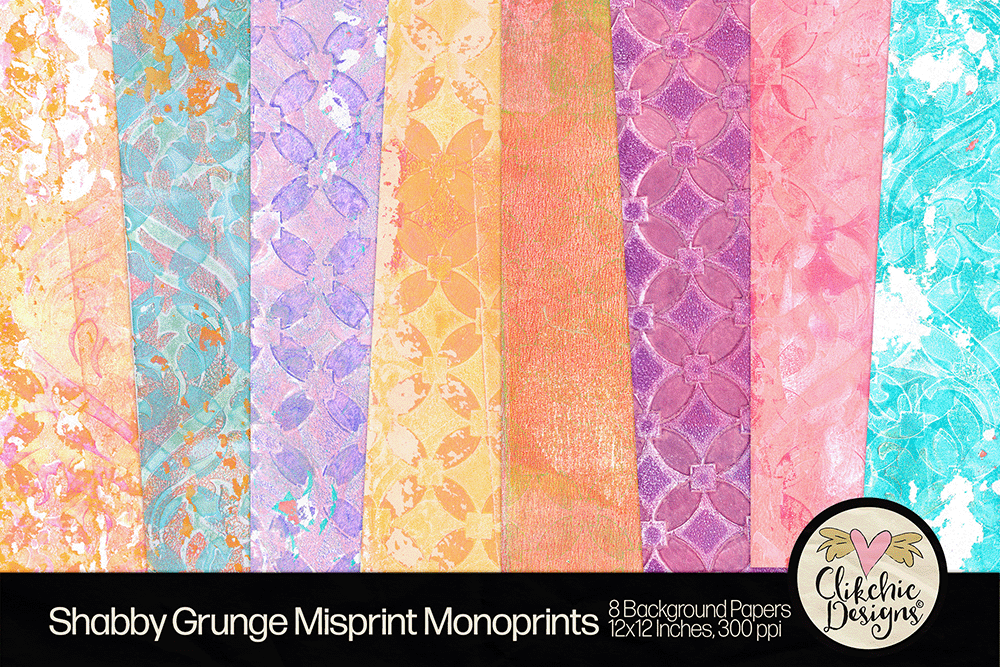
The Shabby Grunge Misprint Monoprints are just as gorgeous with beautiful colours and shabby misprints. The two sets of 8 printable 12×12″ 300dpi sets coordinate beautifully together and make for a stunning collection of backgrounds perfect for scrapbooking, card making, art journalling, invitations and more! This gorgeous set of backgrounds is available from the stores listed below.
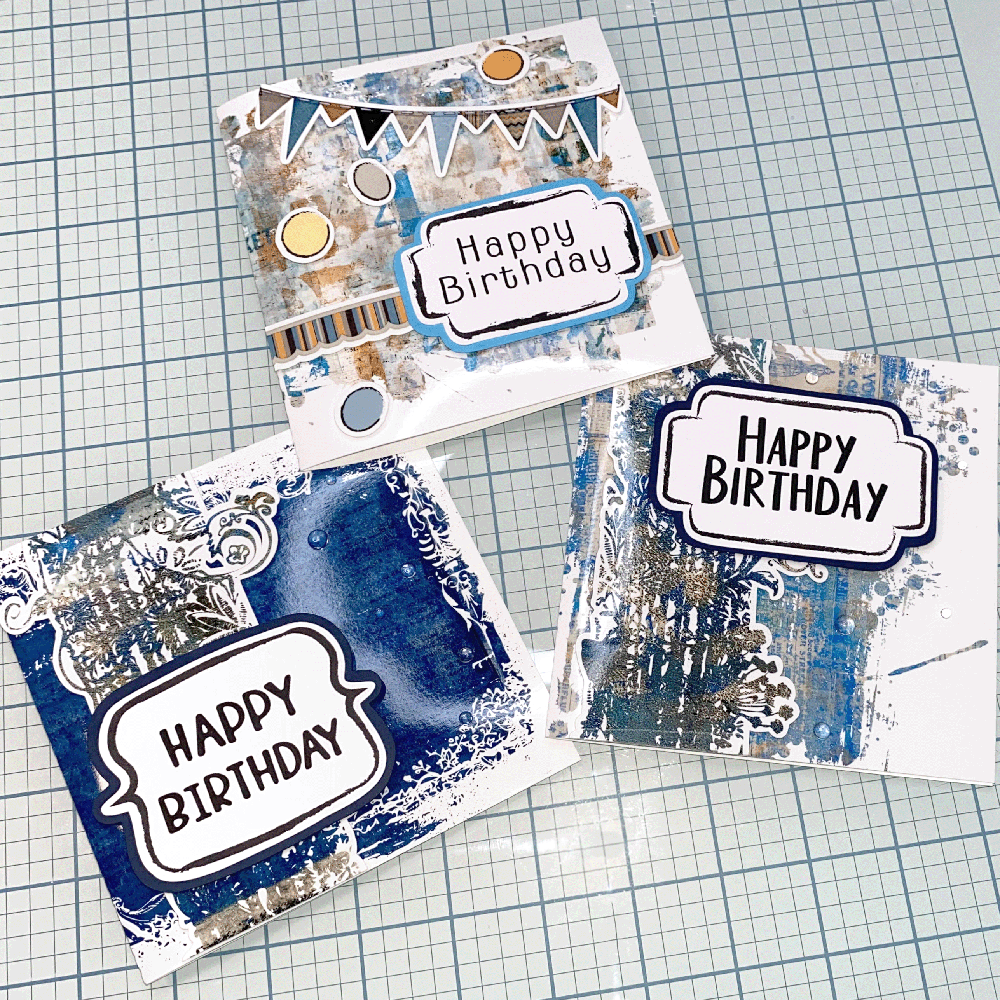
Creating cards and scrapbooking just got easier with our ready-to-go Happy Birthday Sentiments! These beautiful sentiments feature a charming doodled grunge border, perfect for adding a touch of personality to your projects. Whether you’re crafting a birthday card or designing a scrapbook page, these sentiments will save you time and effort. For those who prefer to customize their designs, we also offer blank labels, allowing you to choose your own font and create personalized sentiments. This flexibility ensures that your creations are unique and tailored to your style. Our Sentiment Print and Cut labels come in various shapes, including oval, providing even more options for your crafting needs. Explore our collection and find the perfect sentiments to enhance your projects. Links to each design are provided below, and you can easily browse other products by viewing the collection underneath each linked product. Elevate your card making and scrapbooking with these versatile and stylish sentiment labels today! Scroll on to see the cards I created with the Braketed Happy Birthday Sentiments below!
Designs used in the Cards I created with the Doodled Grunge Bracketed Happy Birthday Sentiment Print and Cut Labels are as follows. I used this tutorial to create the SVG Framed effect on the printed card base.
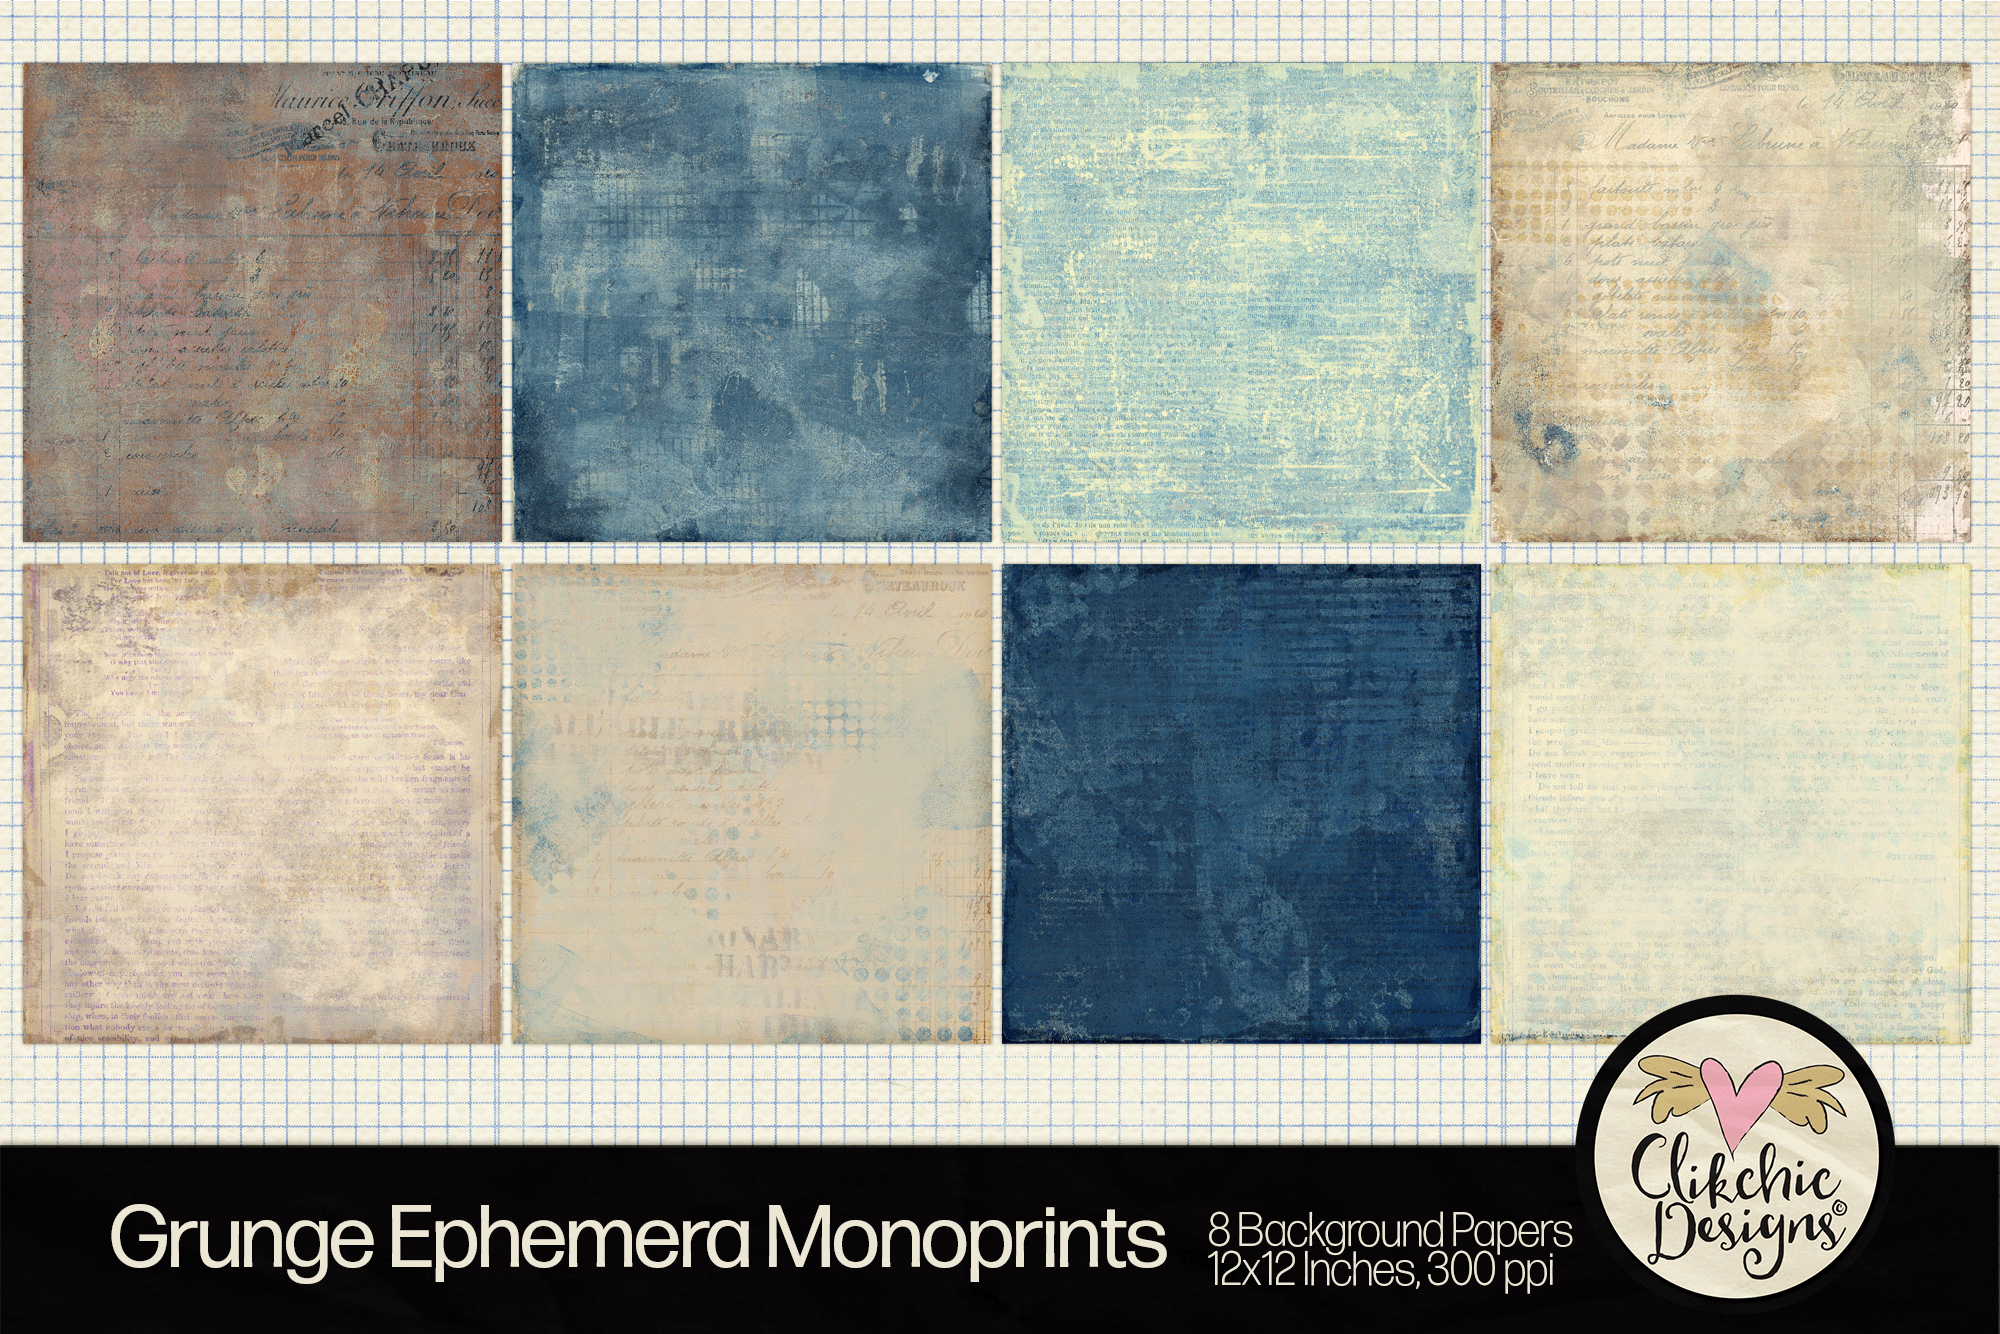
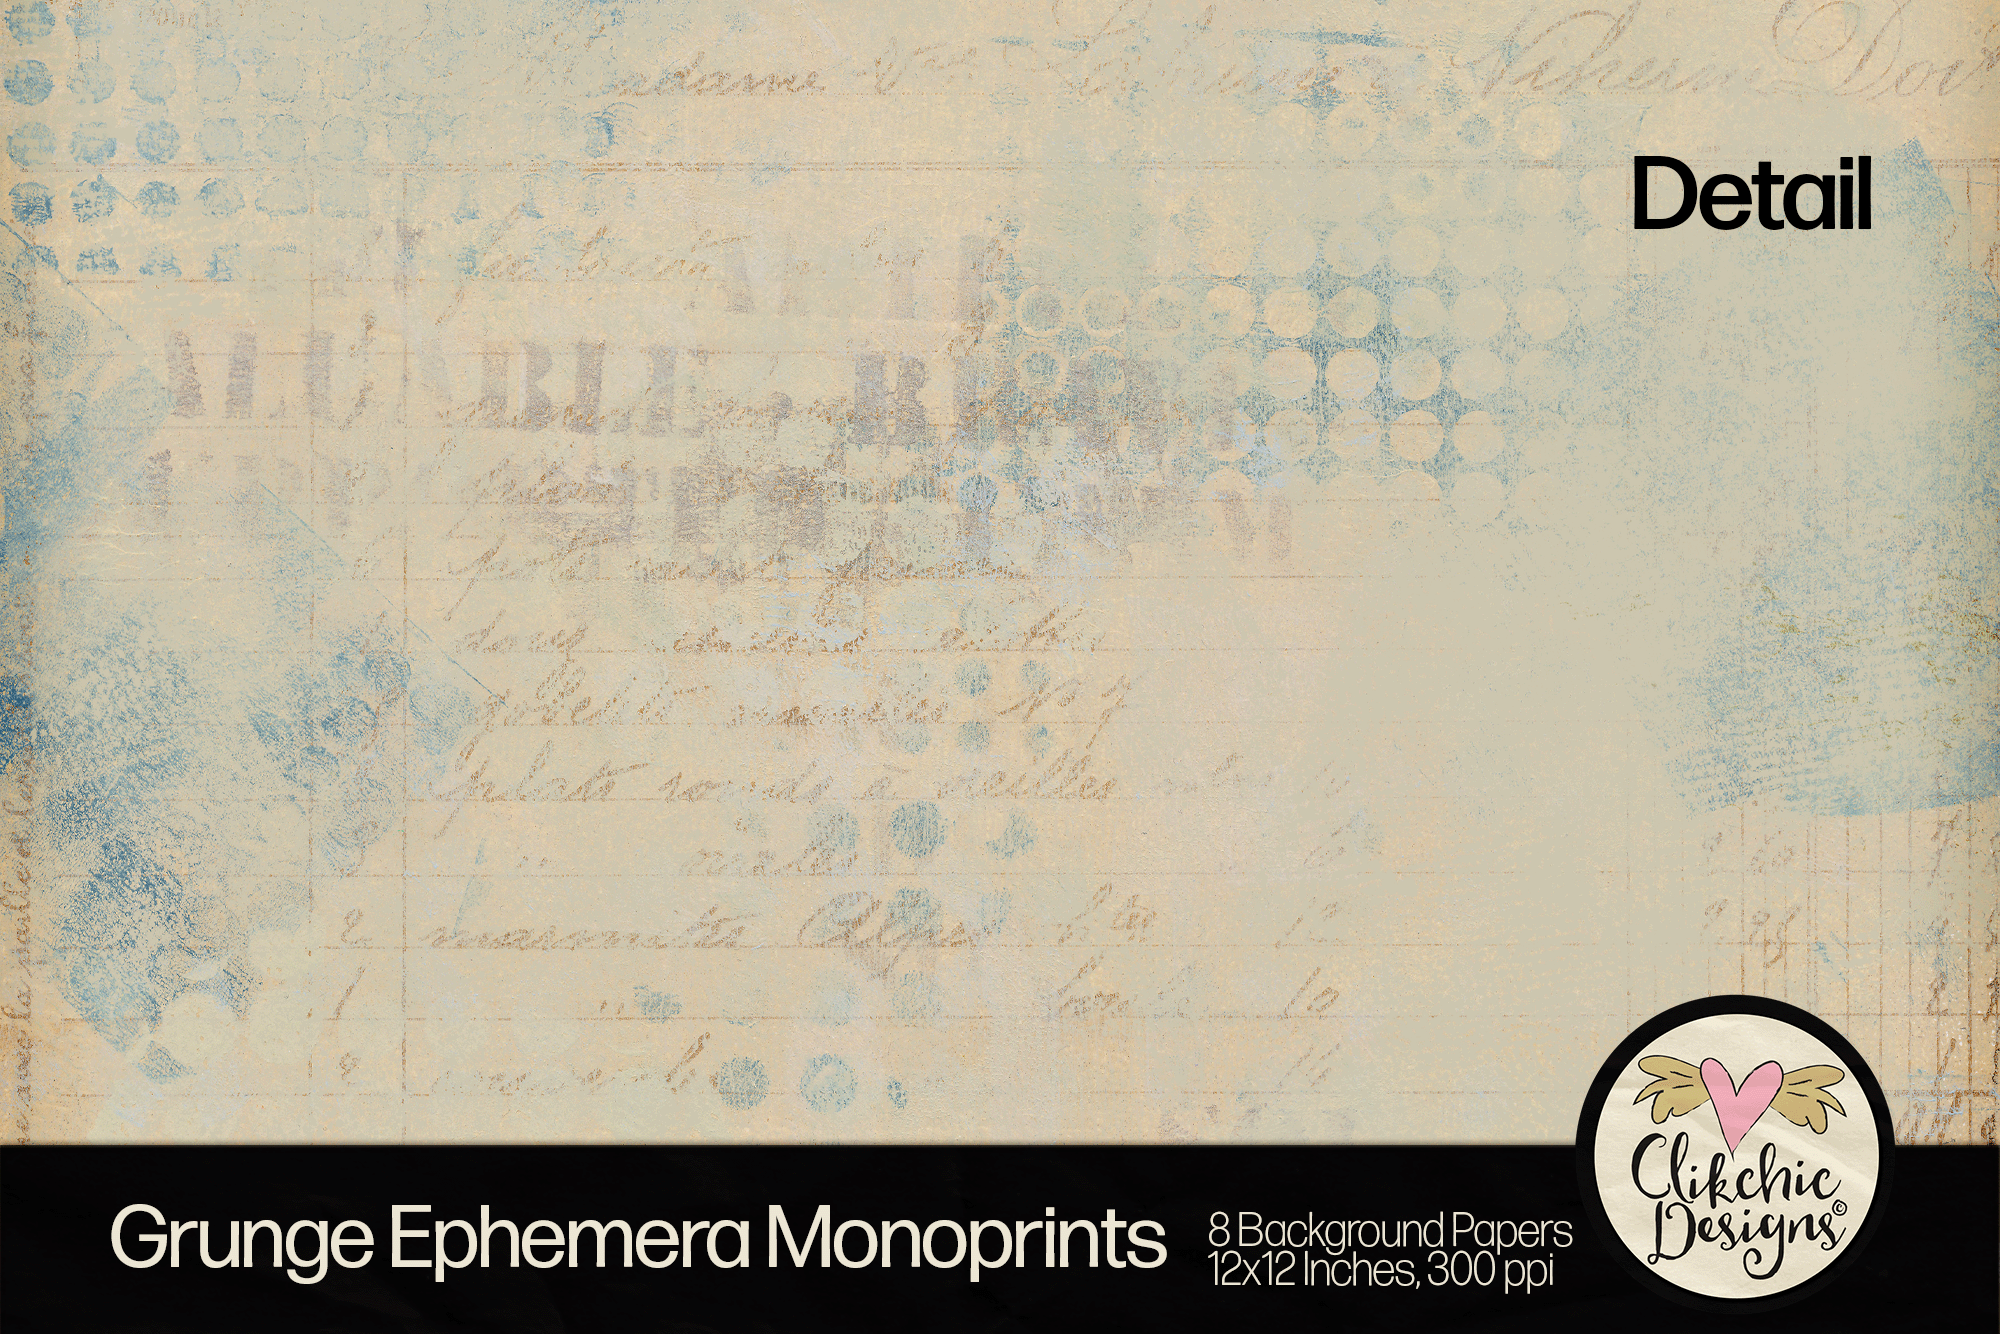
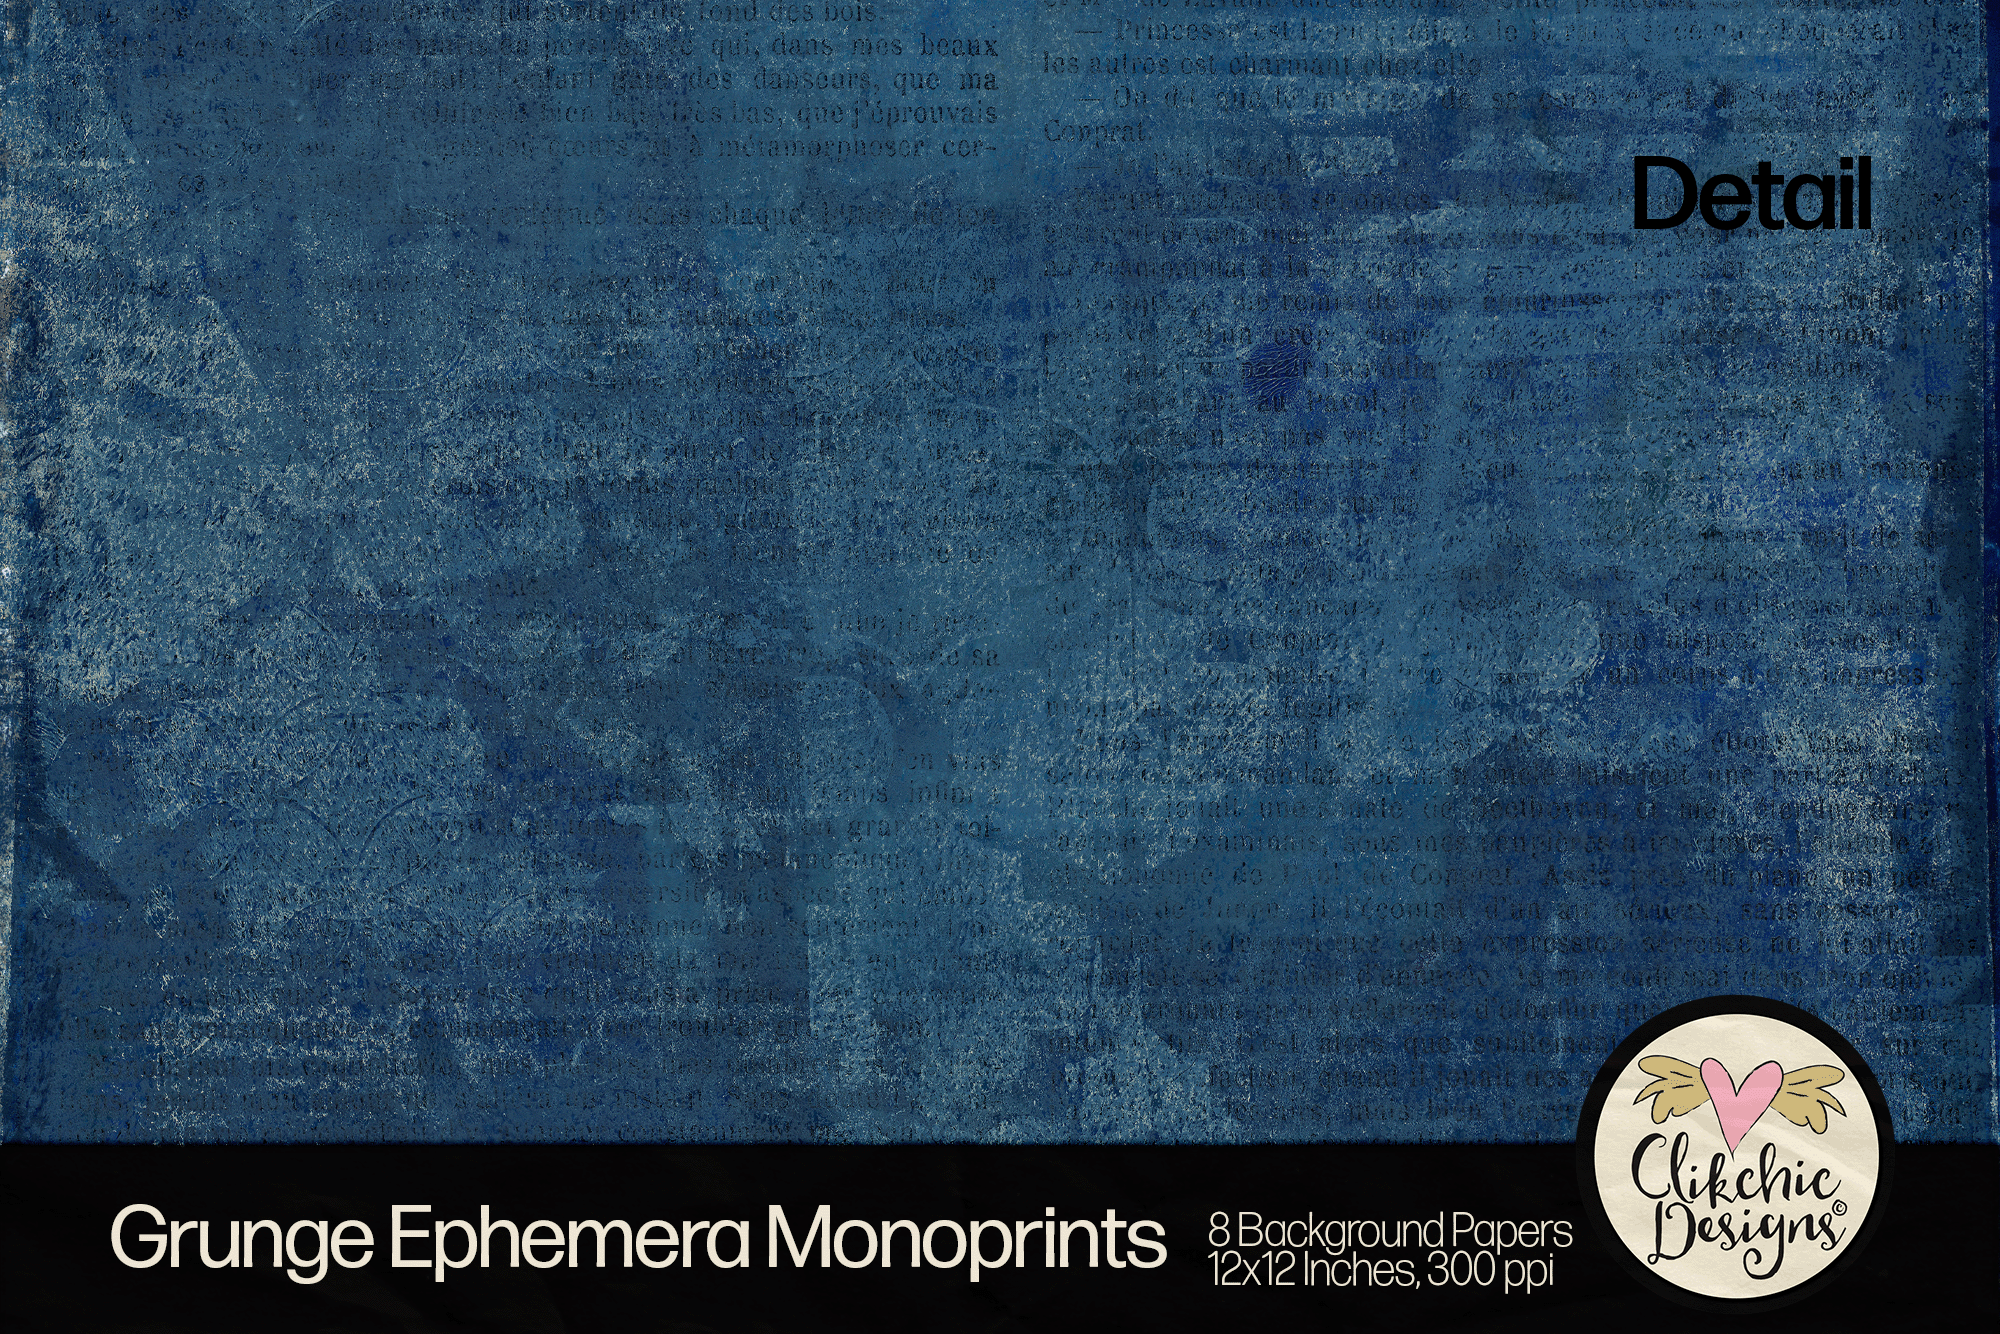
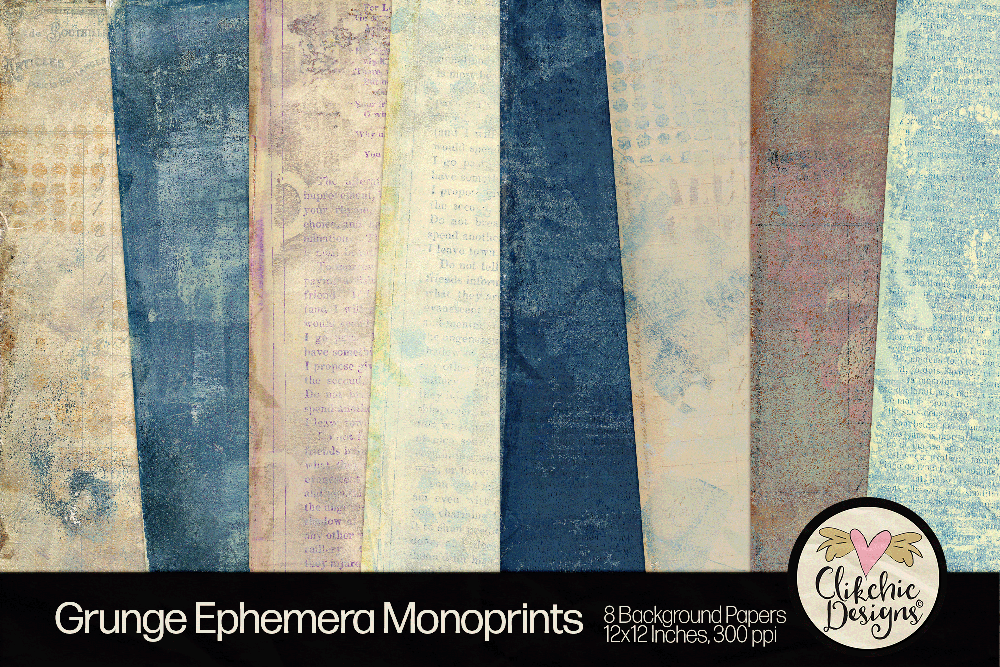
Immerse yourself in the world of grunge with the Grunge Ephemera Monoprint Digital Backgrounds Paper Pack. This collection is a treasure trove of grungy prints and patterns, each piece enriched with the exquisite textures of monoprint.
Ideal for scrapbooking, this set of printable backgrounds adds a touch of grunge to your memories. For mixed media collage, the grungy prints provide a visually stunning base layer. Card-making becomes an exploration of texture and pattern, while invitations take on a distinctive, edgy vibe.
But the possibilities don’t stop there. This digital paper pack opens up a myriad of creative avenues. Whether you’re crafting a unique piece of wall art or designing a custom journal cover, the Grunge Ephemera Monoprint Backgrounds is a go-to resource for all things grunge.
The charm of grunge is digitally reimagined, bring a unique edge to your creative project and let your creativity run wild. Check out the Grunge Ephemera Monoprint Backgrounds in the stores listed below.