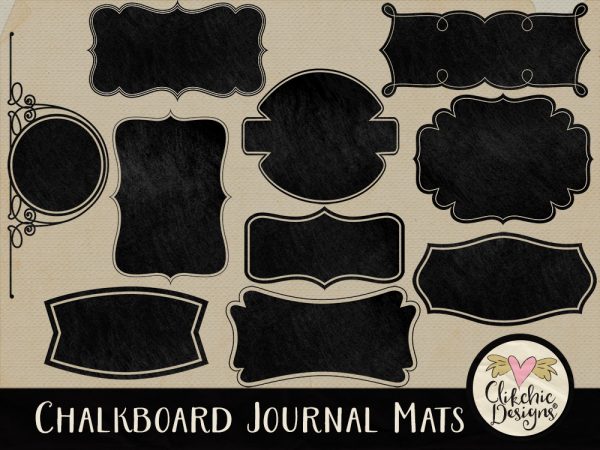
Chalk Board items are all the rage right now and these Chalk Board Journal Mats are now available in my Etsy Store and are a great way to add some fun and funky journaling to your layouts and digital projects. Each mat has a gorgeous chalky texture perfect for those special notes and writings.
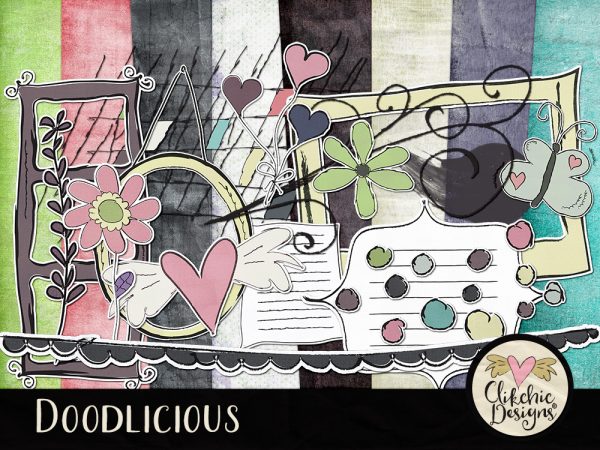
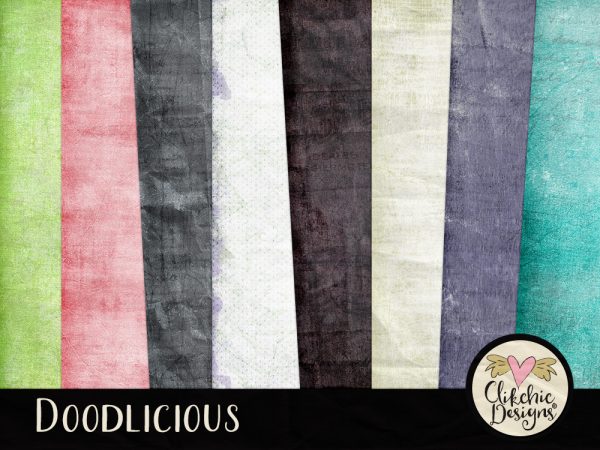
Fresh funky colors with doodlicious elements are featured in this Doodlicious Digital Scrapbook Kit to give your layouts a fun and whimsical look. The Doodlicious Digital Scrapbook Kit is available in my Etsy store and my Clikchic Designs store.
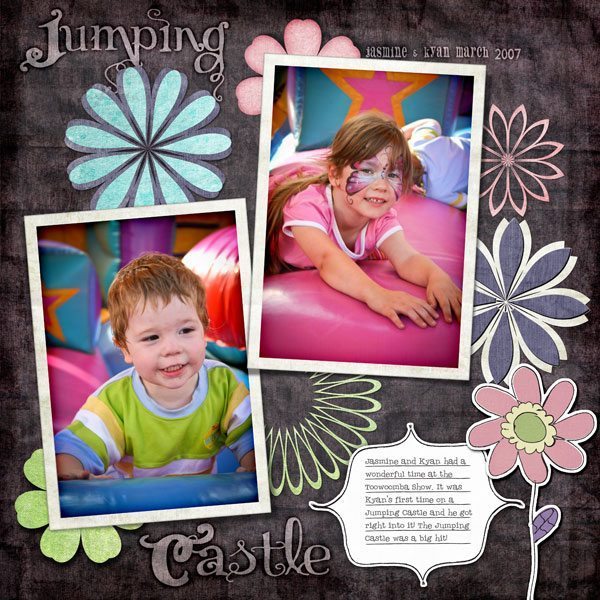
Here are a few layouts I did with this whimsical digital scrapbook kit!
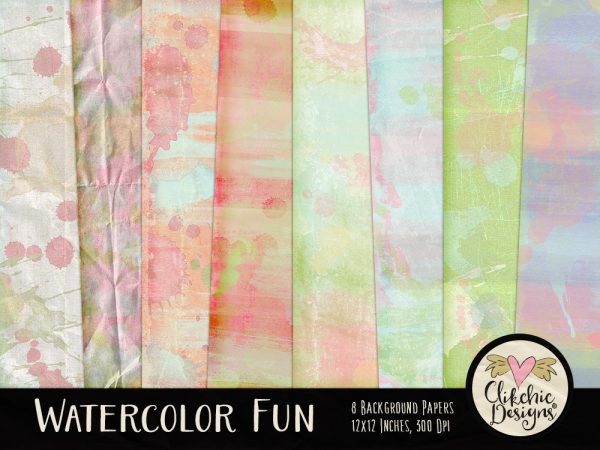
The Watercolor Fun Paper Pack features beautiful and fresh colors reminiscent of spring and all it’s beauty. Water Color fun is an eclectic combination of fun and fresh shabby inspired digital scrapbook papers featuring water color splatters and splotches. Water Color Fun Digital Scrapbook Papers are available in my Etsy store, and my Creative Market Store!
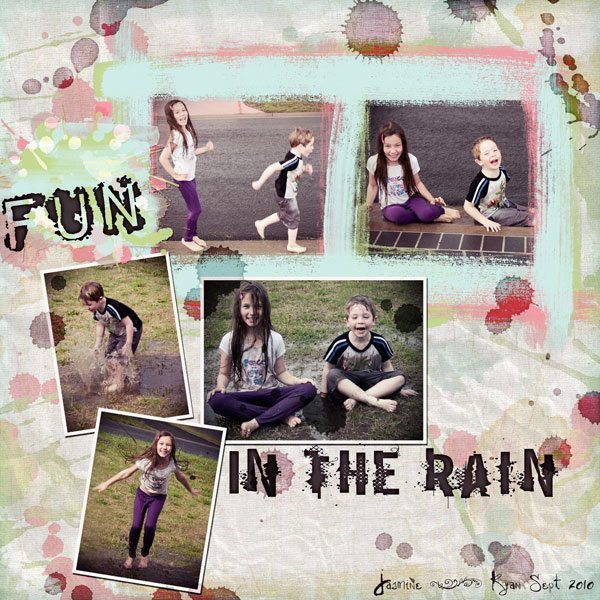
Here is a layout I did with the White Grunge Splatter Canvas Background.
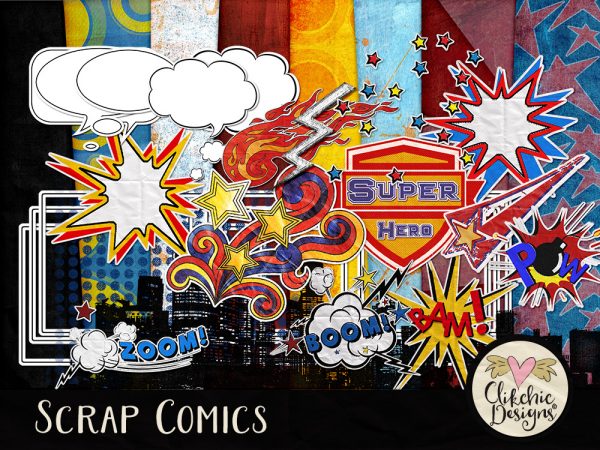
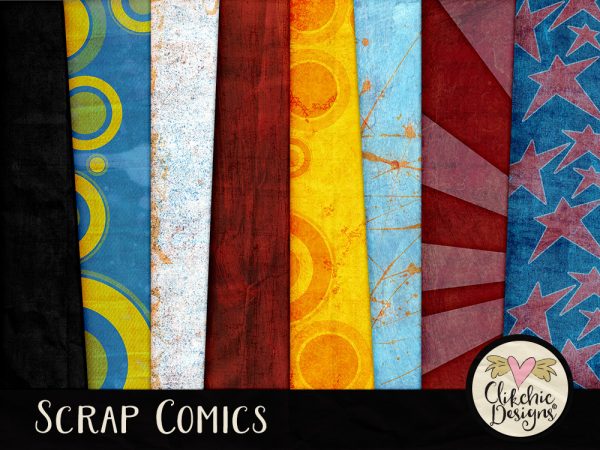
Scrap Comics has been a very popular kit of mine and I have now relaunched it in my Etsy Store! It has been reworked and revamped and is now better than ever!
The fun Scrap Comics Digital Scrapbook Kit is designed to scrap your photos in Comic Book Story Board style! Frame sets for story board photos, balloons for speech and thoughts, and an extra bit of pow to accentuate the action! This kit is perfect for all your little super hero’s and their adventures! Want to check out another great kit for kids? Try my Childhood Adventures Kit!
I did this layout of my gorgeous little man when he was learning to walk!
Have you been to check out my Etsy store? I am slowly building my products listing at Etsy and would love for you to check it out, and please do follow my store if you are a member of Etsy! If you are into arts and crafts and yes digital scrapbooking you will LOVE etsy! I could spend hours browsing all the beautiful products available. Here is my latest product now available at Etsy.
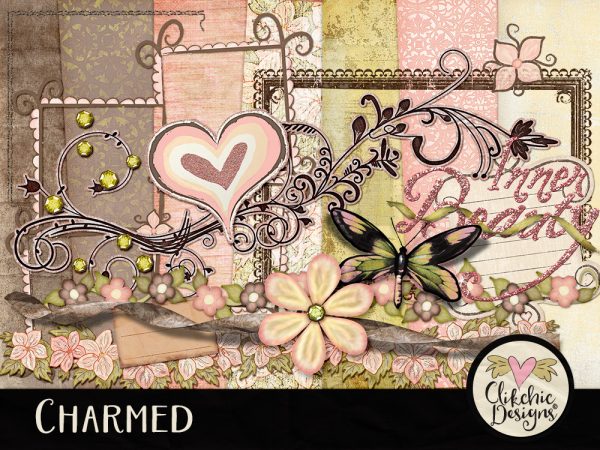
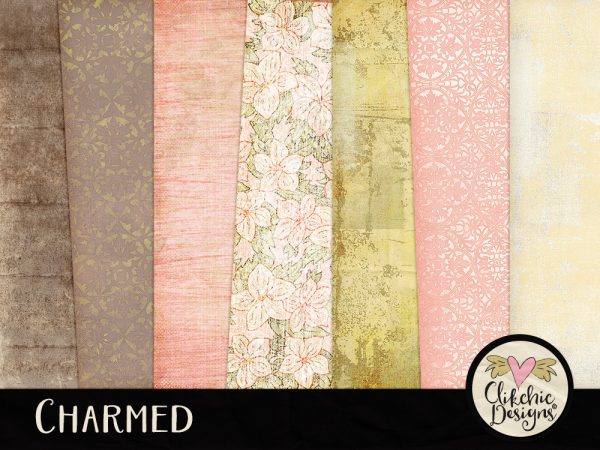
Shabby and sweet with doodles, glitter, pretty flowers, swoosh’s and swirls. A pretty and whimsical collection with a touch of grunge. Fresh colours perfect for spring chic layouts! Charmed is available on Etsy.
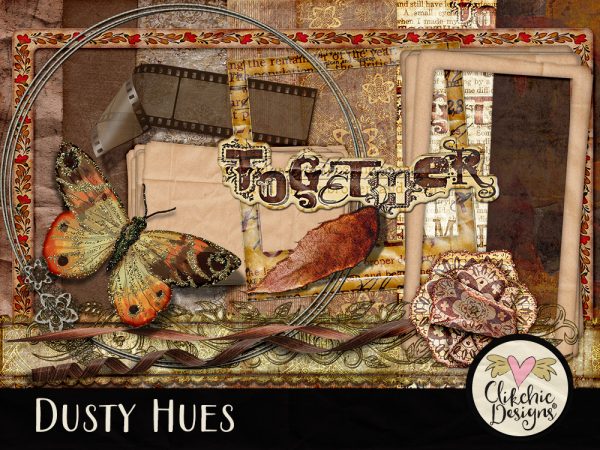
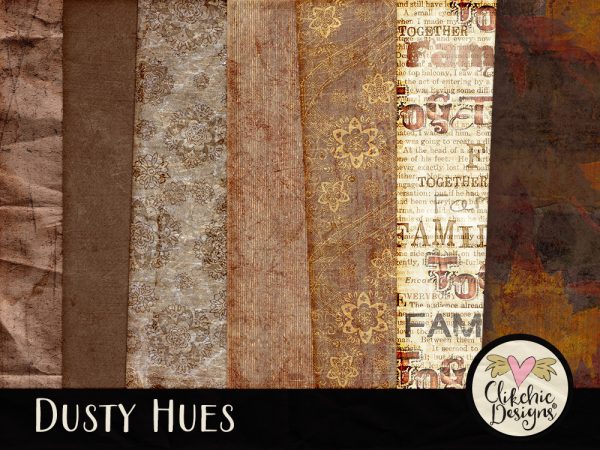
Dusty Hues is a long time favourite with my customers. Check it out in my Etsy store or my Clikchic Designs Store.
Why not check out my other Etsy Products while you are there!
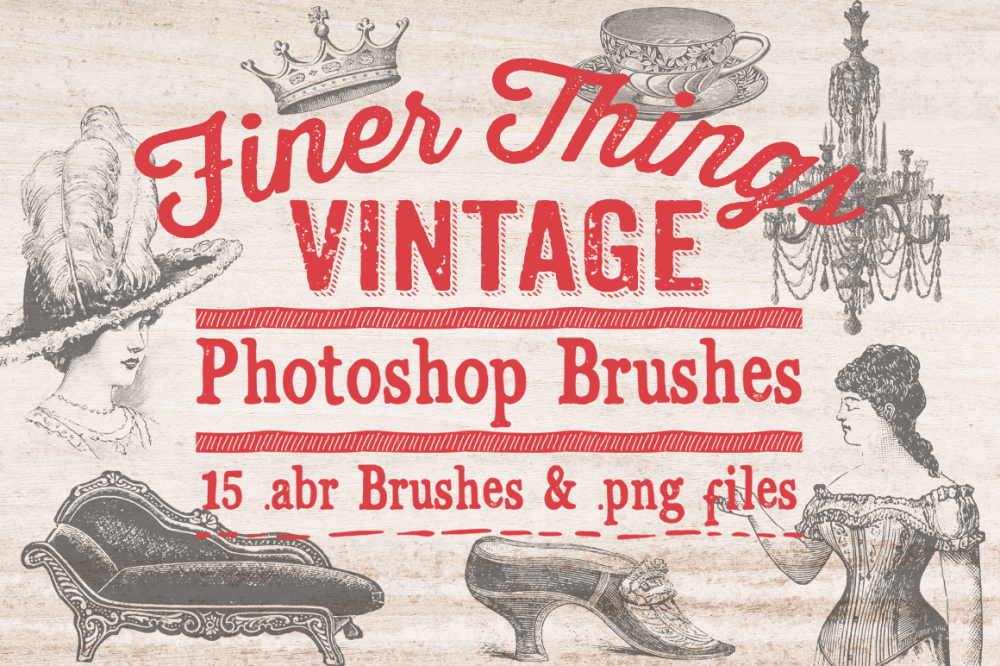
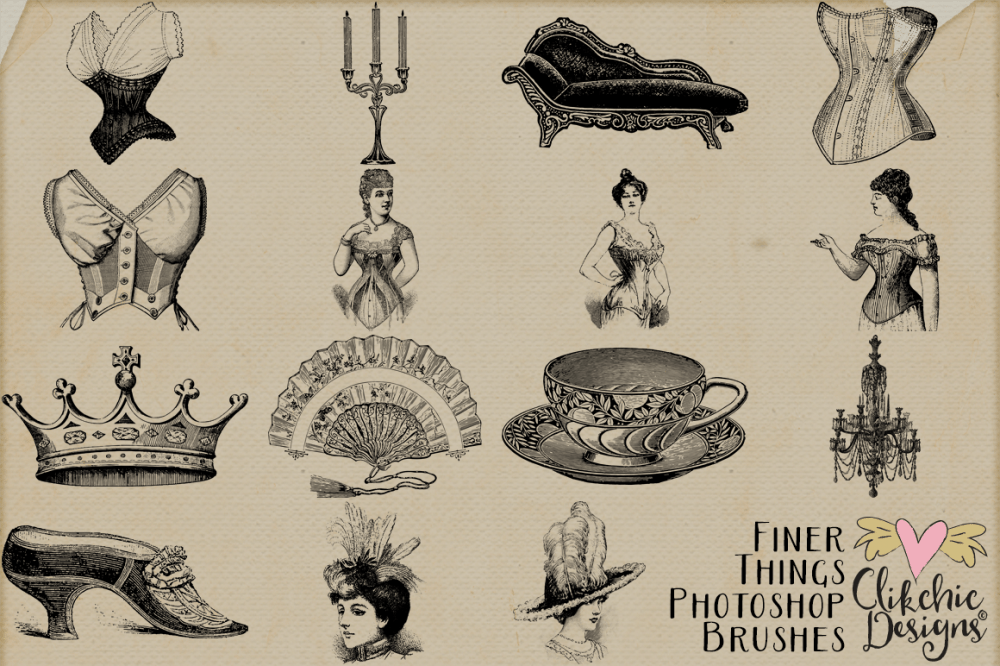
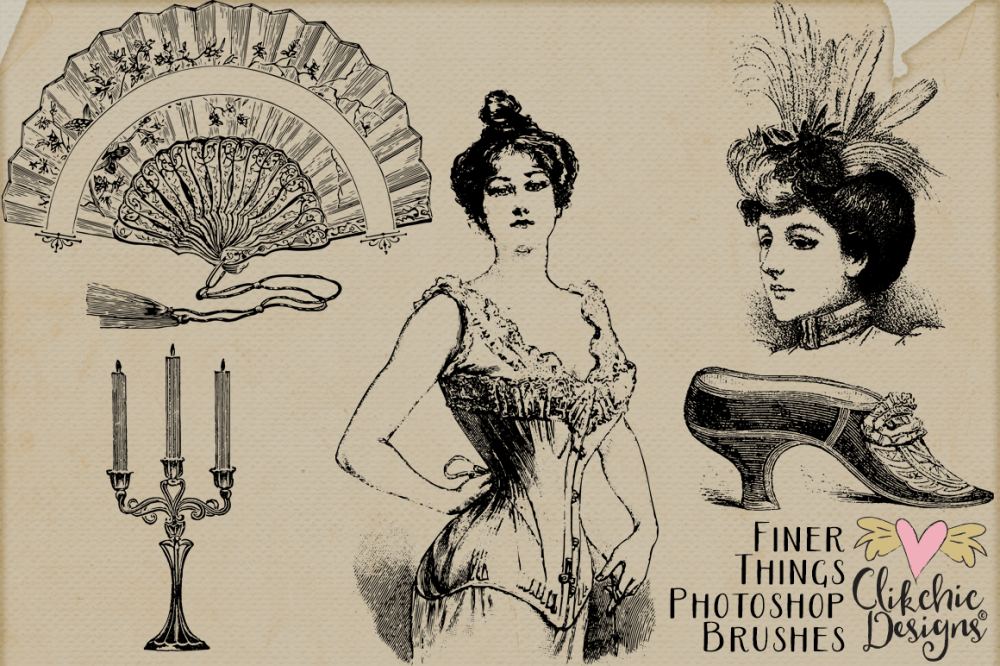
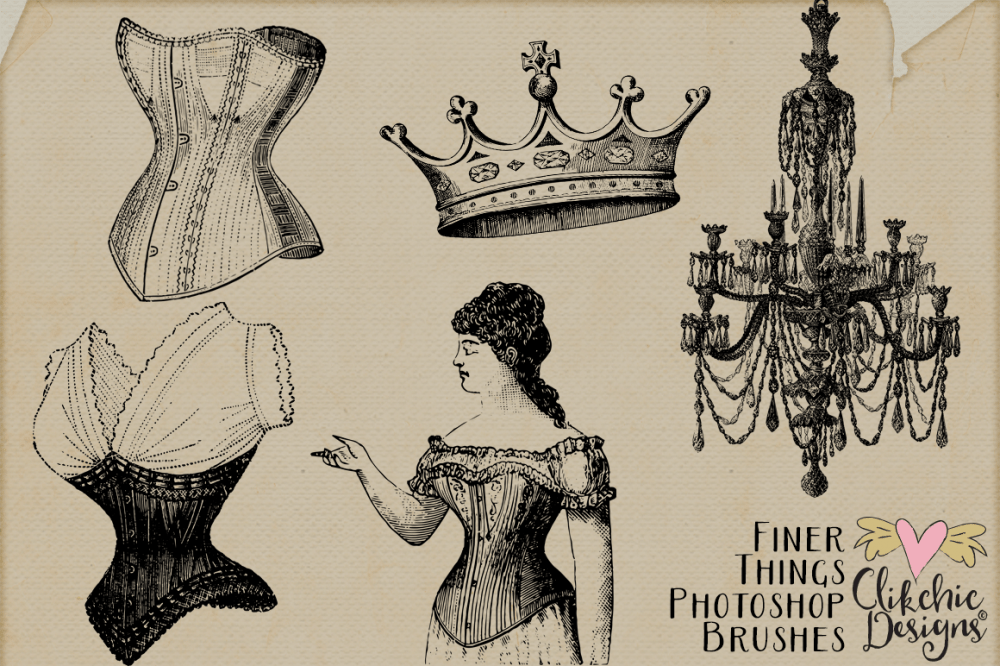
TheseFiner Things Brushes featuring decorative elements of yesteryear are a wonderful way to accent your layouts, blending them into backgrounds and/or photos. Layer with different blend modes and combine them to create different effects. There is nothing more fun than having a play with Photoshop brushes! Each .png file is large in size for maximum usage options plus .abr Photoshop the brushes make manipulation even easier.
Each image is included in (.abr) Photoshop brush and (.png) image format. See my store links below to check them out.