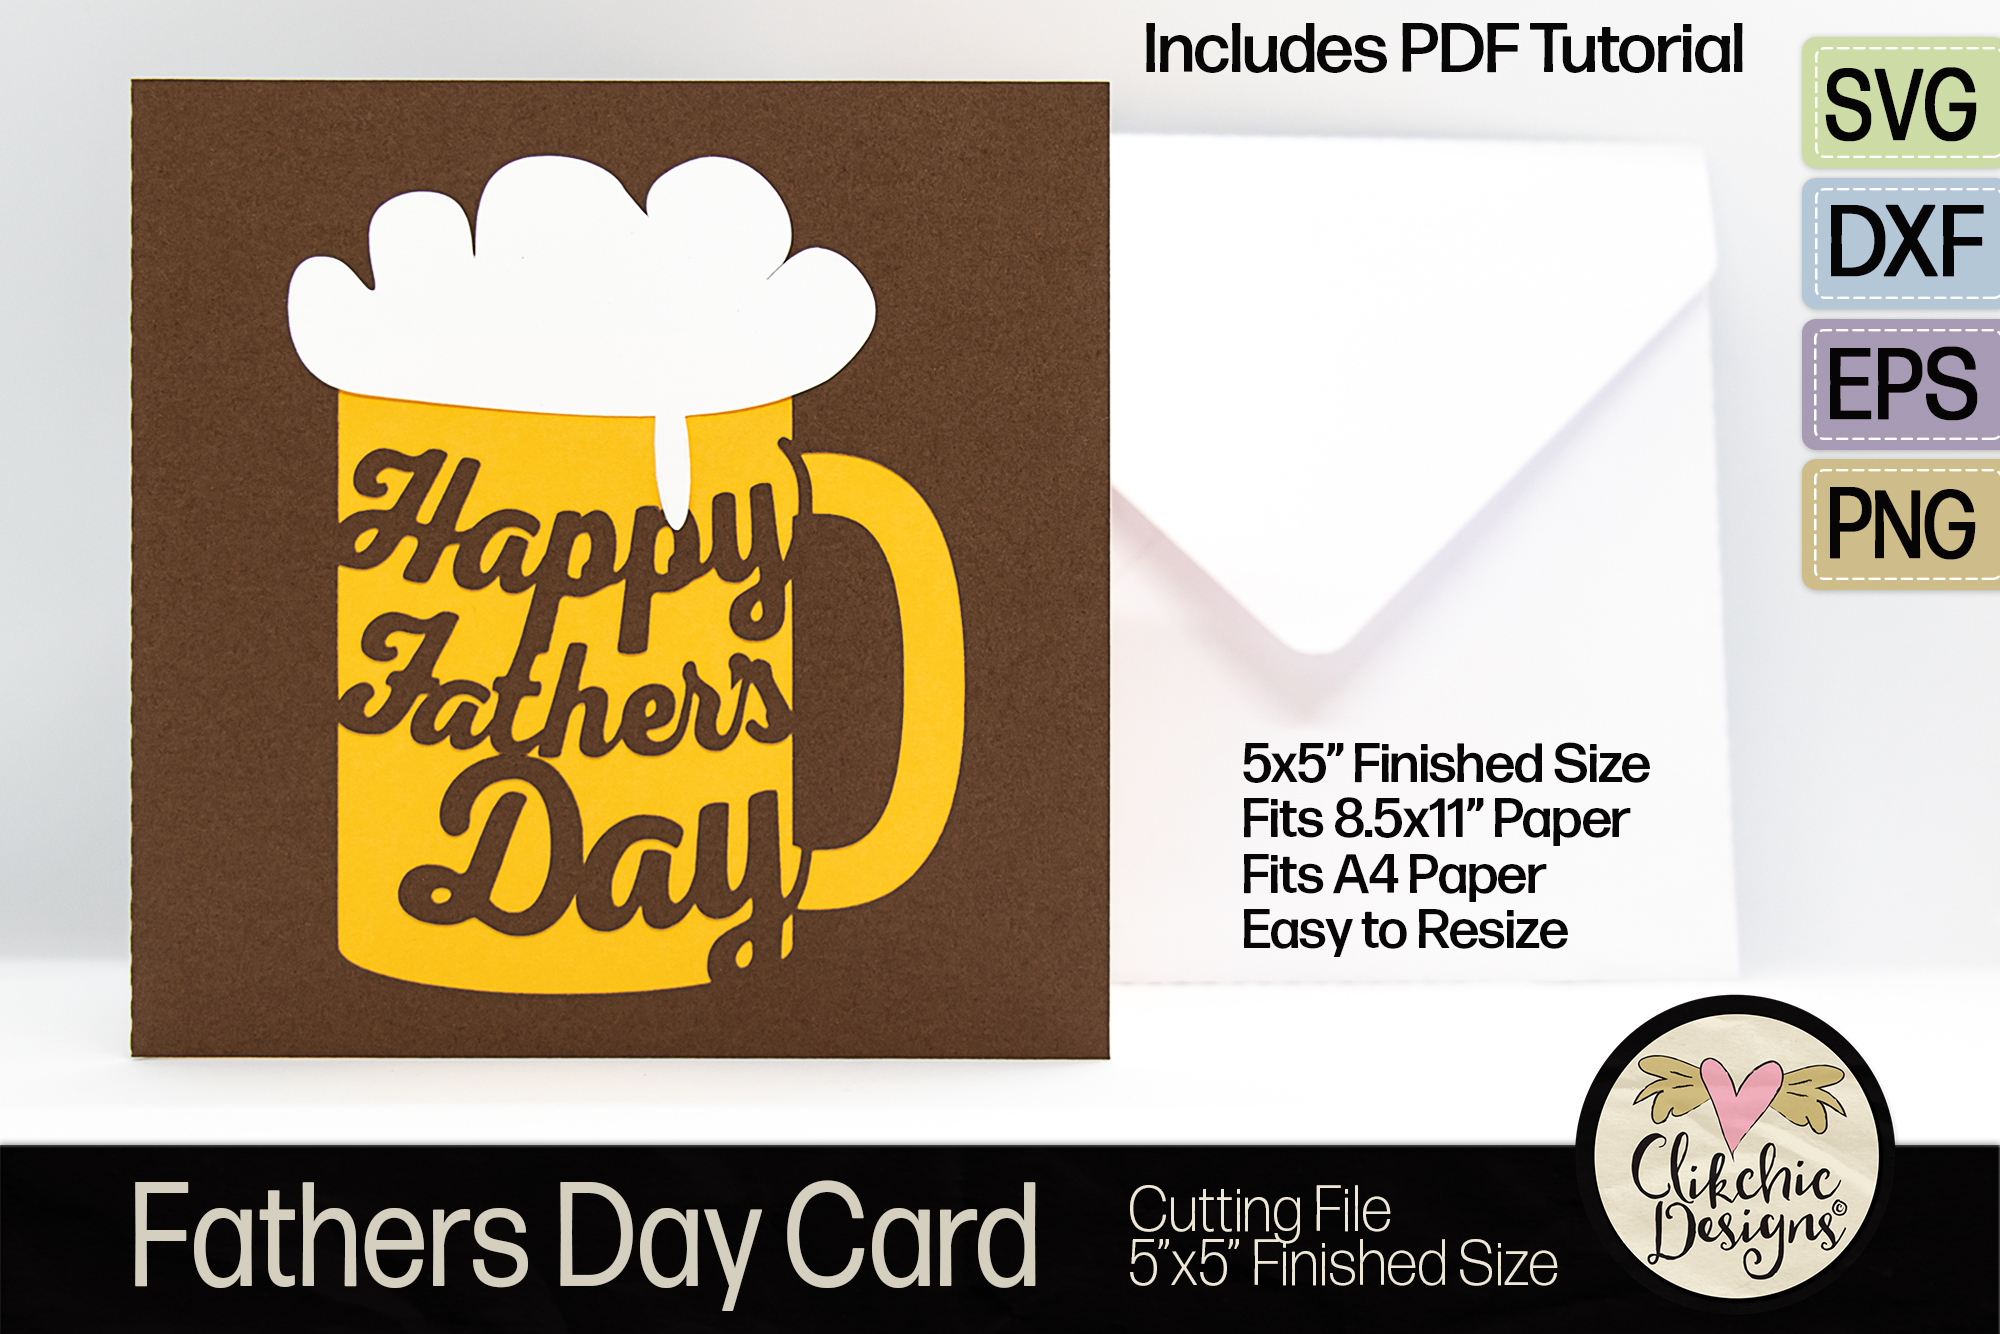
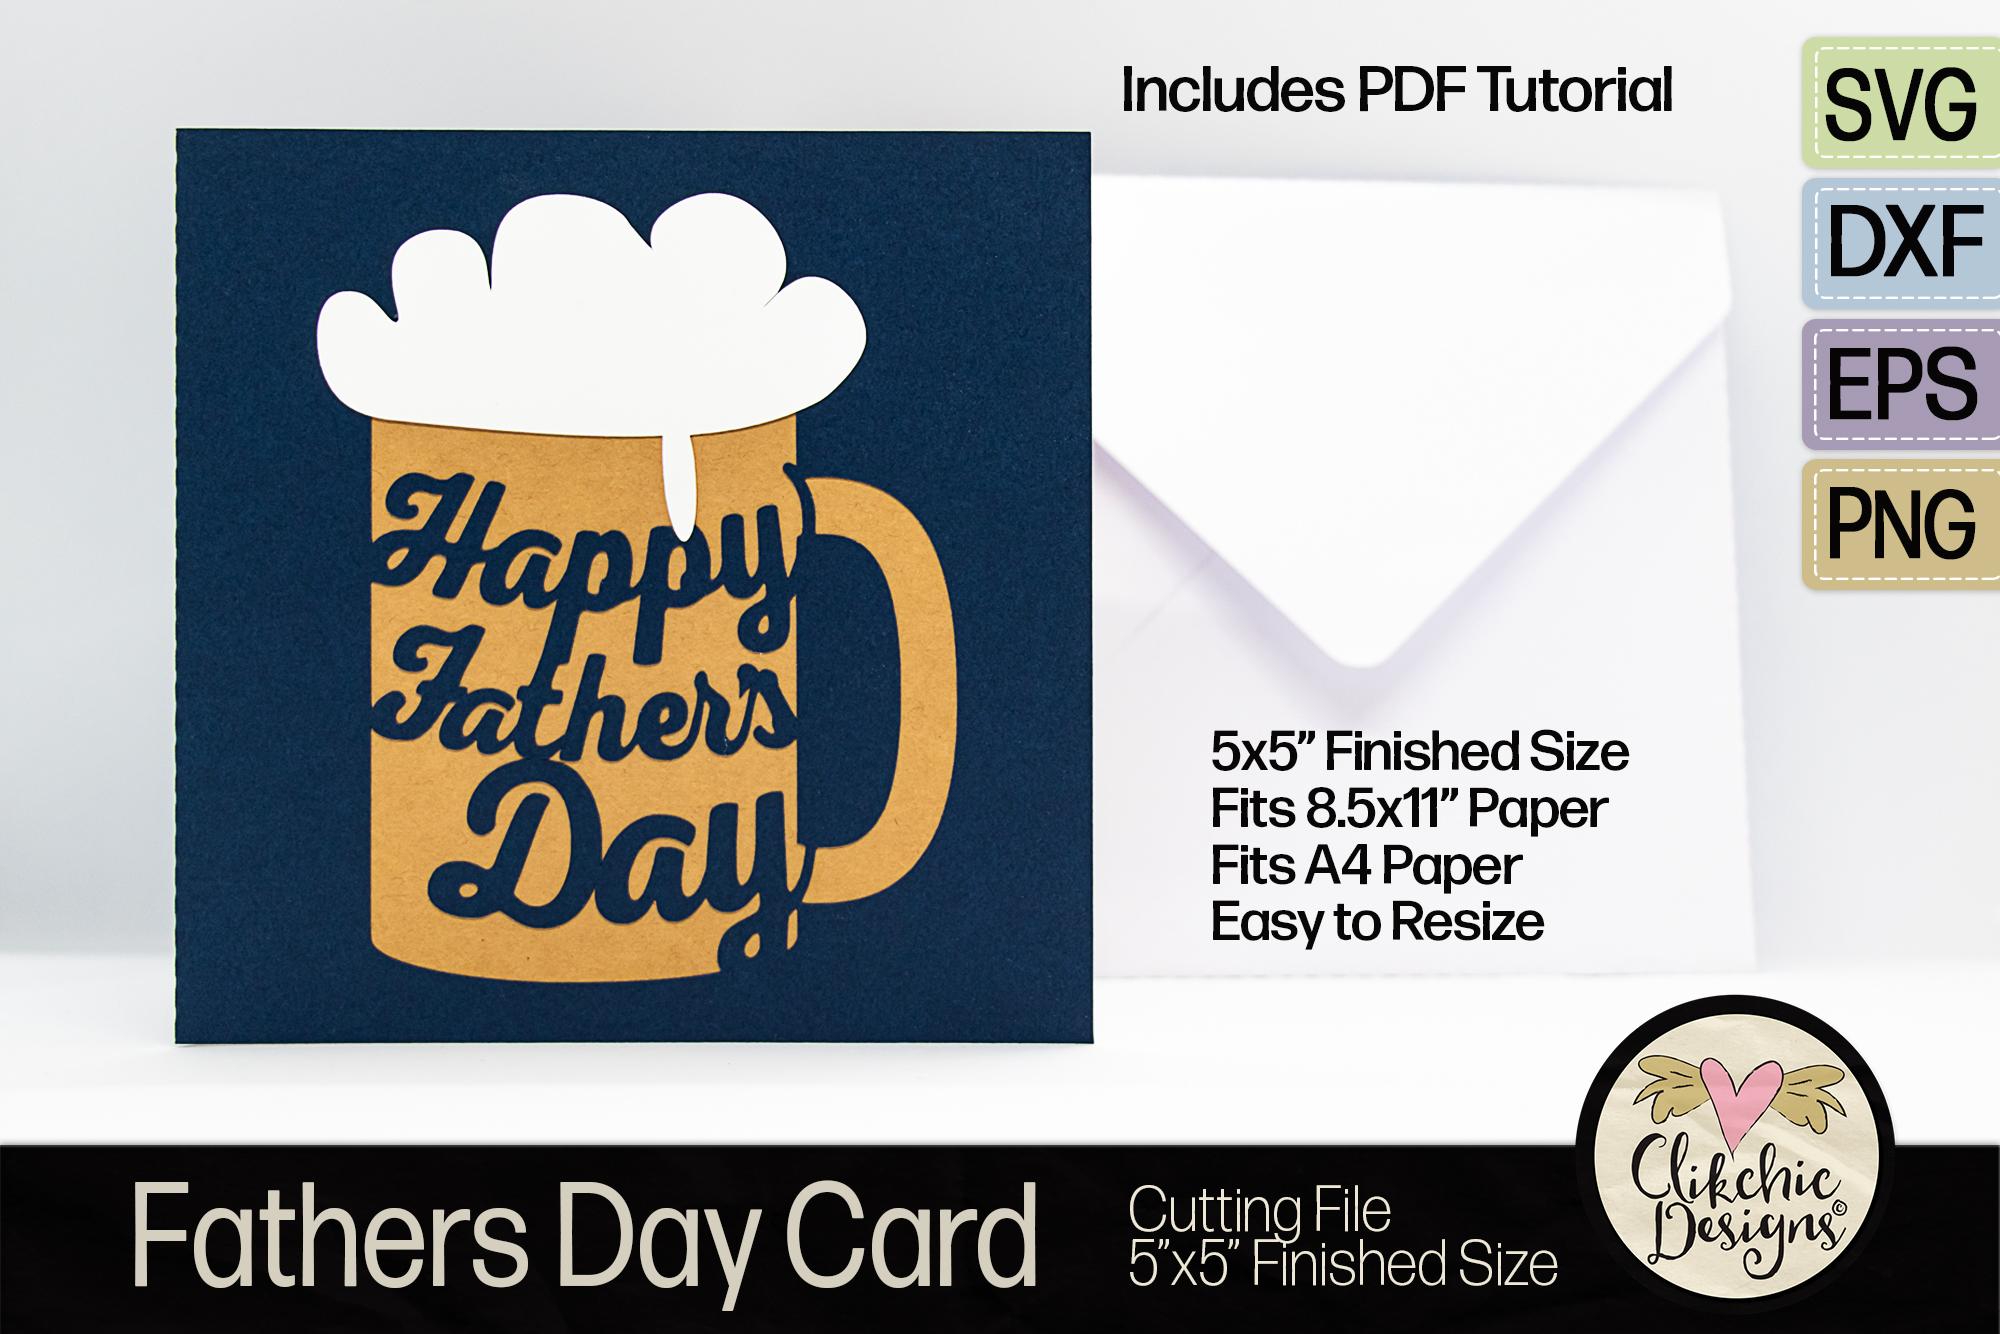
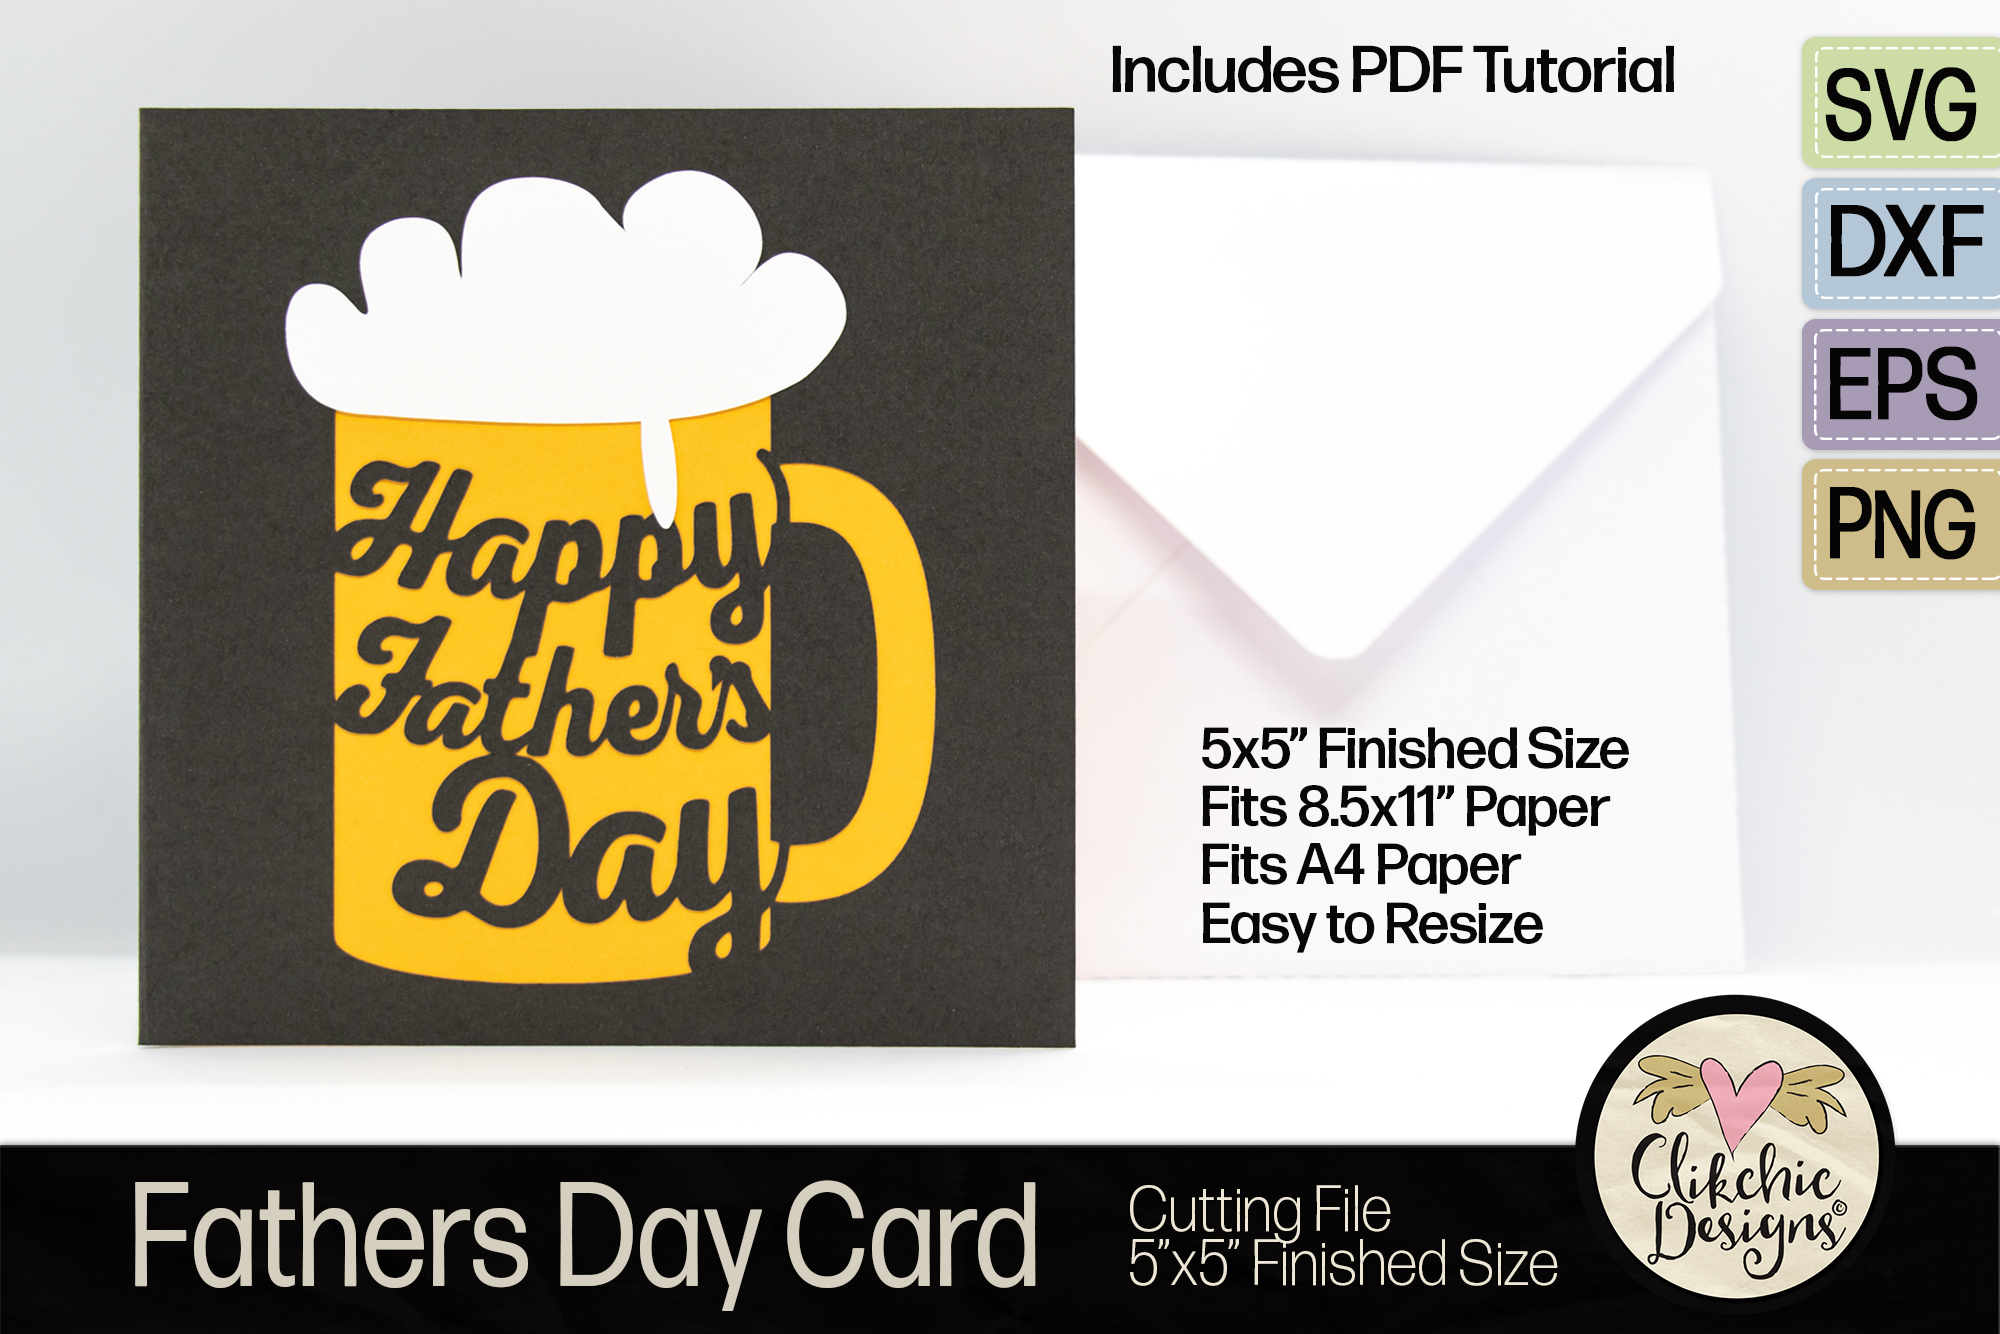
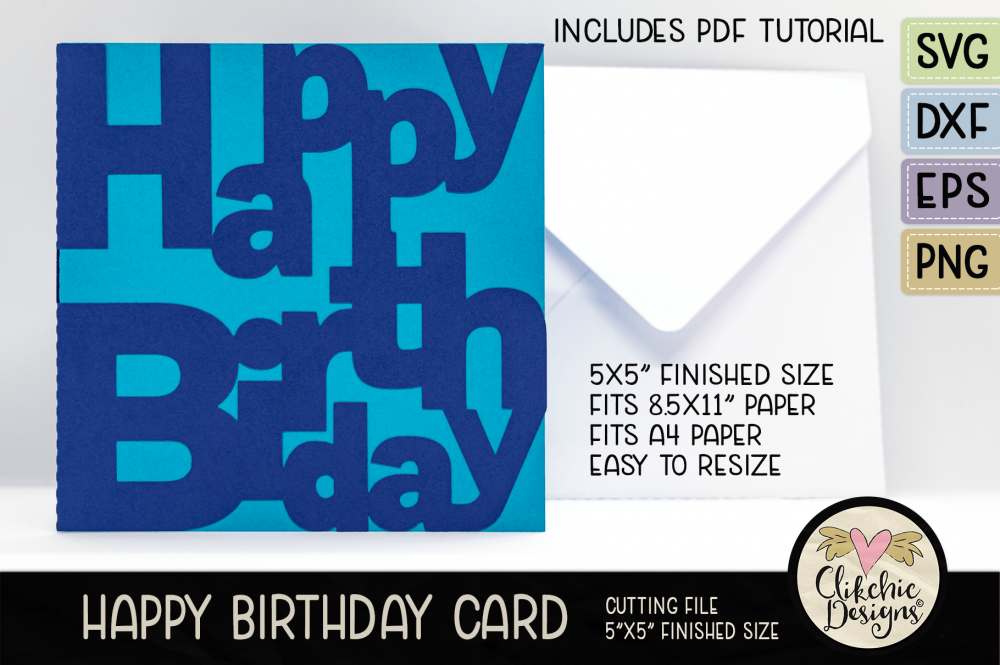
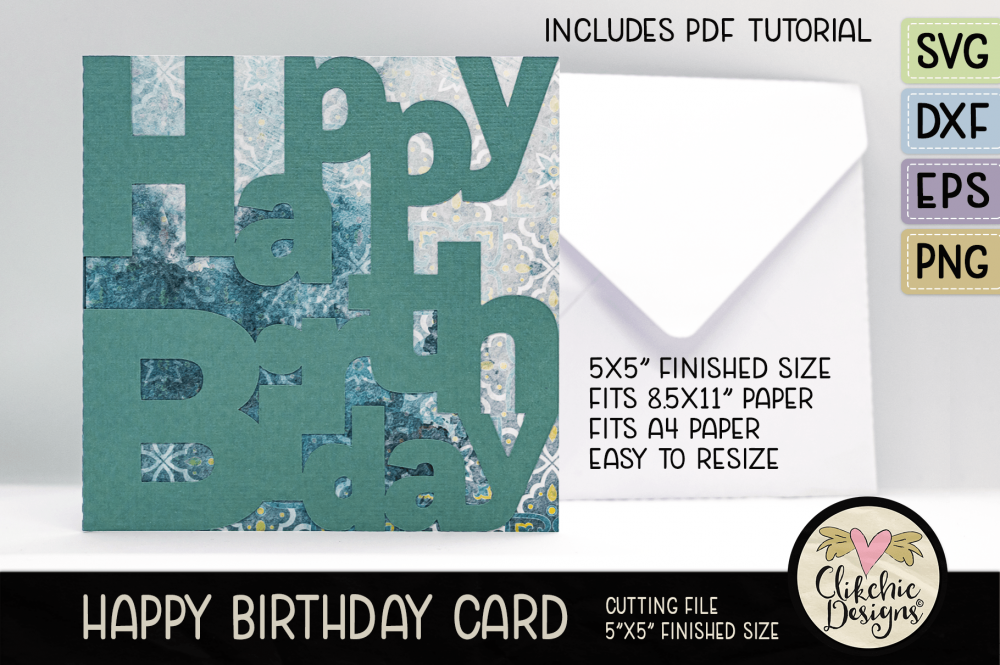
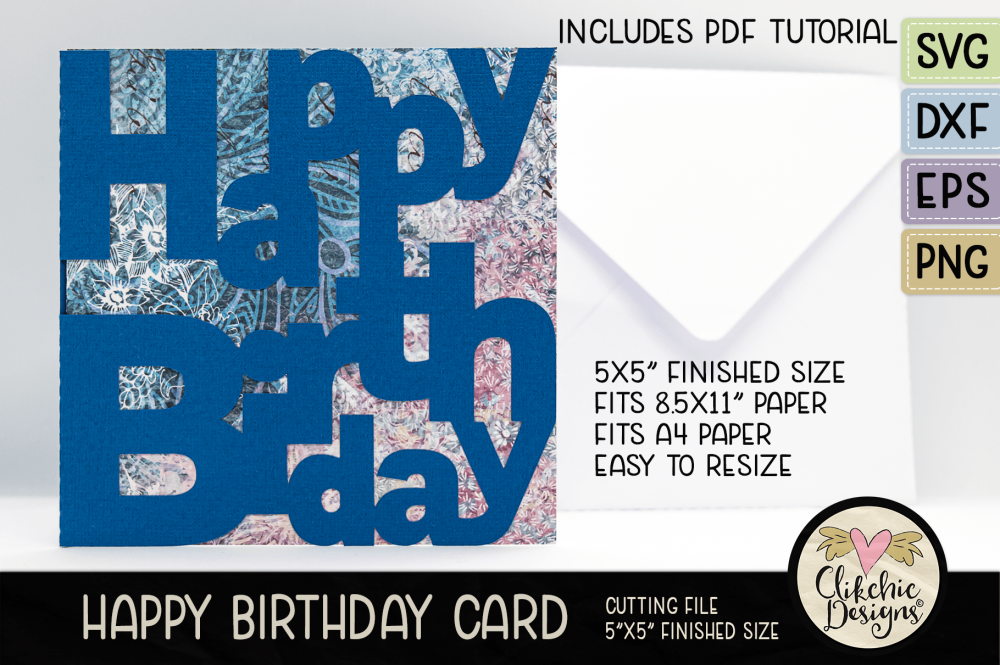
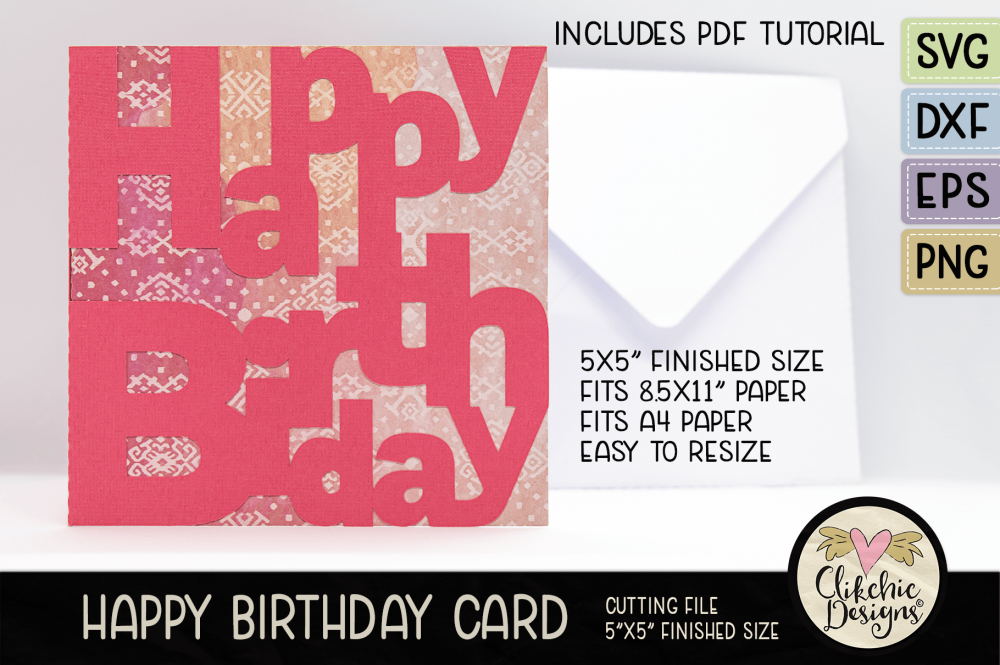
There aren’t too many Dad’s who don’t love the occasional beer and this Happy Father’s Day Beer Card SVG Cutting File is bound to hit the spot! Easy to make but striking and bound to please this card is perfect for telling your favourite Dad what a special person they are to you. The Card is square format and finishes at 5×5″ although can be resized to any size to suit your needs. It includes an insert for writing the perfect personal sentiment. Craft the perfect card for your Dad with this gorgeous cutting file available at:
For those of you using the Basic Edition of Silhouette Studio you may have come across the issue that DXF files do not open at intended size. For those of you who have purchased my Envelopes and Card cutting files this may be a issue that needs resolving. Following I have included a list of the file sizes for my Envelope and Square Cards as well as a tutorial for resizing DXF files in Silhouette Studio and then how to save as a .studio file for future use.
DXF files unfortunately do not retain file size information and as a result when opening them in Silhouette Studio they may not open as the intended size. When sizing information needed to be specific this can be problematic. In the case of the envelopes I sell on Etsy, Design Bundles and Creative Market, I have available on Etsy, this creates a problem for the people who use DXF files. This problem can be overcome by upgrading to the Designer Edition of Silhouette Studio. The Silhouette Studio Comparison Chart is available here. Often online stores will offer discounted versions of the software, so it is worth doing a quick search for the software upgrades to be sure you have the best price.
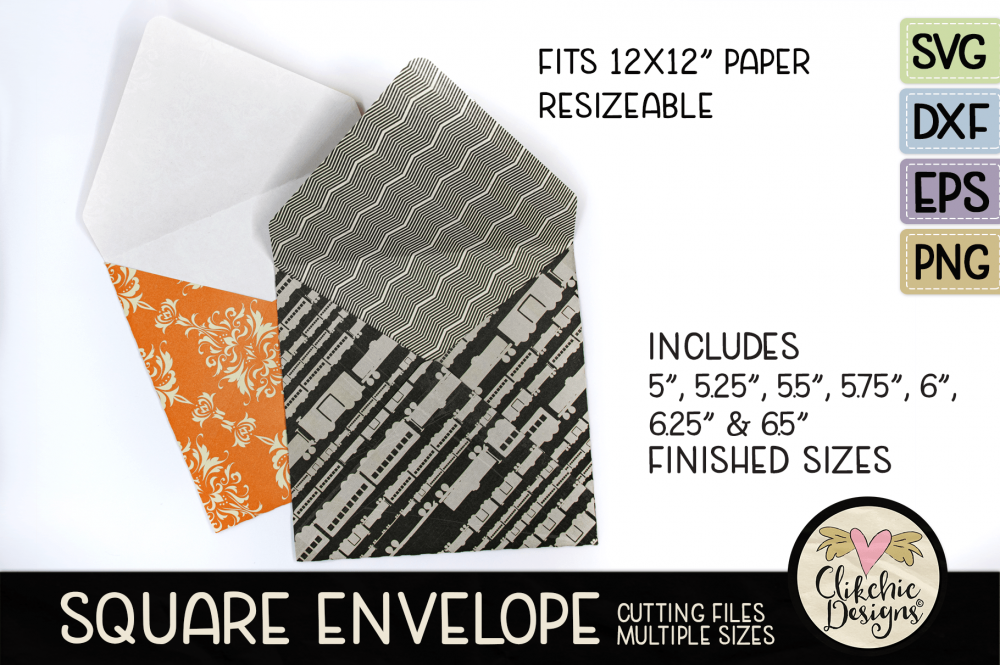
Following are the sizes the envelopes I have available for easy reference. From there I have a quick tutorial on how to resize your files if you do not wish to upgrade.
Square Envelopes
5 Inch Envelope – 8.721 Inches 5.5 Inch Envelope – 9.529 Inches 5.25 Inch Envelope – 9.128 Inches 5.75 Inch Envelope – 9.976 Inches 6 Inch Envelope – 10.406 Inches 6.25 Inch Envelope – 10.793 Inches 6.5 Inch Envelope – 11.190 Inches
Other Envelopes
Slimline Size 10 Envelope – 11.535 x 8.930 Inches DL Envelope – 10.5 x 9.359 Inches 5 x 7 Envelope – 8.780 x 11.365 Inches C6 Envelope – 7.764 x 9.709 Inches A6 Envelope – 7.896 x 10.326 Inches
The finished size of my square cards should be 5×10″
Resizing your file
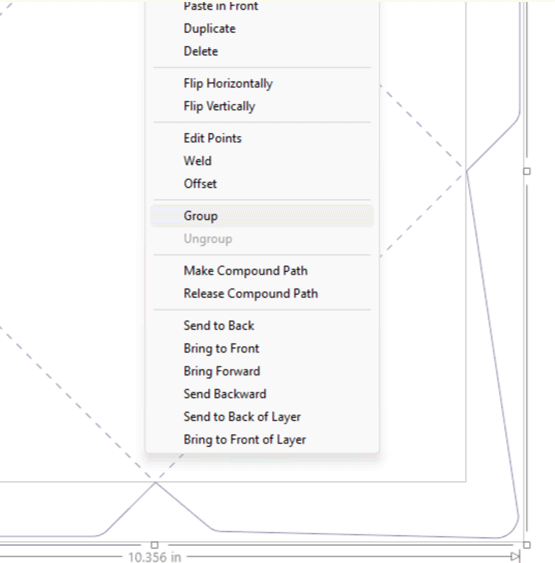
Click and Drag To resize your file, it is a good idea to first make sure all the paths (lines) are grouped together so they move together. You can hold down the shift key and click on each one to select them, or more simply you can click and drag the cursor from the top left of the image to the bottom right and then release. Once you have done this right click on one of the paths of the selected image where a menu will appear. Select group from the menu to group the selected paths.
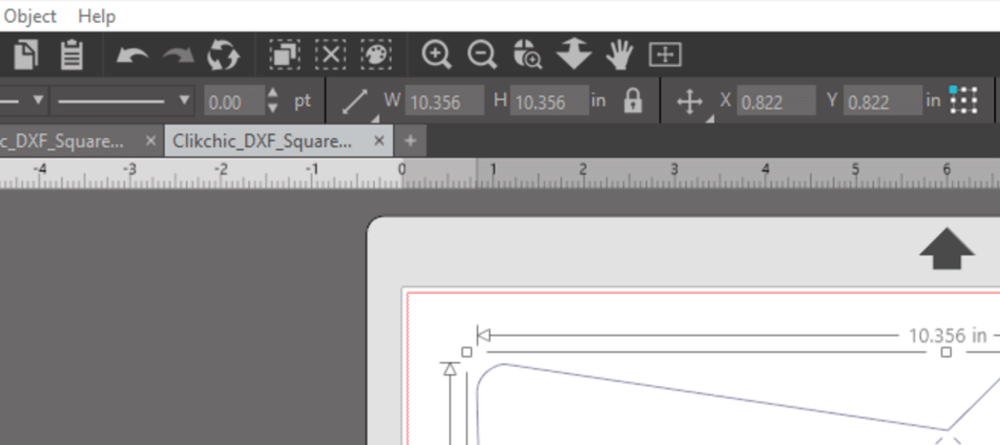
Once your image is grouped you can resize as needed and all the paths will resize together. Resizing can be done by eye but to resize to precise measurements you can adjust the sizing manually by using the measurements in the toolbar.
In the screenshot above you can see there are W & H measurements. You can adjust these by clicking in each measurement box and entering the size you require while the image is selected. By default, the sizes are in inches in Silhouette Studio. Use the measurements at the start of this tutorial to resize your envelope to the desired size. In this case you will likely require the aspect ratio to be locked but if you wish to resize your image without retaining the aspect ratio you can do so by clicking on the lock next to the measurements to unlock the aspect ratio. This allows you to adjust the sizing which will change the proportion of the width to the height.
Save Your File
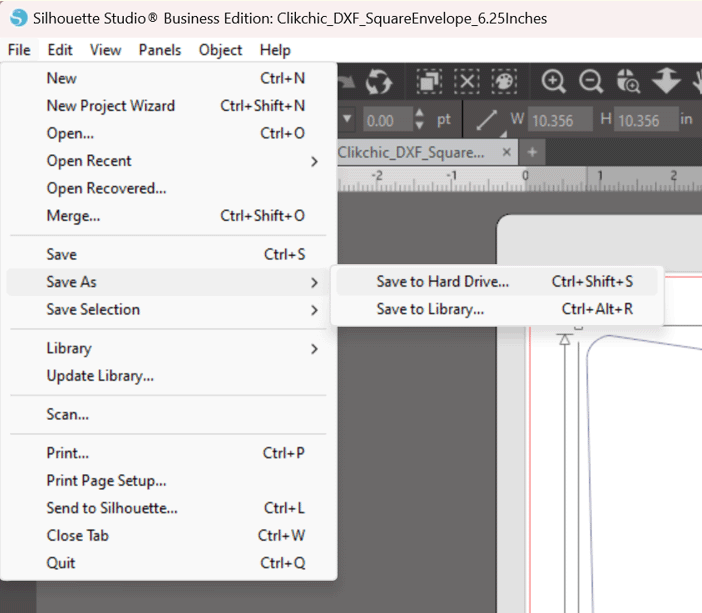
Once you have resized your file to the preferred size you can save your file by going to the file menu and selecting Save As where you can choose to save to your Hard Drive or to your Library. The file formats you have available to you will depend on what version of Silhouette Studio you use however all versions allow you to save as a .Studio or .Studio3 file and that file format will allow you to retain the size changes you made to your file so that you can open the correct size in future without having to adjust the size first.
I hope this tutorial helps for future resizing needs!
Video tutorial below, written tutorial to follow soon.
Cardstock pieces must be cut in preferred colours on a cutting machine such as a Silhouette Cameo, Silhouette Portrait or other brand cutting machine before continuing.
Below is a simple YouTube Video on the process of assembling the card. Scroll down further to view the written tutorial.
A basic assembly tutorial will be included with the files as all my cards to date have both the outer card and an insert and assemble the same way.
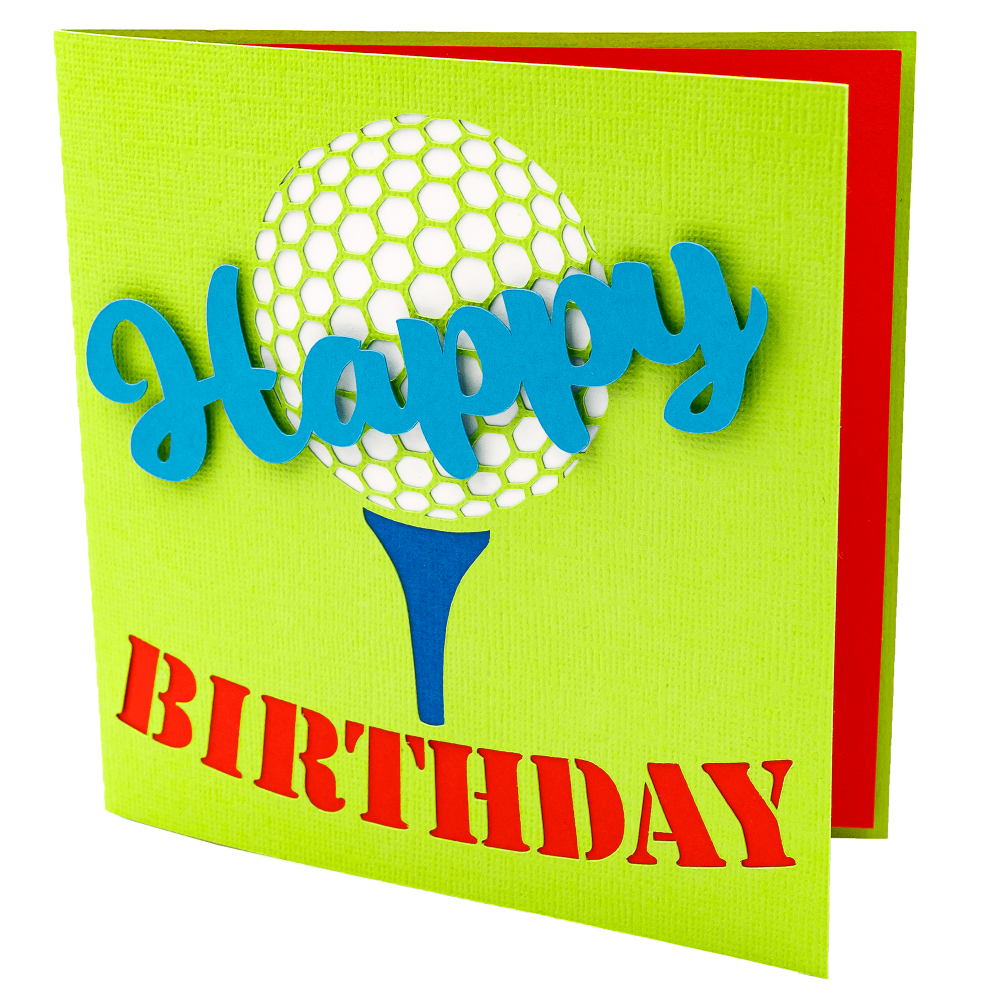
With his card I wanted to include the option of having different colours for the golf ball, tee and sentiments.
The included file for background pieces is optional to use to add extra colour to your card. If you wish to make a card more quickly you might choose to just use a patterned or brightly coloured paper insert. Making different colours when you have the time however gives the card a bit of pop, so I have included the cutting files to do so. The insert pieces should be cut in the colours required. In my case I kept the word Birthday the colour of the insert I used so did not use the optional piece for the word Birthday. I chose to use red carstock to make a colourful insert as well as make the word birthday the colour red.
I then cut the tee insert in purple and the golf ball insert in white. Once all the pieces were cut I placed the golf ball and tee pieces in place on the left inside of the card and traced around the edges of each piece so that when it comes time to glueing it is easy to know exactly were to place the pieces.
Once you have marked the pieces spray the left side of the card with adhesive or use other adhesive of choice. I used a glue stick for a while till I got the spray adhesive, but I find the spray adhesive gives better hold on the delicate pieces. I usually cover the other side of the card with scrap paper before spraying to ensure the other side does not get sprayed.
Attach the golf ball, tee and Birthday piece (optional) in the correct positions. Then once pieces are attached add more adhesive on back of each piece.
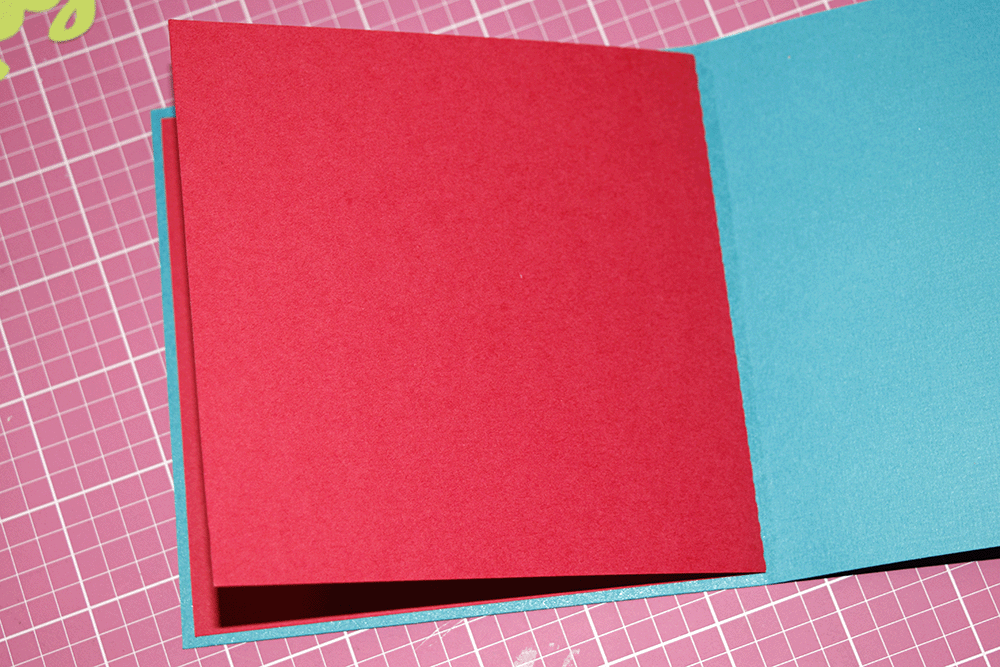
Attach the insert to the adhesive side of the card to complete your card. Additional instructions on card assembly are included in the other tutorial.
Once insert is adhered to the inside left of the card you can then adhere the Happy portion of the Birthday sentiment to the front of the card. I chose to use adhesive foam pieces to give a 3D effect.
Obviously, you can choose any colour cardstock you wish to suit your recipient.
I also have envelopes available which allow you to cut envelopes with custom cardstock to suit a large range of sizes.
My series of Halloween Treat Bags (instructions also work for Easter Treat Bag) are super cute for Halloween parties or for handing out to Trick or Treaters and are available in Silhouette Design Store. This adorable treat bag fits on A4 or 8.5×11″ cardstock. The pieces for the bag itself and the decorations for the front whether they be the Ghost, the Bat or the Pumpkin are all contained in the file and should be cut in the colours of your choice.
Note: follow along with this tutorial for the Easter Treat Bag. Simply rather than assembling the decoration cut and glue acetate rectangle to the inside of the egg shaped window.
Below is an assembly tutorial video or scroll below the video to view the text instructions.
The decorations for the front feature 2-3 pieces depending on which bag you have. First assemble the decorations by adhering the backs to the front piece. In the case of the pumpkin there is also the stalk which gets adhered flush with the bottom part of the pumpkin directly on the treat bag.
Once your decoration is assembled, it is time to fold and adhere your treat bag. Start by folding the score lines which for the outside corners of the bag. You can also fold the score lines which allow you to fold the sides of the bag inwards. It folds more easily if you fold the same way as the other lines first and then fold in the opposite direction. I chose to not fold the diagonal lines but you may choose to fold those to make design more crisp. Once you have folded all score lines it is time to adhere the bag. I have found it easiest to place adhesive on the smaller bottom pieces and the side tab first.
Start by folding the first smaller bottom tab flush with the next larger bottom tab to make a crisp square corner. Repeat with the second smaller bottom tab to the same larger bottom tab. Next adhere the tab on the smaller side of the bag to the inside of the larger side of the bag keeping the edges flush with each other. Next fold the final larger tab onto the bottom to close the bag by pushing the adhesive of the tab to the bottom of the bag. If needed push down on the bottom with your hand inside the bag or other implement.
Now that the bag is fully assembled adhere the front decoration. I used foam squares to give a 3D look. With the pumpkin stalk I used adhesive to adhere it flush with the top of the pumpkin. Instead of using foam squares I used regular adhesive to allow the pumpkin to stand out a little further from the face of the bag than the stalk.
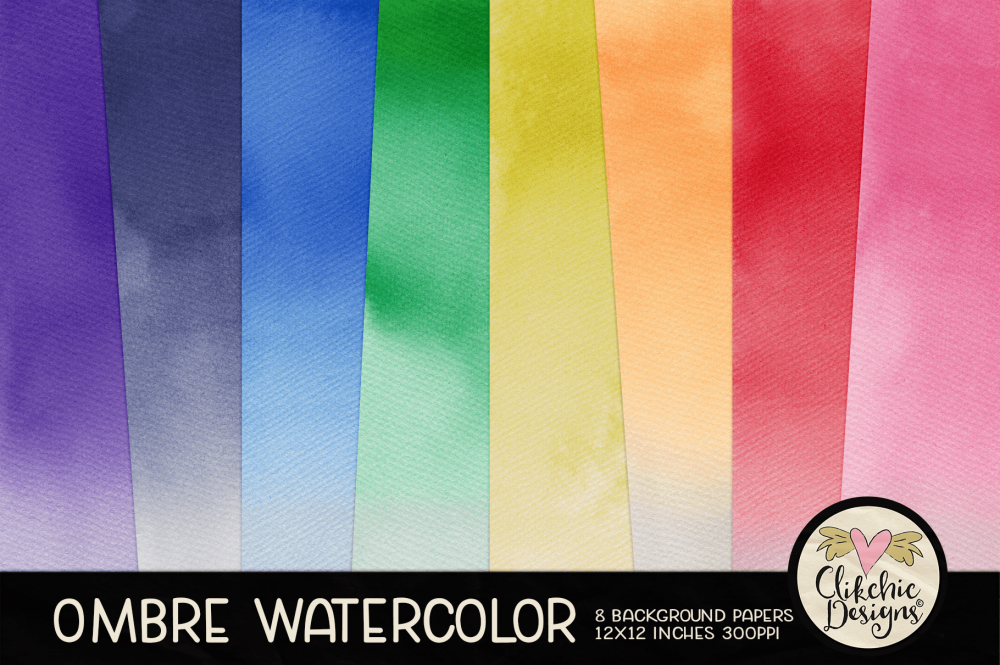
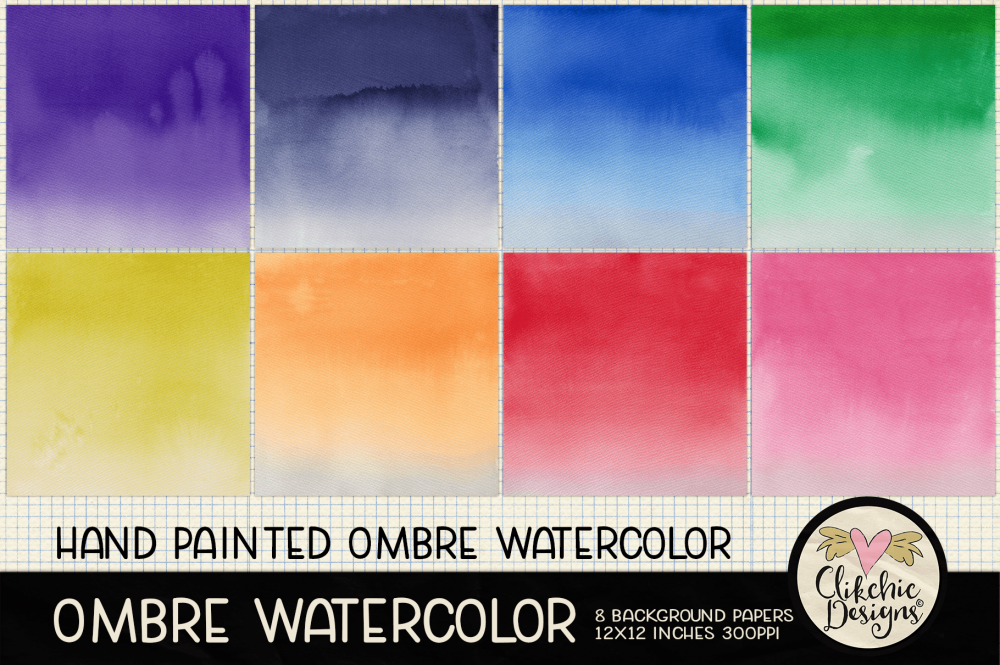
It has been a while since I have designed backgrounds and since watercolor remains quite popular thought it was time I did some more watercolor backgrounds! So that brings me to my latest set of watercolor backgrounds, Ombre Watercolor. They are available as sets in my Design Bundles, Creative Market and Etsy Stores and individually as background patterns in my Silhouette Store. Make sure you check out my other watercolor designs while you are there! Links are as follows.
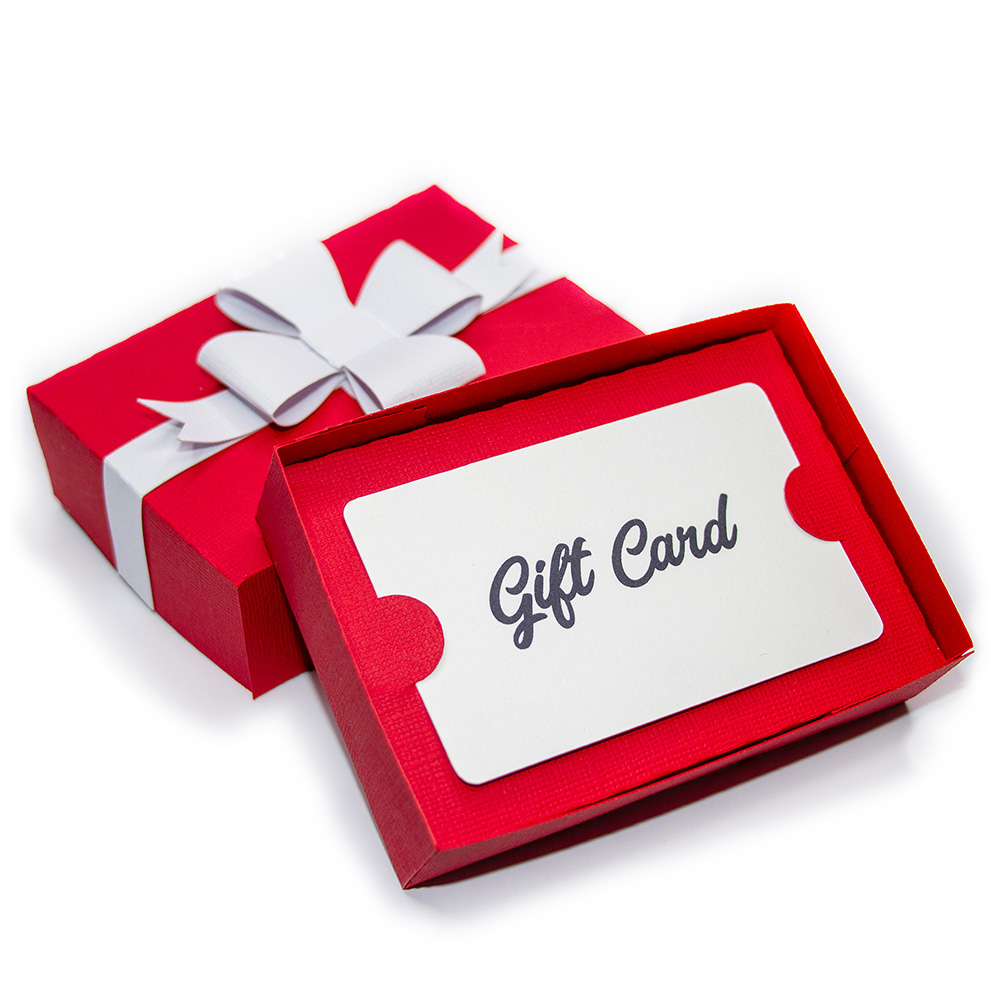
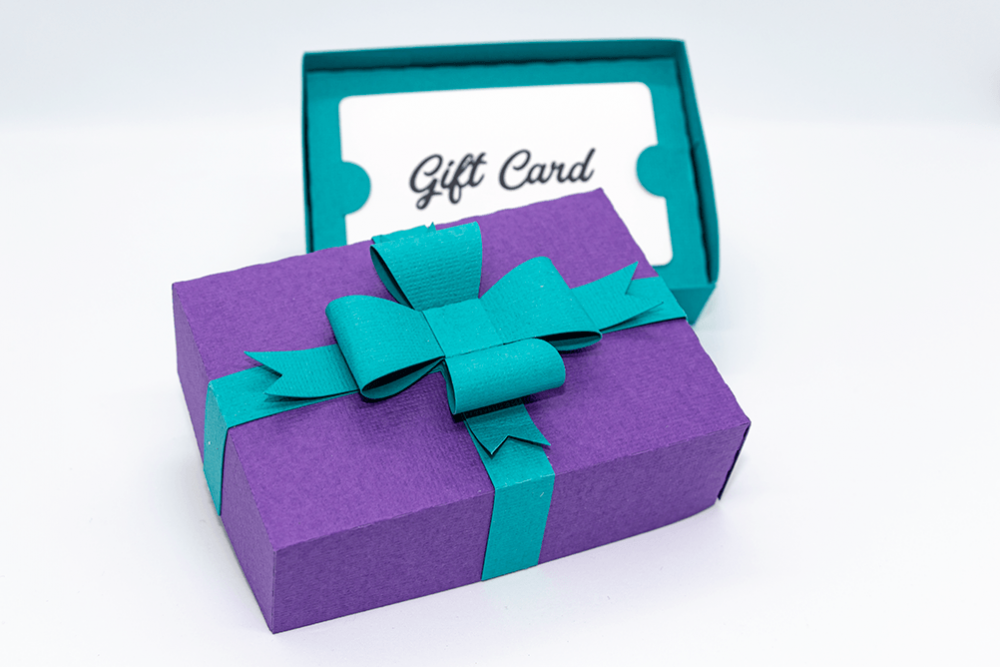
A gift card can feel a little impersonal. This 3D gift card box fixes that. It holds a standard credit card sized gift card, and the lid is finished with a ribbon band and a handmade paper bow. Assembly is simple, and you can cut it in any colour or patterned cardstock to suit the occasion.
Prefer to watch? The assembly video is at the bottom of this post, and the written steps below follow the same order.
Optional: move the video to the top of the post, since it is the main visual for every step.
At a glance
Finished size: approx 108 x 76 x 46 mm (4.25 x 3 x 1.8 in), including the ribbon
Fits: a standard credit card or ATM card sized gift card
Paper size: 8.5 x 11 in, A4 or 12 x 12 in
Cutting machine: Silhouette Portrait or Cameo
Cardstock: medium to heavy weight gives the best result. Lighter cardstock works, but the box will fit more loosely
The design opens in Silhouette Studio® with the pieces already laid out, and the fold lines are marked on each piece.
Box top (lid) and box bottom (tray)
Gift card holder (the insert)
Ribbon cross: the long cross shape that wraps around the box
Tail cross: the smaller cross with forked ends
Two bow loops: the long strips with shaped ends
Bow centre: the small rectangle
Each piece is a different colour in the file so you can see what is what. You can cut everything from one colour, or use two or three. In the photos, the box is cut from one colour and the ribbon and bow from another.
Step 1: Cut the pieces
Cut all the pieces from your chosen cardstock. If you are using two colours, cut the box top, box bottom and gift card holder in one, and the ribbon pieces in the other.
Step 2: Assemble the box bottom
Fold along all the scored lines.
Add glue to the tabs.
Fix each tab to the inside of the box side, keeping the corners at right angles and the edges flush.
Hold each side for a few seconds until the glue grips.
Step 3: Assemble the box top
Repeat the same steps for the box top. The lid is slightly larger than the base so it slides over it.
Step 4: Add the gift card holder
Fold score lines and glue tabs to assemble gift card holder tray. Place the gift card holder into the box bottom. It is easier to slip the gift card in first, then lower the holder into the tray.
Step 5: Join the ribbon pieces
Lay the ribbon cross flat. Glue the smaller tail cross on top of it, centred and flush, so the forked ends sit over the ribbon.
Step 6: Make the first bow loop
Take one of the shaped bow strips and bring its ends together.
Glue the shaped ends to the underside of the ribbon centre.
Glue the centre of the bow to the wrap around the centre of the ribbon cross.
Step 7: Make the second bow loop
Repeat the same steps with the second shaped strip.
Glue the small bow centre piece around the middle to hold both loops together.
Fix the second loop facing the opposite direction and underneath the first, so the bow sits evenly.
Step 8: Attach the ribbon to the lid
Glue the finished ribbon and bow to the centre of the box top, pressing it flush against the lid.
Step 9: Finish
Place the box top onto the box bottom. Your gift card box is ready to give.
Tips for a neat result
Use medium to heavy cardstock for crisp folds and a firm fit.
Use a small amount of craft glue and hold each join until it grips. Too much glue can warp the paper.
Textured cardstock gives the box a fabric look. The photos use heavy textured cardstock.
Colours are entirely up to you. Try a plain box with a patterned ribbon, or metallic cardstock for the bow.
The gift card holder is optional. Leave it out and the box works for chocolates, treats and other small gifts.
Watch the assembly video
More boxes on the way
Looking for a box for jewellery? Two new designs are coming: one for necklaces, and one for earrings or a ring. [Links to come!] Also available are jewelry display cards that you can use to hang or display jewelry for sale or for gift giving as well. Check out the article with store links.
This super cute Gift Card Box is easy to assemble and perfect for giving gift cards to loved ones in style. The cutting file is now available in the Silhouette Design Store here. Use cardstocks to suit the occasion!
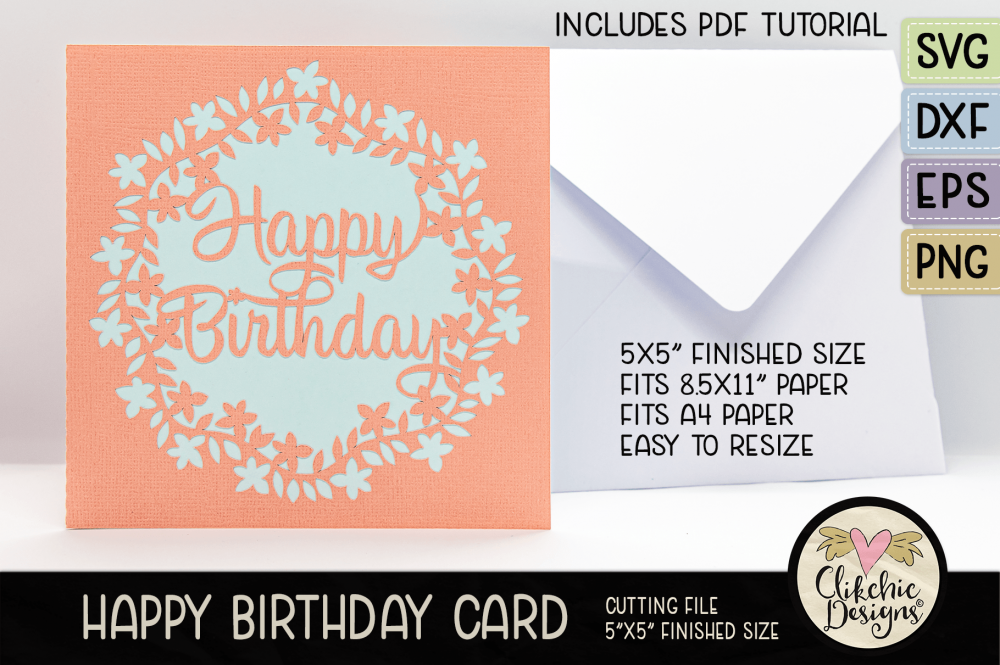
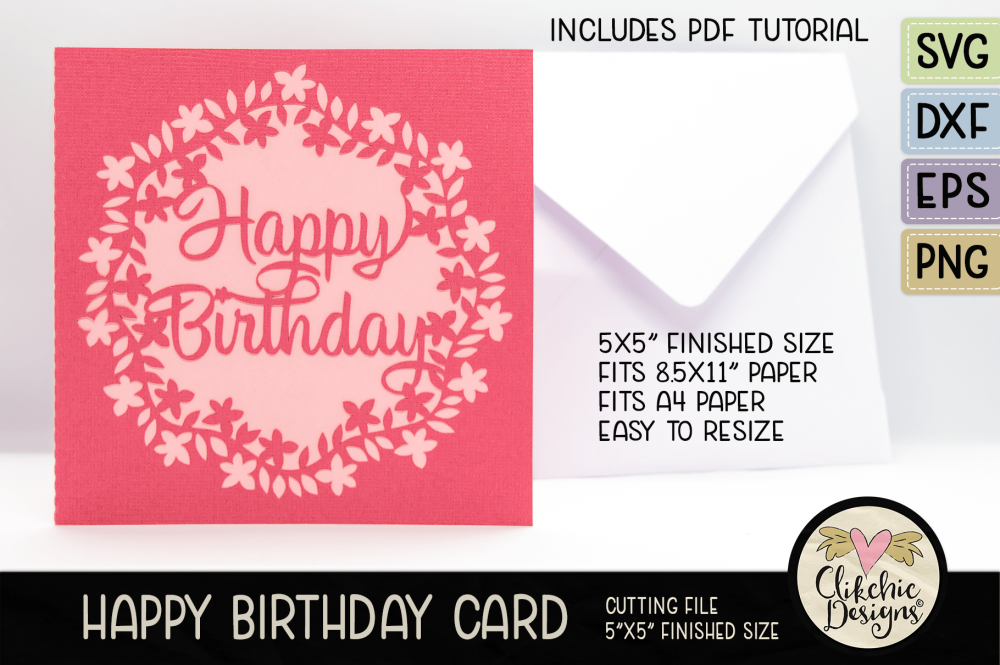
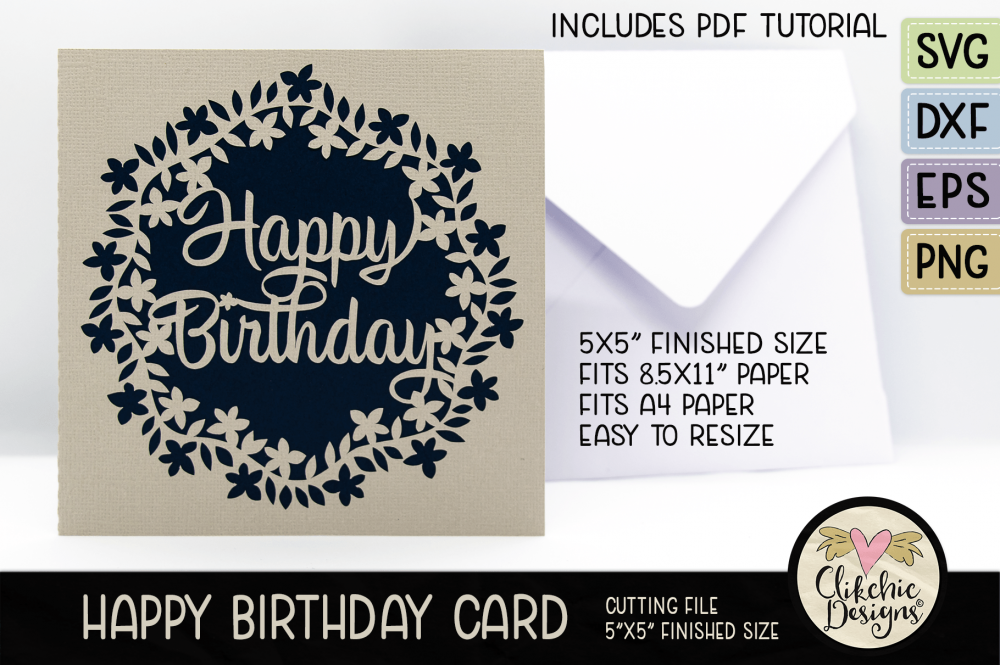
This gorgeous Floral Wreath Happy Birthday Card is now one of my favourites. The circle of flowers and leaves on a vine are so pretty and I know I will use this SVG Cutting file over and over again for Birthdays as I am sure it will please. I think it will look fabulous with a subtle patterned insert as well. I find high contrast always looks best on photos but in person monochrome and patterns look great as well.
The Floral Wreath Happy Birthday Card is available in my stores below.
I really like the simplicity of this card. It is striking and can really pop with the right combination of cardstock papers. I chose monochromatic and plain with patterned papers in the samples below but I made one the other day in bright green and black and it turned out to be my favourite version so far even though I am not overly fond of the colour green. I must remember to make another to share a photo of. A bright colour on a black background always seems to look really striking.
If the insert is black you can overcome the issue with being able to see your writing by using a good quality white gel pen or a metalic pen of some sort. Not all gel pens will show up on black, so it is worth testing them first before buying if you are able. I chose the top chosen brand in this article and it has been a great pen choice. I orderd some silver and gold in the same brand as well but haven’t tried them out yet. Anyway! Back to the cards! Check them out in my stores below and scroll down to see the previews.
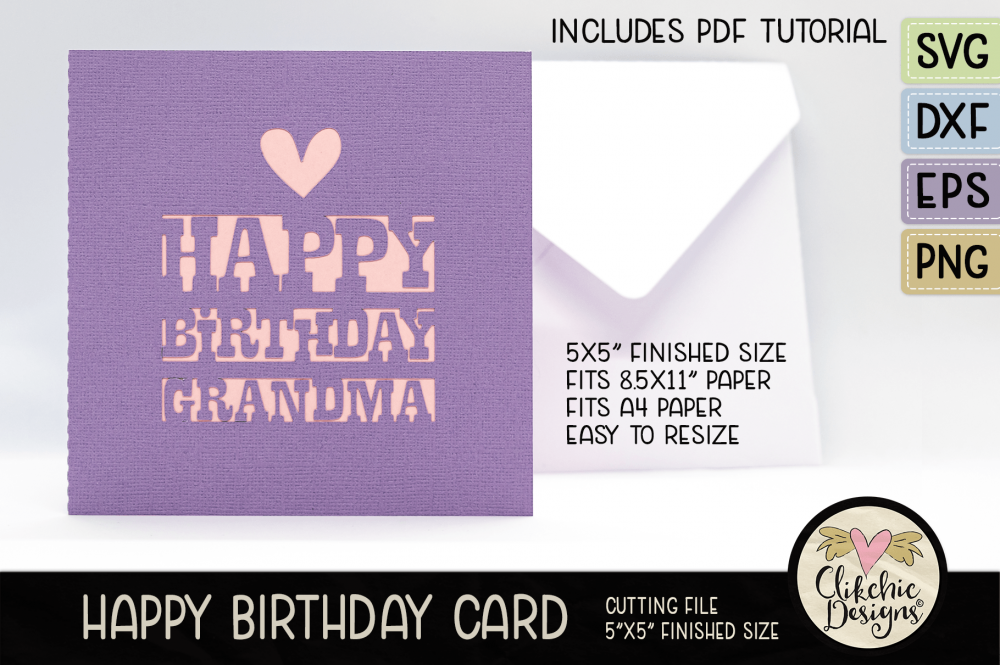
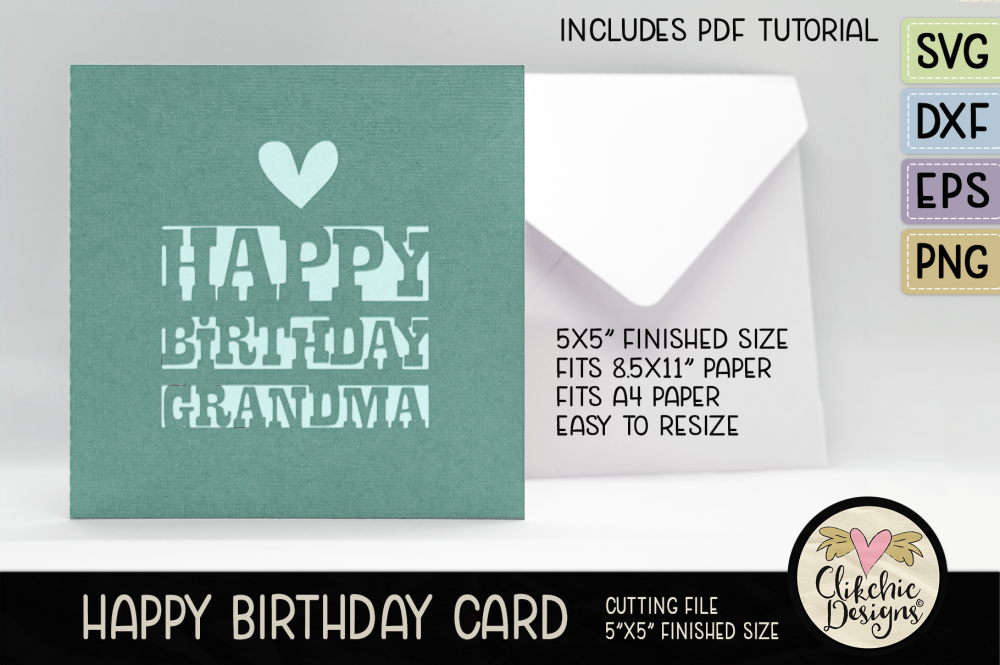
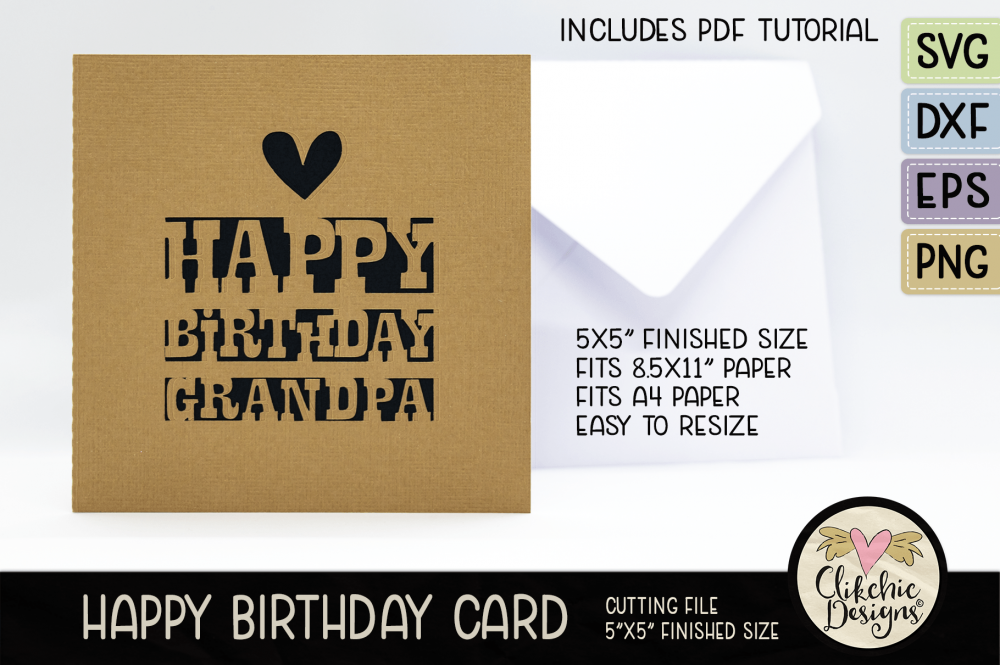
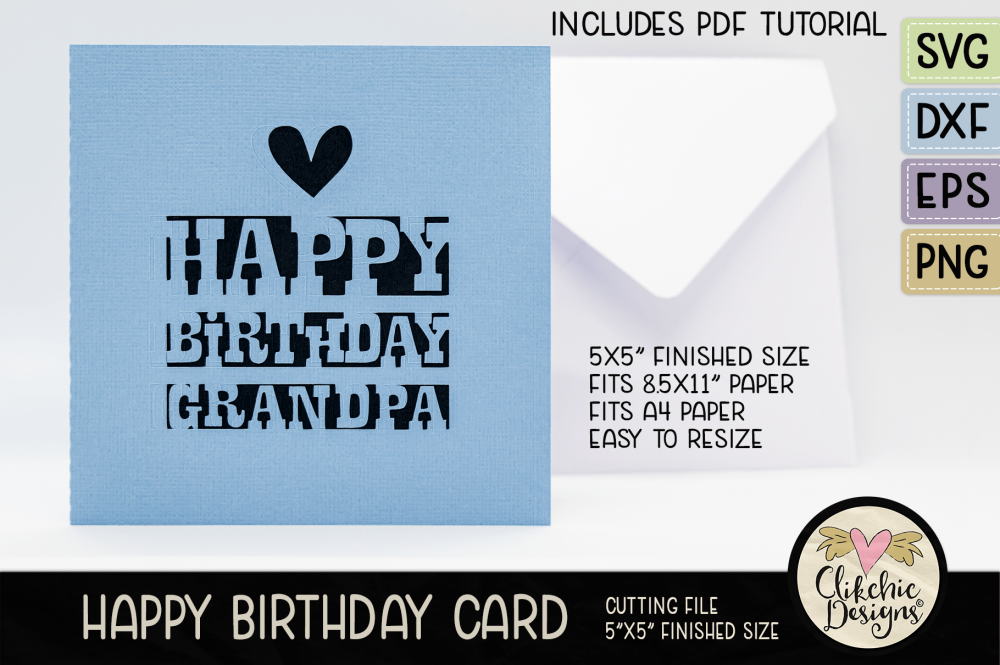
If anyone will appreciate the effort of you making them a handmade card it will be your Grandma and Grandpa! They may not know what an SVG cutting file is but they will certainly appreciate you took the time to make it yourself I am sure! Scroll down to see store links and previews of what these gorgeous cards look like finished.
The Happy Birthday Grandma cards are available at the store links below.