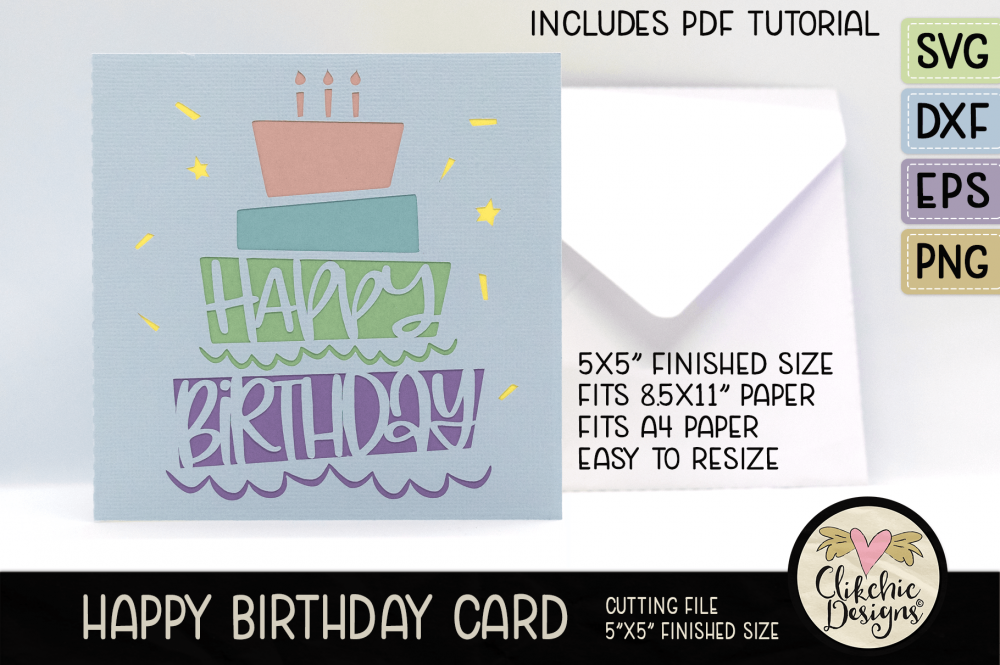
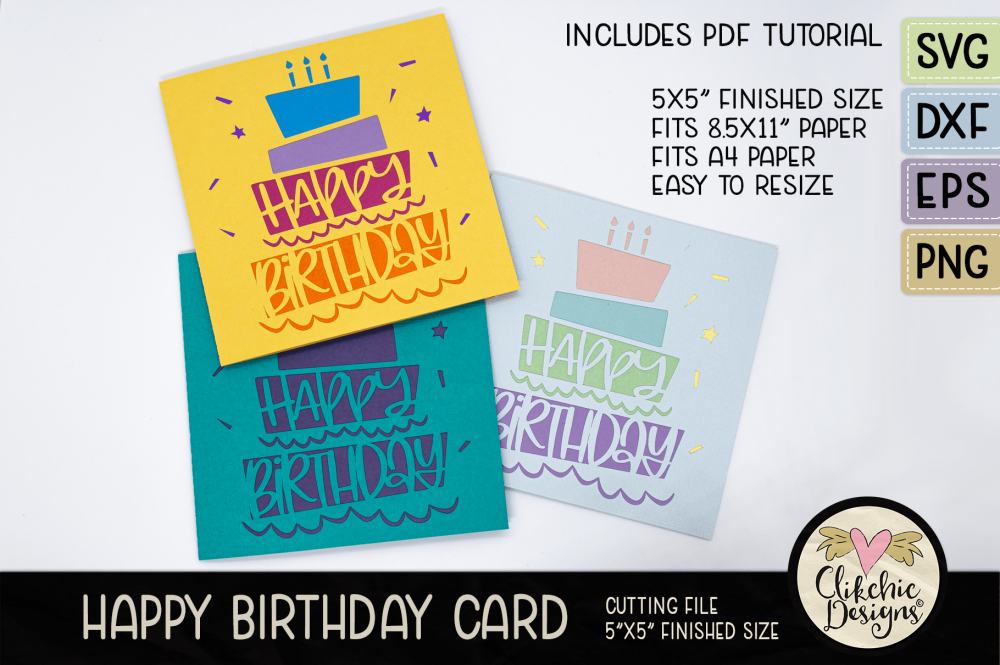
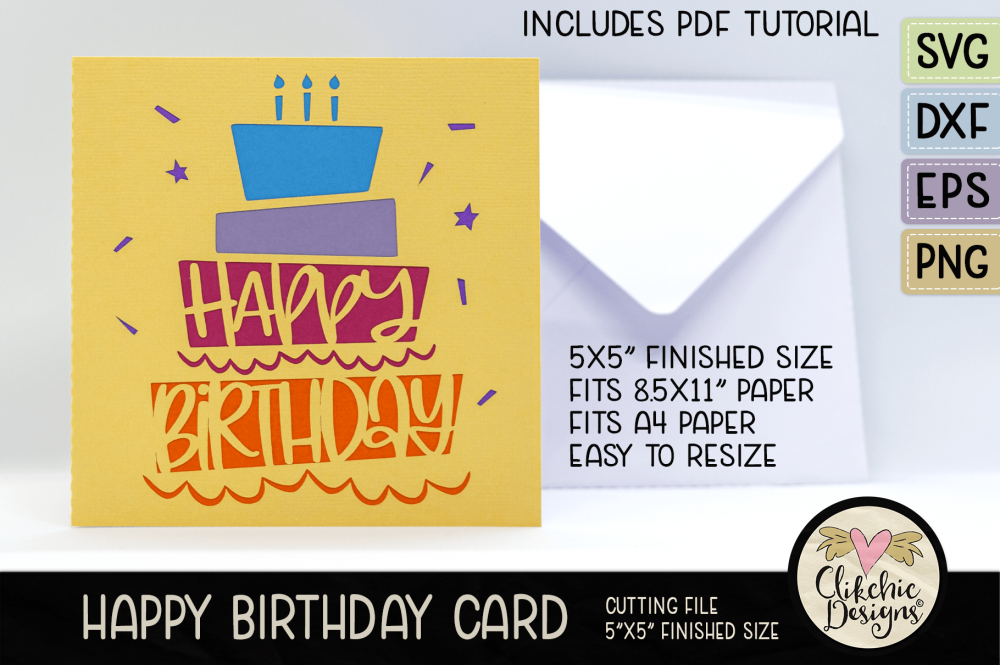
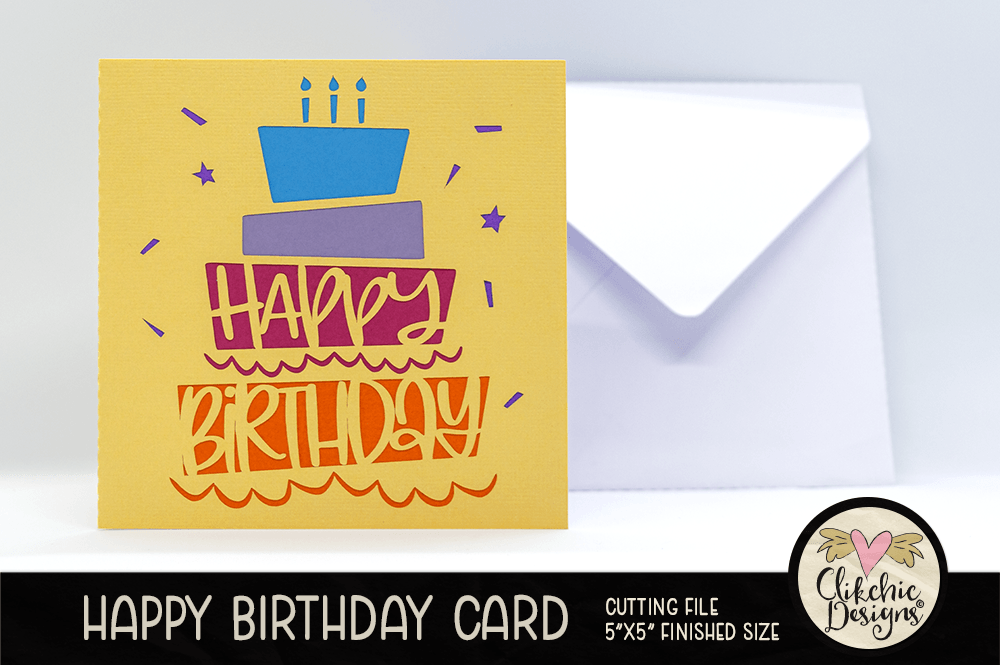
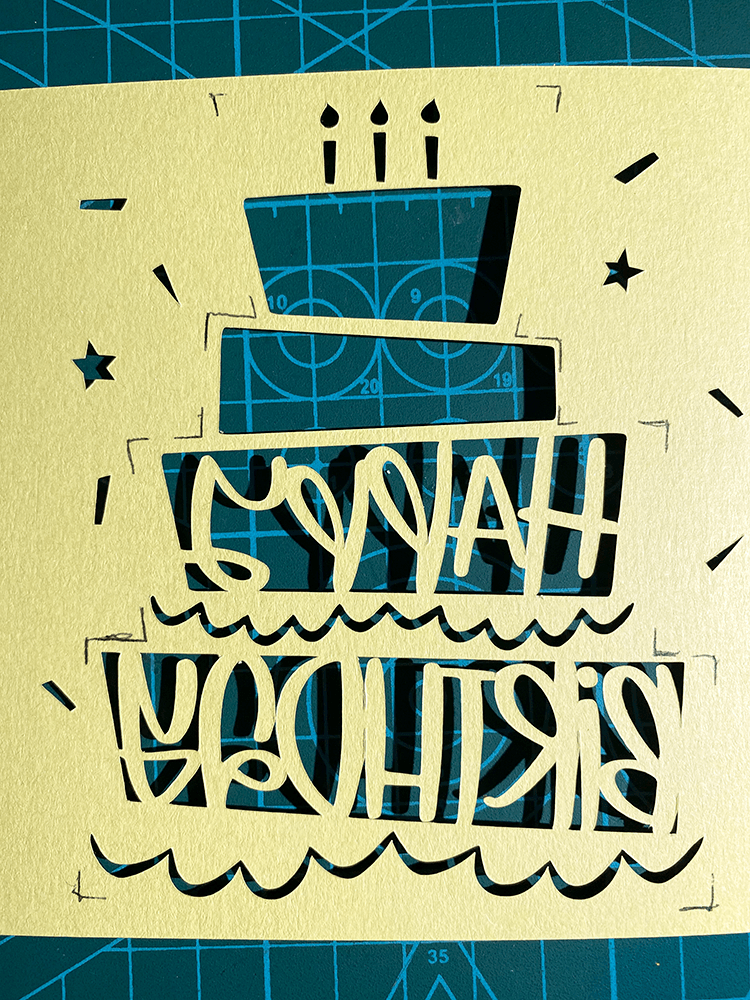
Some quirky cake is the order of the day with this whimsical Cake Birthday Card SVG Cutting file set. The best thing about these Birthday Card SVG Cutting Files is that it will suit literally anyone. Use pretty pinks for lovers of pink or little girls, use bright colours for young kids (male or female), use pastels for Grandma or your introverted best friend. Use bold tones for your partner, brother or uncle. This card is so cute and versatile you can choose colours to make it suit anyone. I really love how well it works with bold and bright colours and if I had enough different colours of pink cardstock you can bet I would have made a pink one as well as I really do love pink! (can you tell?) Note to self: stock up on more pink coloured cardstock.
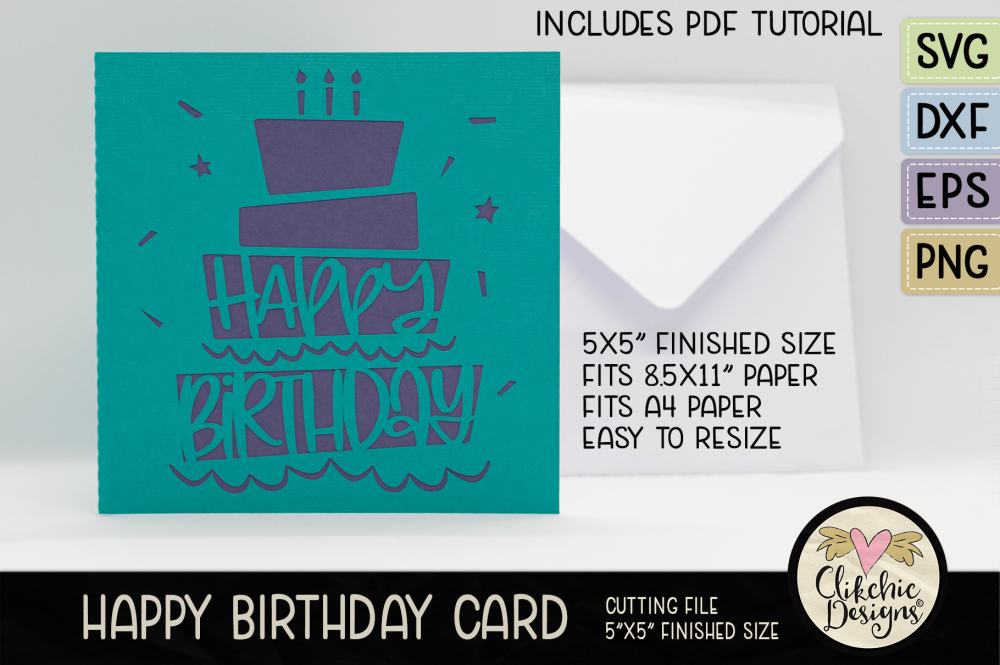
This Cake Birthday Card SVG Cutting File set comes with cut files to cut individual sections for the cake layers or if you prefer something quicker and easier you can make just the two colour card with a pretty insert colour. Also included is an extra assembly instruction tutorial. You can pick up this gorgeous Birthday Card SVG Cutting File set from my stores listed below.
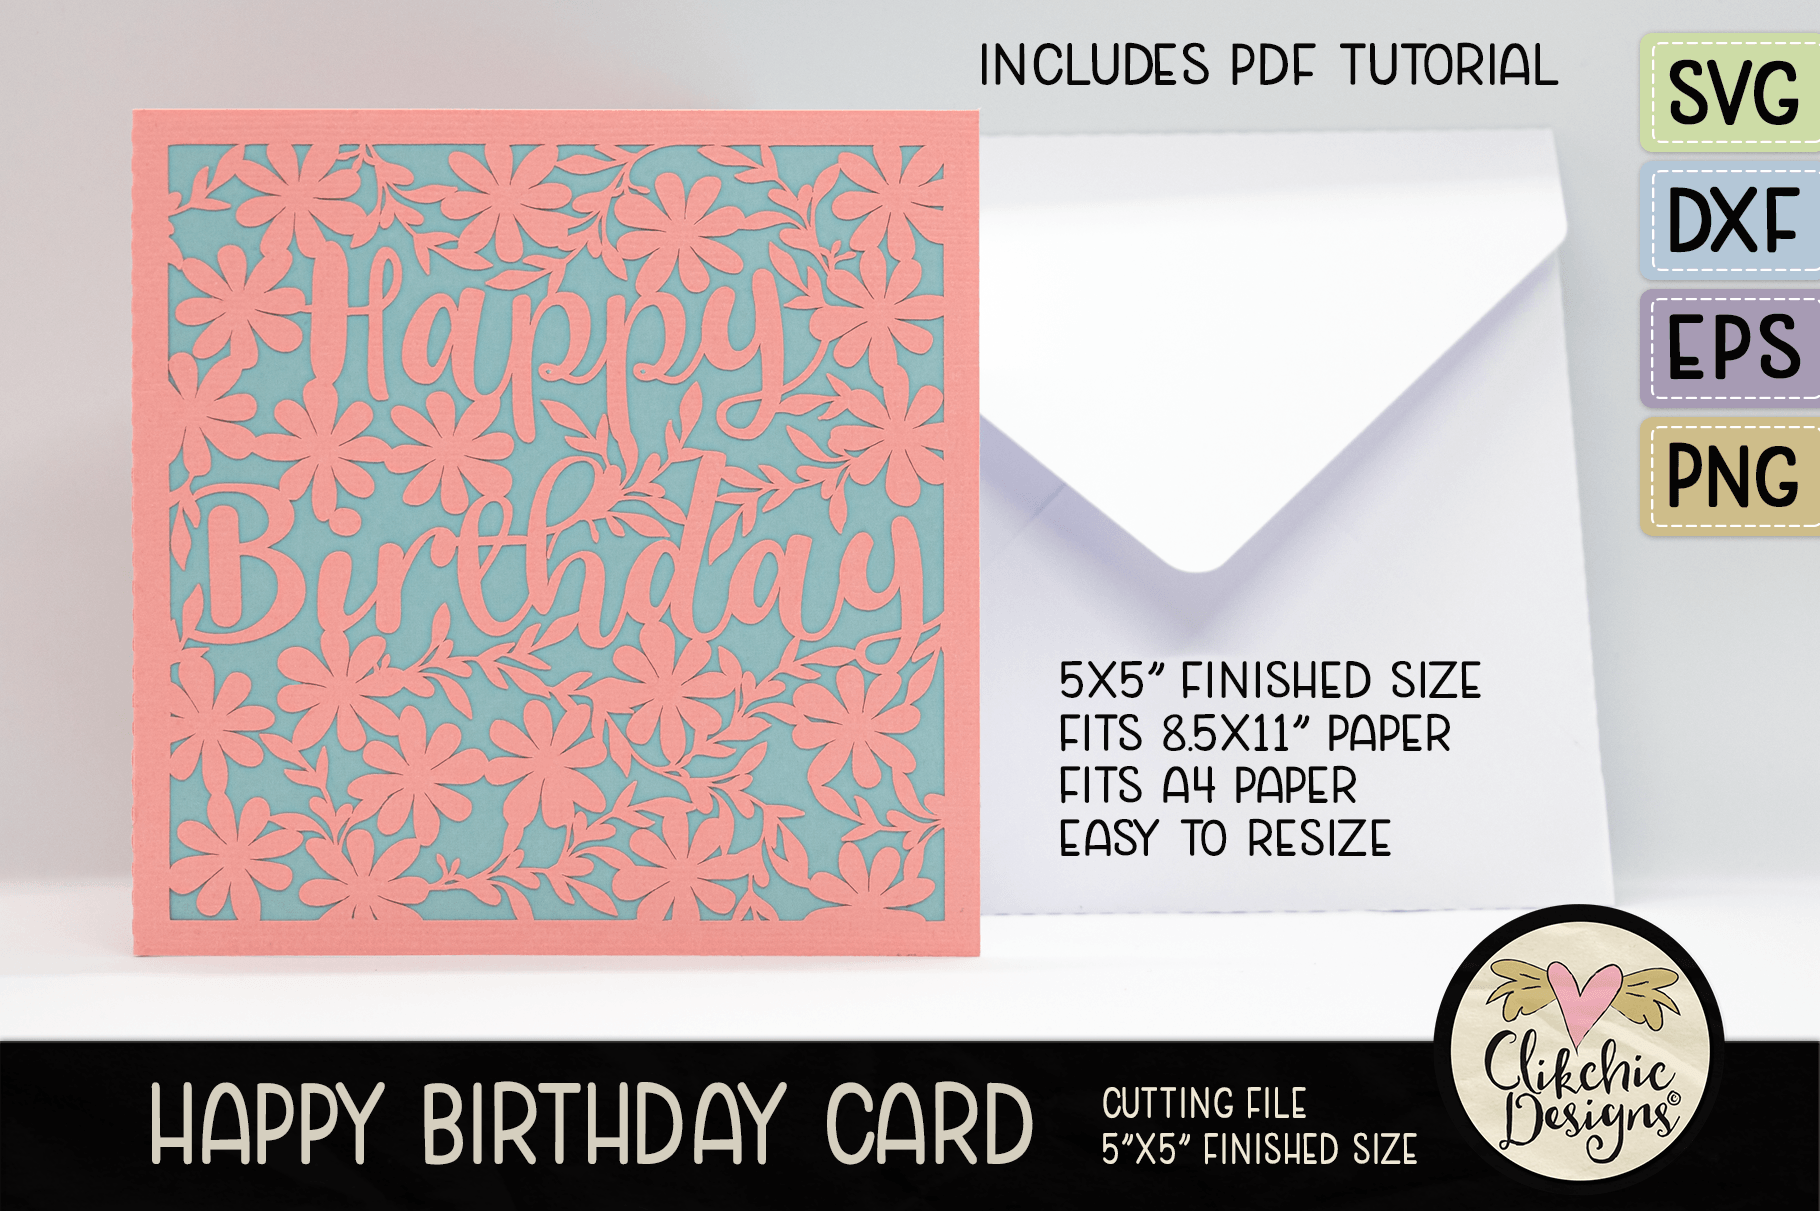
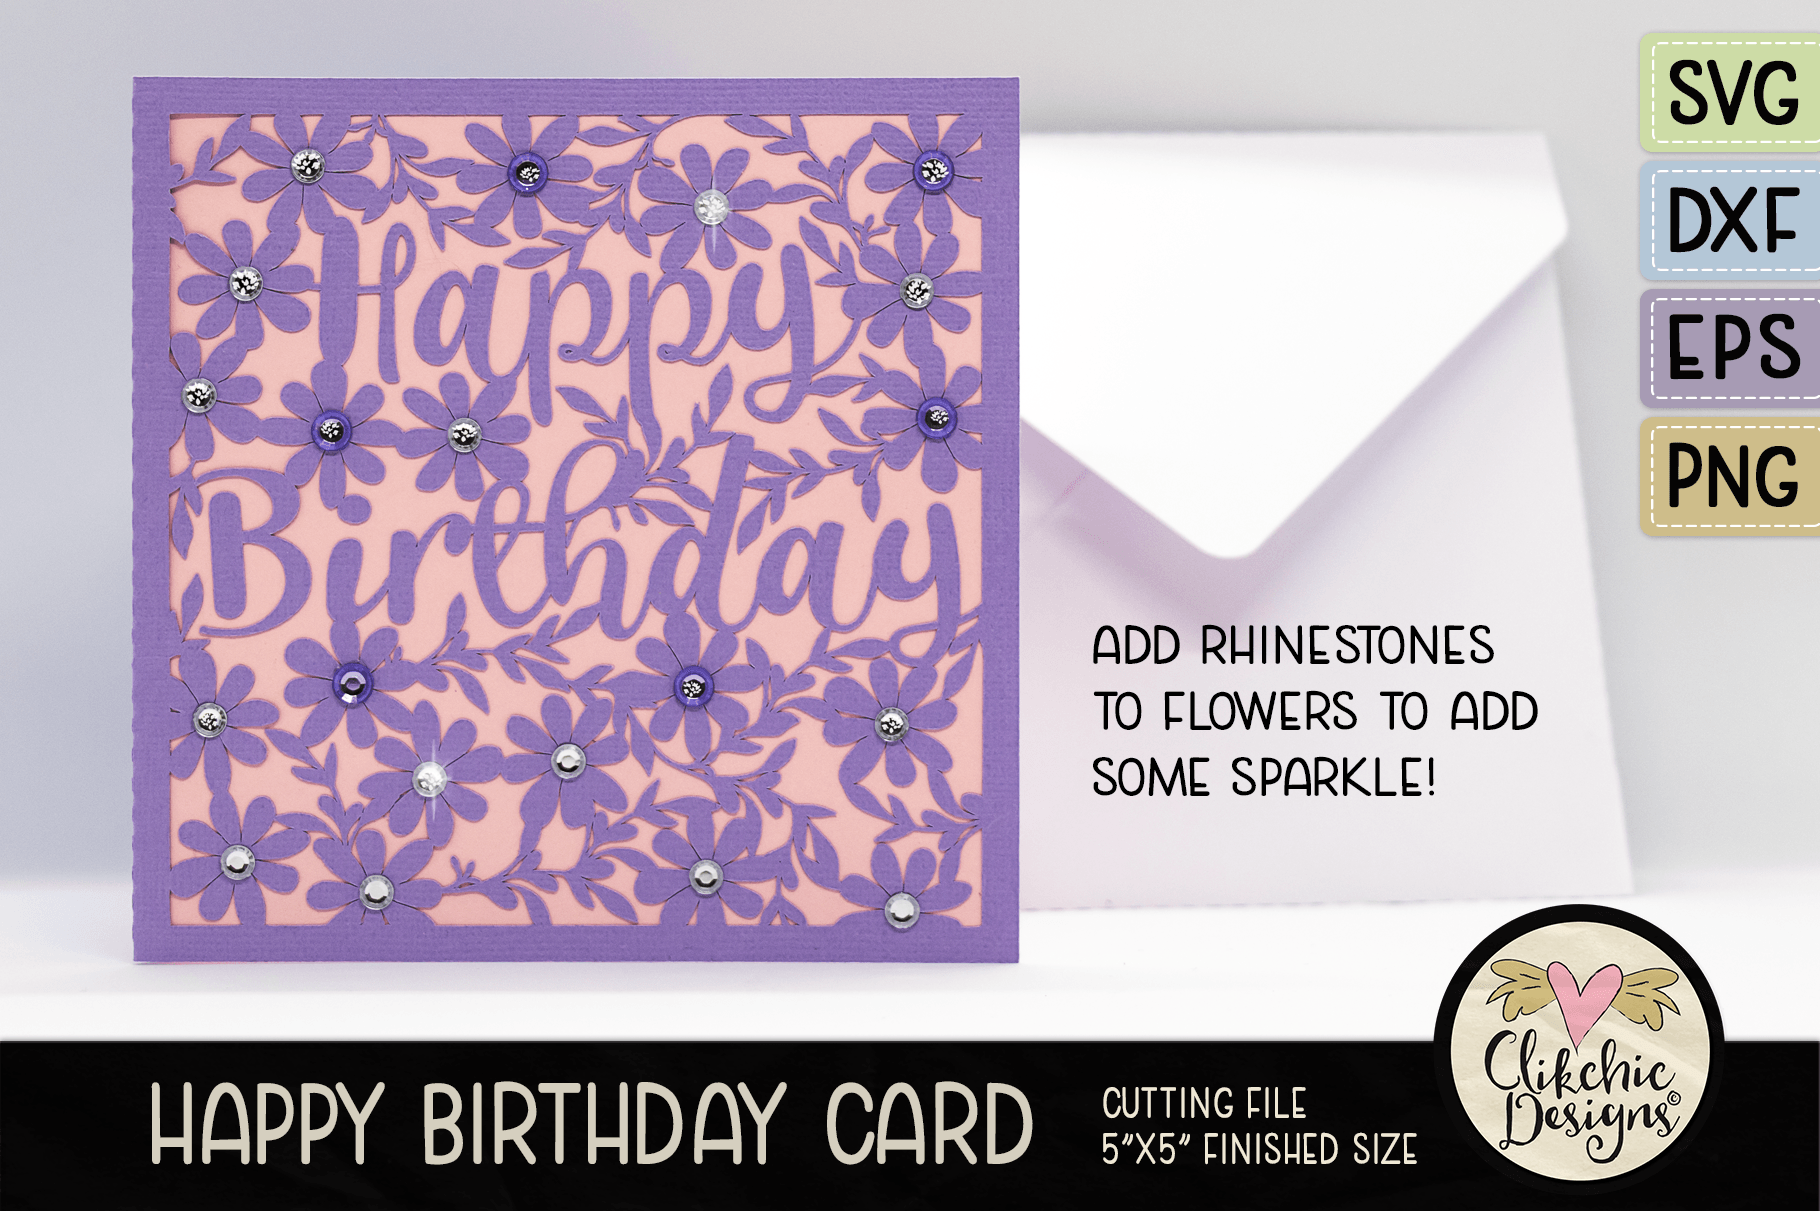
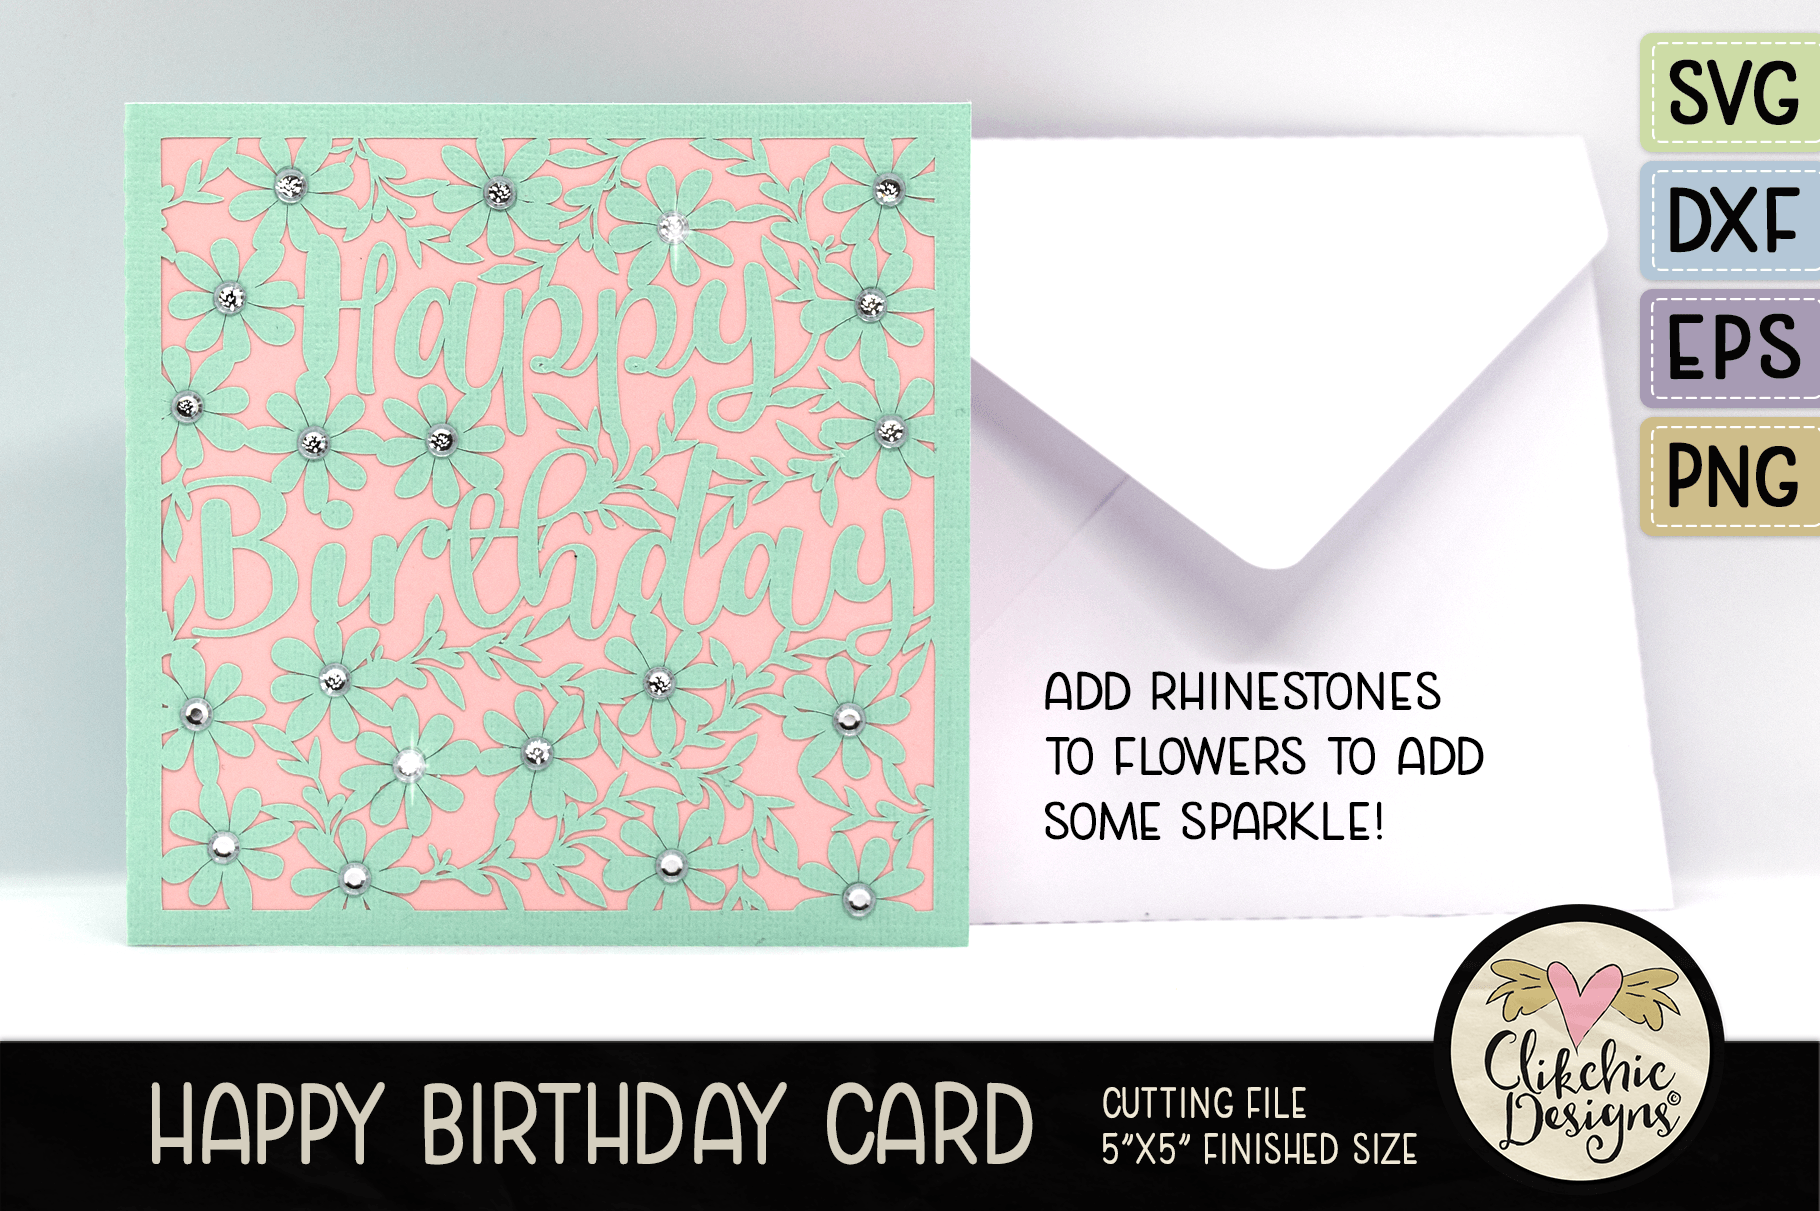
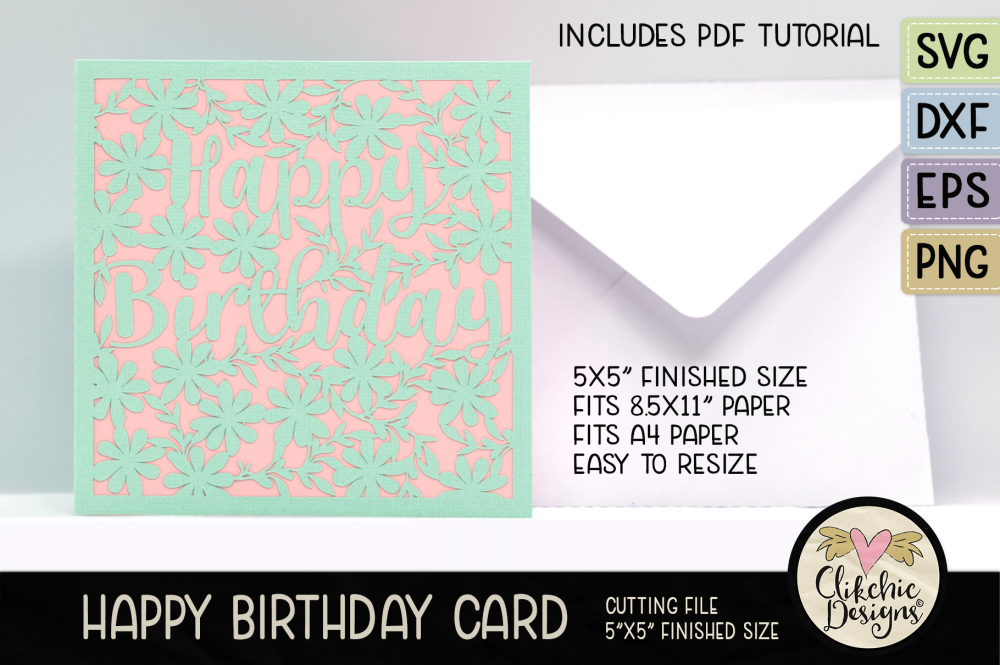
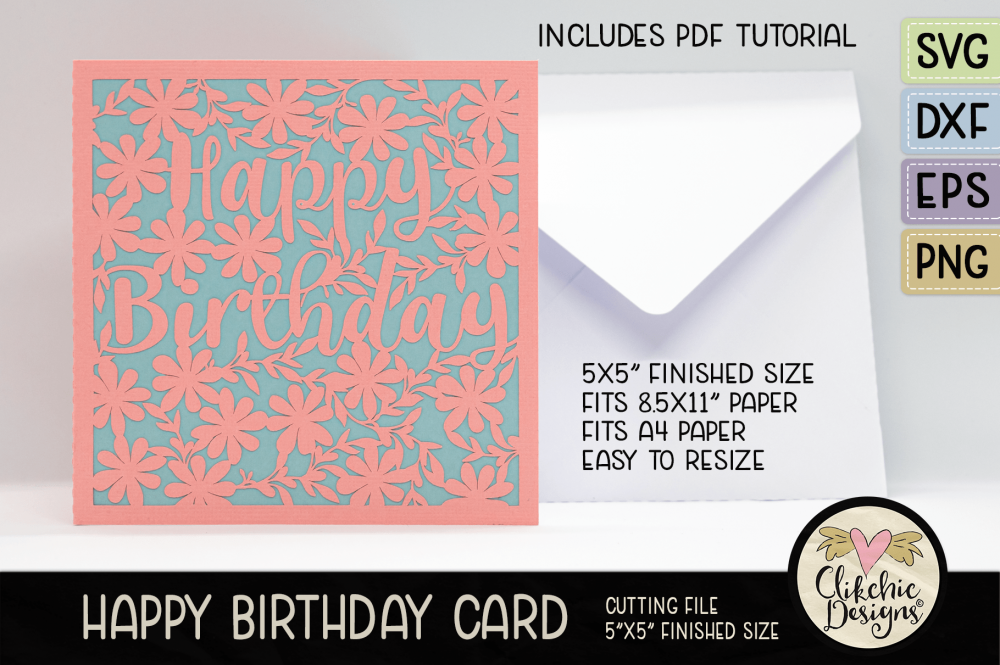
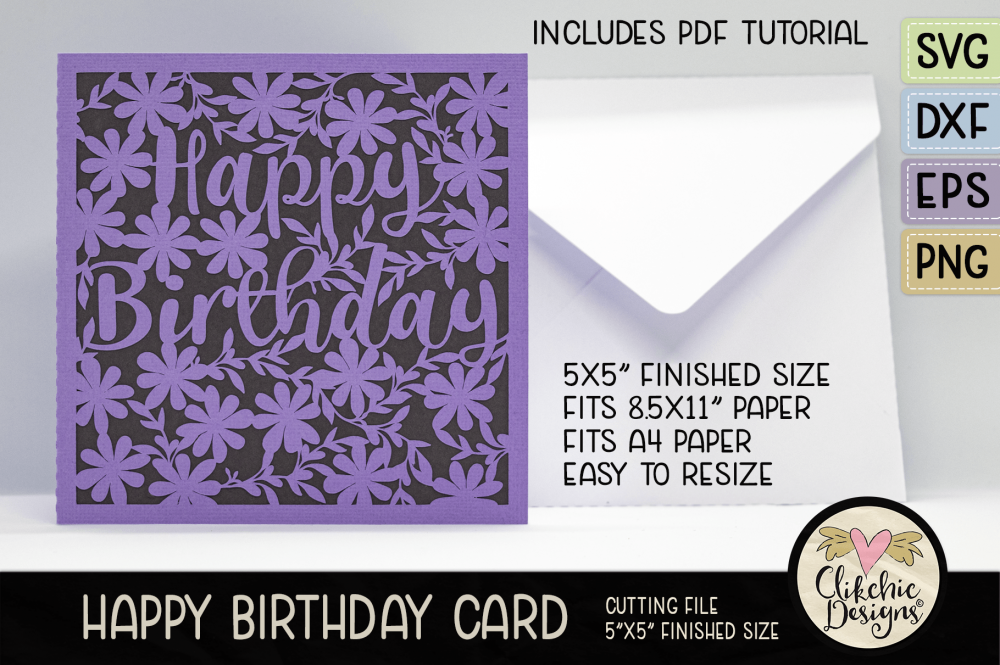
Filigree Floral is a long time favourite style of mine and this gorgeous Filigree Floral Happy Birthday Card SVG cutting file set will be a favourite card you come back to again and again for wishing your bestie or other filigree floral loving people in your life a Happy Birthday. Add a bit of glamour to these gorgeous cards by adding some diamonties for some bling. I have found the best way to affix these delicate looking designs to the insert is using spray adhesive to the inside of the filigree design and carefully fixing the insert to the front once glue is sprayed on. Use different cardstocks for different looks and styles. The card cutting files come in SVG, DXF, EPS & PNG formats for use with most cutting machines including Silhouette and Cricut. Pick up this adorable Filigree Floral Happy Birthday Card cutting file set in my stores listed below.
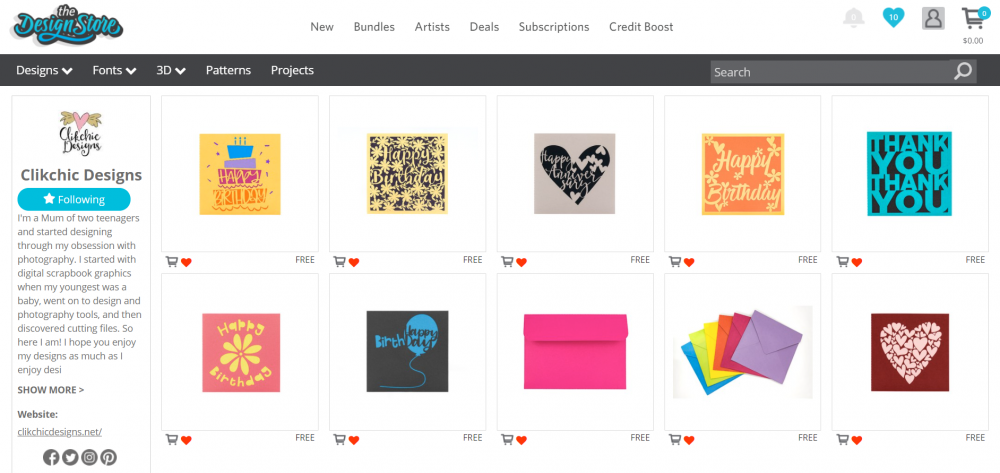
I know I find it handy to grab my cutting files directly from the Silhouette Studio software. Well now Silhouette cutting machine owners will be able to get my designs directly from the Silhouette Studio Software. Not a Silhouette user? That is ok too, you can buy my designs from the website and get the SVG by selecting the SVG option!
Click here to see my designs currently available in the Silhouette Design Store. I will be adding more regularly so keep checking back for new additions!
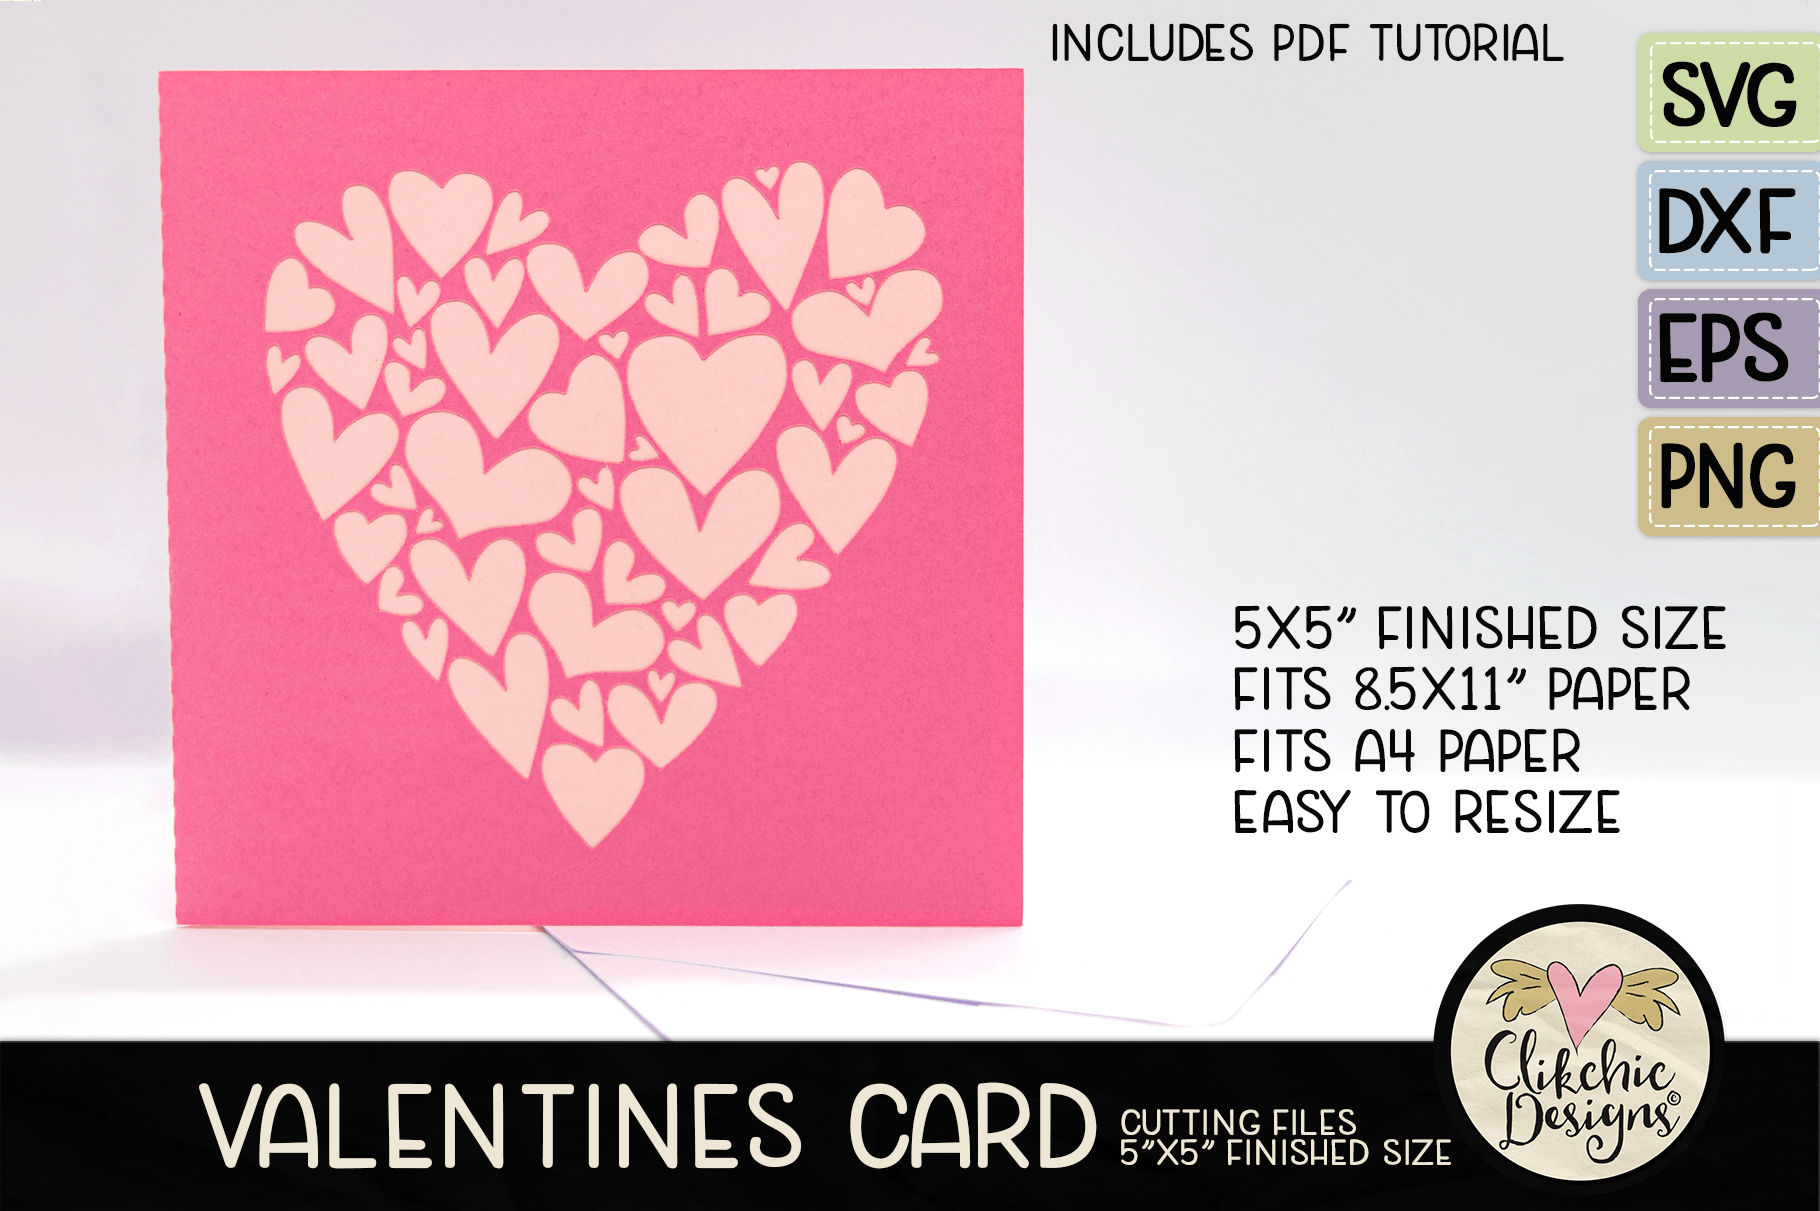
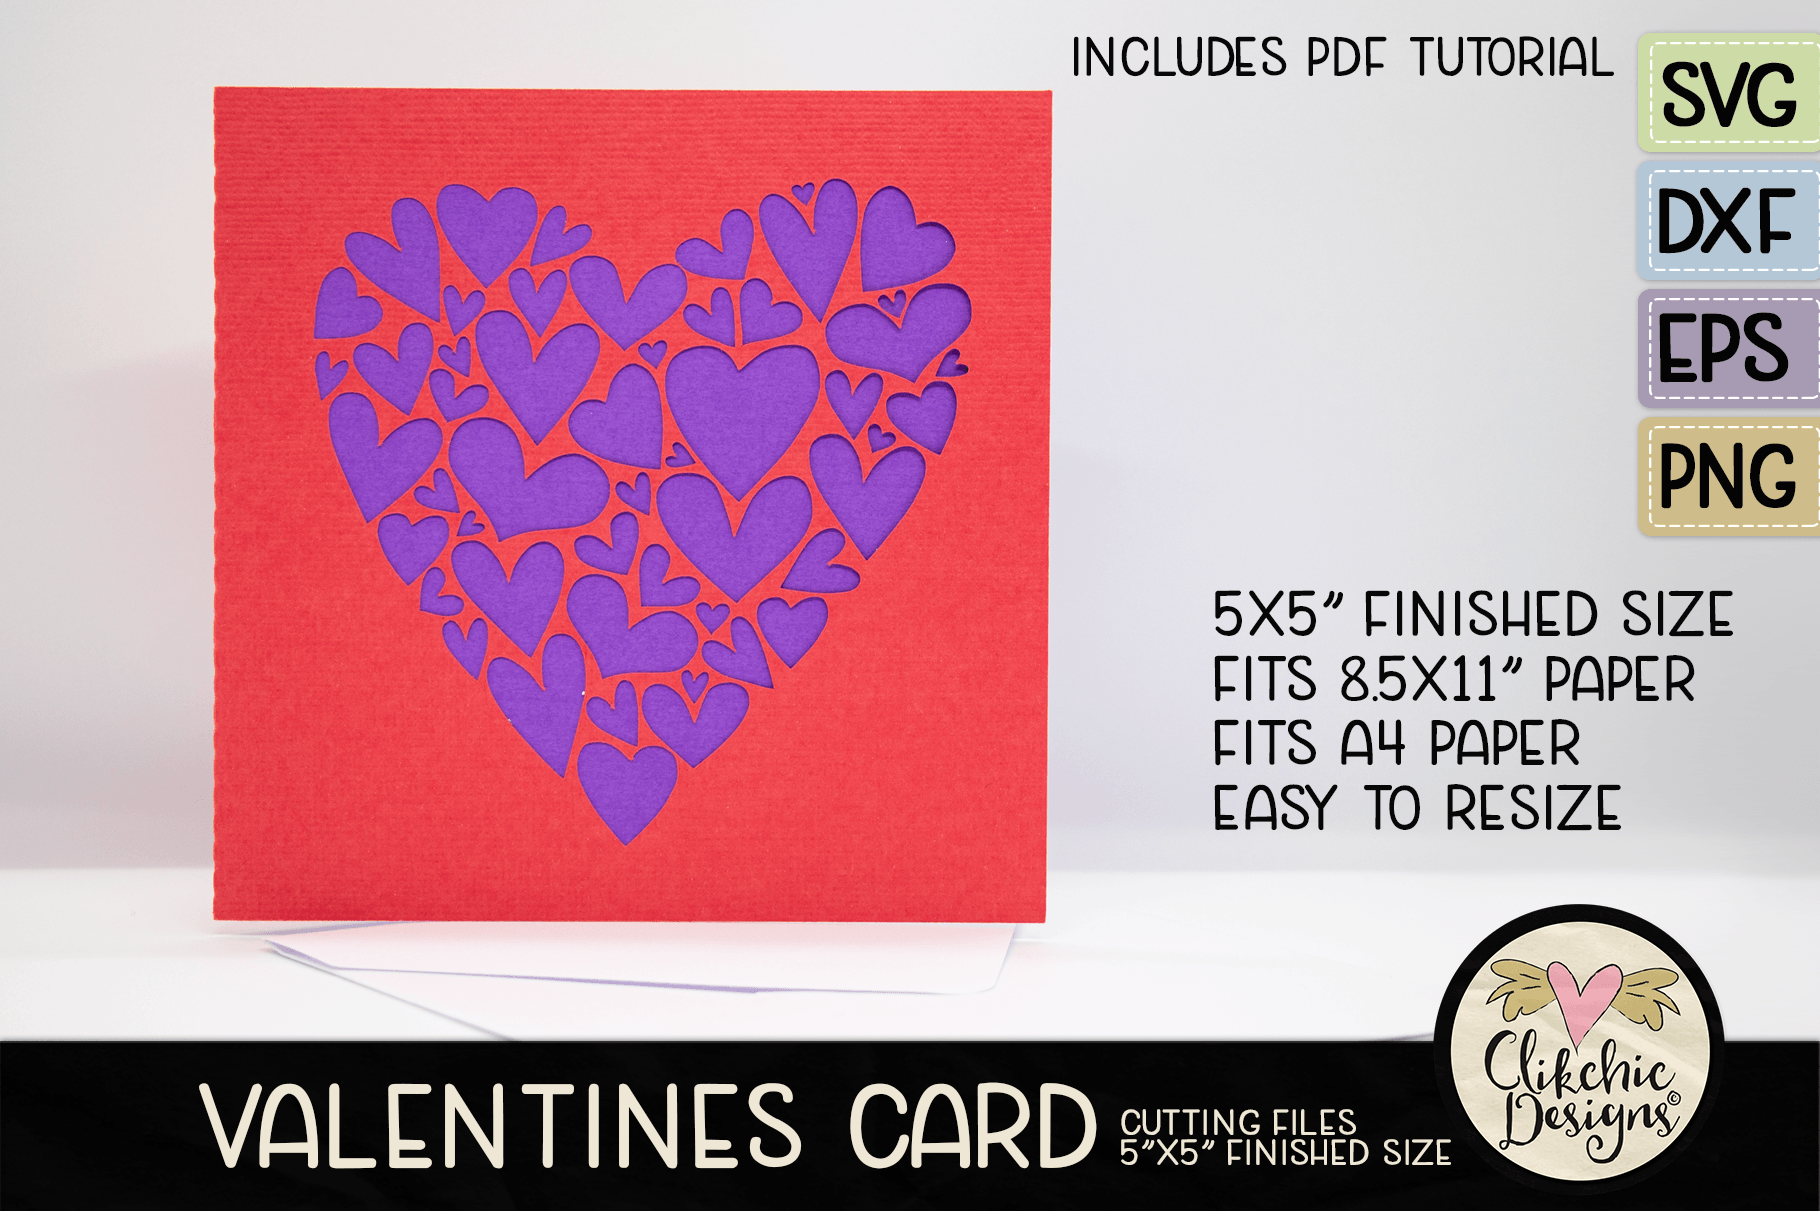
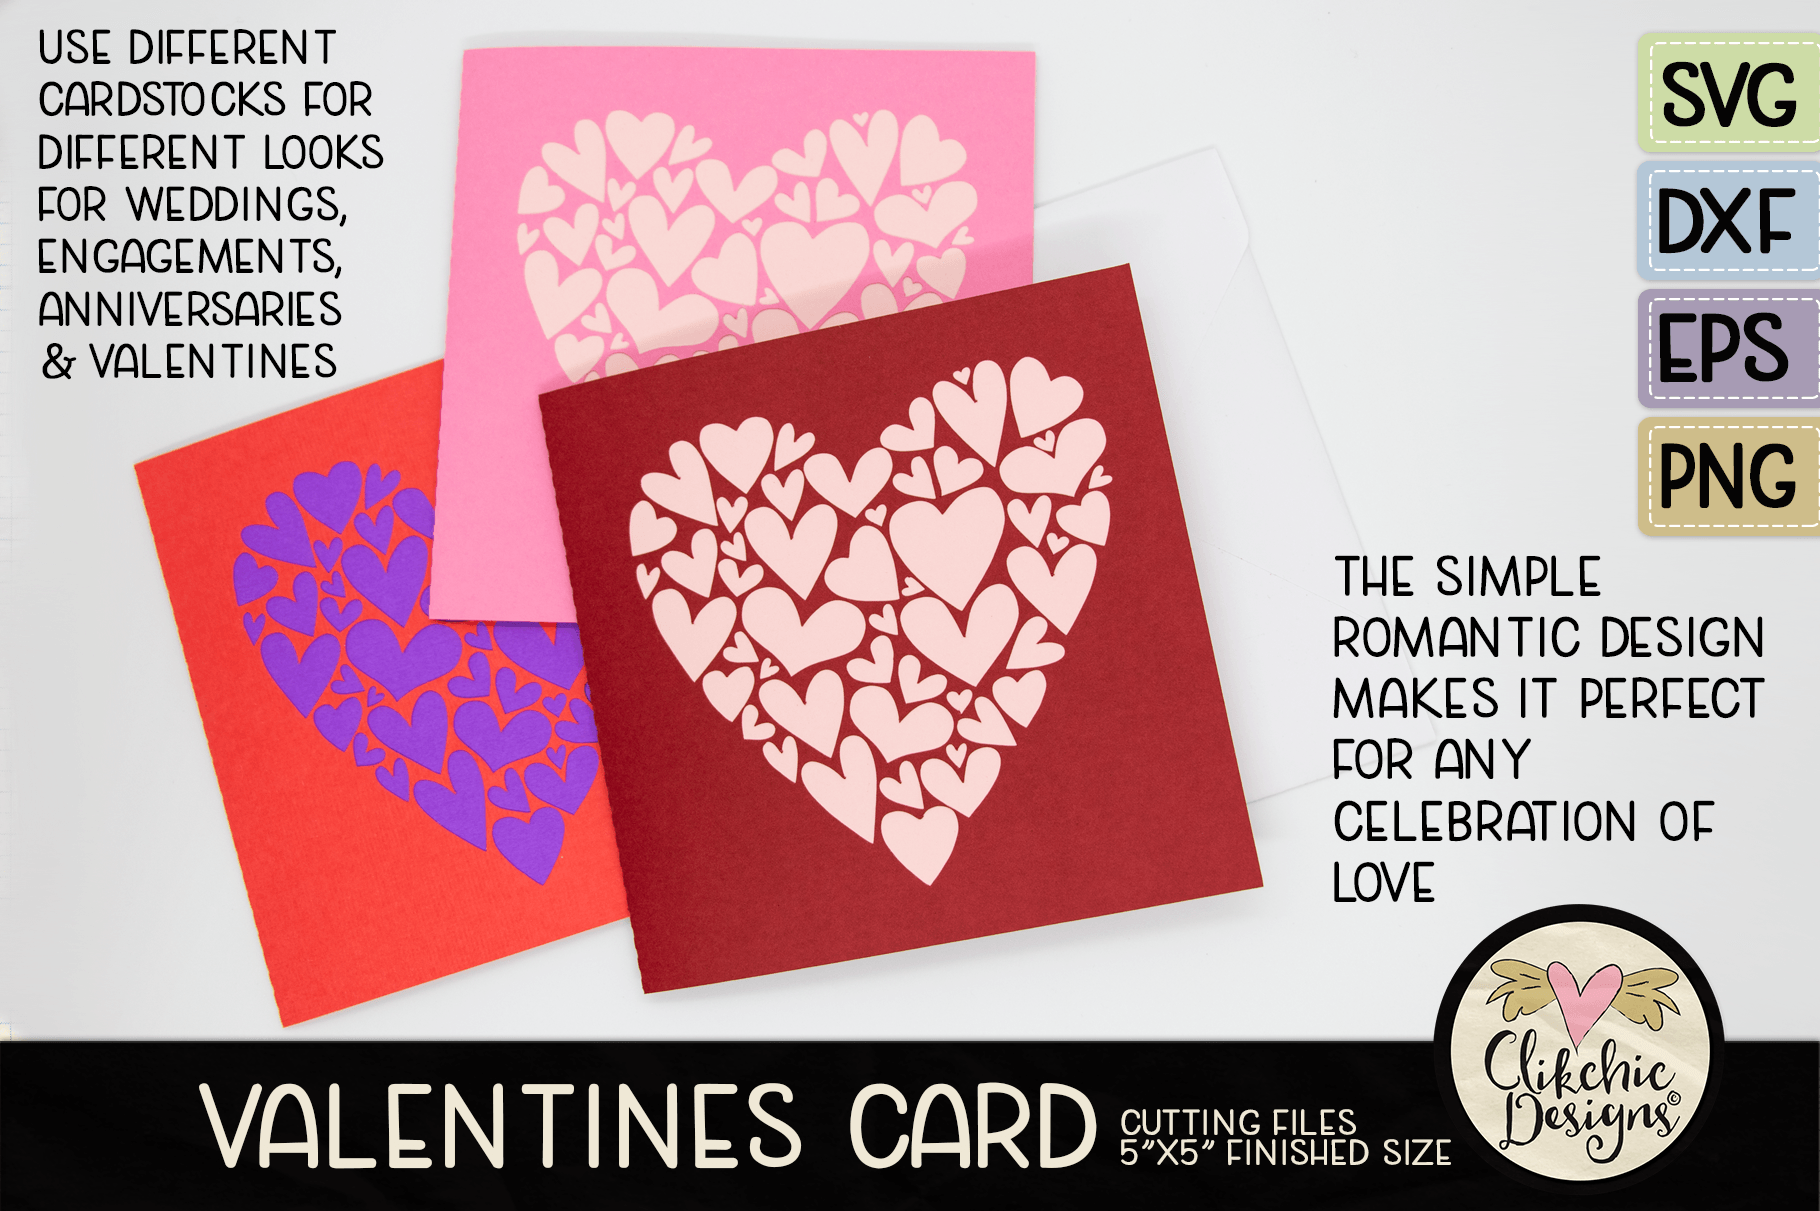
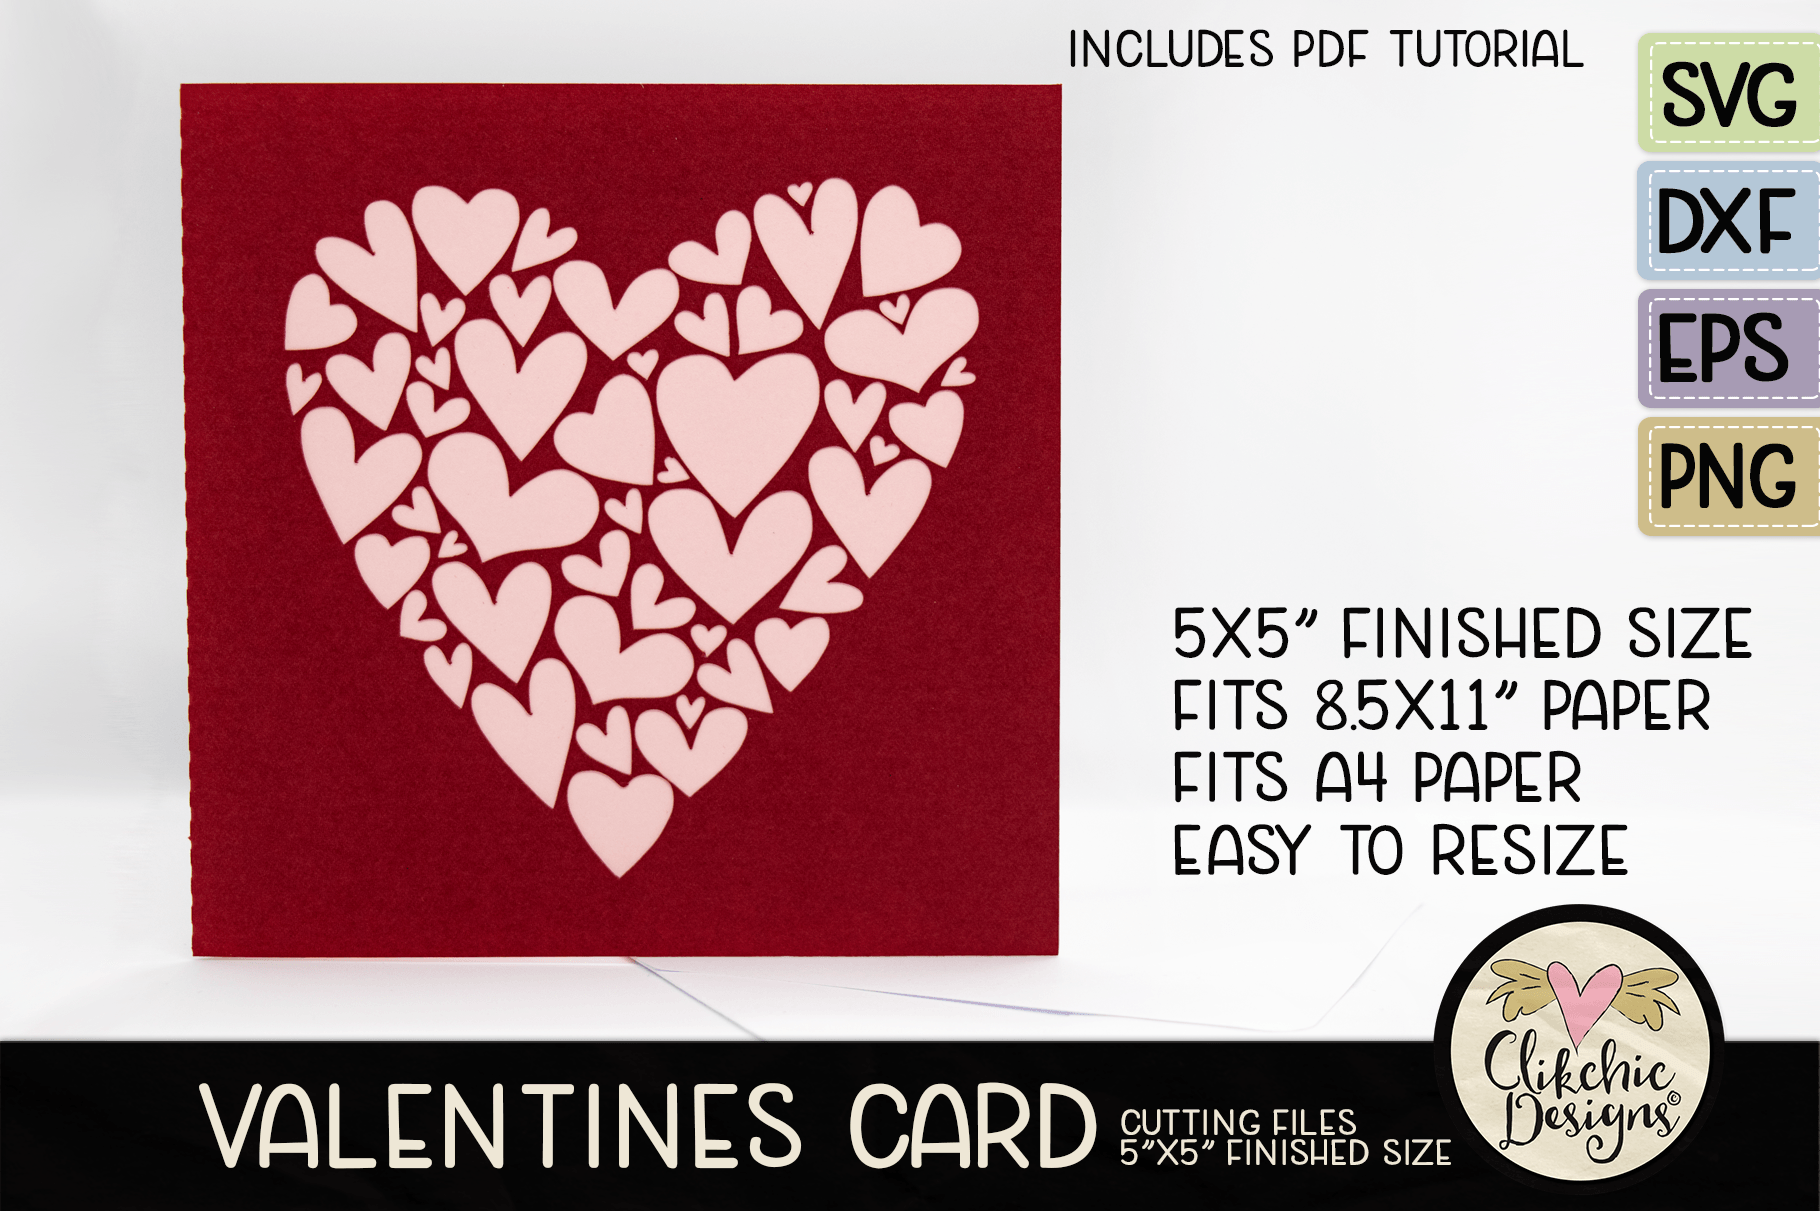
This card cutting file is one of my favourites. I have titled it a Valentines Day card but it doesn’t have to just be for Valentines Day. You can use this card for weddings, engagements, anniversaries, romancing or just to show someone how much you care about them. This is a must have set of cutting files to keep in your stash. This card also cuts like a dream and is so quick and easy to make and as a bonus you get all those adorable heart die cuts to add to your collection. They are great to stuff into the card, pop into lunch boxes or make other cards with. The card set comes in SVG, DXF, EPS & PNG formats to suit most cutting machines includiing Silhouette and Cricut. Grab the adorable Valentines Heart Card SVG cutting file set from my stores listed below.
There is a basic assembly tutorial which works for all my cards to date available here. With his card I wanted to include the option of having different colours for each layer of cake so if you wish to use that option some extra steps are involved.
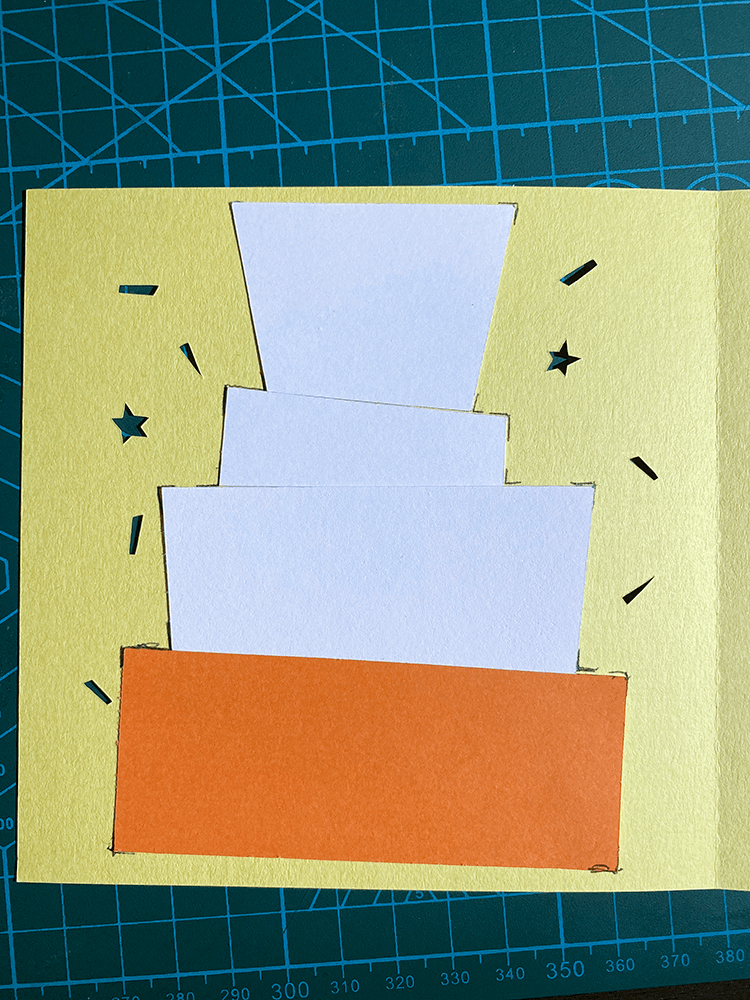
The included cutting parts for cake background pieces is optional to use to add extra colour to your card. Check out one of the links above to see the difference between a card with and without those pieces. If you wish to make a card more quickly you might choose to just use a patterned or brightly coloured paper insert. Making different cardstock colours when you have the time however gives the card a bit of pop, so I have included the cutting files to do so.
Pieces are designed to sit flush against each other inside the front of the card. Place pieces in position and check they are covering cake and swag accents correctly. The top of the top piece sits parallel with the top of the card and each piece sits flush under the other.
Tip: Mark corners of pieces while holding in place to ensure correct placement after glue is applied.
Once you have marked the corners (unless you prefer you prefer to wing it then skip the corner marking) spray the left side of the card with adhesive. If you prefer another method of gluing that is of course your choice. I used a glue stick for a while till I got the spray adhesive, but I find the spray adhesive gives better hold on the delicate pieces. I usually cover the other side with scrap paper before spraying to ensure the other side does not get sprayed.
Attach the cake pieces in the correct positions. Then once pieces are attached add more adhesive on back of cake pieces.
Attach the insert to the adhesive covered side of the card to complete your card.
I also have envelopes available which allow you to cut envelopes with custom coordinating cardstock to suit a large range of sizes.